
$64.90
Free delivery · 7–14 days
Stone Countertop Cleaner for a Brighter, Protected Shine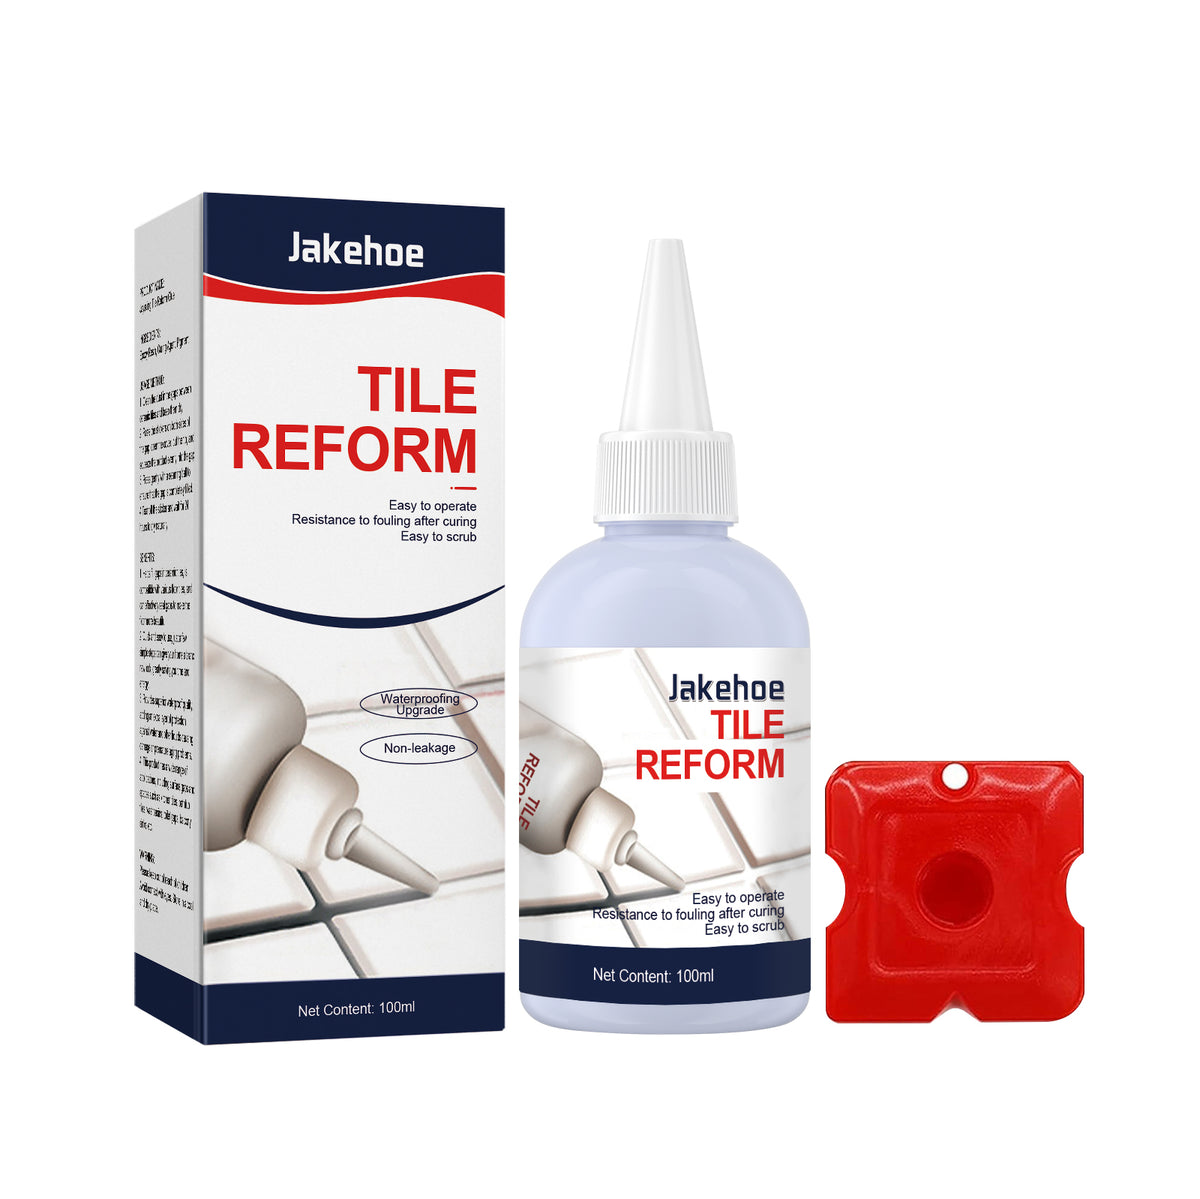
Turn cracked grout lines and awkward tile gaps into a cleaner-looking finish with a focused DIY repair kit.
Read the full descriptionTurn cracked grout lines and awkward tile gaps into a cleaner-looking finish with a focused DIY repair kit.
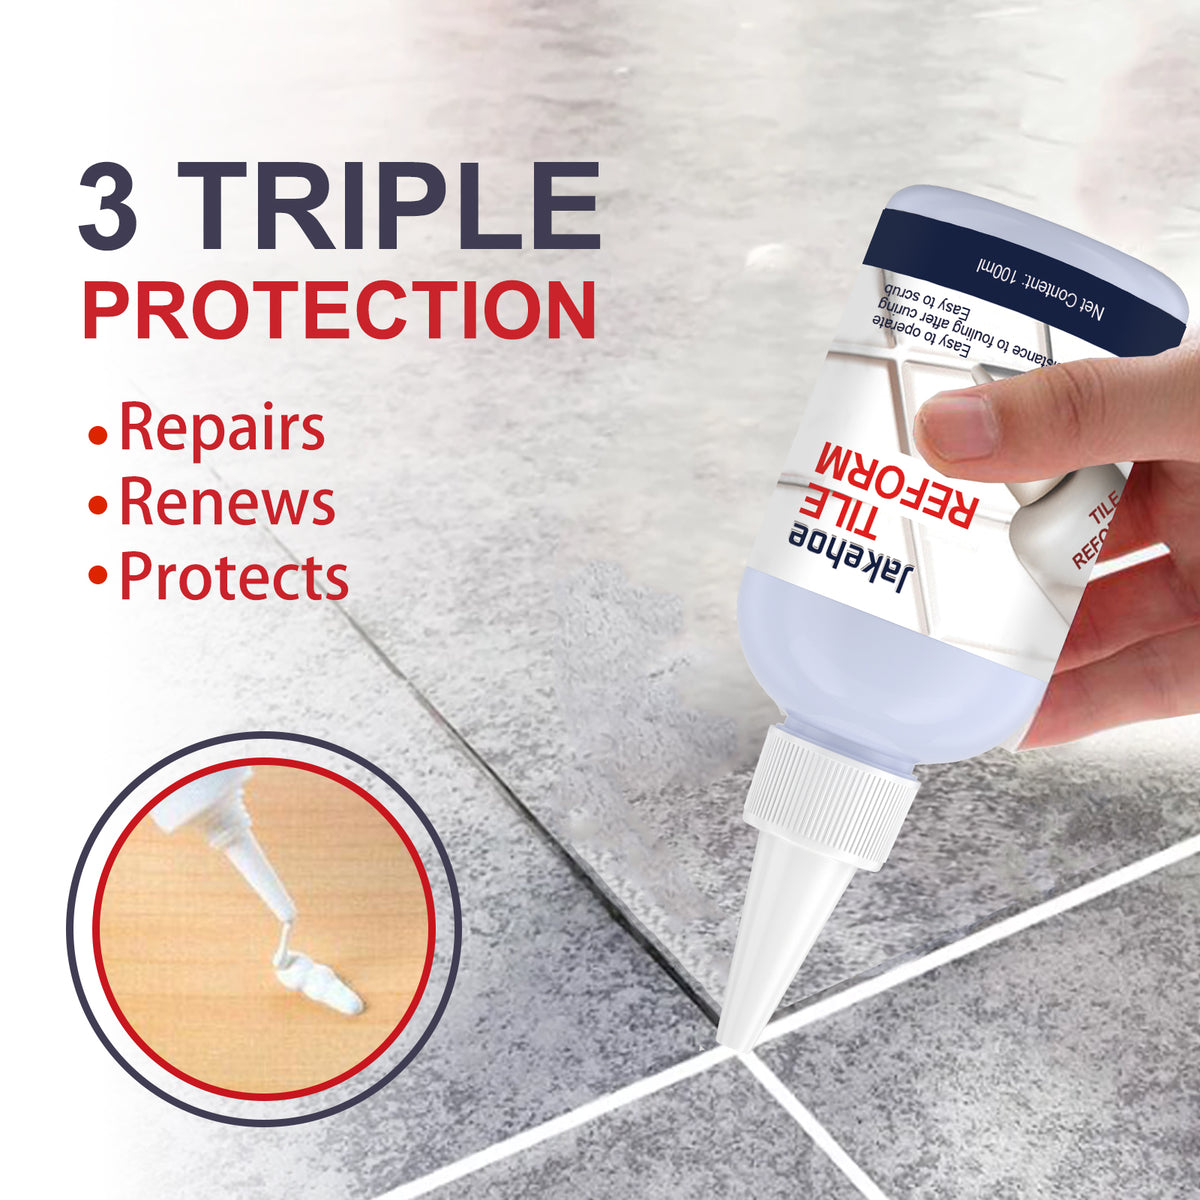
Repairs, renews, and protects tile joints and crevices with targeted application.
Stop staring at cracked grout, dark gaps, and messy tile edges. Apply targeted filler, smooth it with the included scraper, and restore a cleaner-looking finish.

The tapered squeeze nozzle directs compound into narrow tile joints, sink edges, window crevices, and other difficult-to-reach areas.
The red smoothing scraper levels applied filler so the repair looks intentional rather than roughly patched. Use light pressure and work along the joint in a steady pass.

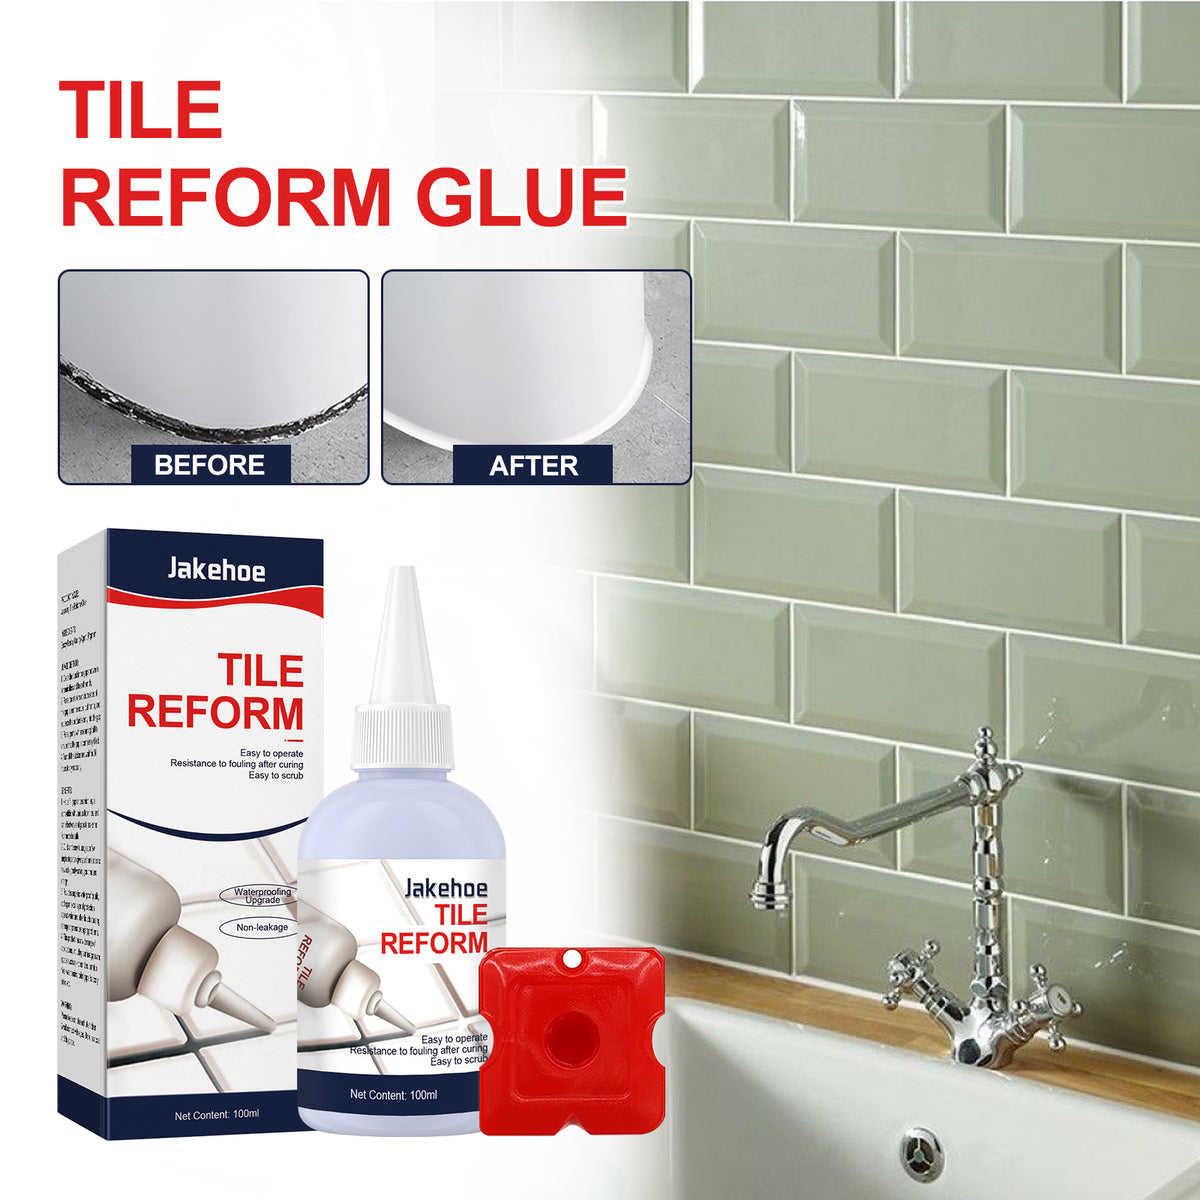
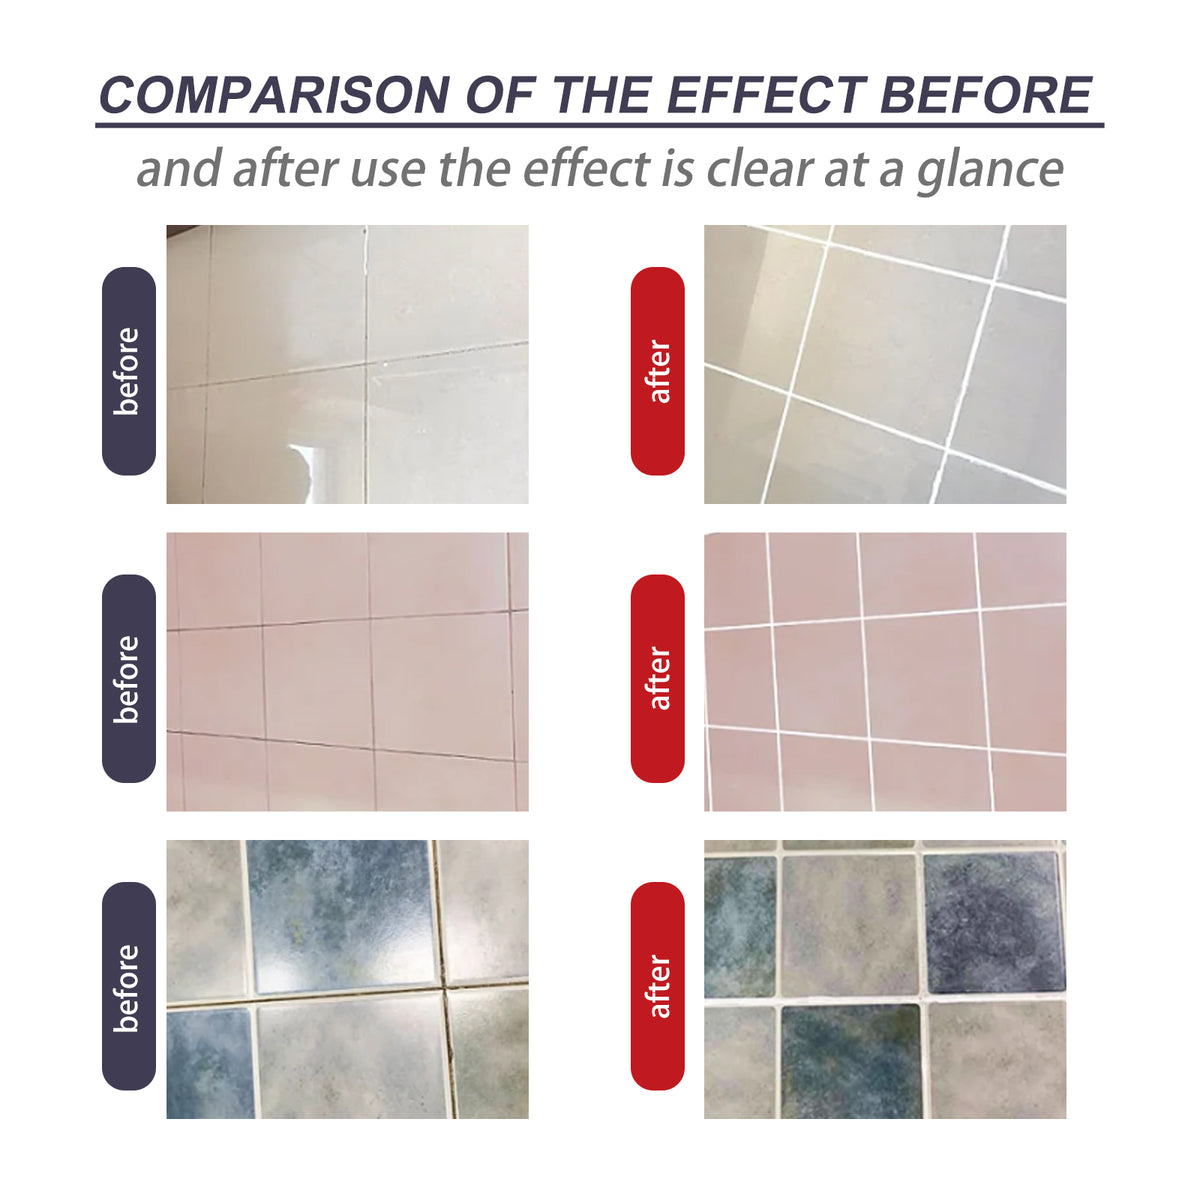
The packaging presents three clear benefits: repairs, renews, and protects. The before-and-after panel shows the intended result, changing a dark damaged-looking joint into a smooth light-filled one.
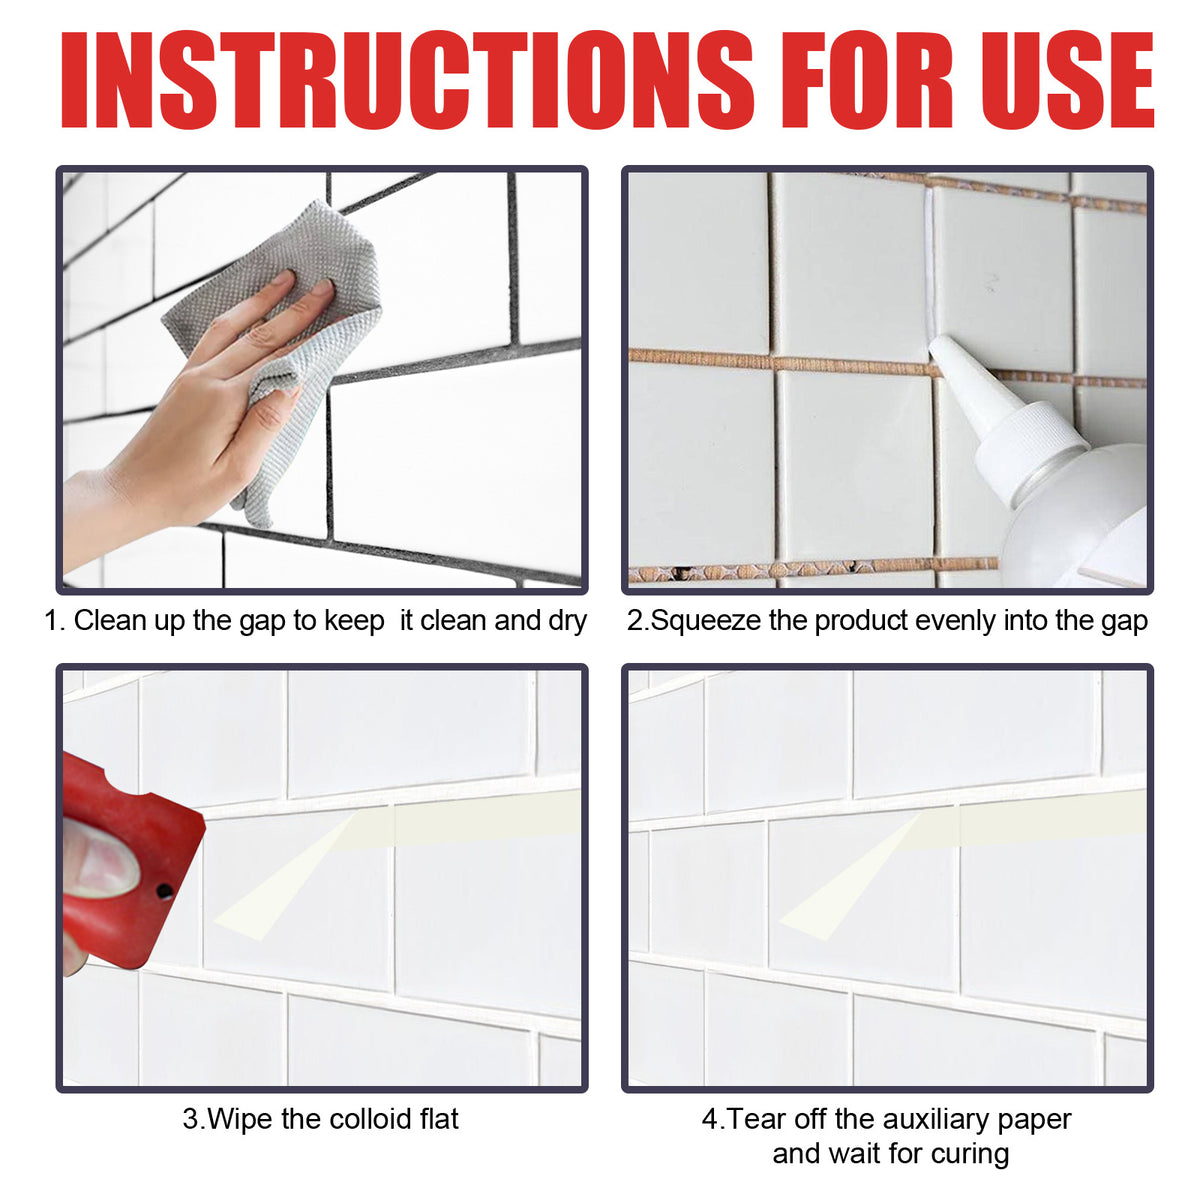
Remove dust, grease, loose grout, and debris. Let the area dry fully before opening the nozzle.
Guide the tapered nozzle along the damaged line and squeeze steadily. Add only enough compound to fill the gap.
Use the included red scraper with light, even pressure to level the filler and remove excess from nearby tile.
Check the joint from several angles and follow the product directions for the appropriate setting or care time.
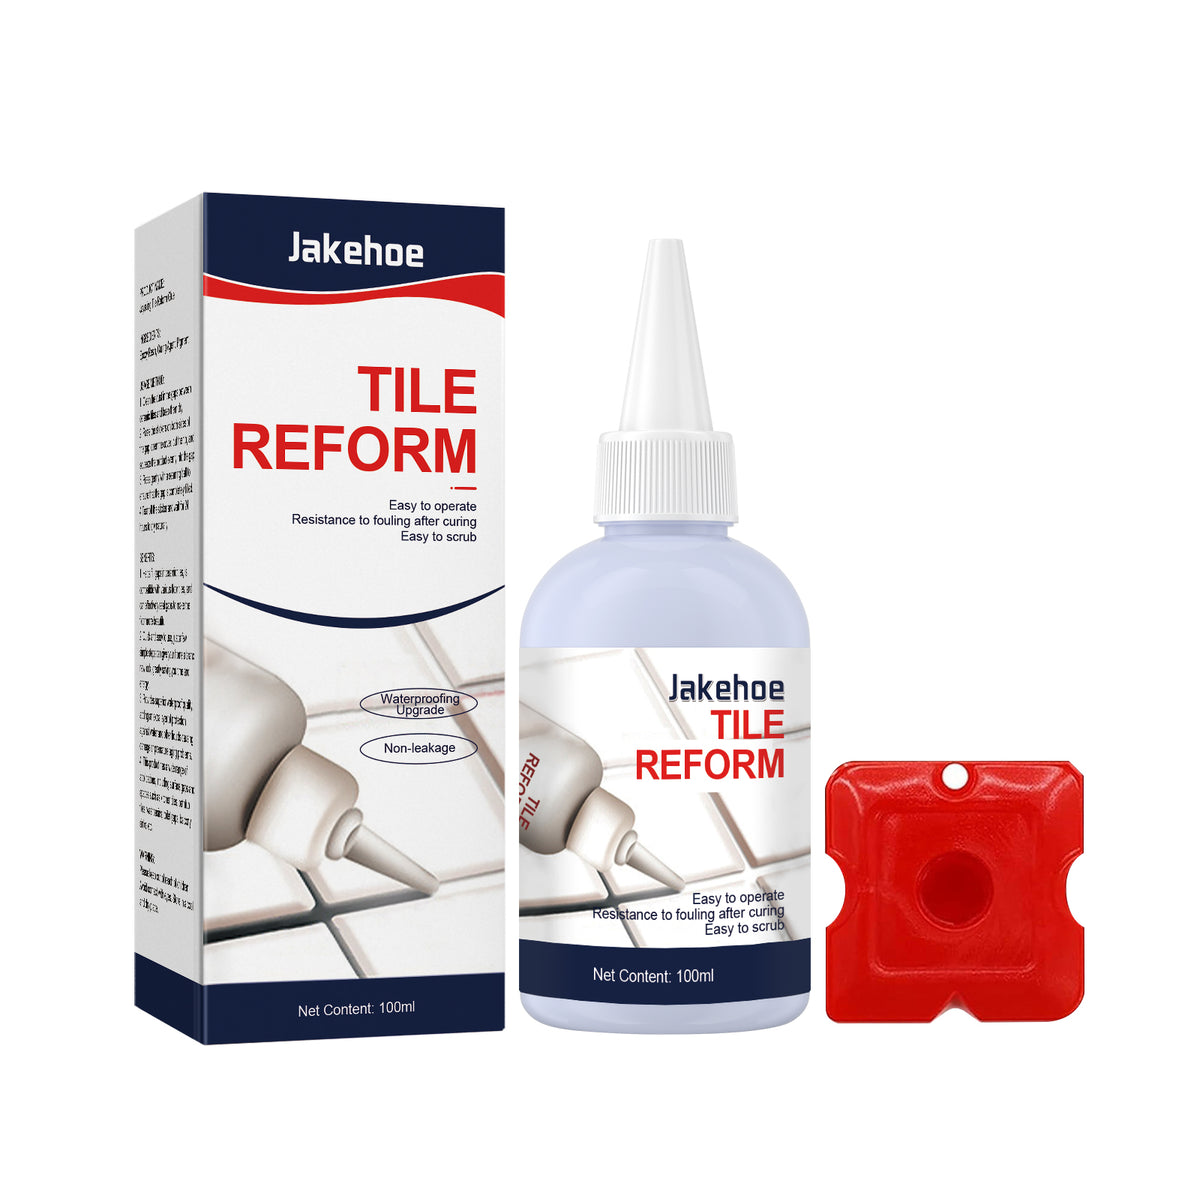
100ml squeezable bottle with tapered precision nozzle
Dedicated tool for leveling applied filler
Protective boxed packaging for storage
Cracked, darkened grout lines and awkward gaps collect attention every time you clean or walk through the room. One worn joint can make a bathroom, kitchen, or tiled window surround look neglected.
The tapered nozzle directs the cream compound into narrow joints and crevices, while the red scraper levels the bead. Small repairs become focused maintenance instead of a broad, messy patch.
Once the joint is filled and smoothed, the visible difference is simple: a dark, damaged-looking line becomes a smoother, whiter-looking repair. That small change brings relief every time the room comes back into view.
| Tile Grout Repair Filler | Improvised Patch | Tile Replacement | |
|---|---|---|---|
| Targeted application | Yes | Partial | No |
| Dedicated smoothing tool | Yes | No | No |
| Suitable for small localized joints | Yes | Partial | Partial |
| Requires removing sound tile | No | No | Yes |
| Three-piece repair setup | Yes | No | No |
It is made for localized tile-joint and crevice repairs around bathrooms, kitchens, floors, sinks, and windows. Surface materials and existing sealants vary, so test a discreet area first and follow the product directions.
Coverage depends on the width, depth, and length of the damaged joint. The 100ml bottle is best for targeted touch-ups rather than a full-room regrout or major tile replacement.
The product is presented as a waterproof filler with repair, renew, and protect claims. Prepare the joint properly and use it only on suitable, clean, dry surfaces for the intended result.
Yes. It suits renters and homeowners handling small, visible joints without taking on a full renovation. Always check your rental agreement before making repairs.
Clean and dry the joint, apply a controlled narrow bead through the tapered nozzle, then level it with the included red scraper. Avoid squeezing out more compound than the gap needs.
You receive a 100ml repair filler bottle, an illustrated retail box, and one red smoothing scraper. The three-piece setup covers application, smoothing, and storage.


 Tile Grout Repair Filler for Clean, Protected Joints