
$64.90
Free delivery · 7–14 days
Car Scratch Polishing Paste for Glossy Paint Repair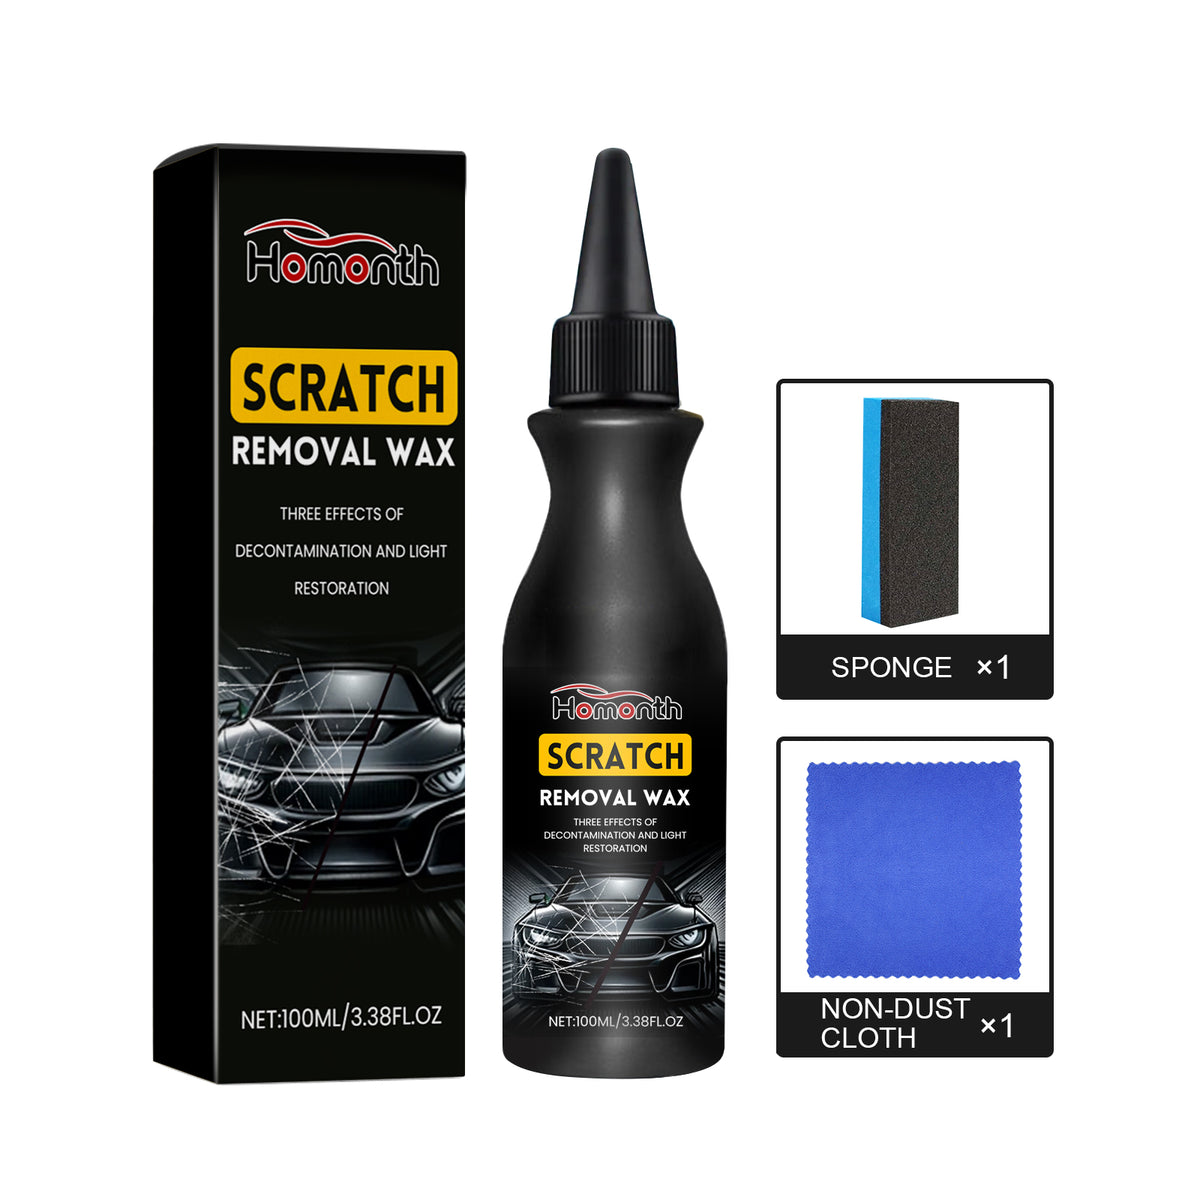
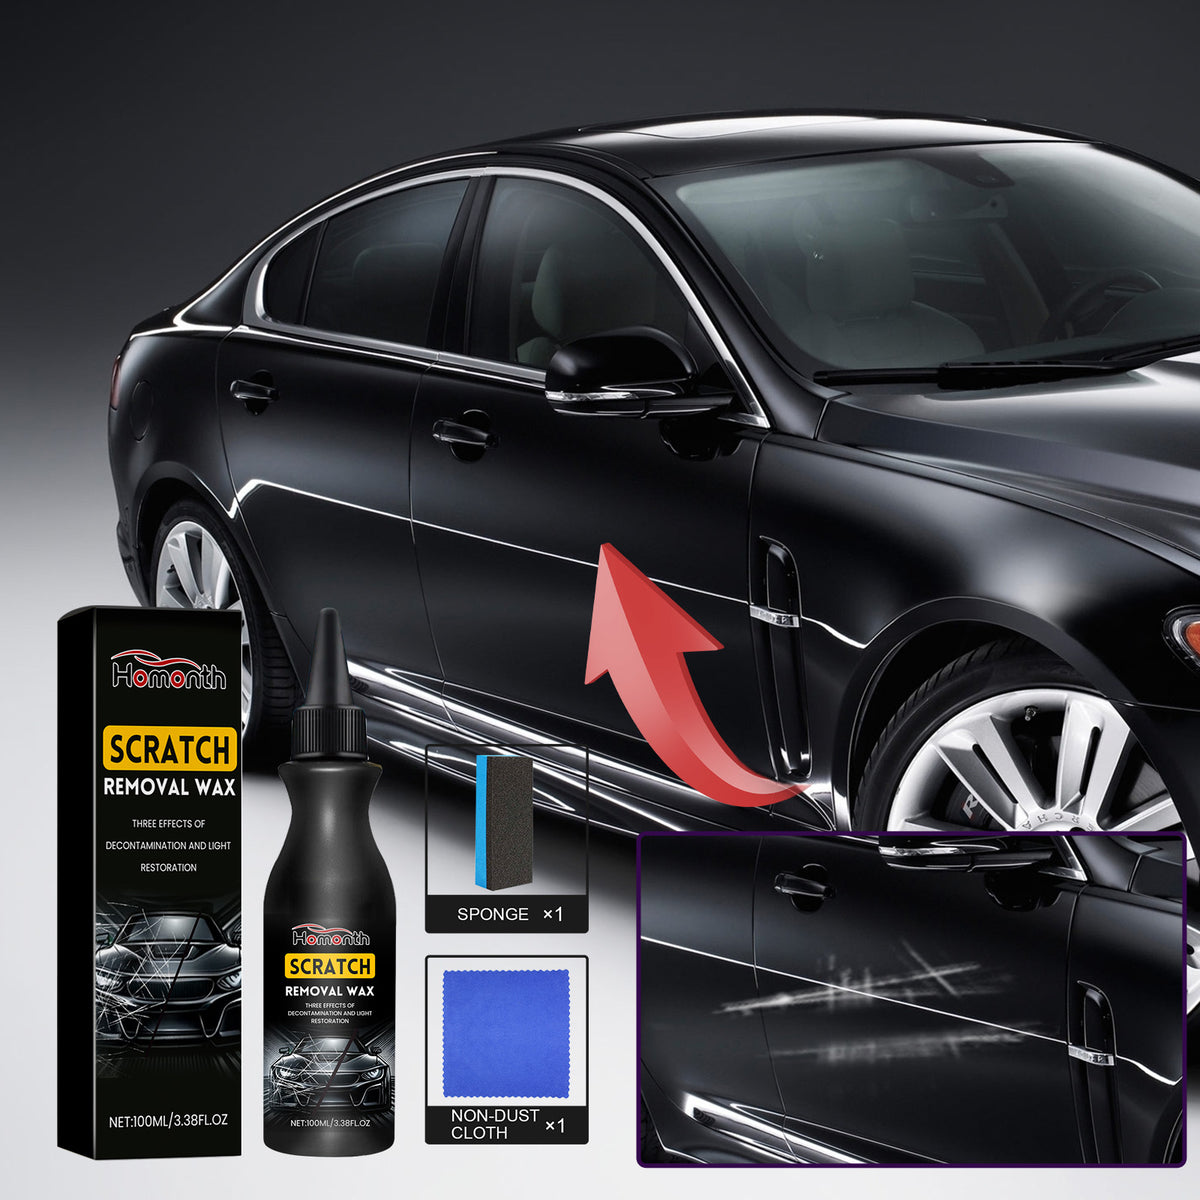
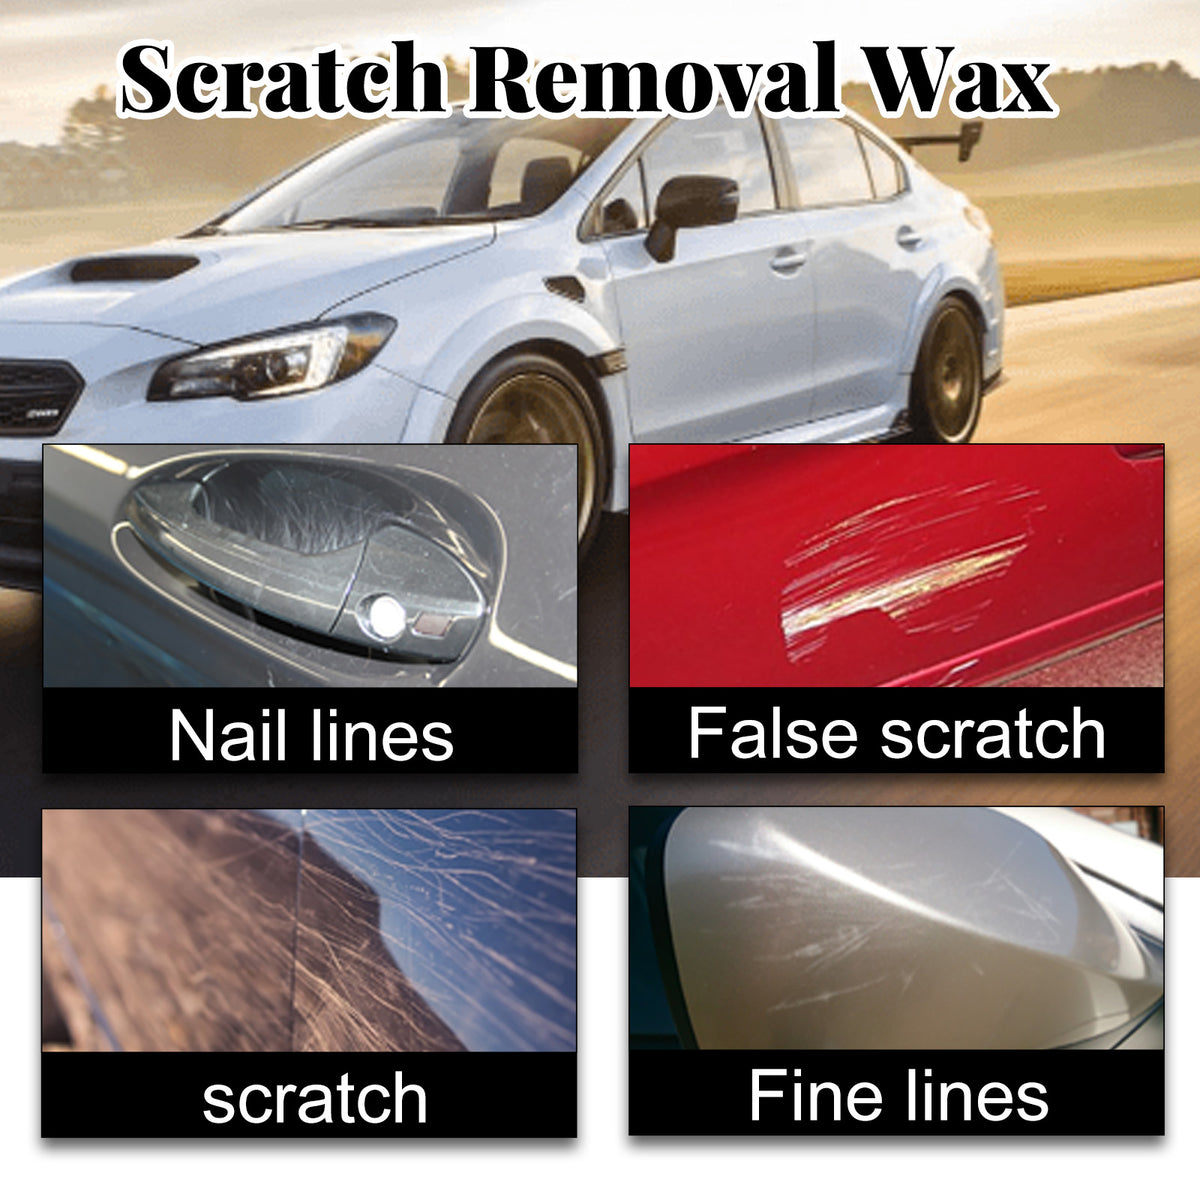
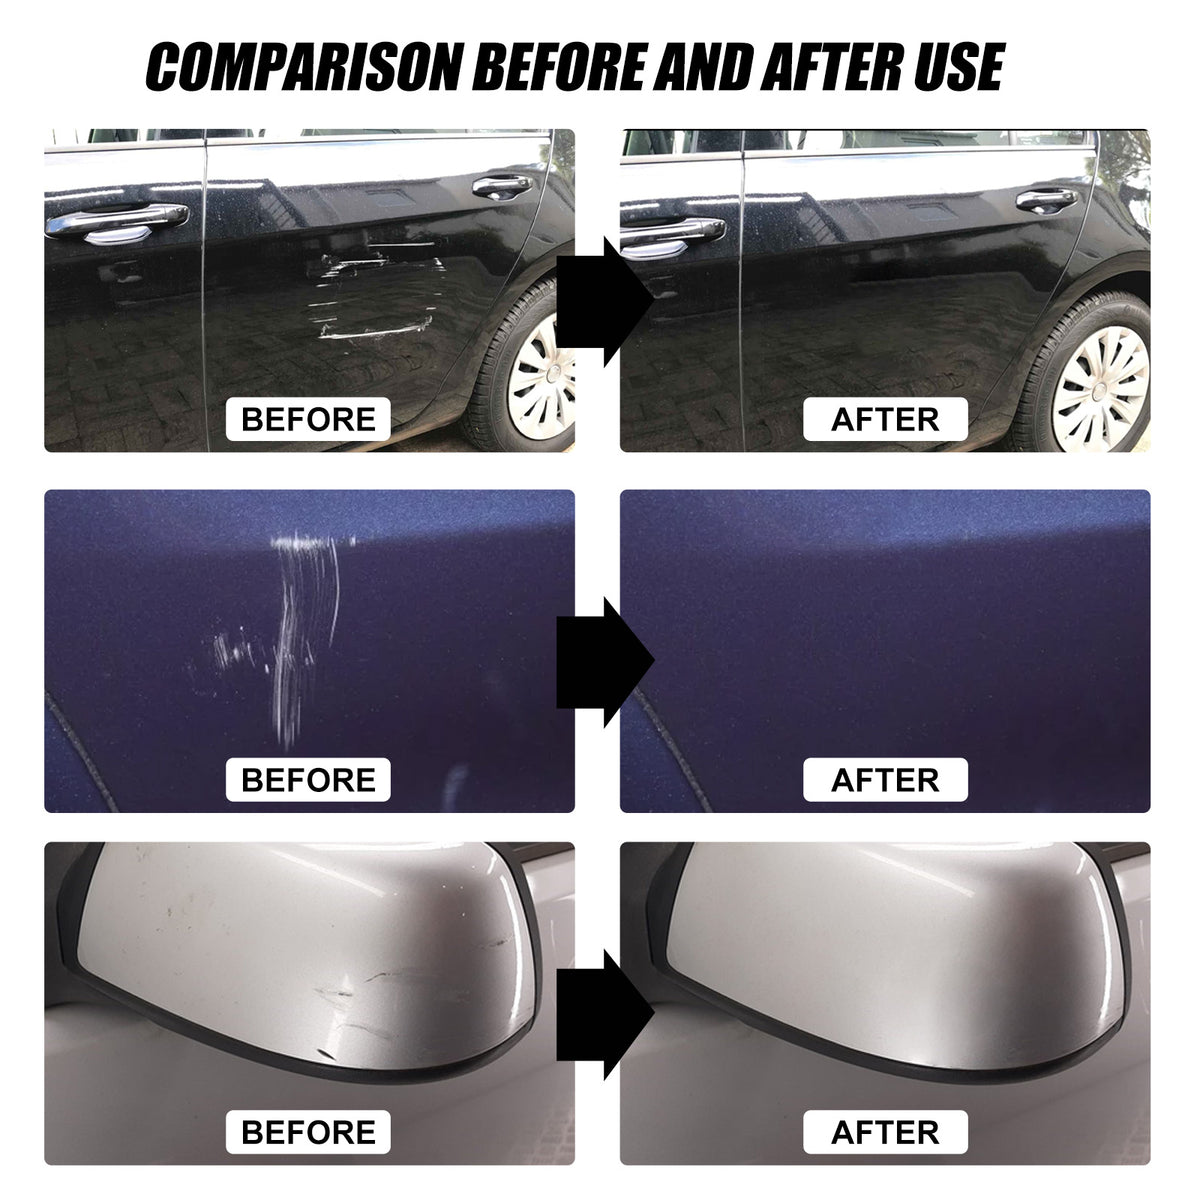
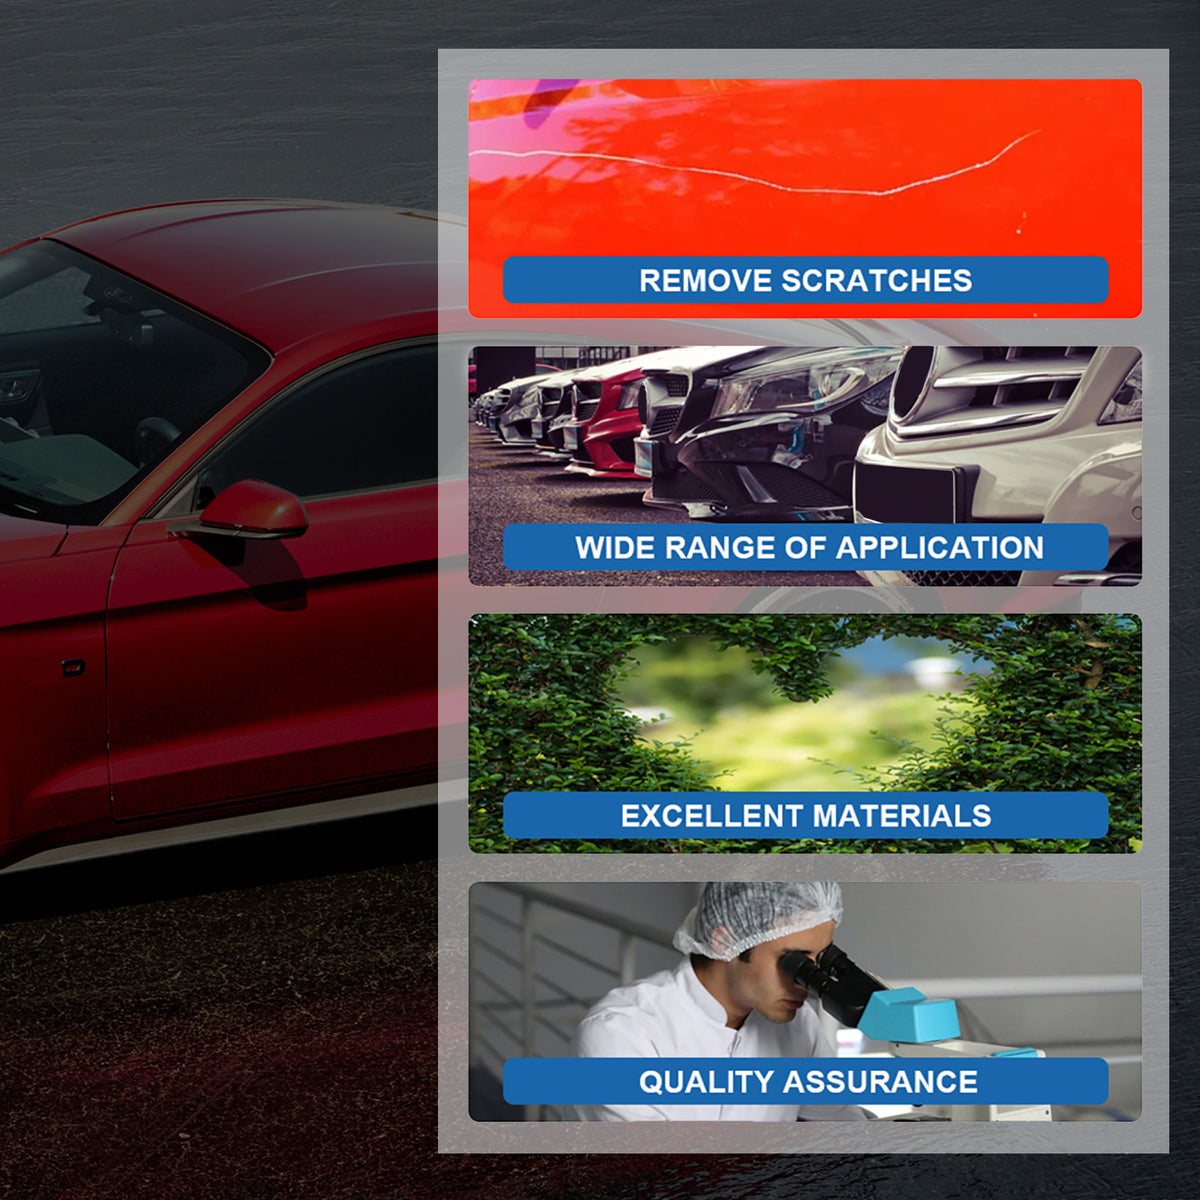
Bring a cleaner, more polished look back to painted panels marked by light scratches, fine lines, or door-handle nail marks.
Read the full descriptionBring a cleaner, more polished look back to painted panels marked by light scratches, fine lines, or door-handle nail marks.
Helps restore the appearance of light scratches and fine paint lines on car surfaces.
Turn distracting light scratches, door-handle nail marks, and fine paint lines into a cleaner, more polished-looking finish. Apply at home with the included sponge and cloth.

Use the wax for light scratches, fine paint lines, and nail marks around door handles. It is not a deep-scratch repair or a substitute for repainting exposed layers.

The packaging states scratch-removal wax with three effects of decontamination and light restoration. That makes it a sensible choice for a painted panel that looks marked or mildly dull.
The pointed nozzle places product where it is needed. The included sponge supports a controlled application instead of broad, wasteful spreading.
After treatment, the dedicated non-dust cloth supports a cleaner wipe-down and polished-looking finish around the repaired area.
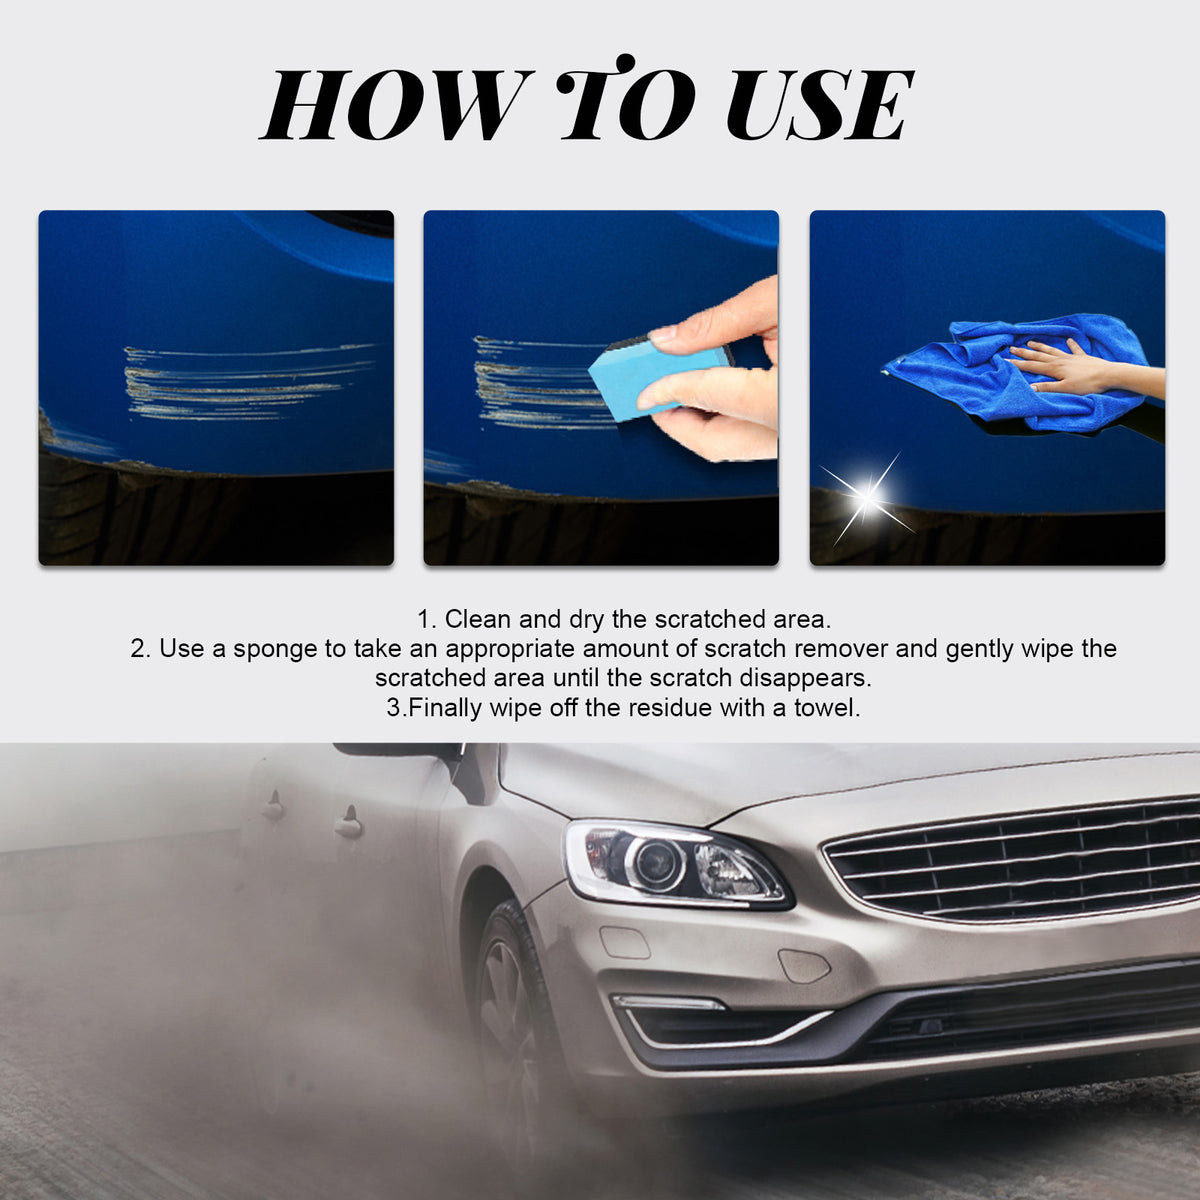
Wash, rinse, and dry the affected painted area. Remove loose grit and visible contamination before rubbing.
Check the scratch in good light. Continue only if it appears light and surface-level, then test an inconspicuous spot.
Use the pointed nozzle to dispense a small amount onto the included sponge. Work one affected section at a time.
Work the area gently and finish with the non-dust cloth. Inspect the panel before deciding whether another careful pass is appropriate.
Liquid wax in a pointed squeeze bottle
Specialized automotive packaging
For controlled surface application
For the final wipe and buff
One light scratch can dominate the appearance of an otherwise clean car. Door-handle nail marks, fine lines, and surface contamination catch the light every time you walk past.
Ignoring the mark leaves it visible, while aggressive correction is excessive for a light surface imperfection. This focused kit gives DIY owners a practical middle step. For more serious corrosion or oxidation elsewhere on the vehicle, explore a dedicated rust remover spray.
Wash and dry the panel first. Use the pointed nozzle to place a small amount on the sponge, work the affected area carefully, then finish with the non-dust cloth.
The treated panel looks cleaner and more polished, with light marks less visually prominent. The result is a calmer view of the car, without pretending that deep damage has disappeared.
| Focused DIY kit | Ignore the mark | Full correction | |
|---|---|---|---|
| Best for light surface marks | Yes | No | Partial |
| Includes applicators | Yes | No | Partial |
| Suitable for deep exposed damage | No | No | Yes |
| Focused at-home touch-up | Yes | No | No |
| Value for a small cosmetic issue | Strong | Low | Depends |
No. This kit is for light surface scratches, fine lines, nail marks, and contamination. If a scratch catches your fingernail or exposes another layer, stop and seek a deeper repair method.
It is intended for painted vehicle exterior panels, but finishes and previous repairs vary. Test a small inconspicuous area first, then inspect the appearance before treating a larger section.
Clean the panel first, use a small amount, and work gently with the sponge. A hidden-area test is the sensible first step, especially on a previously repaired or unusual finish.
Yes. Loose grit and contamination can create more fine marks during rubbing. Wash, rinse, and dry the area before applying the wax.
This is a focused scratch-removal wax kit with a pointed nozzle, sponge, and non-dust cloth. It suits light cosmetic marks when a full correction setup would be more than the panel needs.
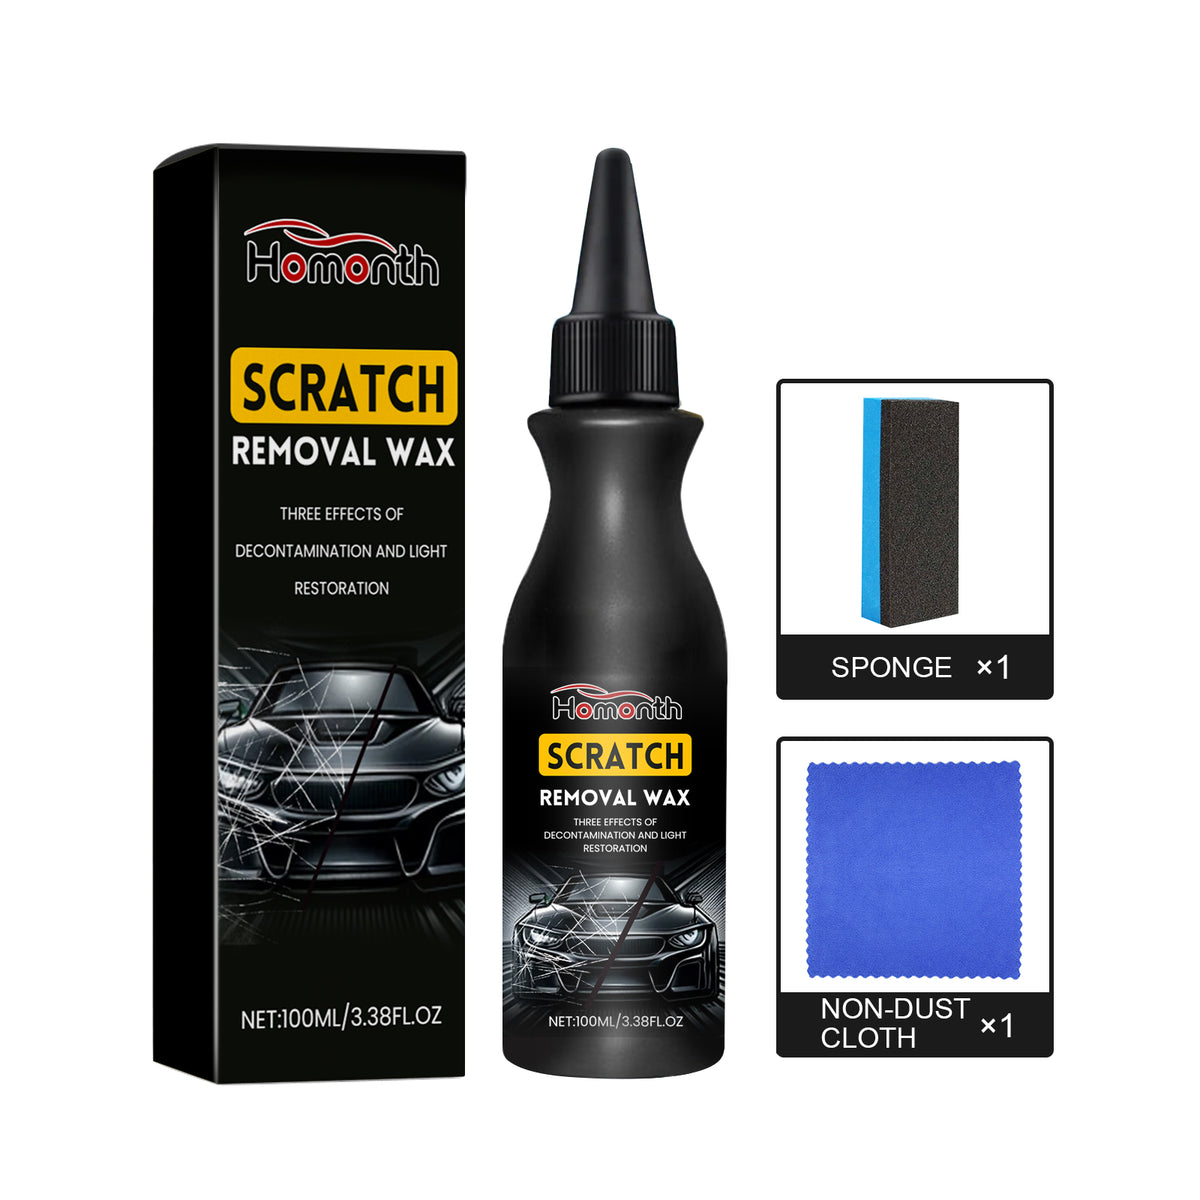
You receive the 100 ml scratch removal wax bottle, product box, one sponge, and one non-dust cloth.


 Car Scratch Remover for Light Paint Scratches and Marks