
$36.90
Free delivery · 7–14 days
Humidifier for Dry Skin — Rechargeable Nano Mist
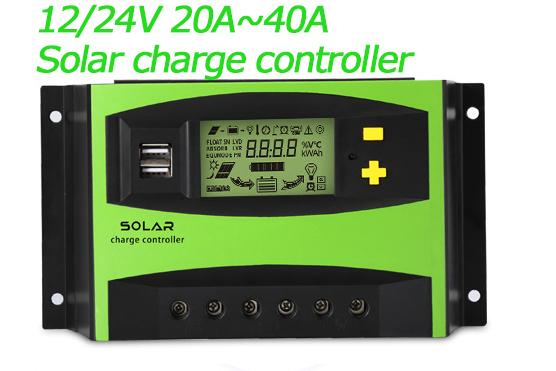
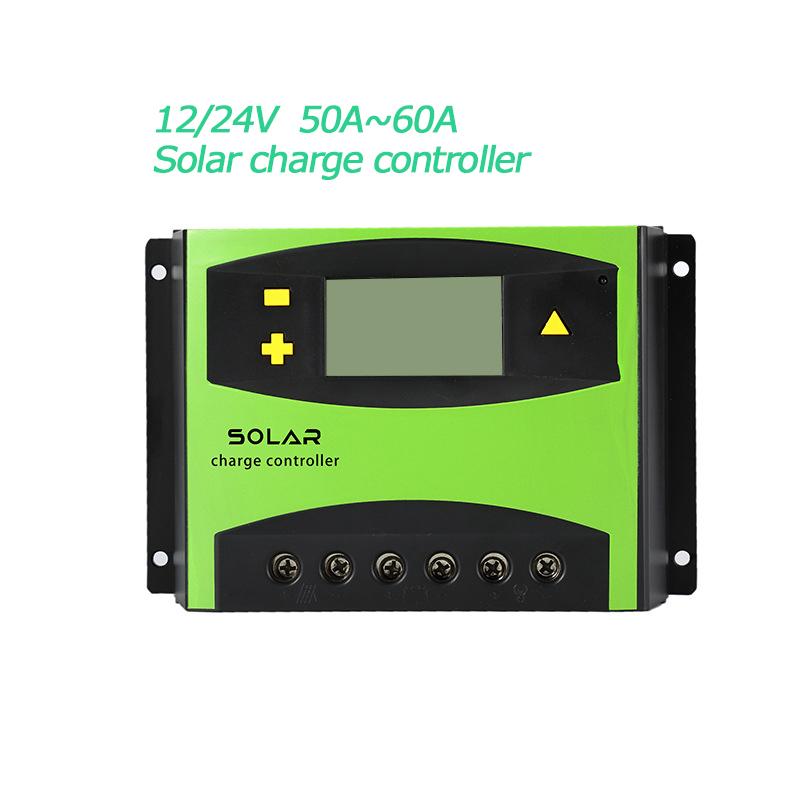
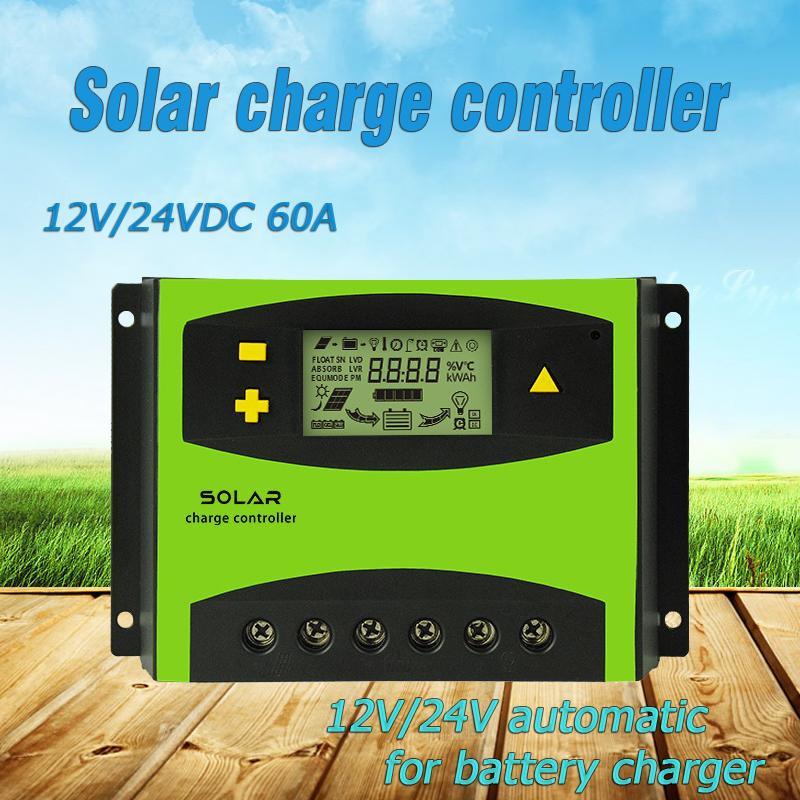
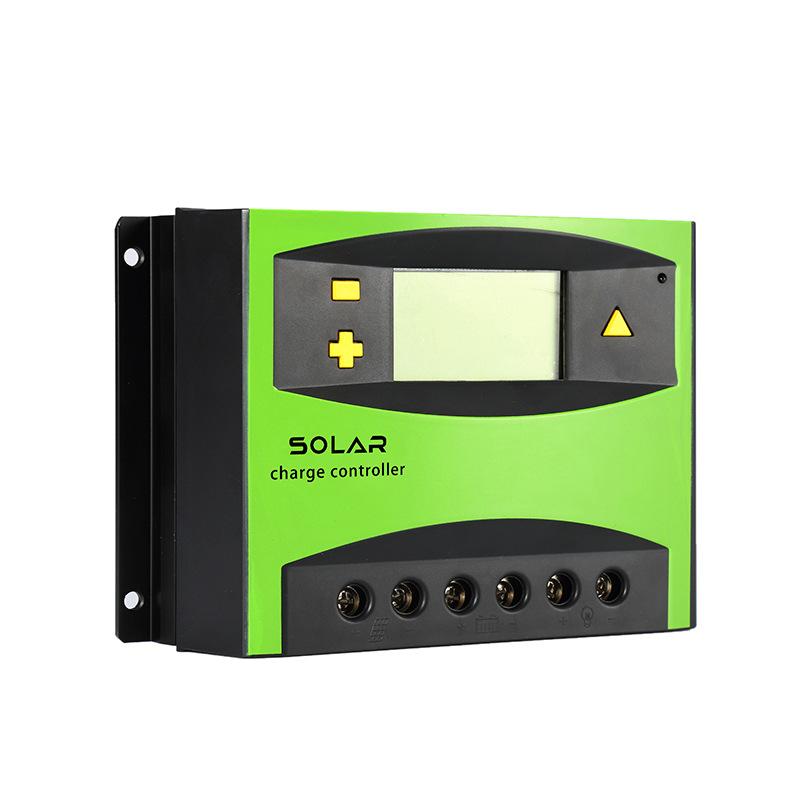
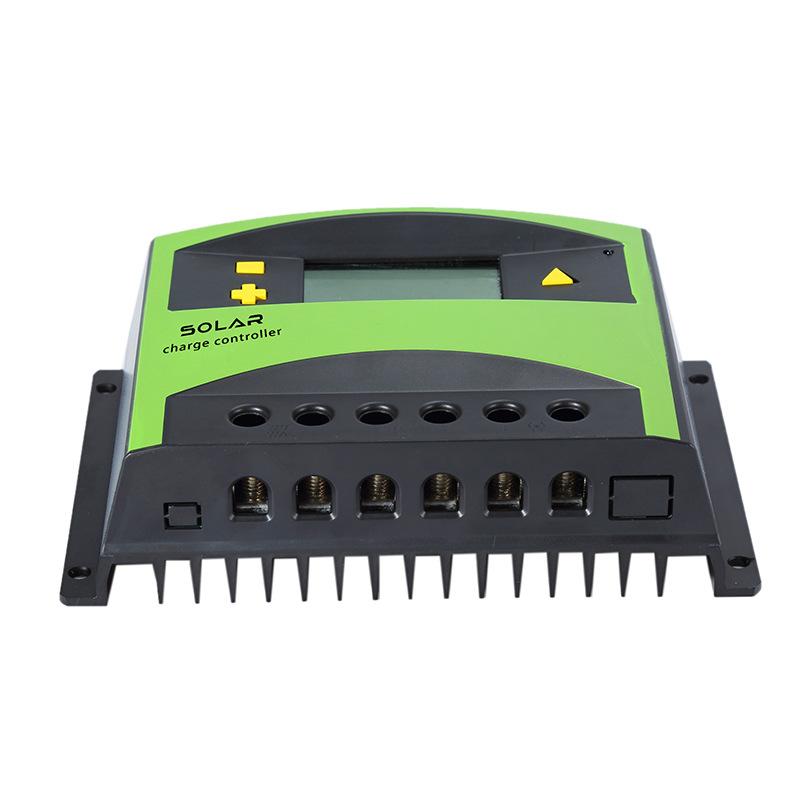
Regulate your solar panel output with absolute clarity. This auto-detecting 12V/24V charge controller puts a live LCD readout in front of you, runs dual USB outputs, and protects your battery bank…
Read the full descriptionRegulate your solar panel output with absolute clarity. This auto-detecting 12V/24V charge controller puts a live LCD readout in front of you, runs dual USB outputs, and protects your battery bank…
Intelligent 12/24V auto-detection solar charge controller with dual USB charging and multiple amperage options
Your panels feed raw, unregulated power straight into expensive batteries. This controller meters it perfectly — and shows you exactly what's happening on a glance-able LCD.

The recessed LCD shows real-time charge status, voltage and current, so you always know what your system is doing. No more decoding cryptic beeps or reaching for a multimeter.

Automatic voltage detection eliminates the manual setup errors that fry batteries. Wire it, power it, and the controller figures out your system voltage before the first charge pulse.

Two 5VDC USB ports let you charge phones, headlamps or GPS units straight off the controller — no extra adapter needed. Perfect for when every outlet counts.

Six recessed screw terminals make secure, vibration-resistant connections for panel, battery and load. They grip tightly even when the road gets rough — no intermittent charging.
Choose a dry, well-ventilated spot inside your electrical bay or power closet. Use the included bracket and screws to fix it flat against the wall.
Strip your battery cables, insert into the labeled screw terminals, and tighten firmly. The controller must read battery voltage before anything else.
With the battery already connected, wire your solar panel to the panel terminals. The auto-detection kicks in and the LCD lights up with system status.
If you have a direct DC load, wire it to the load terminals. The controller can manage low-voltage disconnect if needed.
Once powered, check the LCD: it should display the correct voltage, battery level, and charging indicators. Your bank is now protected.
Lime-green impact-resistant housing
Screws and brackets for wall panel mounting
Pre-sized for secure wire termination

You built your off-grid system carefully — panels, batteries, inverters. But the charge stage is a black box. No display, no feedback. You hope the batteries are charging correctly, but the first sign of trouble is a dead bank and a ruined trip.
Unregulated voltage spikes and chronic overcharge silently eat away at deep-cycle battery capacity. You won't see it until one morning the fridge is dead or the water pump won't start. The damage is permanent — and avoidable.
This controller brings the dark stage into the light. Auto-detection instantly matches 12V or 24V. The recessed LCD shows charging voltage, current, and system status. PWM regulation gently tops off your bank instead of punishing it. And while you're checking the readout, dual USB ports keep your phone charged.
| 20A | 30A | 40A | 50A | 60A | |
|---|---|---|---|---|---|
| Max Panel Power (12V) (W) | 240W | 360W | 480W | 600W | 720W |
| Max Panel Power (24V) (W) | 480W | 720W | 960W | 1200W | 1440W |
| Typical Battery Bank | 100-200Ah | 150-300Ah | 200-400Ah | 250-500Ah | 300-600Ah |
Always add 25% headroom above your panel's measured maximum current. Over-paneling can trip protection on peak days.
| This Controller | Generic No-Display | |
|---|---|---|
| Real-time LCD monitoring | — | |
| Auto voltage detection | — | |
| Dual USB output | — | |
| Amperage options | 20A–60A | Fixed 10A |
| Charge status at a glance | Yes | No |
| Vibration-proof terminals | Often loose | |
| Overcharge protection | Yes | Basic |
It auto-detects your system voltage on power-up. No dip switches, no meter — just wire the battery first, and the controller reads the voltage and sets itself.
This is a PWM controller. It's ideal when your panel array voltage closely matches your battery bank voltage (common in 12V and 24V off-grid setups). MPPT is only needed when you have a large voltage mismatch — for most small to mid-sized systems, PWM is more than enough and far more cost-effective.
Match the controller's amp rating to your panel array's maximum current. A 100W panel typically outputs about 5.5A at 18V, so a 20A controller handles a 200W 12V system. For a 400W array, size up to 40A. Choose a tier with at least 25% headroom to stay safe on hot, high-irradiance days.
Yes, the USB output runs independently of the battery charge circuit. You can top off devices at any time as long as the controller is powered.
The terminals accept 12 to 14 AWG stranded or solid copper wire securely. Use a ferrule for fine-stranded wire for the best connection.
Yes, it's compatible with sealed lead-acid, flooded, AGM and gel batteries. The PWM charging profile keeps all types safe from overcharge.



 Solar Charge Controller 30-60A with LCD & Dual USB