Solar Charge Controllers: MPPT Solar Panel Regulators
5 products
Solar charge controllers regulate energy moving from a solar panel to a rechargeable battery, helping match the charging process to the system voltage and battery setup. This guide compares controller types, sizing considerations, installation features, and related solar charging products so you can choose the right option for a 12V, 24V, or 48V system.
How to choose a solar charge controller
Start by matching the controller to your battery bank voltage: common options include solar charge controller 12v, 12v/24v, and 48v models. Next, calculate the solar array’s maximum charging current and choose a controller with enough amp capacity; a 12v 30a controller is suitable only when the panel array and battery system stay within its limits. Check the controller’s maximum solar input voltage as well as its rated charging current, since both affect compatibility. MPPT controllers are useful when panel voltage is higher than battery voltage or when you want efficient energy conversion. Also confirm the battery chemistry and charging settings supported by the controller before buying.
What are the solar charge controller types compared
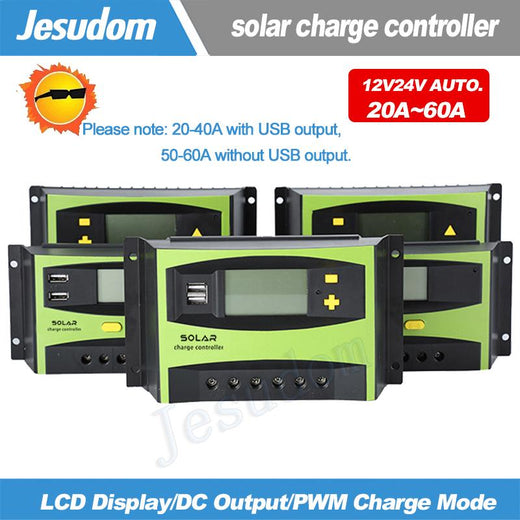
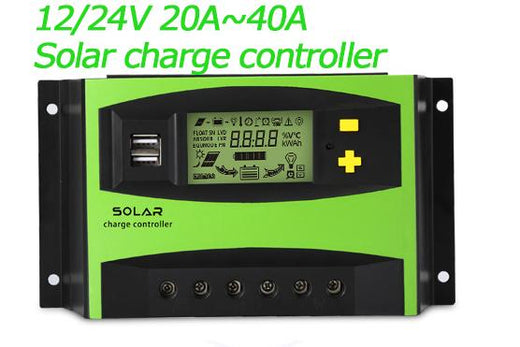
The main solar charge controller types are PWM and MPPT. PWM controllers are generally simpler and can suit smaller, straightforward systems where the solar panel voltage closely matches the battery bank voltage. MPPT controllers track the panel’s operating point and convert available solar energy for the battery, making them a practical choice for larger arrays, colder conditions, longer cable runs, or panels with a higher voltage than the battery. Compare rated amperage, solar input voltage, battery voltage options, display functions, and installation requirements rather than choosing only by price. A 30-60A controller with an LCD and dual USB ports may be useful when you want charge information and convenient low-power device charging in one unit.
What to look for in a solar charge controller
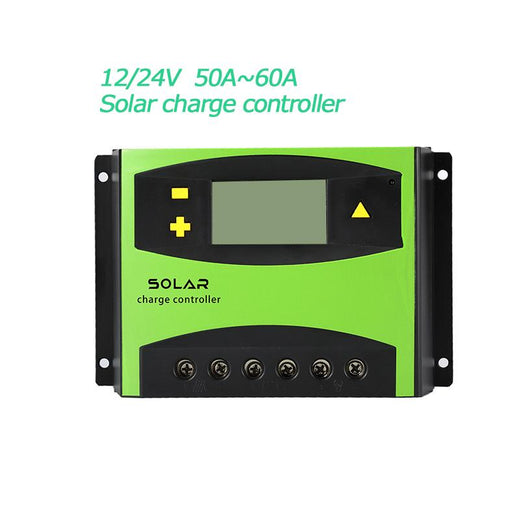
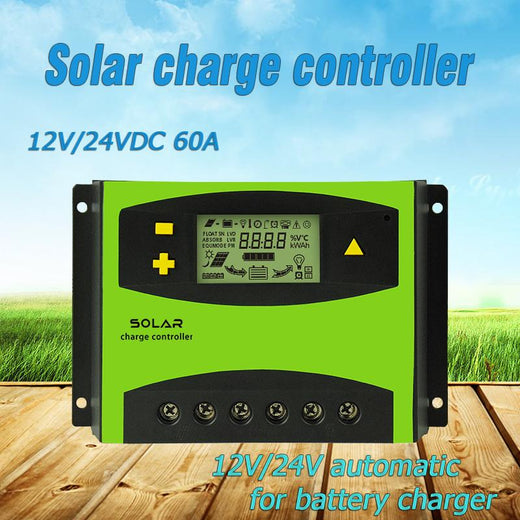
Look for clear voltage and current specifications, terminals that accept your cable size, and protection features such as overcharge, overload, short-circuit, and reverse-polarity protection when listed by the manufacturer. An LCD can show useful operating information, including system voltage, charging current, or battery status, but the exact readouts vary by model. If the controller will be installed outdoors, do not assume it is waterproof: check the stated enclosure or ingress rating and use a suitable covered location unless the product specifically permits outdoor exposure. USB ports are convenient for small devices, but they do not replace a properly sized inverter or battery charger for larger loads. Confirm whether temperature sensing or remote monitoring is supported if those features matter to your setup.
How to use a solar charge controller safely
Install the controller close enough to the battery to keep battery cables short and appropriately sized, while following the product’s wiring diagram. In many systems, connect the battery to the controller before connecting the solar panel, then verify the displayed system voltage and settings. Connect the panel with correct polarity and keep the solar input within the controller’s maximum voltage and current limits. Add fuses or disconnects where required by the product instructions and your local electrical rules. Keep ventilation openings clear, protect the unit from water unless it is specifically rated for exposure, and inspect terminals periodically for looseness or corrosion. Disconnecting or changing wiring under load can damage equipment, so follow the stated shutdown sequence.
What are common solar charge controller mistakes
A frequent mistake is sizing only by panel wattage while ignoring the controller’s maximum solar voltage and charging current. Another is connecting a 24V or 48V battery bank to a controller intended only for 12V systems, or selecting charging settings that do not match the battery manufacturer’s requirements. Do not connect a solar panel directly to a battery unless the panel and battery system are specifically designed for that arrangement; uncontrolled charging can damage the battery or create a safety risk. Avoid placing a non-waterproof controller in rain, and do not treat a USB output as a high-power charging source. Finally, check cable polarity carefully and secure connections before exposing the panel to sunlight.
Who are solar charge controllers suited for
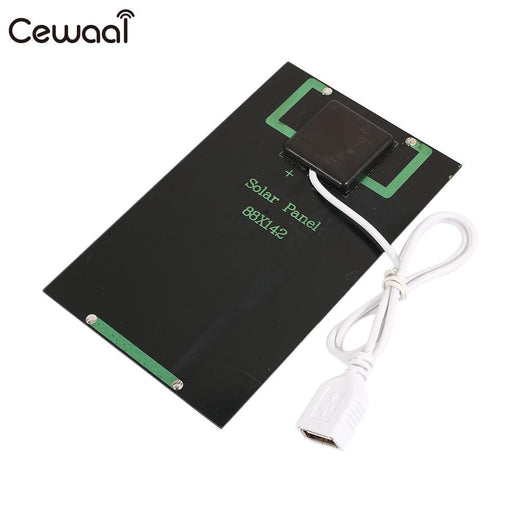
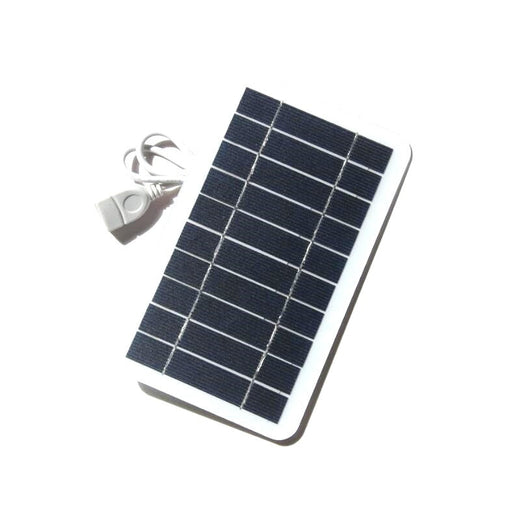
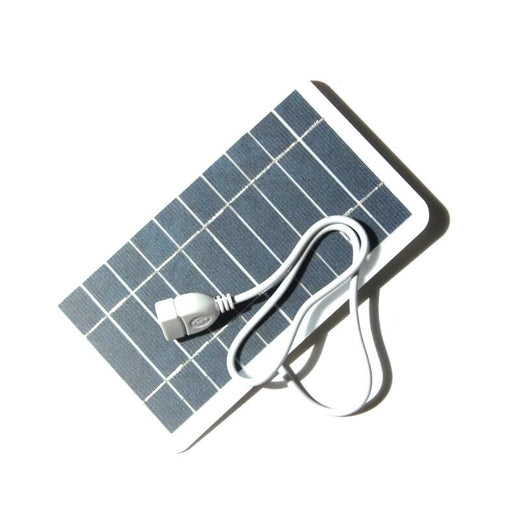
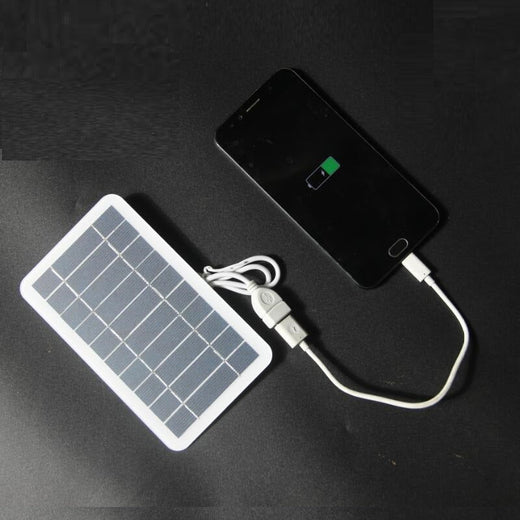
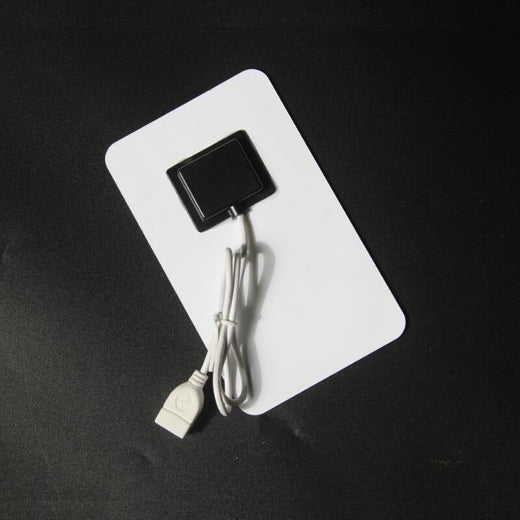
Solar charge controllers suit people building or maintaining off-grid battery systems for cabins, sheds, boats, vehicles, backup power, lighting, and small electronics. They are especially useful when a solar panel charges a separate rechargeable battery rather than powering a device directly. A controller with USB outputs may suit a compact setup for phones or other low-power devices, while a higher-current MPPT model is better matched to a larger battery bank and solar array. Products such as a 5W USB solar panel charger, solar phone charger panel, or solar power bank are different from a battery-system charge controller: they are portable charging products, not replacements for a controller in a wired solar-and-battery installation. A Joy-Con charging dock is also unrelated to solar battery regulation.
Frequently asked questions
What is the best solar charge controller?
The best solar charge controller depends on your battery voltage, solar array voltage, maximum charging current, and battery chemistry. For a larger or higher-voltage panel array, an MPPT controller may be a better fit; for a simple, closely matched small system, PWM may be sufficient. Choose a model whose voltage and amperage ratings exceed your system’s maximum requirements.
What are the disadvantages of using a solar charge controller?
A controller adds cost, wiring, installation space, and another device that must be sized and configured correctly. Some models also limit the solar input or charging current, and an unsuitable controller can reduce performance or fail to protect the battery properly. These drawbacks are generally weighed against the need for controlled battery charging in a solar system.
How do I pick a solar charge controller?
Identify the battery bank voltage first, such as 12V, 24V, or 48V. Then check the solar array’s maximum open-circuit voltage and expected charging current, select PWM or MPPT, and confirm support for your battery type. Also compare display options, USB outputs, protection features, enclosure suitability, and terminal size.
Do solar panels need a charge controller?
A solar panel normally needs a charge controller when it is charging a rechargeable battery bank. The controller regulates the charging process and helps keep the panel, battery, and system voltage compatible. Some portable charging products include their own internal control electronics, so check the product design before adding a separate controller.
Why are people getting rid of their solar panels?
People may remove solar panels because of relocation, roof replacement, system upgrades, damage, changing energy needs, or the cost and complexity of maintaining an older installation. Disposal or resale decisions vary by product condition and local rules. Removing panels does not mean solar power is unsuitable for every system; it highlights the importance of correct sizing, installation, and maintenance.
Can I charge my battery using a solar panel without a charge controller?
Do not connect a typical solar panel directly to a rechargeable battery unless the panel and battery system are specifically designed for direct charging. Without suitable regulation, the battery may be overcharged, damaged, or exposed to unsafe conditions. Use a correctly rated charge controller or a solar charging product with the required control electronics built in.