
$64.90
Free delivery · 7–14 days
Waterproof Sealant Glue for Fast Leak Repair at Home


Keep damaged metal in service instead of immediately replacing the whole part. EELHOE combines a two-part cold-weld compound, brush applicator, and protective case for workshop, automotive…
Read the full descriptionKeep damaged metal in service instead of immediately replacing the whole part. EELHOE combines a two-part cold-weld compound, brush applicator, and protective case for workshop, automotive…
Industrial-strength cold-weld metal repair with high-temperature resistance
Skip the hunt for a replacement part when a crack, gap, or leak appears. This two-part repair compound helps you rebuild damaged metal surfaces for workshop, automotive, plumbing, and household fixes.
Part A and Part B form the dedicated two-component repair system. Keep both tubes together and follow the supplied mixing instructions before applying the compound to prepared metal.

The packaging states heat resistance and industrial heat resistance. That makes this the relevant choice for appropriate metal repair environments around machinery, pipes, radiators, engines, and appliances.

The included brush applicator spreads the cream compound across cracks, gaps, and damaged metal surfaces without requiring a separate application tool.
The black protective storage case keeps the tubes and accessories together for workshop, automotive, plumbing, and household repair jobs.
Clean and dry the damaged metal. Remove oil, rust, loose debris, and unstable material so the compound meets a sound surface.
Set out Part A and Part B, then mix them according to the supplied product directions before application.
Use the included brush applicator to work the compound across the crack, gap, hole, or damaged section.
Keep the repaired area untouched for the stated curing period. Inspect it before testing or returning the part to service.
First component of the two-part compound
Second component of the two-part compound
Brush applicator for controlled spreading
Keeps the compact repair setup together
Protective outer presentation
A cracked housing, leaking joint, or broken component can halt an otherwise simple job. The damaged part sits unused while downtime grows and a replacement search begins.
Tape and ordinary glue are not purpose-built for every metal repair. This dedicated compound gives DIY repairers and technicians a practical repair-first option for suitable cracks, gaps, and damaged surfaces.
Part A, Part B, the brush applicator, and the black storage case arrive together. Prepare the metal, mix the components according to the directions, then apply the compound with control.
Keep the compact setup in a workshop, vehicle, or maintenance cupboard. When the next metal failure appears, the repair option is already organized and within reach.
| EELHOE Kit | Tape | Generic Glue | Replace Part | |
|---|---|---|---|---|
| Dedicated metal repair focus | Yes | No | No | No |
| Two-part compound | Yes | No | No | No |
| Brush applicator included | Yes | No | No | No |
| Protective storage case | Yes | No | No | No |
| Requires buying a whole replacement | No | No | No | Yes |
No adhesive should be treated as universal. EELHOE is a dedicated metal repair compound for suitable metal surfaces, but compatibility depends on the metal, damage, surface condition, and load. Clean and dry a small area first, then follow the package directions.
Use both components according to the supplied instructions. Prepare the surface before mixing, combine the parts as directed, and apply the working compound with the included brush.
Keep the repair untouched for the curing period stated on the product directions. Do not test, load, heat, or return the part to service before that period is complete.
The packaging claims heat resistance and industrial heat resistance, so the compound suits appropriate metal repair environments around pipes, engines, radiators, machinery, and appliances. Shut down and cool equipment as needed, and follow the repair directions before restoring service.
Do not use it as a casual fix on a pressurized pipe or tank. Shut down and depressurize the system safely, and use qualified judgment for repairs where failure could cause injury or serious damage.
Remove oil, rust, loose debris, and unstable material. The area must be clean and dry so the compound can meet a sound metal surface.


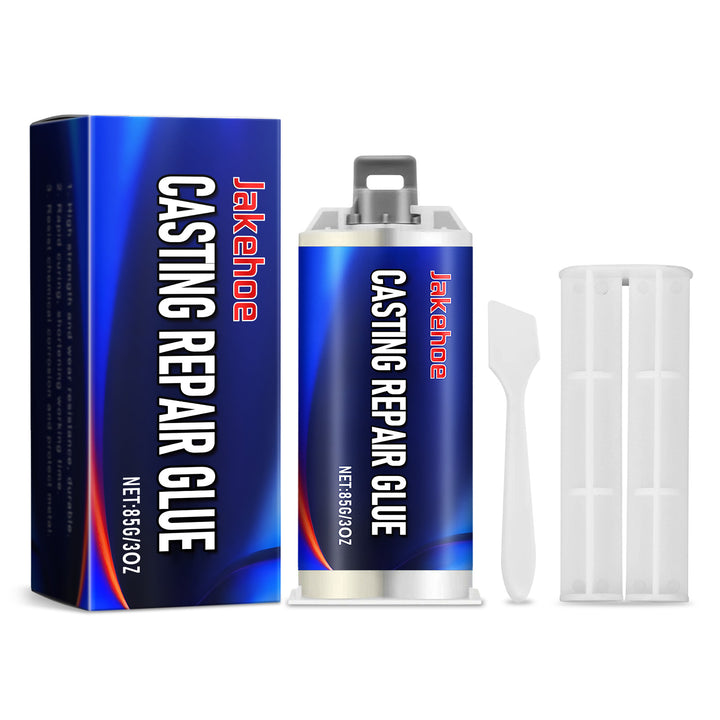

 Metal Repair Glue With Industrial Heat Resistance Kit