
$44.90
Free delivery · 7–14 days
Metal Repair Glue for Cracks, Leaks and High-Heat Repairs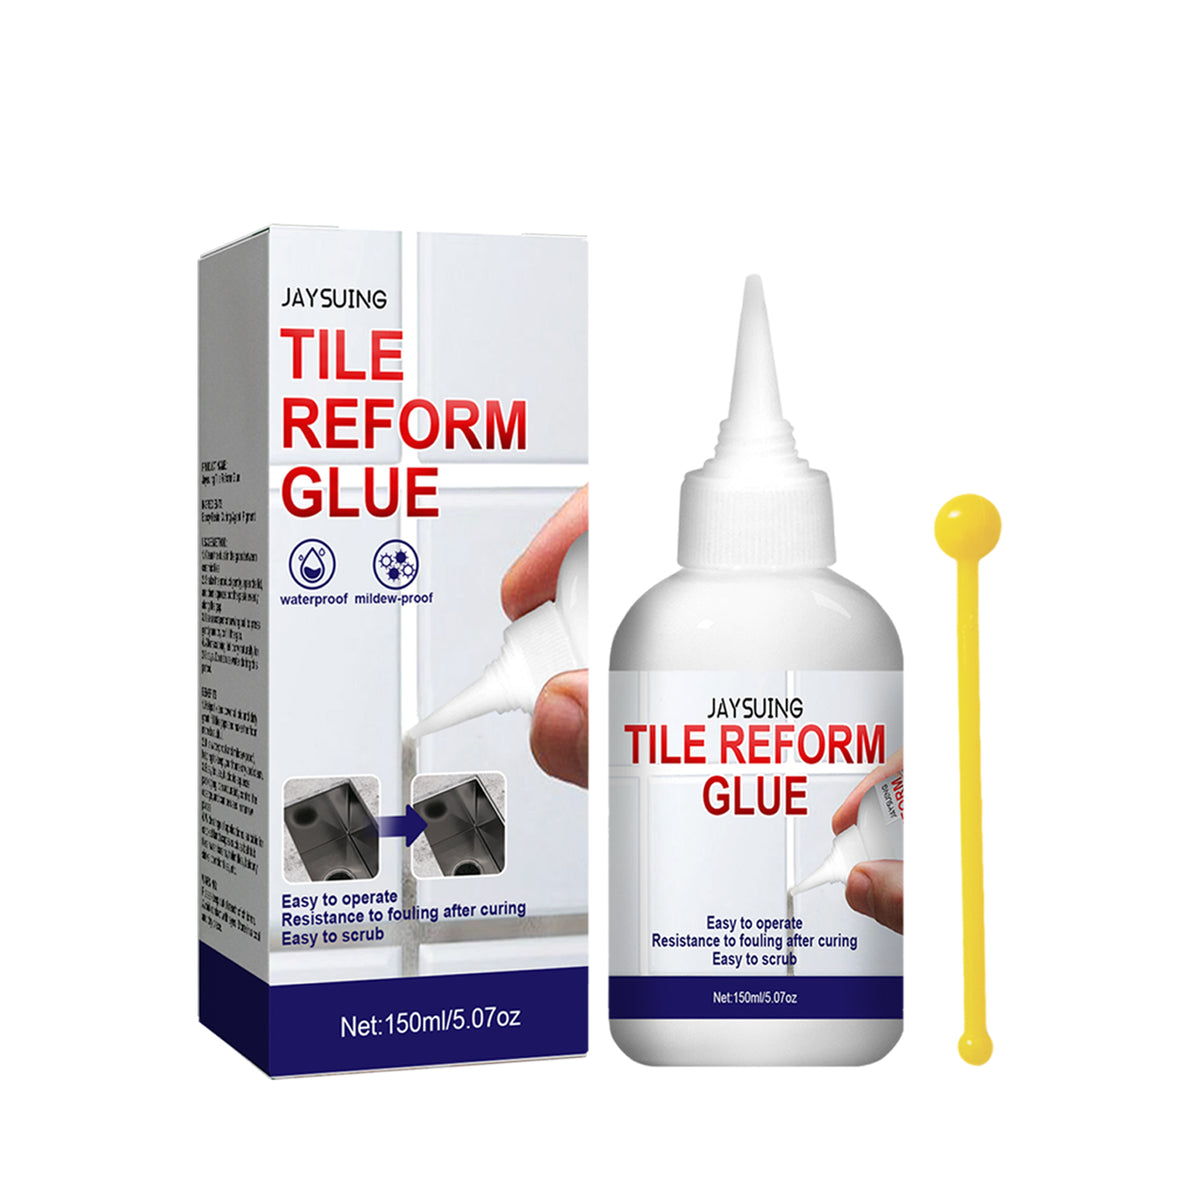
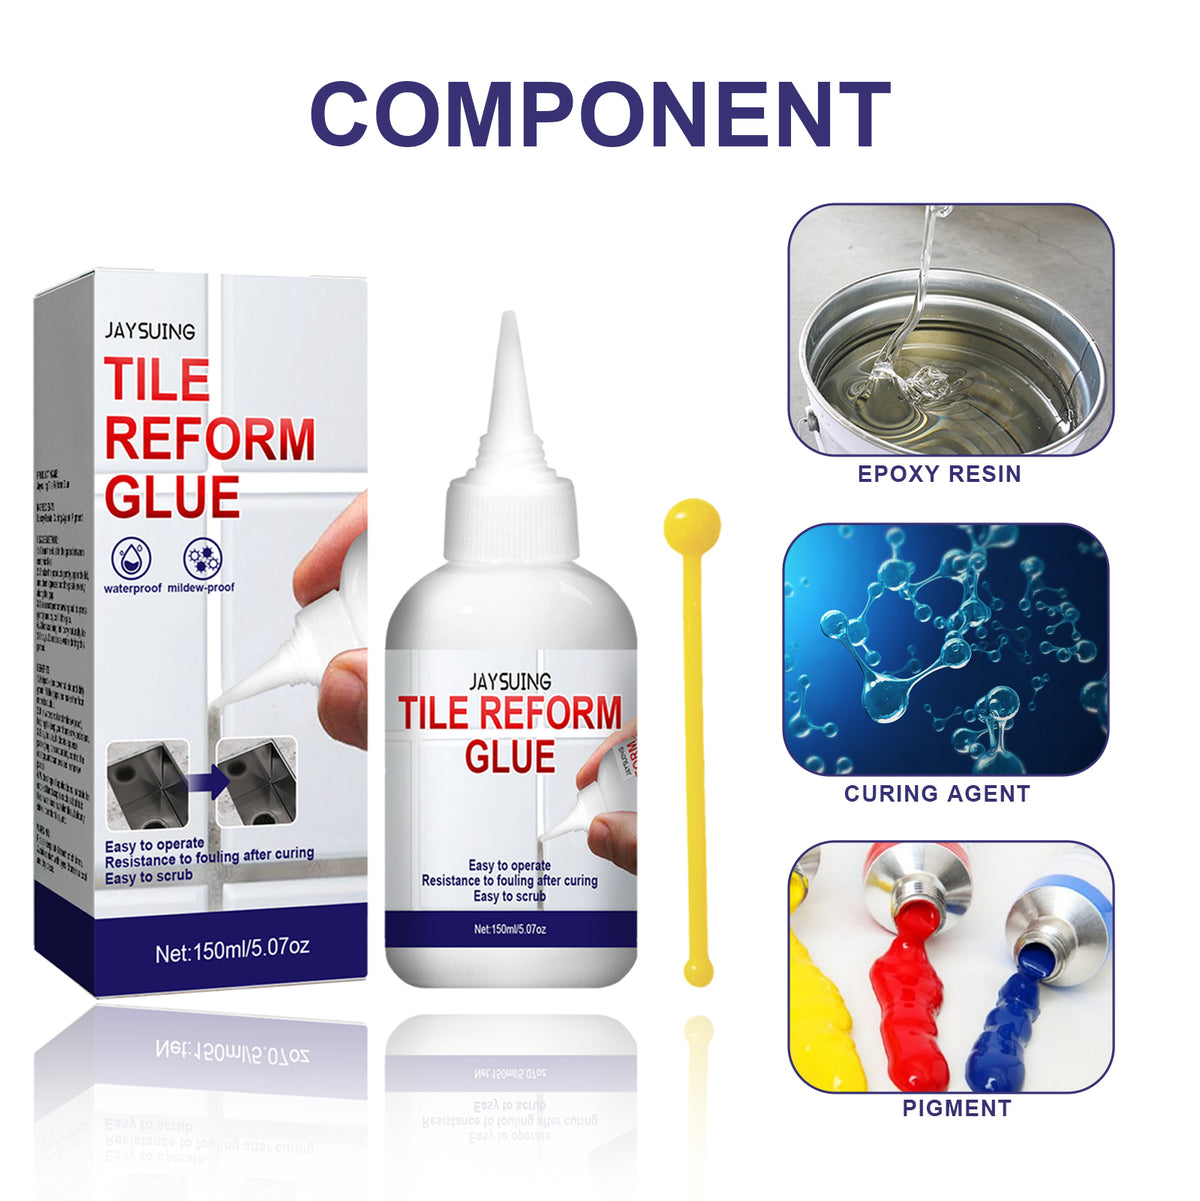
Cleaner-looking tile seams bring a neglected bathroom or kitchen back into order. This 150ml tile gap filler combines a pointed nozzle with a yellow smoothing tool for focused DIY repairs around…
Read the full descriptionCleaner-looking tile seams bring a neglected bathroom or kitchen back into order. This 150ml tile gap filler combines a pointed nozzle with a yellow smoothing tool for focused DIY repairs around…
Waterproof, mildew-resistant tile gap repair that is easy to apply and scrub clean after curing
Dirty, open tile joints make a bathroom or kitchen feel neglected. Refresh worn gaps with a waterproof, mildew-resistant filler that applies neatly and scrubs clean after curing.

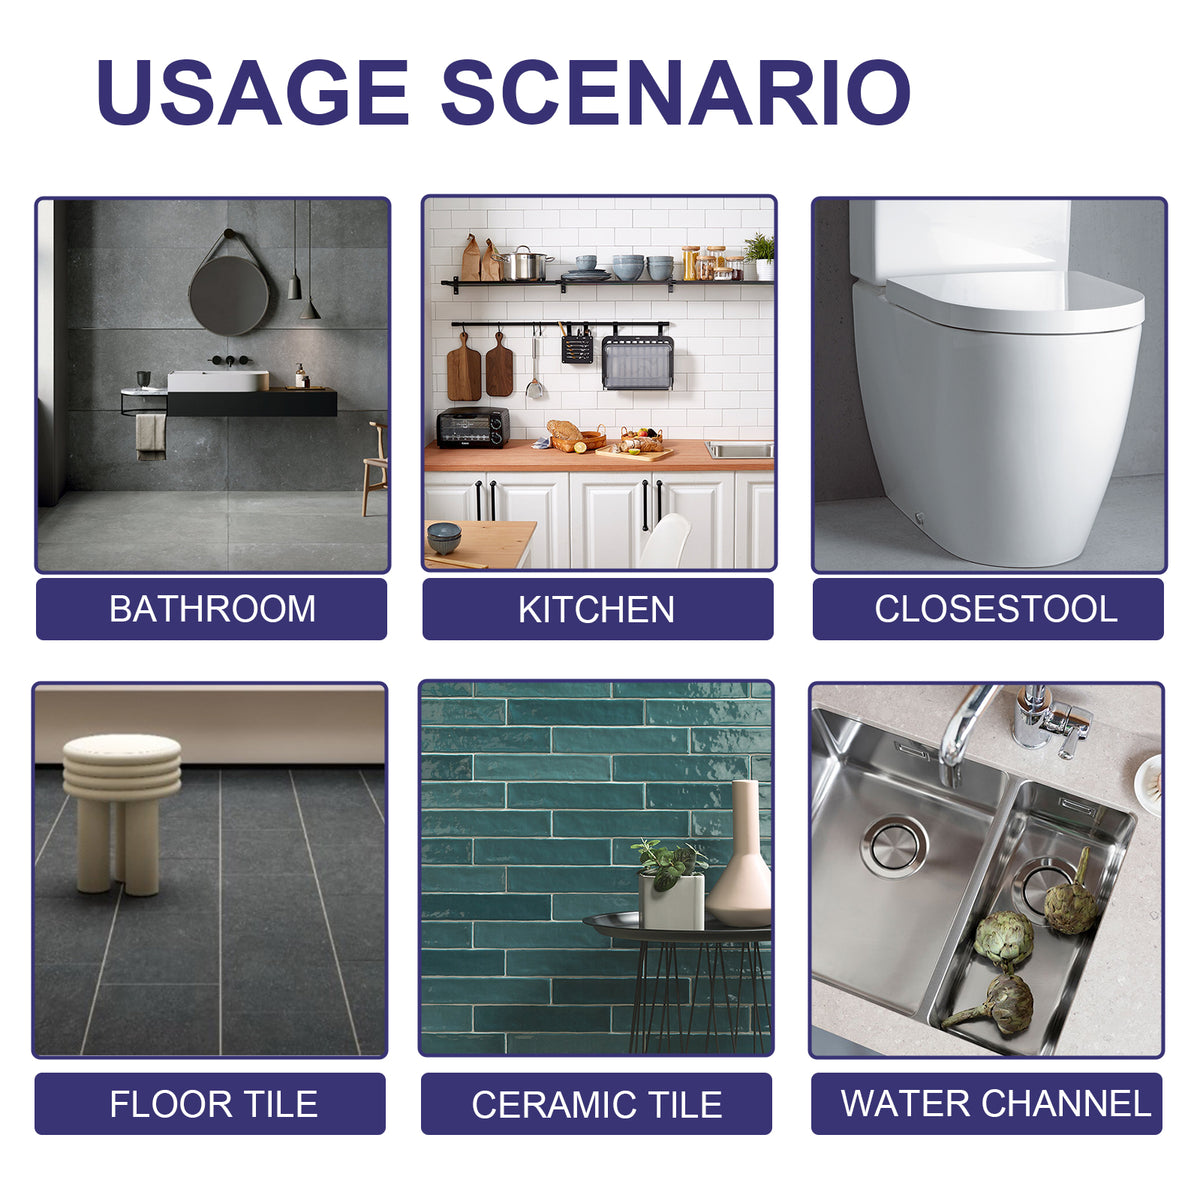
The waterproof and mildewproof formula suits tile joints exposed to bathroom and kitchen moisture, including areas around sinks, toilets, tubs, and water channels.
The pointed applicator directs filler into narrow or uneven joints rather than spreading it broadly across the tile surface.
The included yellow tool levels the applied filler for a more consistent-looking seam before curing. It gives first-time DIY users a dedicated edge instead of requiring an improvised household tool.

The cured surface resists fouling and is easy to scrub, helping refreshed seams stay easier to maintain after the repair.
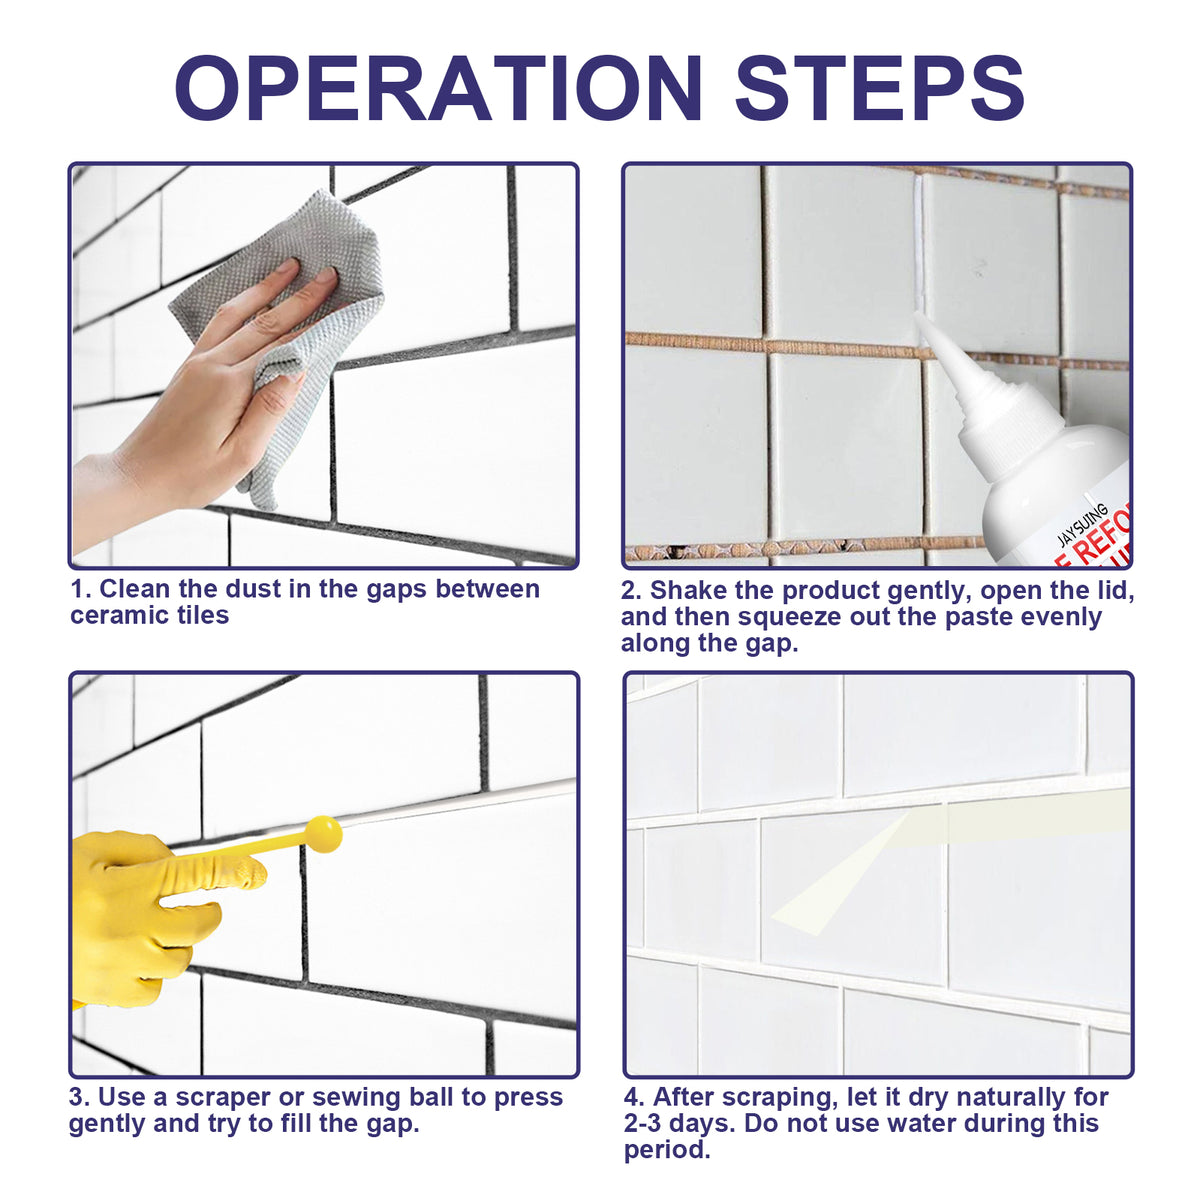
Remove loose dirt and surface fouling, then let the joint dry thoroughly before applying filler.
Squeeze the bottle gently and guide the pointed nozzle along the prepared joint. Keep the bead sized to the gap.
Run the yellow tool along the fresh filler to level the seam. Follow the product curing instructions before washing or scrubbing.
150ml / 5.07oz white filler with pointed nozzle
Purpose-designed product packaging
Application and finishing edge
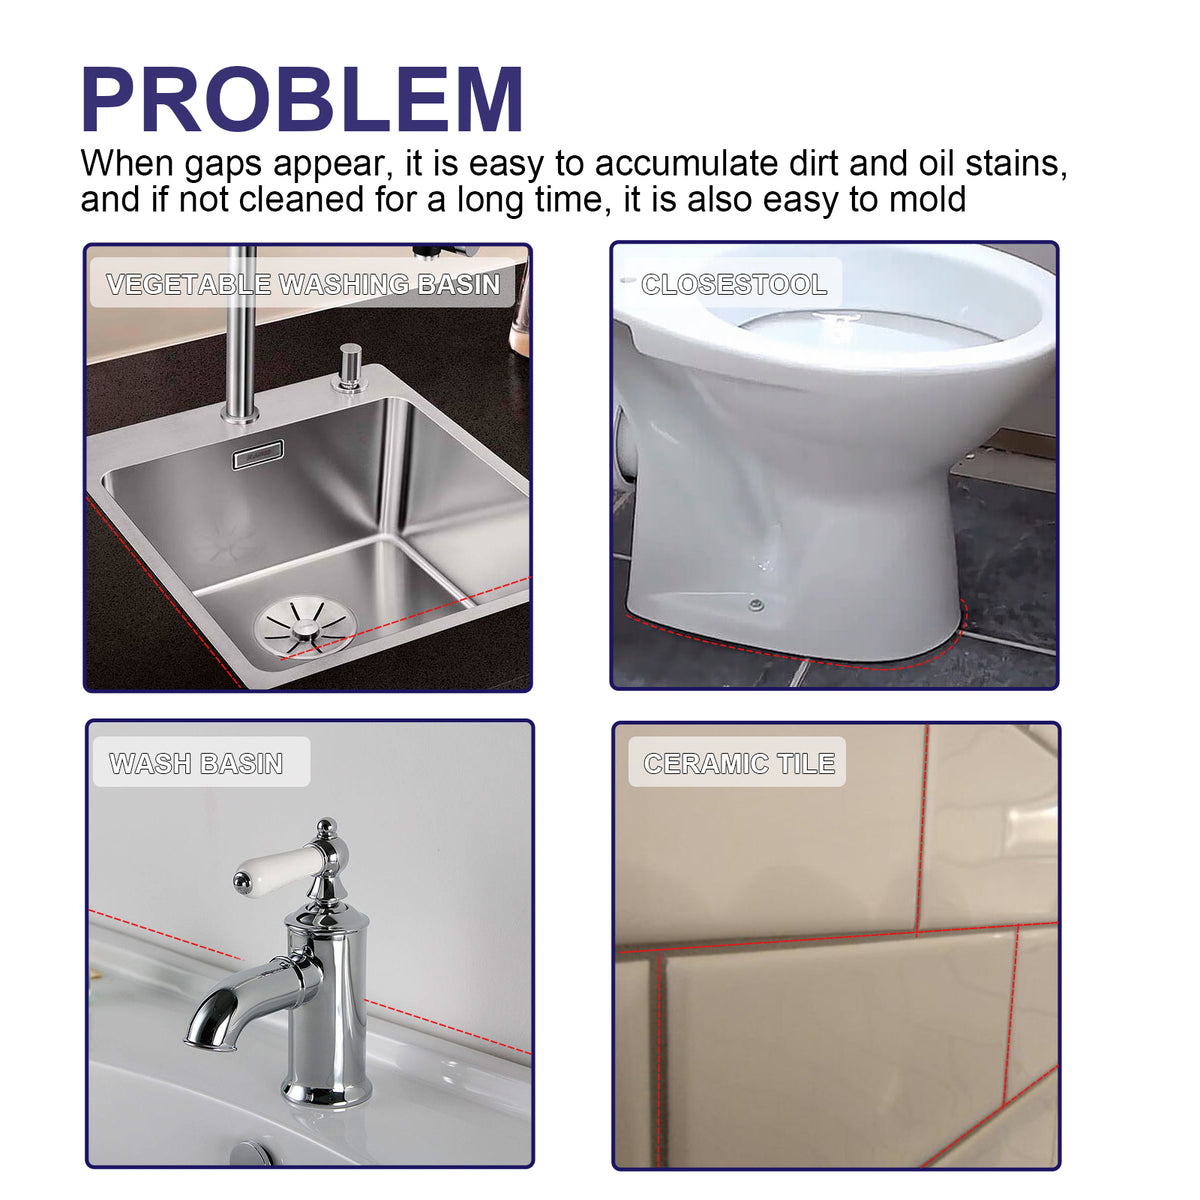
Dark, dirty, uneven joints collect moisture, oil, and everyday grime around sinks, toilets, tubs, and kitchen tiles. Repeated scrubbing can clean the surface, but it cannot refill a worn or open gap.
The pointed nozzle puts the filler where it belongs, while the yellow smoothing tool levels the fresh line. The setup keeps a small DIY repair focused instead of turning it into a full-room project.
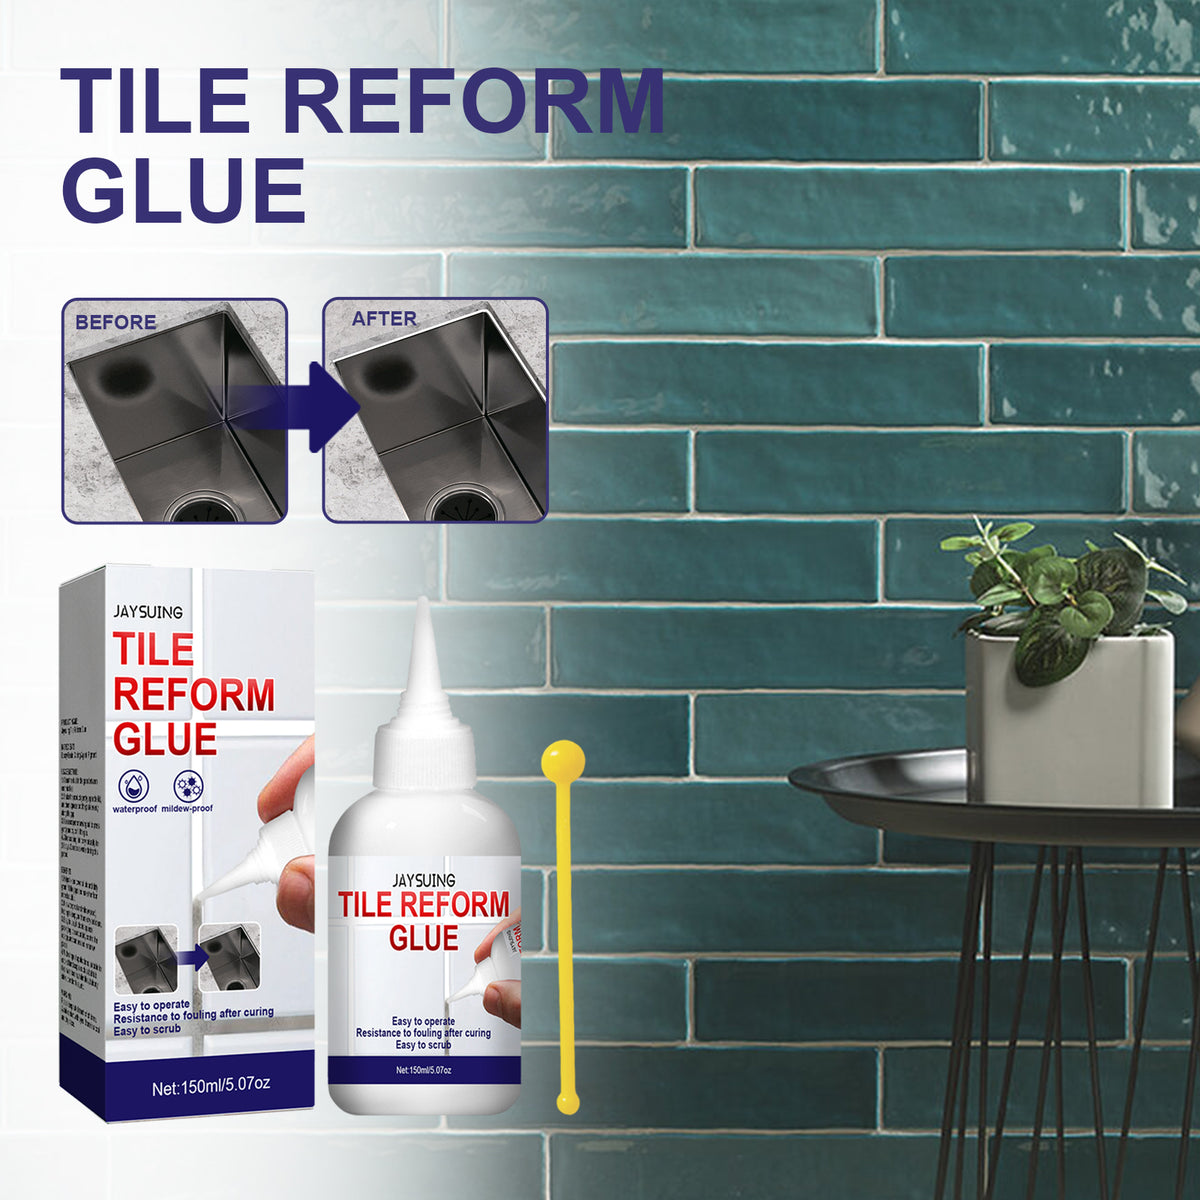
After curing, the refreshed seam looks lighter and more uniform. Its waterproof, mildew-resistant surface is easy to scrub, so the repaired line fits naturally into regular bathroom and kitchen upkeep.
| Tile Gap Filler | Repeated Scrubbing | Professional Regrouting | |
|---|---|---|---|
| Addresses an open-looking gap | Yes | No | Yes |
| Targets a small repair area | Yes | Yes | Partial |
| Pointed application control | Yes | No | Partial |
| Smoothing tool included | Yes | No | No |
| Waterproof and mildew-resistant filler | Yes | No | Partial |
| Best suited to minor touch-ups | Yes | No | Partial |
Yes. It is intended for household tile and fixture areas including bathrooms, kitchens, sinks, toilets, bathtubs, balconies, ceramic tiles, floors, and water channels. Test an inconspicuous area first, especially on an unusual or delicate surface.
The pointed nozzle directs filler into narrow or uneven joints with more control than pouring or spreading from a wide opening. Apply a measured line and use the yellow tool to level it.
The cured filler is waterproof and mildew-resistant. It also resists fouling, making it suited to joints exposed to moisture and everyday grime.
After applying a controlled line, guide the yellow edge along the fresh filler to level the seam and remove excess from the surrounding tile. Work in a small section at a time.
Yes. The cured surface is presented as easy to scrub. Do not wash or scrub the area before the filler has cured according to the product instructions.
No. This is for targeted touch-ups on dirty, worn, or open-looking joints with a sound surface. Severely loose or damaged grout needs proper removal and repair rather than a surface filler.



 Tile Gap Filler for Waterproof, Mildew-Resistant Repair