
$64.90
Free delivery · 7–14 days
Mold Stain Cleaner Gel for Tile, Grout & Bathroom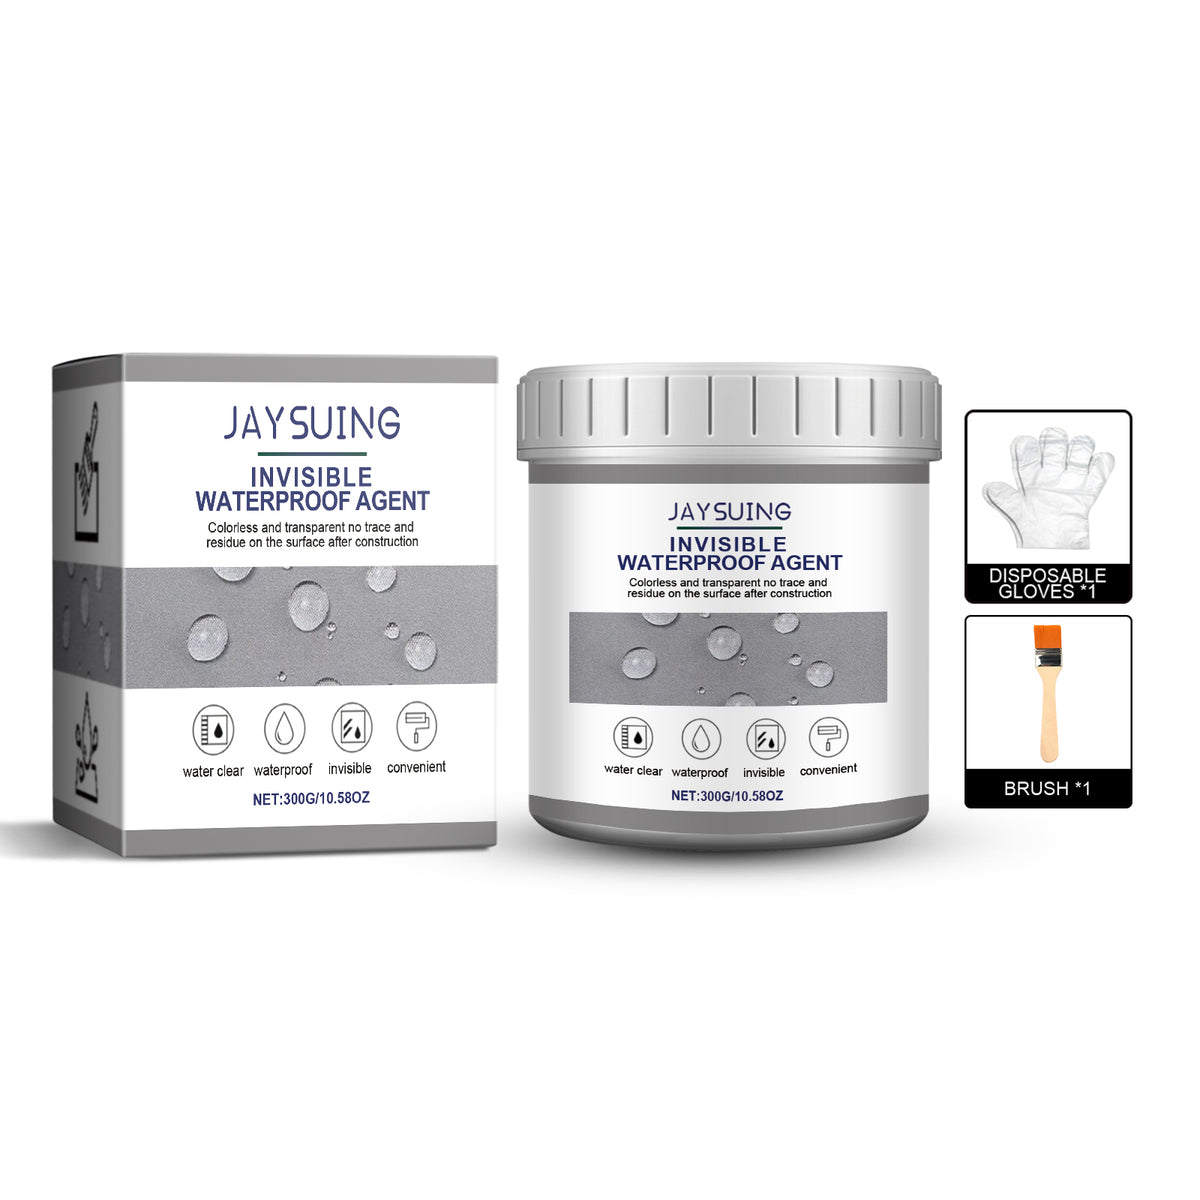
Take control of small moisture problems before they become a daily nuisance. This brush-on waterproof sealant kit includes the compound, gloves, and brush for focused bathroom, tile, glass, window…
Read the full descriptionTake control of small moisture problems before they become a daily nuisance. This brush-on waterproof sealant kit includes the compound, gloves, and brush for focused bathroom, tile, glass, window…
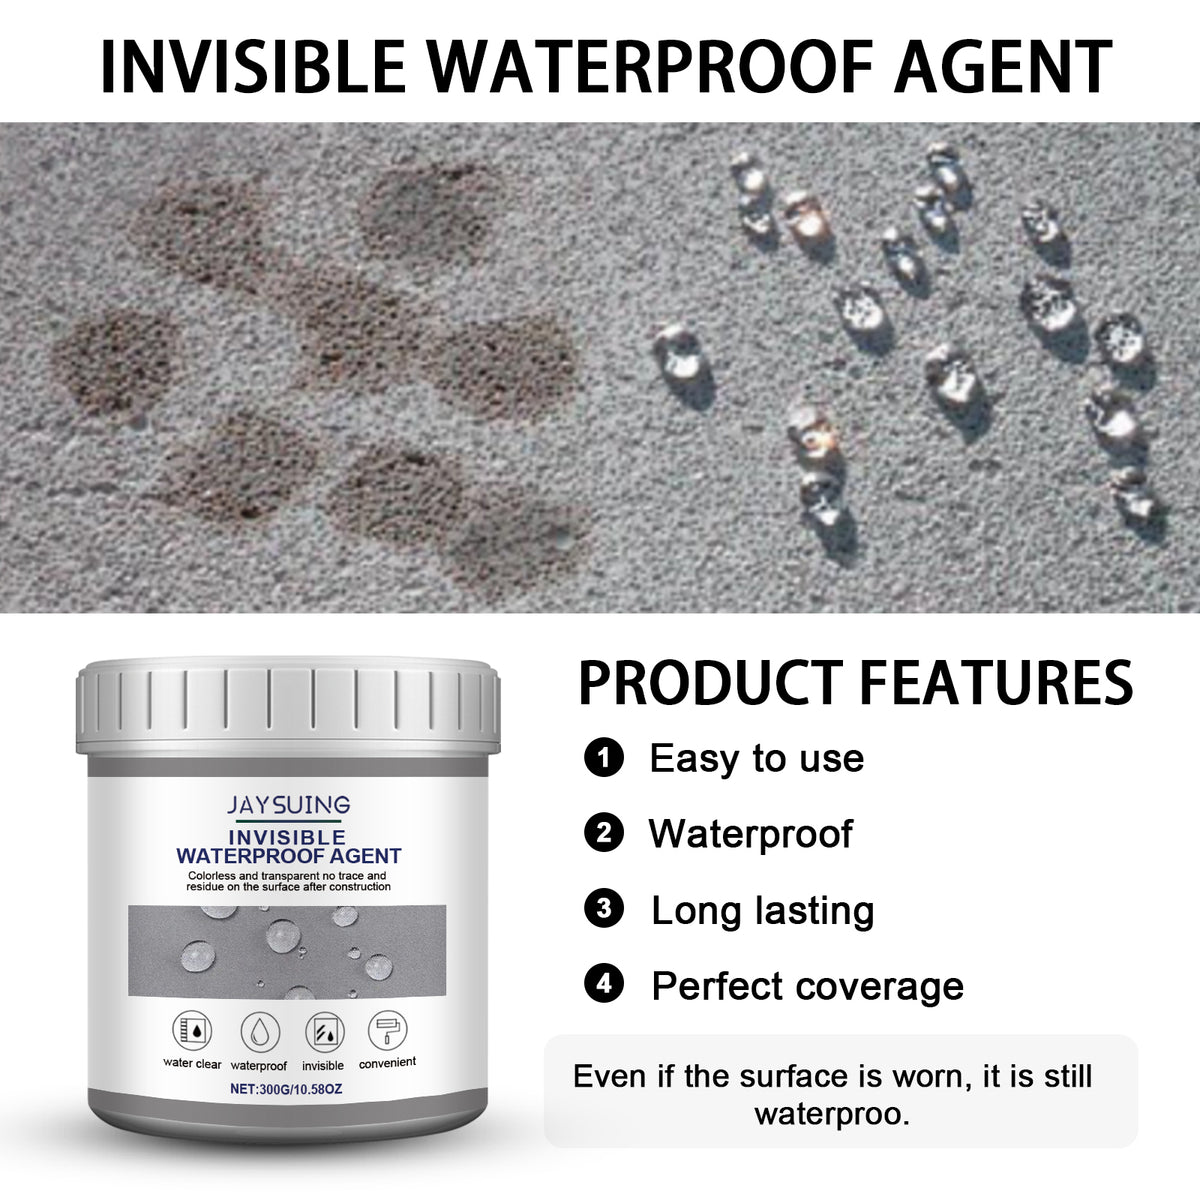
Creates an invisible waterproof barrier that helps seal worn and leaking surfaces.
Stop watching moisture seep through bathroom joints, tile, glass, and window surfaces. Brush on a practical waterproofing layer and get visible water beading instead.

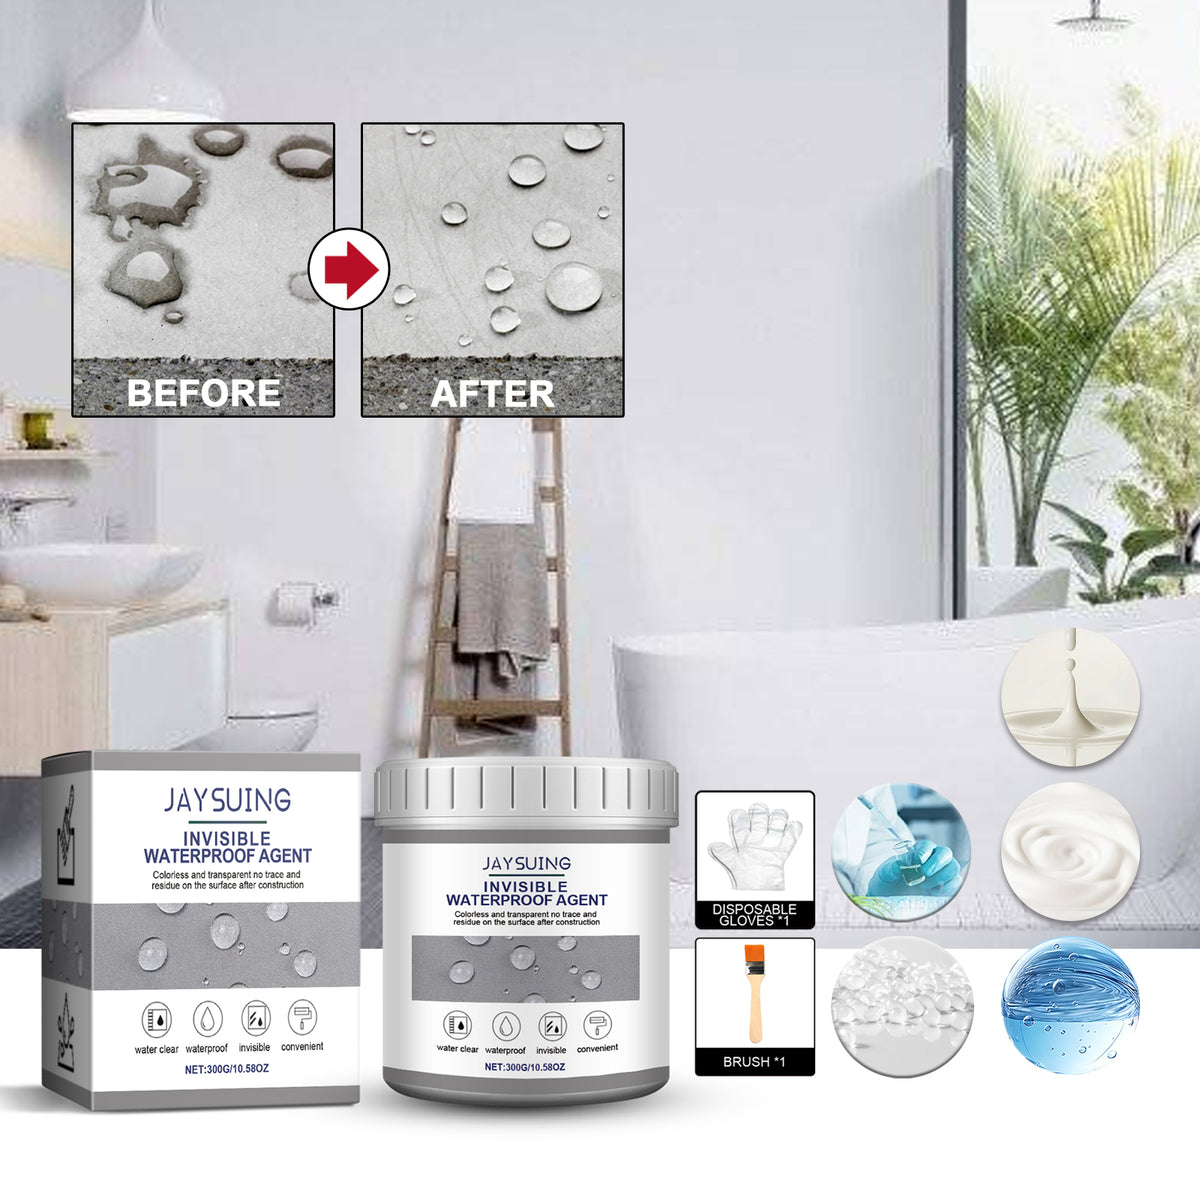
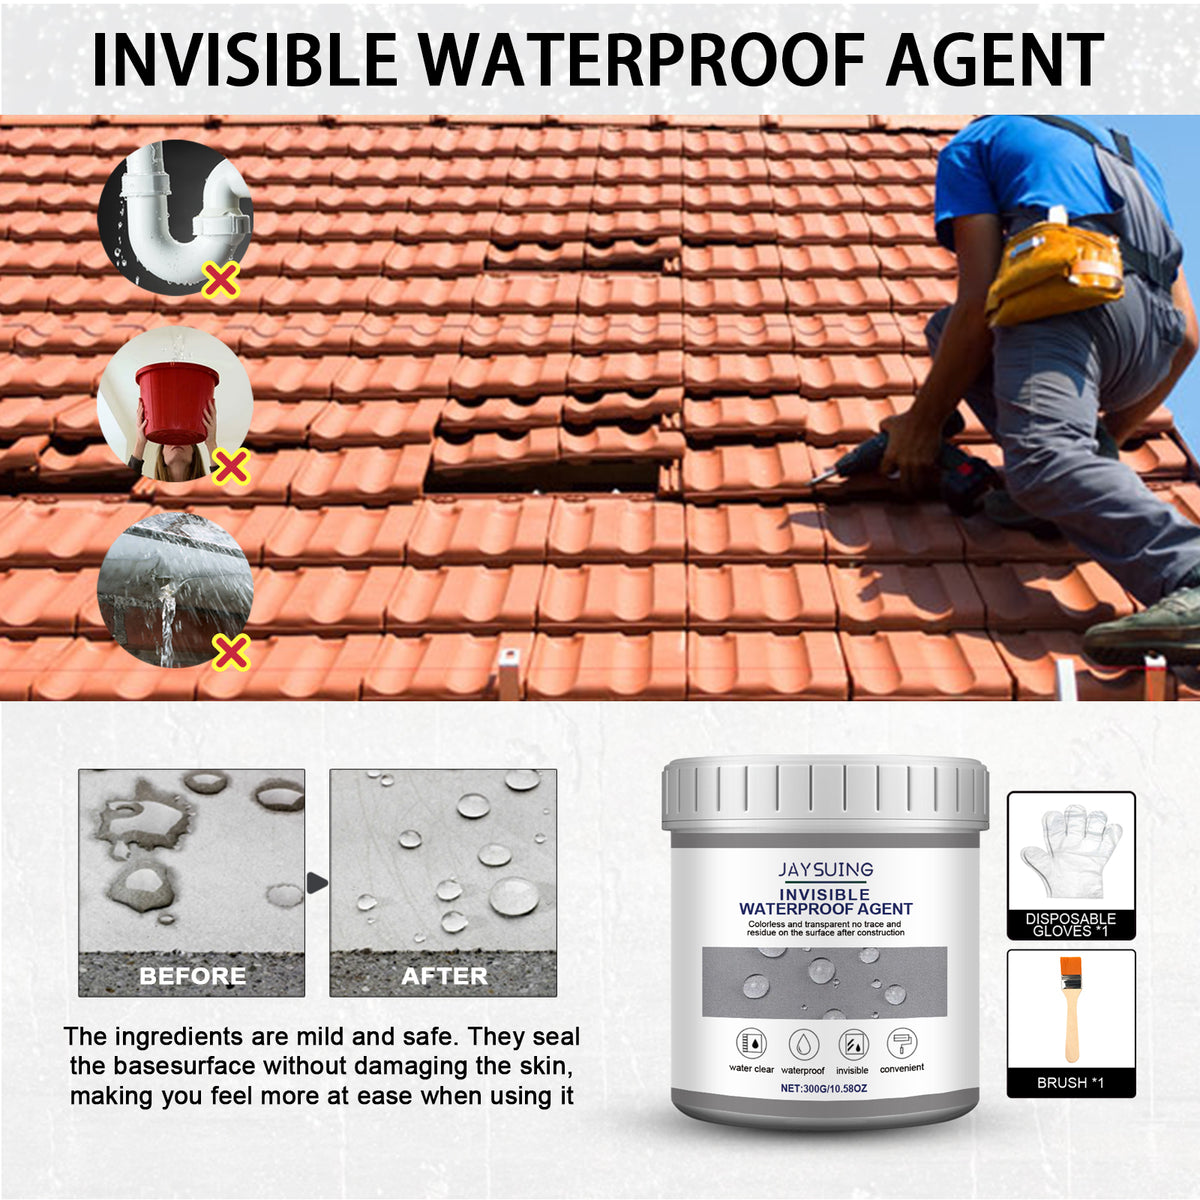
The compound forms a surface barrier that helps water bead rather than soak into treated worn areas. The before-and-after panel makes the intended effect easy to see.
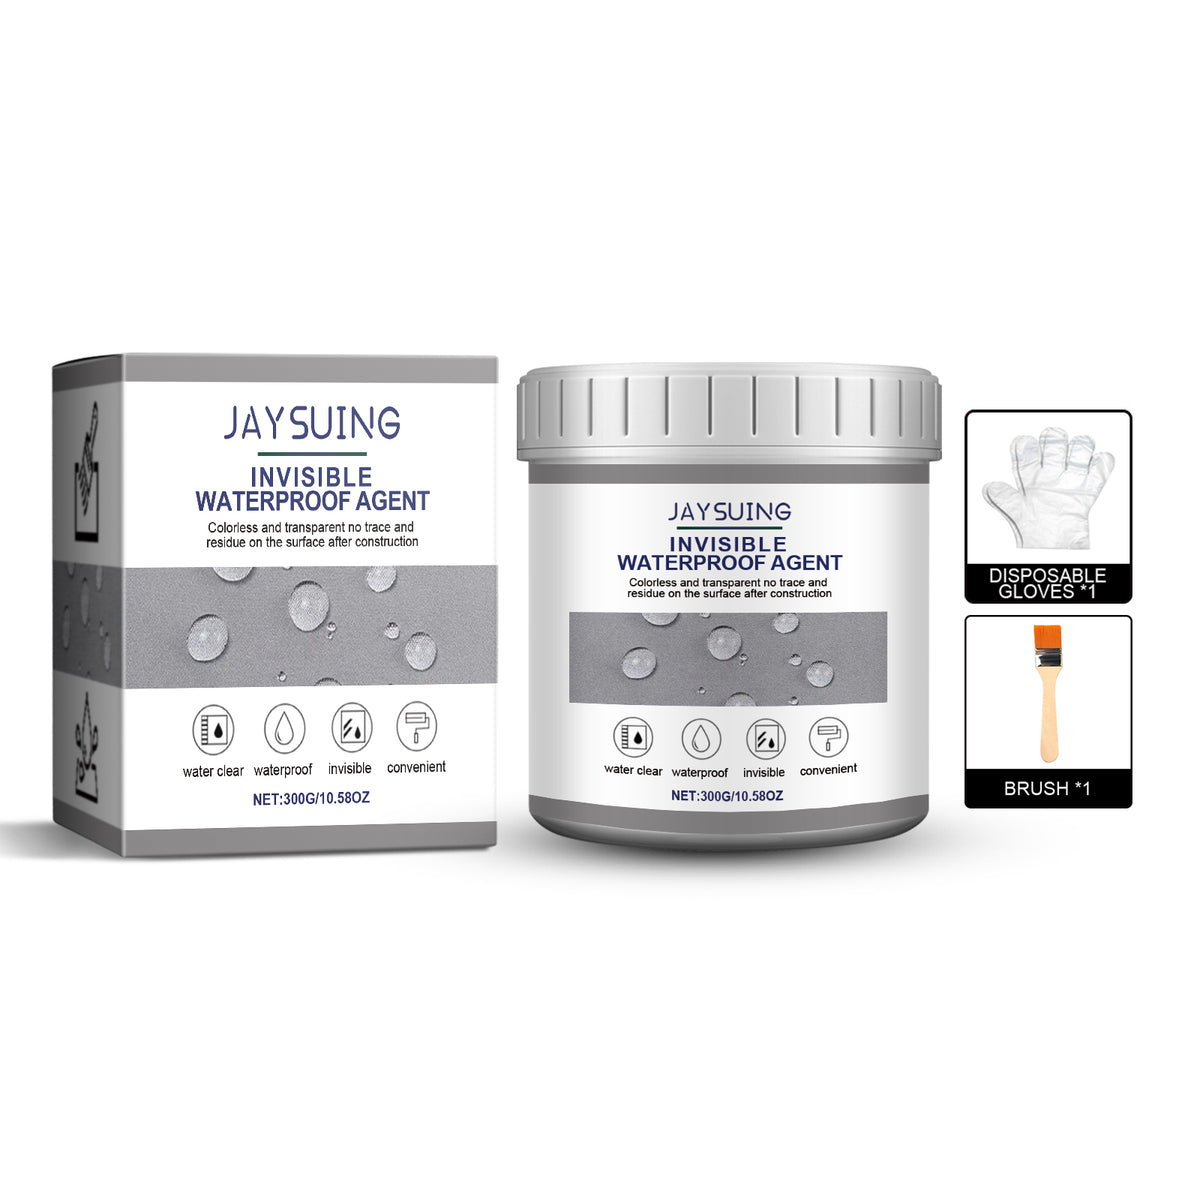
The tub arrives with disposable gloves and an application brush. You do not need to source those basic accessories before starting a focused repair.

The brush gives you a controlled way to work across tile edges, worn surfaces, and other moisture-prone household areas. Apply carefully where a broad strip of tape would look untidy.
Check whether the moisture is surface seepage or an active plumbing leak before applying anything.
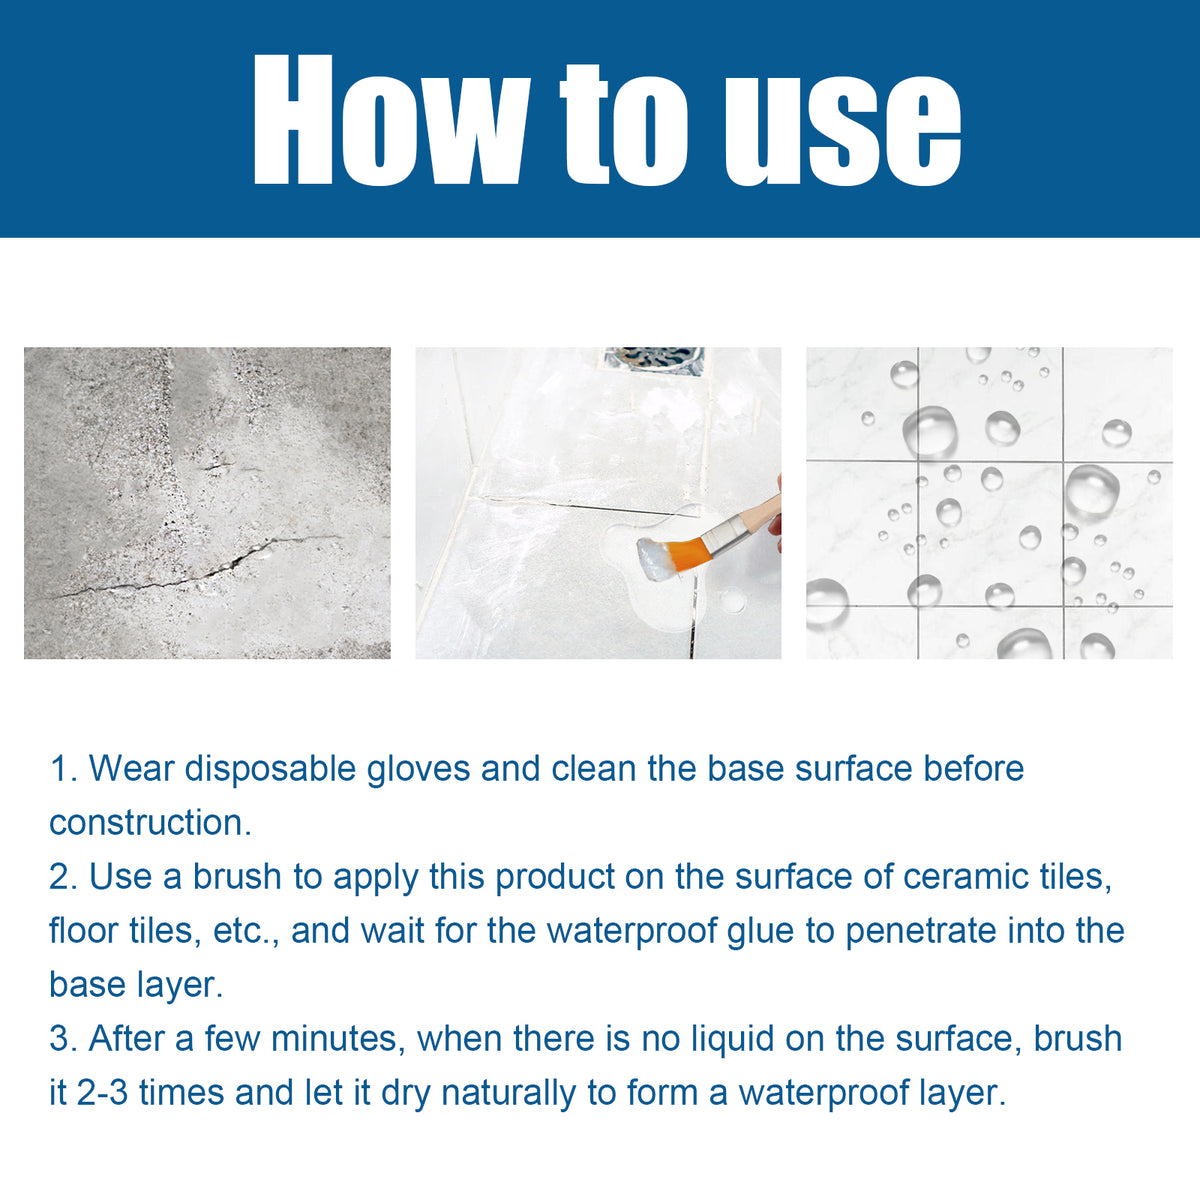
Remove loose residue, dust, soap, and standing water. Let the target surface dry thoroughly.
Put on the supplied gloves and use the included brush to spread the opaque compound across the prepared worn area.
Allow the coating to dry according to the product directions. Avoid rushing the finish or adding a heavy, uneven layer.
Check the area after drying and look for ongoing water intrusion. Arrange a proper repair if moisture continues from the source.
300g opaque white sealing compound
For hands-on application
For controlled surface coverage
Illustrated outer packaging
You wipe the same moisture from a tile edge, window perimeter, or bathroom joint and wonder if the problem is getting worse. Towels and repeated cleaning only deal with what is visible in the moment.
This brush-on sealant turns the first repair step into a contained household task. The compound, disposable gloves, and application brush arrive together, so there is less searching before you begin.
The demonstration shows water soaking into an untreated surface, then forming rounded beads on the treated area. That is the intended surface effect, not a promise to repair every hidden leak source.
Prepare the area, brush on an even layer, and inspect it after drying. You get a practical first response to early surface seepage while knowing when a serious plumbing issue needs proper repair.
| Brush-on kit | Towels | Tape | |
|---|---|---|---|
| Creates a surface waterproofing layer | Yes | No | Partial |
| Includes application accessories | Yes | No | No |
| Useful across worn surface areas | Yes | No | Partial |
| Replaces structural plumbing repair | No | No | No |
It is suited to household surface waterproofing around bathroom areas, tile, glass, windows, plumbing surrounds, and worn surfaces. Test a discreet spot first, especially on visible glass or a delicate finish.
No. A surface sealant is not a replacement for repairing an actively escaping pipe, fitting, or pressurized connection. Shut off the water and arrange a proper plumbing repair for a serious or continuing leak.
Remove loose material, soap residue, dust, and standing moisture. The surface should be clean and dry before you put on the supplied gloves, open the tub, and brush an even layer over the target area.
Yes. The four-piece kit includes the 300g sealant tub, product box, disposable gloves, and application brush.
Coverage depends on the size, texture, and condition of the repair area. The product information does not provide a fixed coverage figure, so use the tub for focused surface repairs rather than assuming it will coat an entire room.
Yes, renters can use it for small, visible surface repairs where the owner or lease permits changes. Document the area first and do not use it to conceal an active plumbing fault.


 Waterproof Sealant for Bathroom Leak Repair & Tiles