$64.90
Free delivery · 7–14 days
Waterproof Multi-Purpose Repair Glue for Home Fixes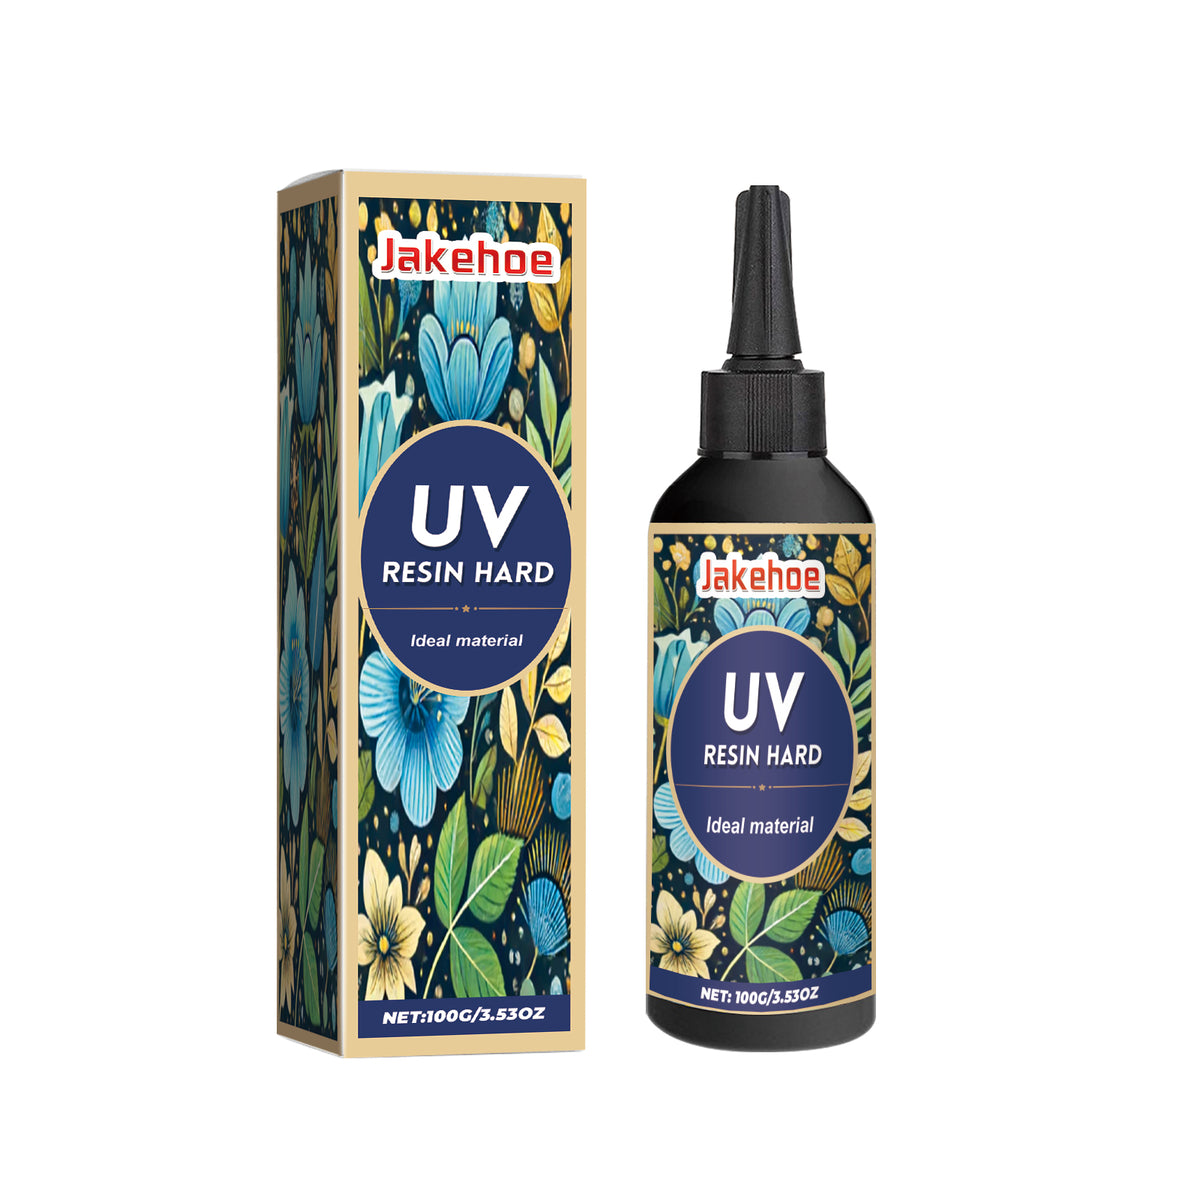
Turn small creative ideas into glossy pendants, charms, earrings, and floral accessories with less preparation.
Read the full descriptionTurn small creative ideas into glossy pendants, charms, earrings, and floral accessories with less preparation.
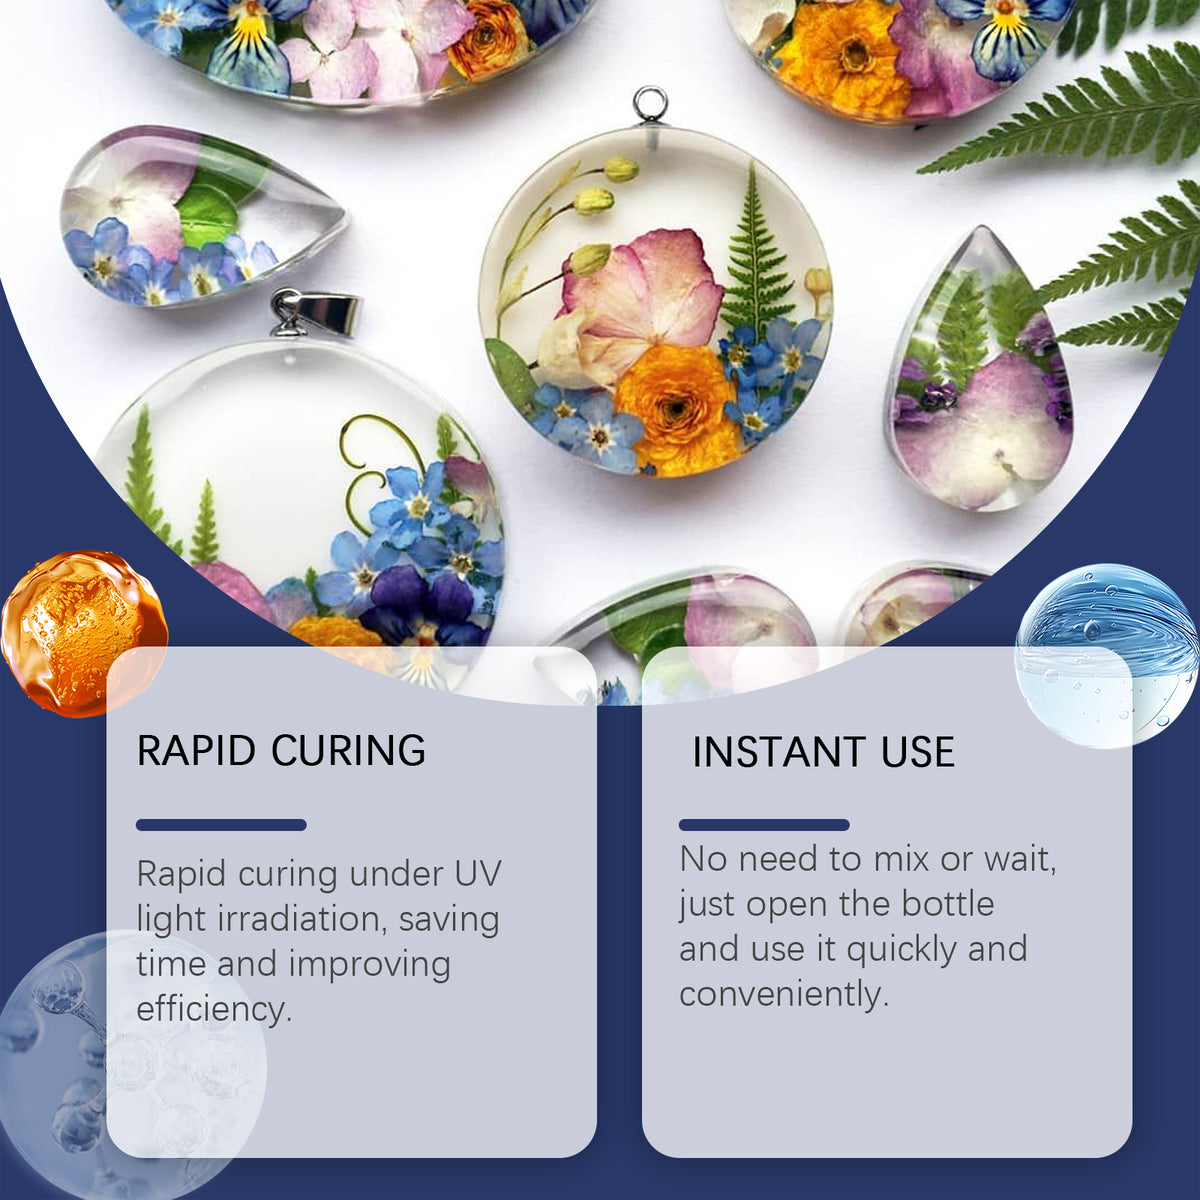
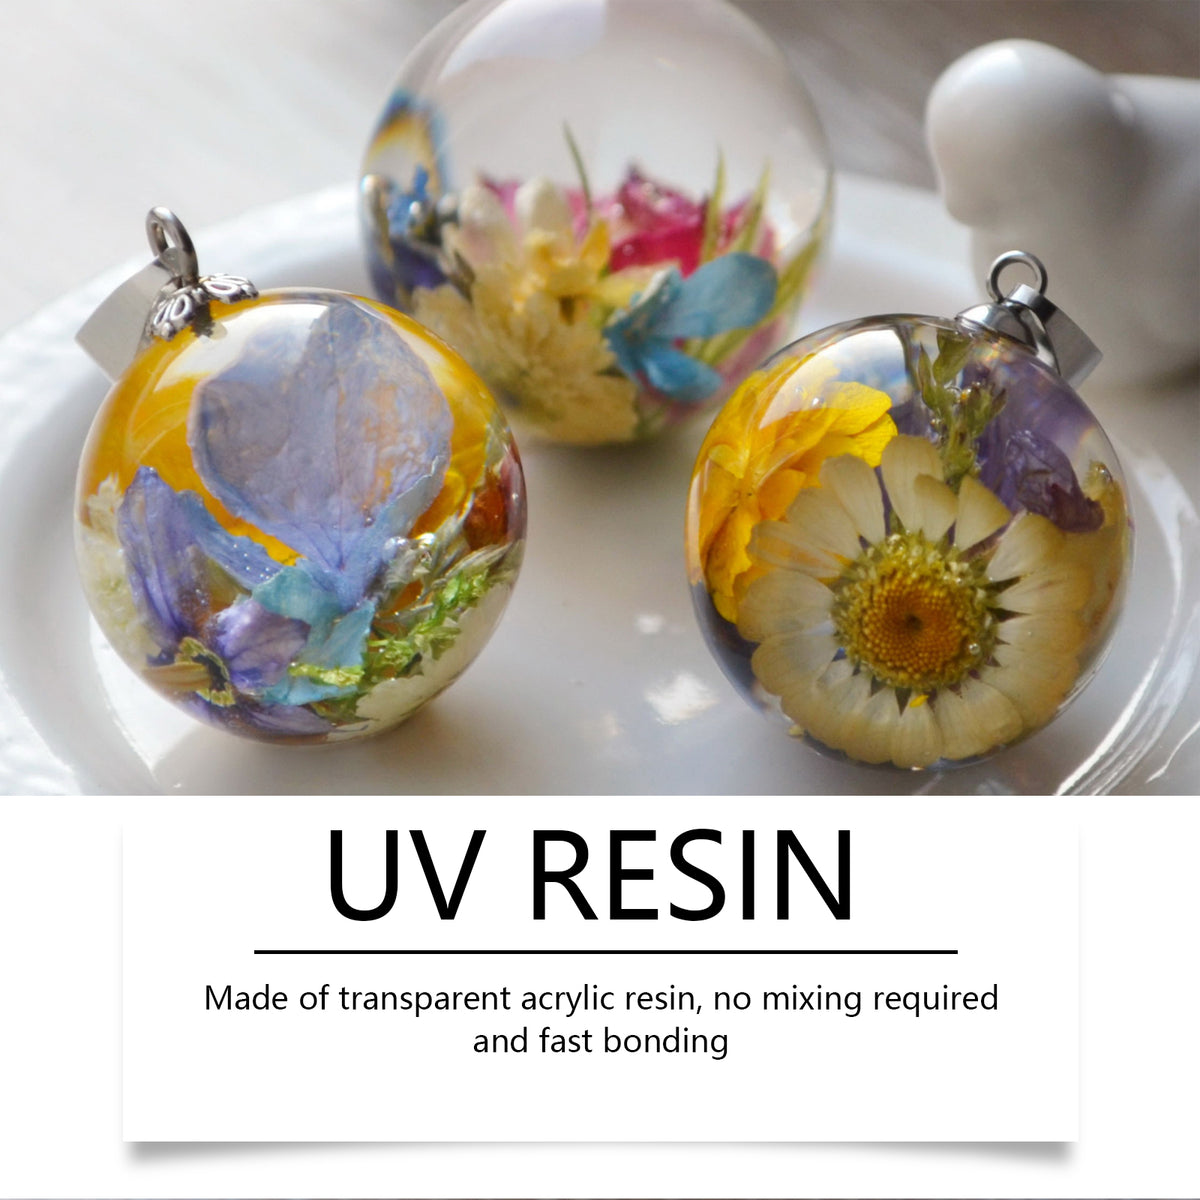
Fast-curing, ready-to-use UV resin that requires no mixing.
Skip messy measuring and long waits. Apply this ready-to-use UV resin precisely, cure it under UV light, and handle your glossy craft sooner.
The formula comes ready to apply from the bottle. There is no measuring or combining separate resin components before your small project can begin.
The pointed nozzle gives makers a direct route to small jewelry details, edges, molds, and embellishments. Use gentle pressure to keep narrow applications neat.

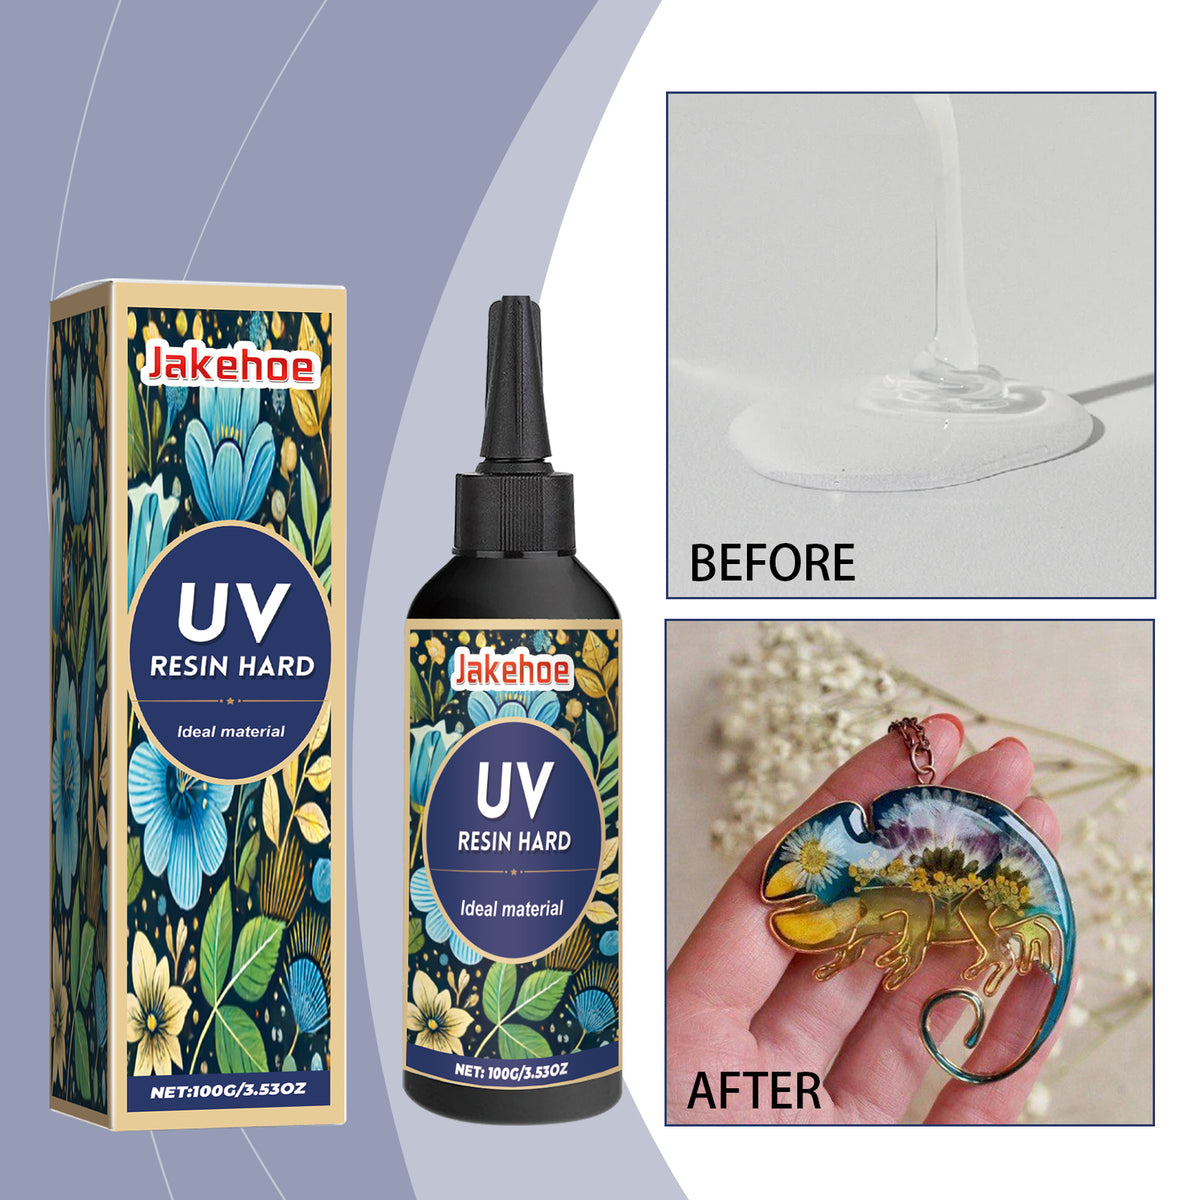
UV light rapidly cures the liquid resin into a hard, glossy surface suited to pendants, charms, floral crafts, and other decorative accessories.
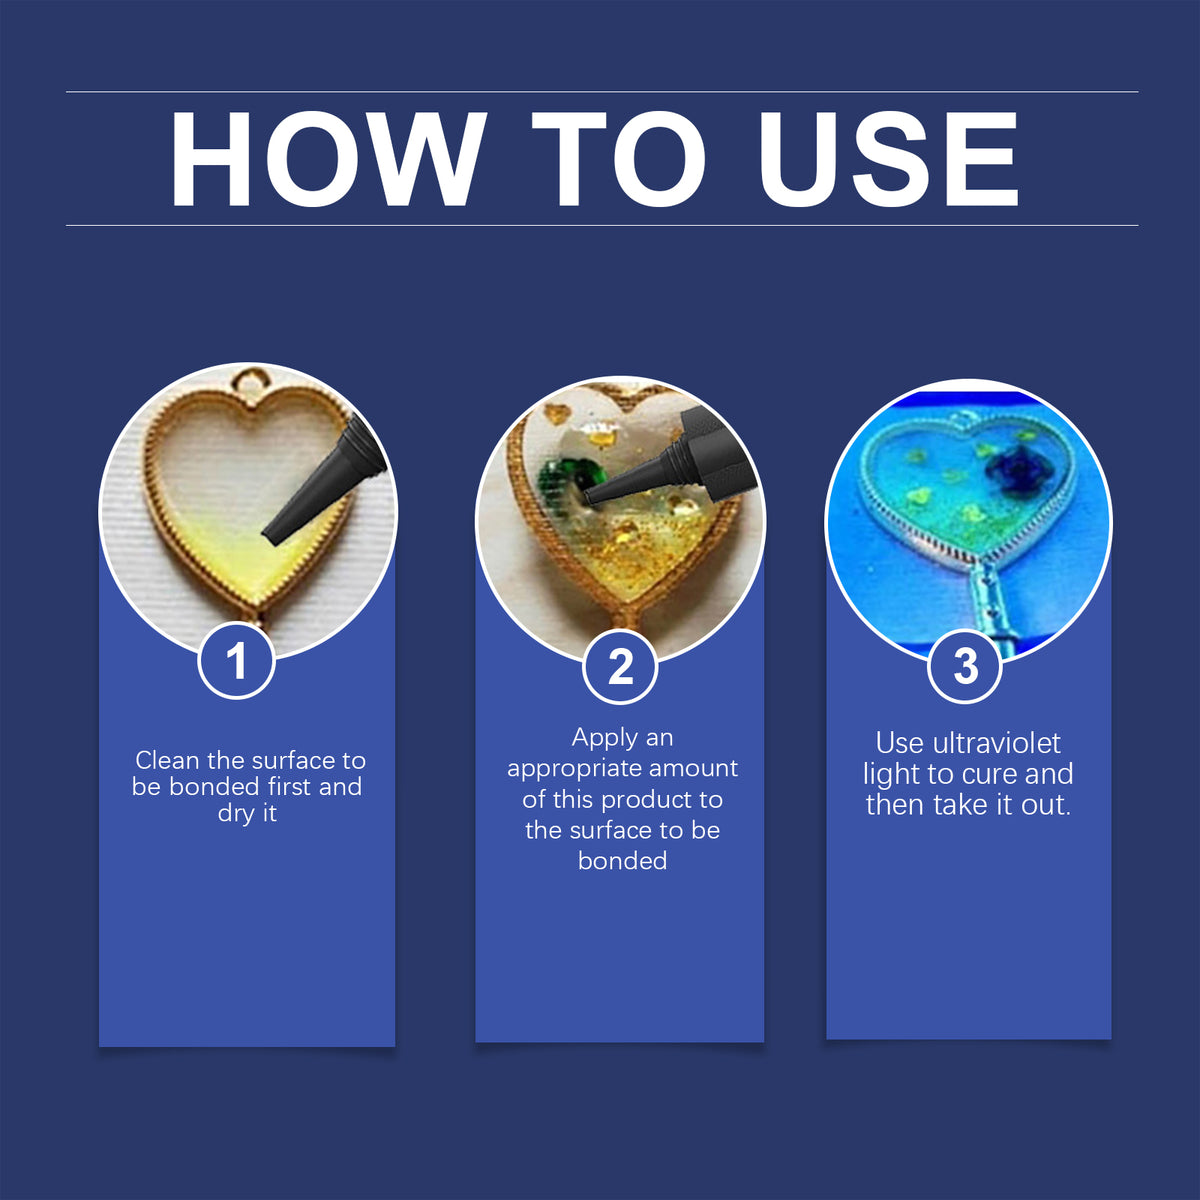
Remove the screw cap and prepare the pointed nozzle. No mixing or measuring is needed.
Use gentle pressure to apply a controlled amount to a pendant, charm, earring, embellishment, or silicone mold.
Expose the resin to suitable UV light until the surface is hard and no longer tacky. Use thinner layers for deeper details.
Inspect the edges and surface before handling the piece or adding hardware. Wipe the nozzle clean and replace the cap.
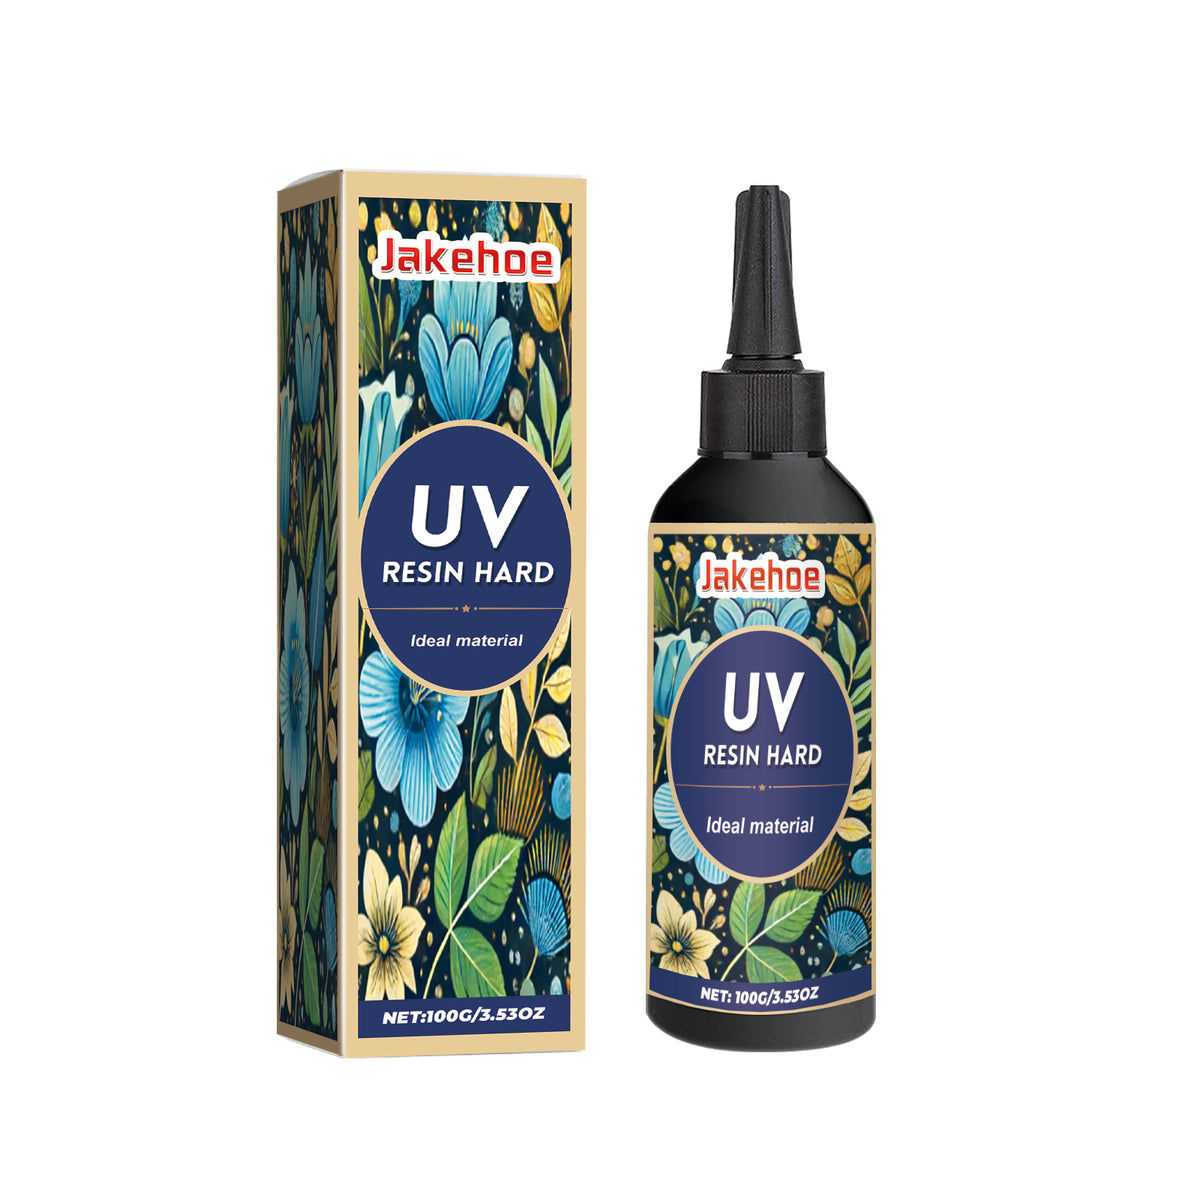
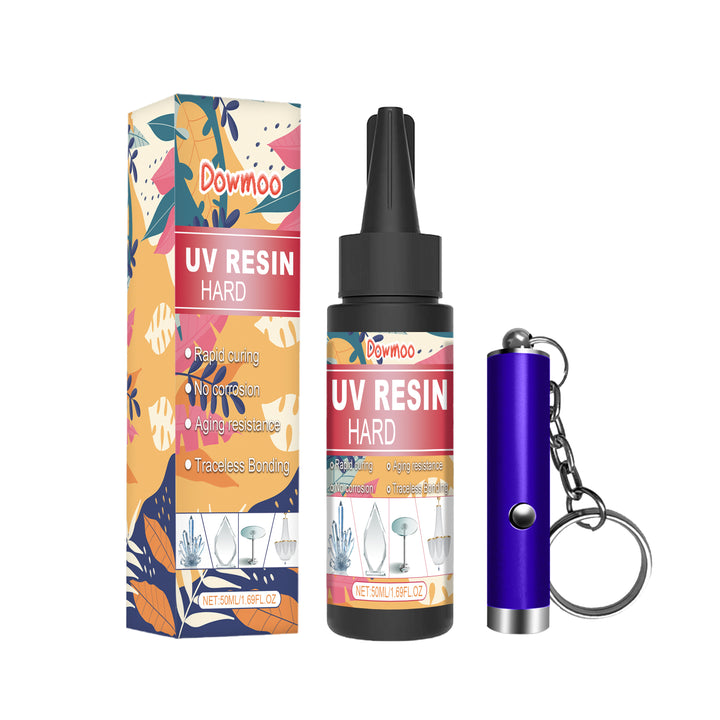
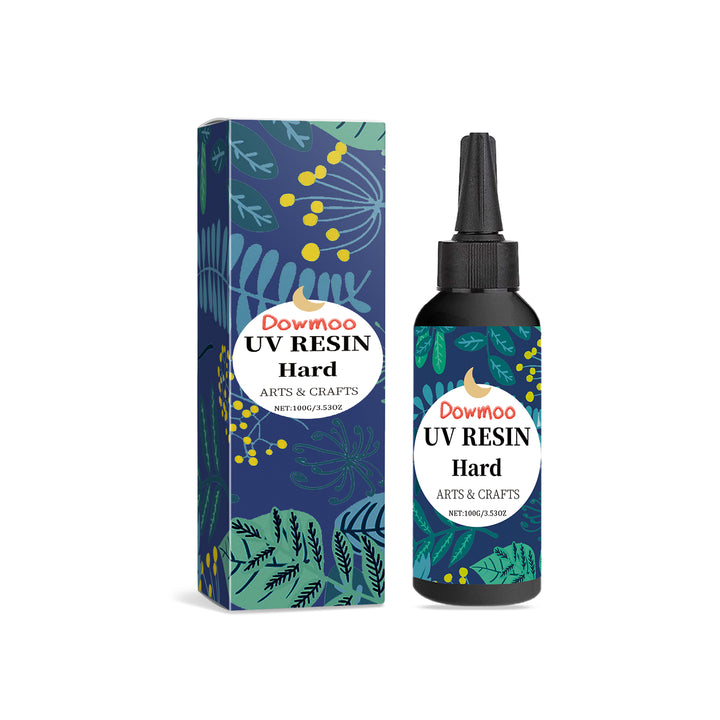
100g / 3.53oz ready-to-use hard UV resin
Matching floral-patterned packaging
Small resin projects become frustrating when preparation takes over. Measuring two parts, cleaning a messy cup, and waiting before you can touch a pendant or charm drains the fun from a good idea.

This ready-to-use bottle changes the first move. Open it, guide the pointed nozzle toward the detail, and place resin where the design needs it without mixing separate components.
Under suitable UV light, the liquid resin cures into a hard, glossy finish. A floral pendant, charm, earring, or molded accent moves from delicate detail work to a piece you can handle and admire.
| UV Resin Glue | Two-Part Resin | |
|---|---|---|
| Preparation | Ready to use | Measure and mix |
| Application | Pointed nozzle | Separate mixing vessel |
| Curing control | UV light activated | Longer workflow |
| Best fit | Small jewelry details | Larger mixed batches |
| Value | Less setup and cleanup | More preparation materials |
Use a suitable UV light intended for UV resin curing. Cure the applied resin under the light until the surface is hard and no longer tacky. Curing performance depends on the light and the thickness of the application.
No. It comes ready to use from the bottle, so you can open it and apply it directly without measuring or combining separate components.
Yes. It is suited to small decorative projects such as pendants, earrings, charms, keychains, floral crafts, and other handmade accessories.
The pointed nozzle gives you a controlled outlet for narrow edges, embellishments, and small mold areas. Use gentle pressure and test the flow on a disposable surface first.
Each package includes 100g, or 3.53oz, of UV resin. That format is a practical starting quantity for small jewelry and decorative craft projects.
Yes. Apply it into suitable silicone molds with gentle pressure, avoid overfilling, and cure under suitable UV light. Build thicker details in layers so the light can reach the resin.


 UV Resin Glue for Jewelry, Fast-Curing DIY Crafts