
$94.90
Free delivery · 7–14 days
Drone Controller Tablet Mount with Aluminium Holder




Clean footage starts with a quiet gimbal. This set of ten silicone dampers replaces the worn rubber that lets vibration reach the camera, so you repair the gimbal instead of buying a new one. Built for DJI Mini 2 and Mavic Mini 2 owners who want the shake gone before the next flight.
Read the full descriptionClean footage starts with a quiet gimbal. This set of ten silicone dampers replaces the worn rubber that lets vibration reach the camera, so you repair the gimbal instead of buying a new one. Built for DJI Mini 2 and Mavic Mini 2 owners who want the shake gone before the next flight.
Genuine-fit replacement gimbal shock absorbers for DJI Mini 2 and Mavic Mini 2
Worn, hardened dampers let vibration reach your camera and your clips shake. Swap the 10 shock absorbers and the gimbal runs quieter, with no new gimbal to buy.

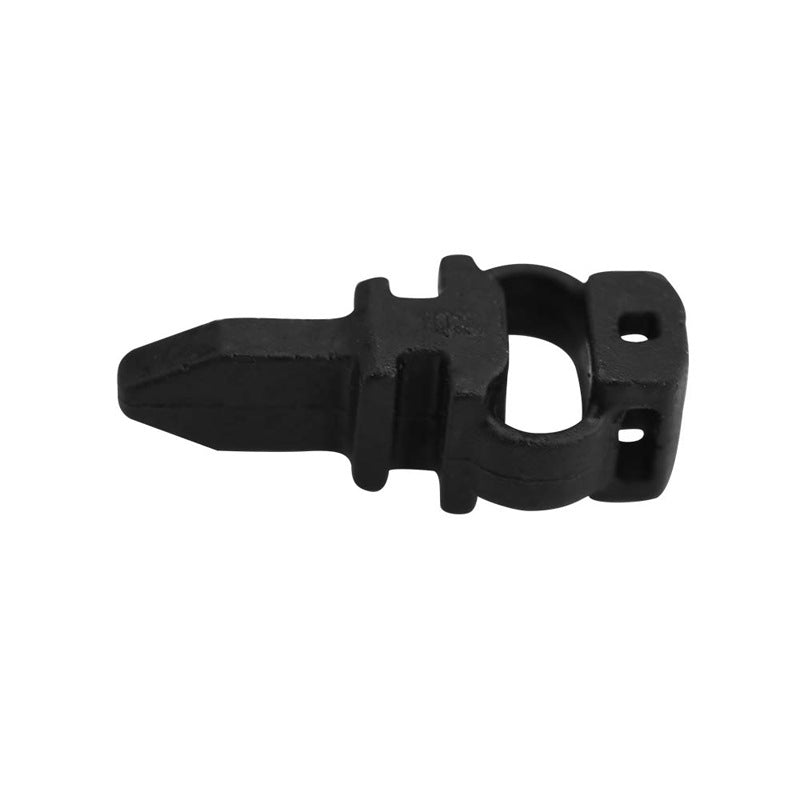
The pointed tip sets each damper into position before any pressure goes on. Line the tip up with the locating point, then press. That removes the guesswork that leaves one side of the gimbal less damped than the other.

The slotted mounting hole and notched clip body keep each damper in the frame while the gimbal moves. The round cradle wraps the gimbal mount, so the damper stays where you seated it instead of working loose after a few flights.

Every set includes ten shock-absorbing dampers, so the whole mount gets refreshed at once. Matching parts damp both sides of the gimbal the same way, which is the reason to replace the set instead of a single piece.
Power the drone off, then remove the gimbal cover to reach the dampers.
Lift out the old dampers and hold a new one beside them. Worn rubber feels hard and often looks flattened or cracked.
Line each pointed tip up with its locating point before you press.
Press the notched clip body gently until it seats fully. Do not force it, since that can tear the rubber or bend the frame.
Power on and confirm the gimbal moves freely and sits level. Then run a short hover before a full flight.
| Damper set | Complete gimbal | |
|---|---|---|
| Replaces only the worn dampers | Yes | No |
| Keeps your current gimbal motors and camera | Yes | No |
| Needs a complete gimbal purchase | No | Yes |
| Work involved | One workshop session | Full gimbal swap |
The listing covers both drones. Compare each new damper with the one you pulled out before fitting, so you know the tip, hole and clip line up with the frame.
These are replacement dampers, not DJI-branded parts. If you need a part with a DJI logo, buy it through DJI's service channel.
The listing does not include tools. The job is a damper swap with a clean bench, good light and steady hands. Take the most care at the clip and press gently until the notch seats fully.
The dampers are passive rubber parts. After fitting, power on, confirm the gimbal moves freely and sits level, then test a short hover before a full flight.
Look for rubber that has hardened, flattened or cracked. If footage shakes or the gimbal starts to buzz, inspect the dampers first.
A complete gimbal costs far more than the worn parts that actually failed. Ten dampers fix the vibration path for a fraction of that, and the job fits into one workshop session.


 DJI Mini 2 Gimbal Shock Absorber Replacement Set of 10