$49.90
Free delivery · 7–14 days
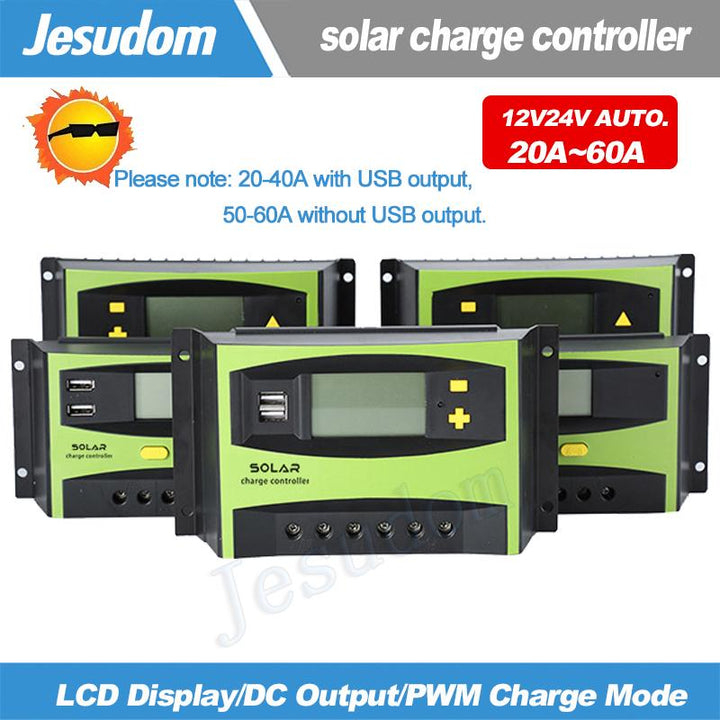
Solar Phone Charger Panel — Charge Anywhere the Sun ShinesKeep the lamp on and the battery in shape with one controller that charges, discharges and times the light from dusk to dawn. The LCD shows voltage and Ah at a glance, and it works with lead-acid or lithium packs on 12V or 24V systems.
Read the full descriptionKeep the lamp on and the battery in shape with one controller that charges, discharges and times the light from dusk to dawn. The LCD shows voltage and Ah at a glance, and it works with lead-acid or lithium packs on 12V or 24V systems.
Fully automatic solar charge and discharge control for street lamps with lead-acid or lithium batteries
Before: lamps fail after dark and batteries wear out unseen. After: one LCD controller manages charge, discharge and light timing from dusk to dawn.
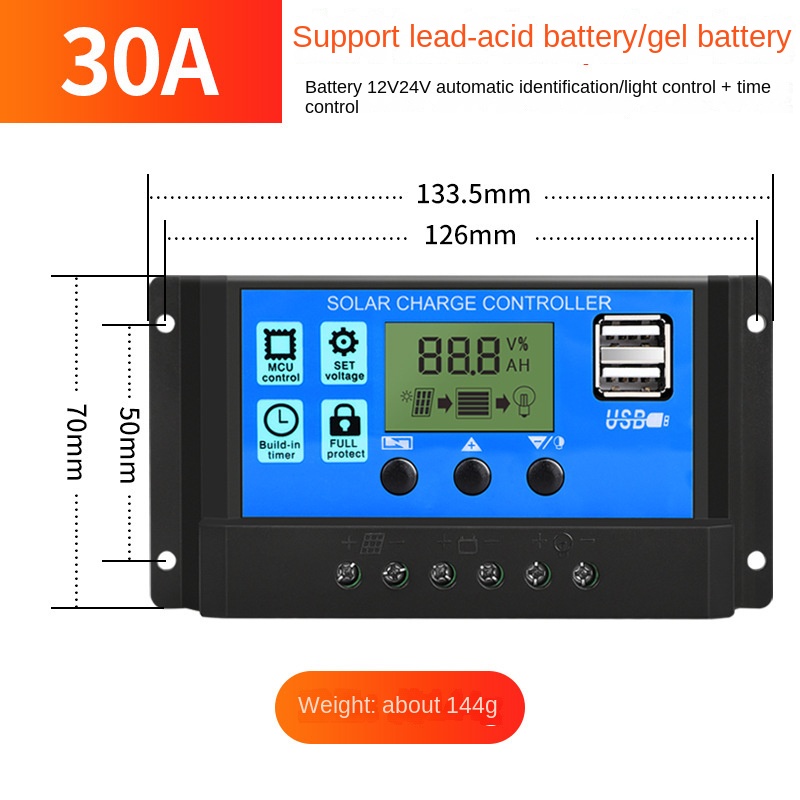
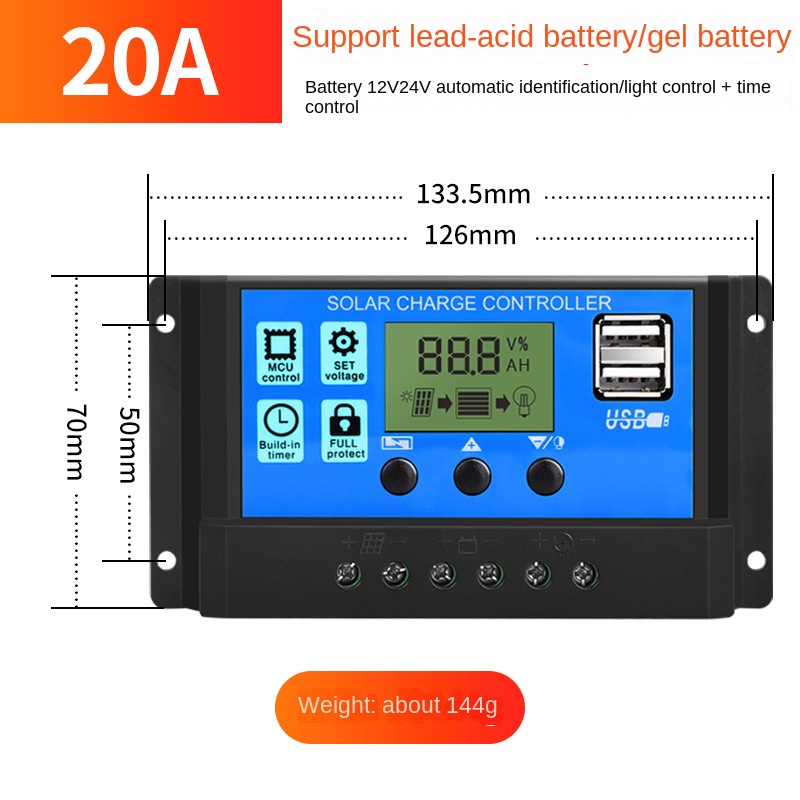
An MCU manages the solar input, the battery charge and the lamp load in one loop. Protection functions stay active the whole time, so the pack is not pushed past its limits on a long cloudy run. The charge and discharge parameters can be adjusted on the unit itself, which means you set the thresholds for your battery and leave them alone.
The large LCD shows battery voltage and Ah next to solar and lamp status icons. You see whether the panel is charging, whether the lamp is drawing power and where the battery sits, without a multimeter. That readout turns a guessing game into a two-second check.
The built-in timer and the light control with delay run the lamp from dusk to dawn without manual switching. Set the delay to match your site and the lamp follows it every night. The same unit supports lead-acid and lithium batteries, so one controller covers the packs you already run.
Fix the unit through the wall-mount flanges on either side of the housing. Keep it near the battery box and out of direct water runoff.
Land the panel cable on the terminal marked solar panel. Tighten the screw so the wire cannot pull free.
Land the battery cable on the battery terminal. Confirm the polarity matches the battery before the screw goes down.
Land the lamp cable on the load terminal. Connecting the load last keeps a loose wire from sending power to the lamp while you are still wiring.
The LCD should show battery voltage and the solar and lamp icons. Set the charge and discharge thresholds for your battery chemistry before the first full cycle.
A lamp that fails after dark tells you about the battery only after the street is already black. Installers often find out from a complaint, then spend a morning on a ladder and a second morning sourcing a replacement pack. Fixed cutoffs and plain timers do not adapt to the chemistry in the box, so the fault hides until it is expensive.
The MCU reads the solar input, sets the charge profile for the battery and switches the load on and off on schedule. Protection functions stay active through every cycle, so overcharge and over-discharge are handled by the same unit that runs the lamp. Lead-acid and lithium packs both sit within its range, and the voltage settings can be adjusted to match the pack you install.
The LCD shows battery voltage, Ah level and solar and lamp status at a glance. Check the screen before you climb the pole, then confirm the lamp switches on at the set time. Verification takes a minute at the base of the pole, not a return visit the following week.
| This controller | Basic timer controller | |
|---|---|---|
| Battery chemistry | Lead-acid and lithium | Usually one chemistry |
| Live voltage and Ah readout | Yes, on the LCD | No |
| Protection functions | Multiple, active every cycle | Fixed cutoff |
| Lamp timing with delay | Built in, adjustable | Basic on-off timer |
| Dual USB output | Yes | No |
Yes. The unit covers lead-acid and lithium packs and auto-recognises a 12V or 24V system. Confirm the battery chemistry on the screen before the first cycle, then adjust the thresholds if the pack needs different limits.
Connect in order: solar panel, then battery, then load. The six screw terminals are marked for each connection. Connecting the load last means a loose lead cannot push power to the lamp while you are still working.
Yes. The charge and discharge parameters can be adjusted on the unit. Set them for your battery chemistry and voltage before the first full cycle, rather than running the default values on a new pack.
The light control with delay is built into the unit and can be set to suit the site. Test the lamp at dusk on the first night, then compare the switch-on and switch-off times with the sunset and sunrise for your location.
A timer-only controller switches the lamp but does not read the battery. This unit adds the LCD readout, multiple protection functions and lead-acid and lithium support in one box. Fewer callbacks and fewer truck rolls usually cost less over a season than replacing a battery pack early. You can also run a solar charge controller 12v line across a whole batch of poles.