
$39.90
Free delivery · 7–14 days
Halloween Ghost Candle Molds for Easy DIY Decorations
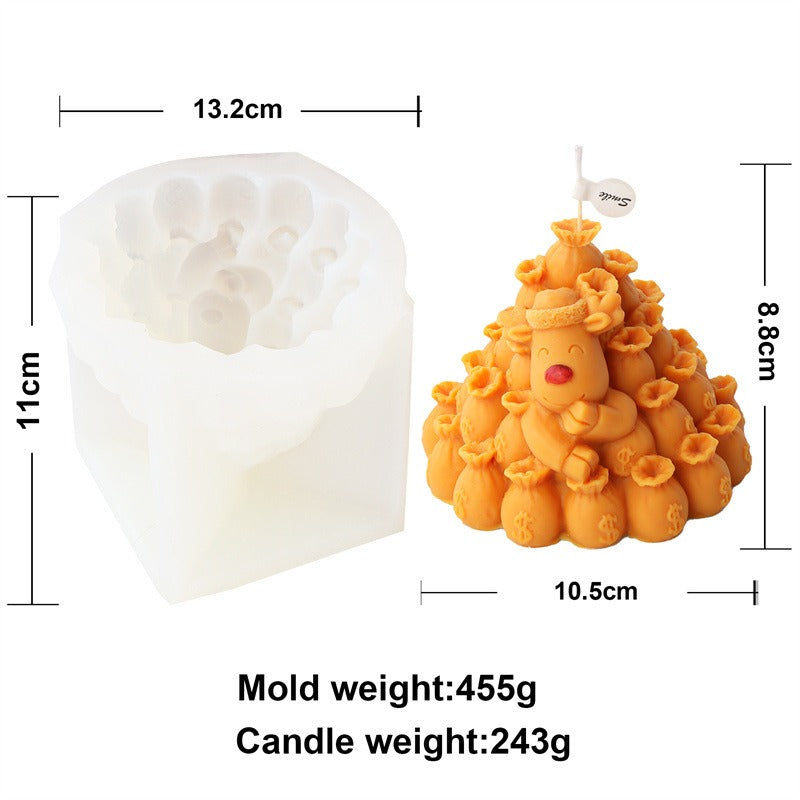
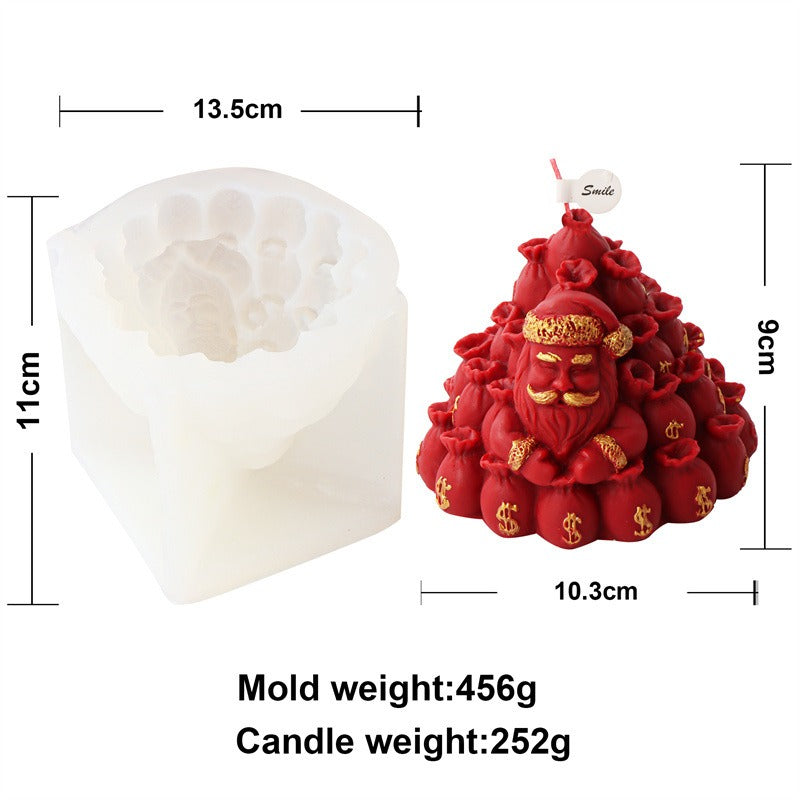

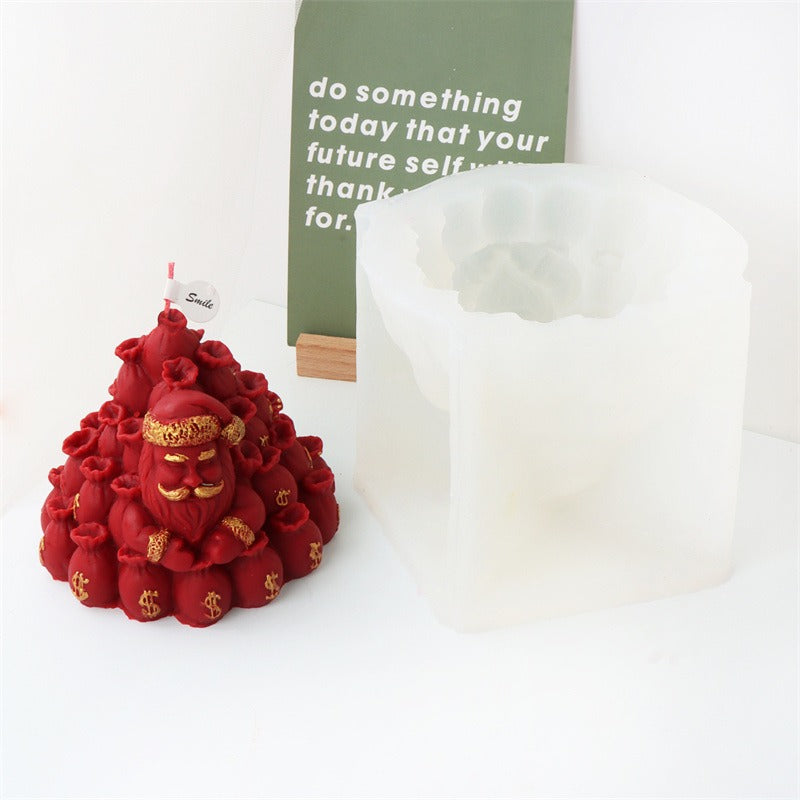
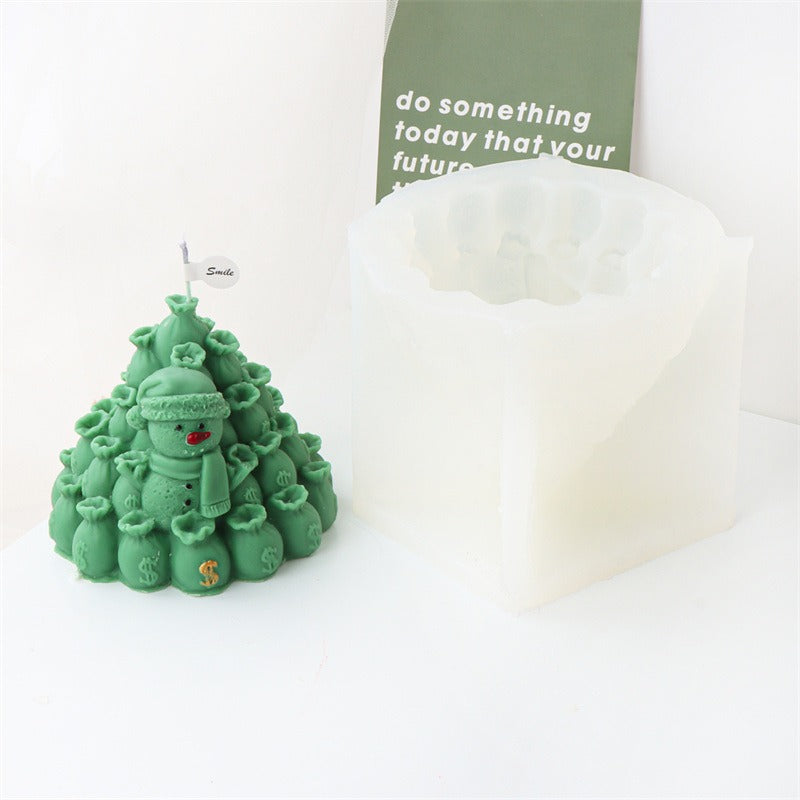


Create holiday candles with the kind of sculpted character people notice before they notice the wick. This flexible silicone mold turns simple wax into Santa, snowman and money-bag-inspired décor for gifts, craft fairs and festive tables.
Read the full descriptionCreate holiday candles with the kind of sculpted character people notice before they notice the wick. This flexible silicone mold turns simple wax into Santa, snowman and money-bag-inspired décor for gifts, craft fairs and festive tables.
Make richly detailed festive money-themed candles and plaster décor at home.
Stop settling for flat, generic holiday candles. This deep-relief silicone mold casts Santa, snowman and money-bag designs with the crisp detail of a store-bought centerpiece.

Multi-level sculpting captures faces, hat folds, sack texture and currency symbols that shallow molds flatten out. The result is a candle people can recognize at a glance.

Soft translucent silicone flexes around undercuts so fine facial and clothing details come out intact. Let the wax set fully, then loosen the mold gradually instead of forcing the finished piece.
Two detailed character molds cover Santa, snowman and money-bag motifs, giving you more than one repeatable shape for seasonal gifts, craft-fair stock and home décor.
Set the flexible silicone mold on a level surface and place the wick through the integrated opening. Check the cavity for leftover wax or debris.
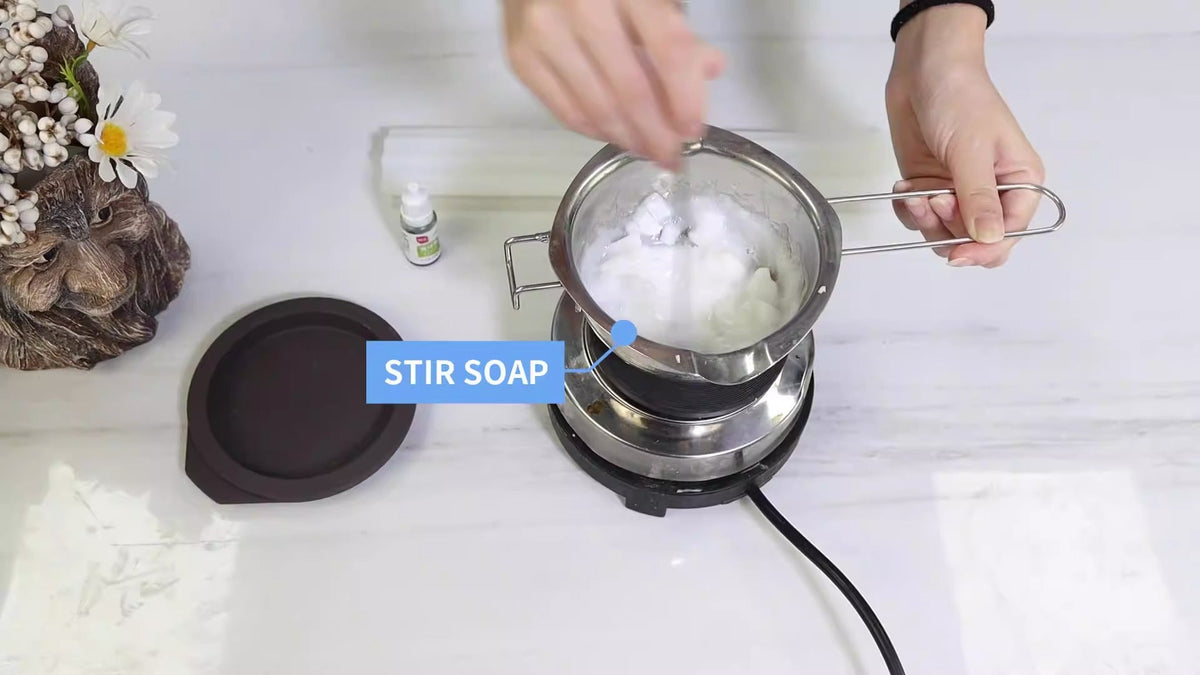
Melt your candle wax according to its instructions, then fill the cavity slowly. A steady pour gives the facial features, sack folds and currency details time to fill.
Leave the filled mold undisturbed at room temperature until the candle is fully set. Rushing this stage makes deep details harder to release cleanly.
Loosen the silicone around the edges, flex it away from the candle and ease the finished character out. Trim the wick and inspect the sculpted surface.
Group red, mint green and orange candles on a festive table, or finish one with a ribbon tag for a handmade seasonal gift.
Character forms with deep relief and holiday details.
Use the Santa, snowman and money-bag-inspired motifs to build a coordinated display.

Generic holiday molds often turn an evening of melting and pouring into a shallow, indistinct shape. The effort is real, but the finished candle still looks like every other seasonal decoration. A candle mold collection with stronger sculpting gives your craft table somewhere better to start.
The deep cavity captures faces, hat folds, sack texture, currency symbols and ornamental accents in one recognizable holiday character. Soft translucent silicone flexes around the sculpted form, giving candle makers a practical way to create more distinctive pieces.
When the candle has fully set, flex the silicone and reveal a compact character with a recognizable face, clothing and money-bag detail. Place the finished pieces together in red, mint green and orange for a table display that feels handmade-premium, not homemade-plain.
Wipe wax residue from the deep cavities before switching colors.
Clean with warm water or an approved mold cleaner rather than harsh tools.
Flex the silicone gradually around undercuts instead of pulling the finished candle hard.
Let the mold dry completely before storing it for the next crafting session.
| Sculpted relief mold | Flat generic holiday mold | |
|---|---|---|
| Multi-level character relief | Yes | No |
| Currency symbols and sack texture | Yes | No |
| Flexible silicone construction | Yes | Partial |
| Distinctive gift and centerpiece potential | Yes | Partial |
| Repeat use for seasonal batches | Yes | Yes |
The soft silicone flexes around the sculpted undercuts. Let the candle set fully, loosen the edges first and release it slowly so the money-bag texture, facial features and clothing details stay intact.
The mold is made for candle casting, but the product information does not specify one required wax type. Use the wax suited to your candle-making process and follow that wax's recommended pour and cooling guidance.
It is presented for candle and plaster décor projects. For resin, check that your chosen resin is suitable for flexible silicone molds before pouring, and follow the resin maker's curing instructions.
A specific pour count is not provided. Gentle unmolding, careful cleaning and sensible pour temperatures keep the silicone ready for repeat seasonal batches.
Yes. The form does the intricate sculpting while you handle the basic melt, pour, cooling and release steps. Start with one color and allow a full set before attempting your next unmold.
Remove loose wax, then wipe the cavities with warm water or an approved mold cleaner. Dry the silicone fully before changing colors so residue does not dull the next relief.


 Santa Money Bag Candle Mold for Christmas DIY Candles