
$39.90
Free delivery · 7–14 days
Halloween Ghost Candle Molds for Easy DIY Decorations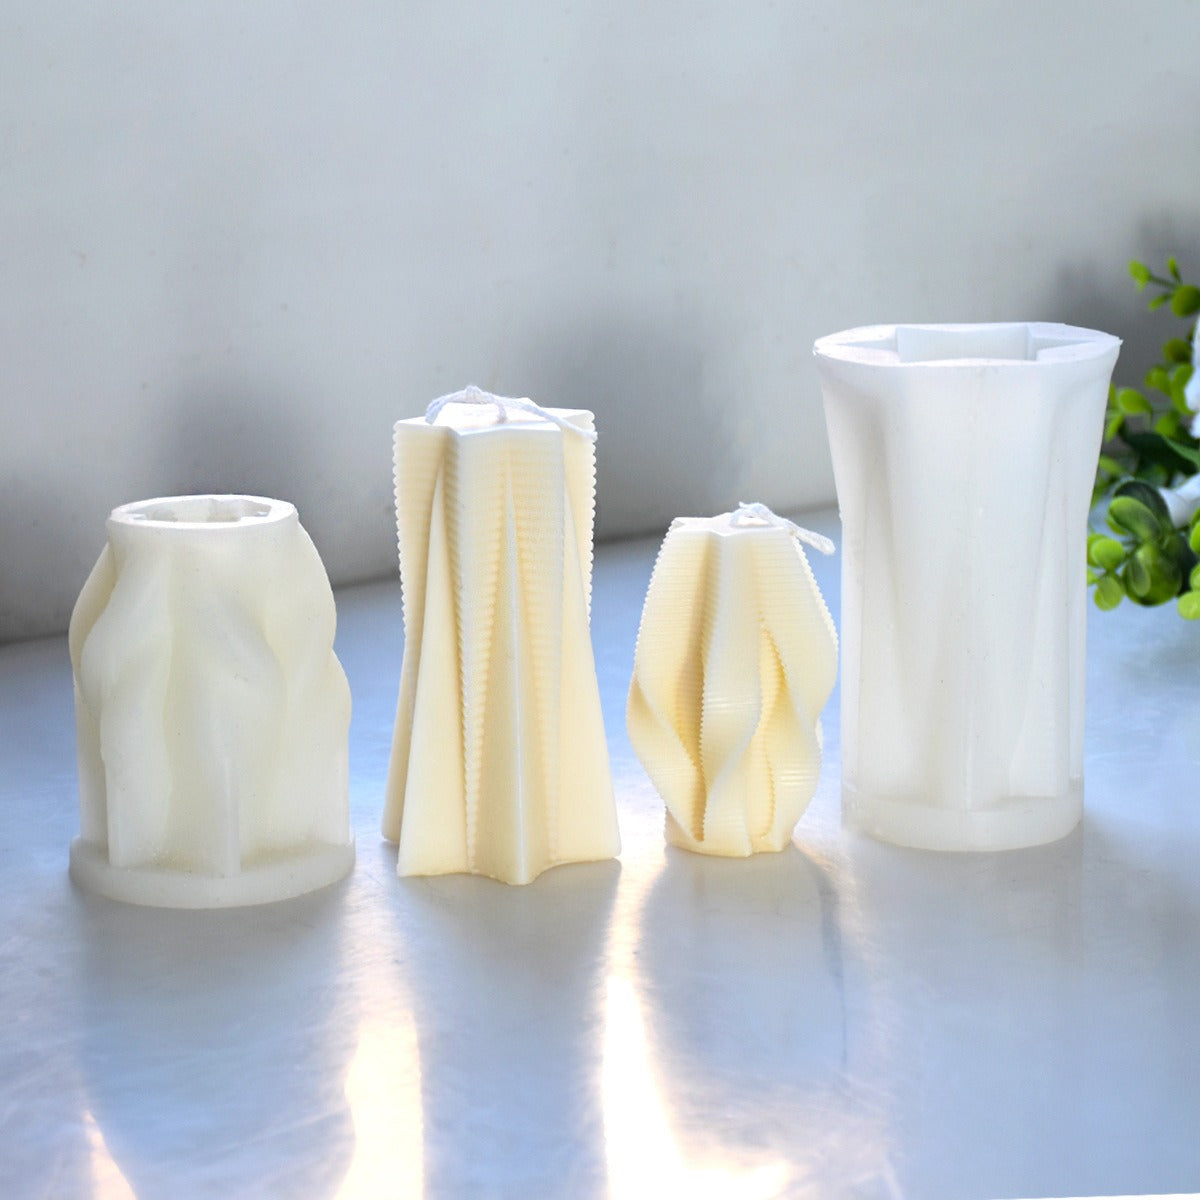
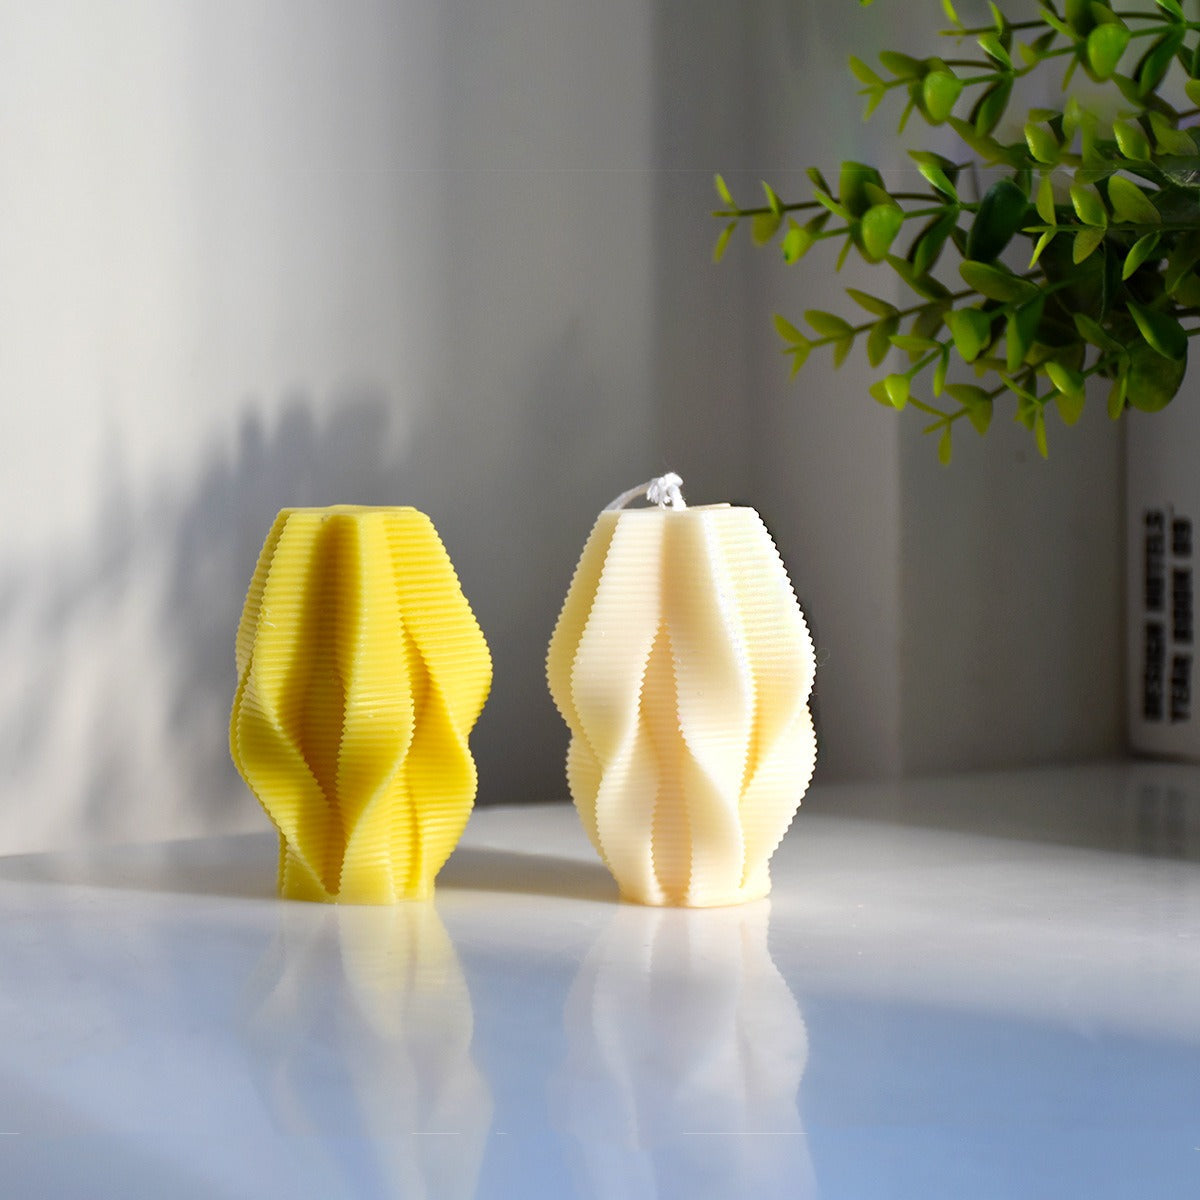
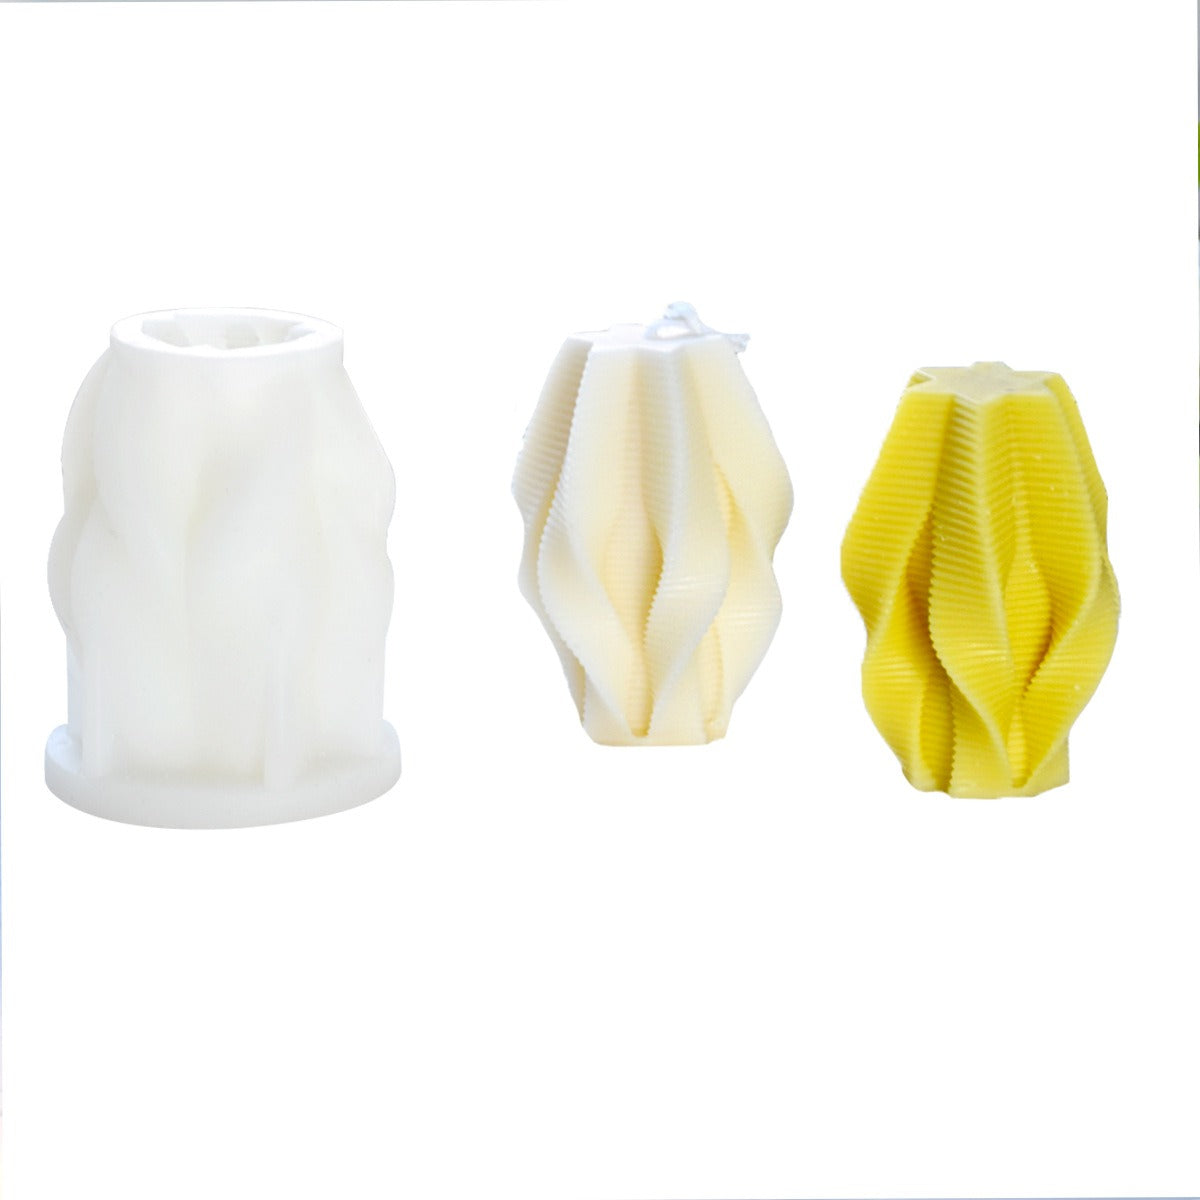
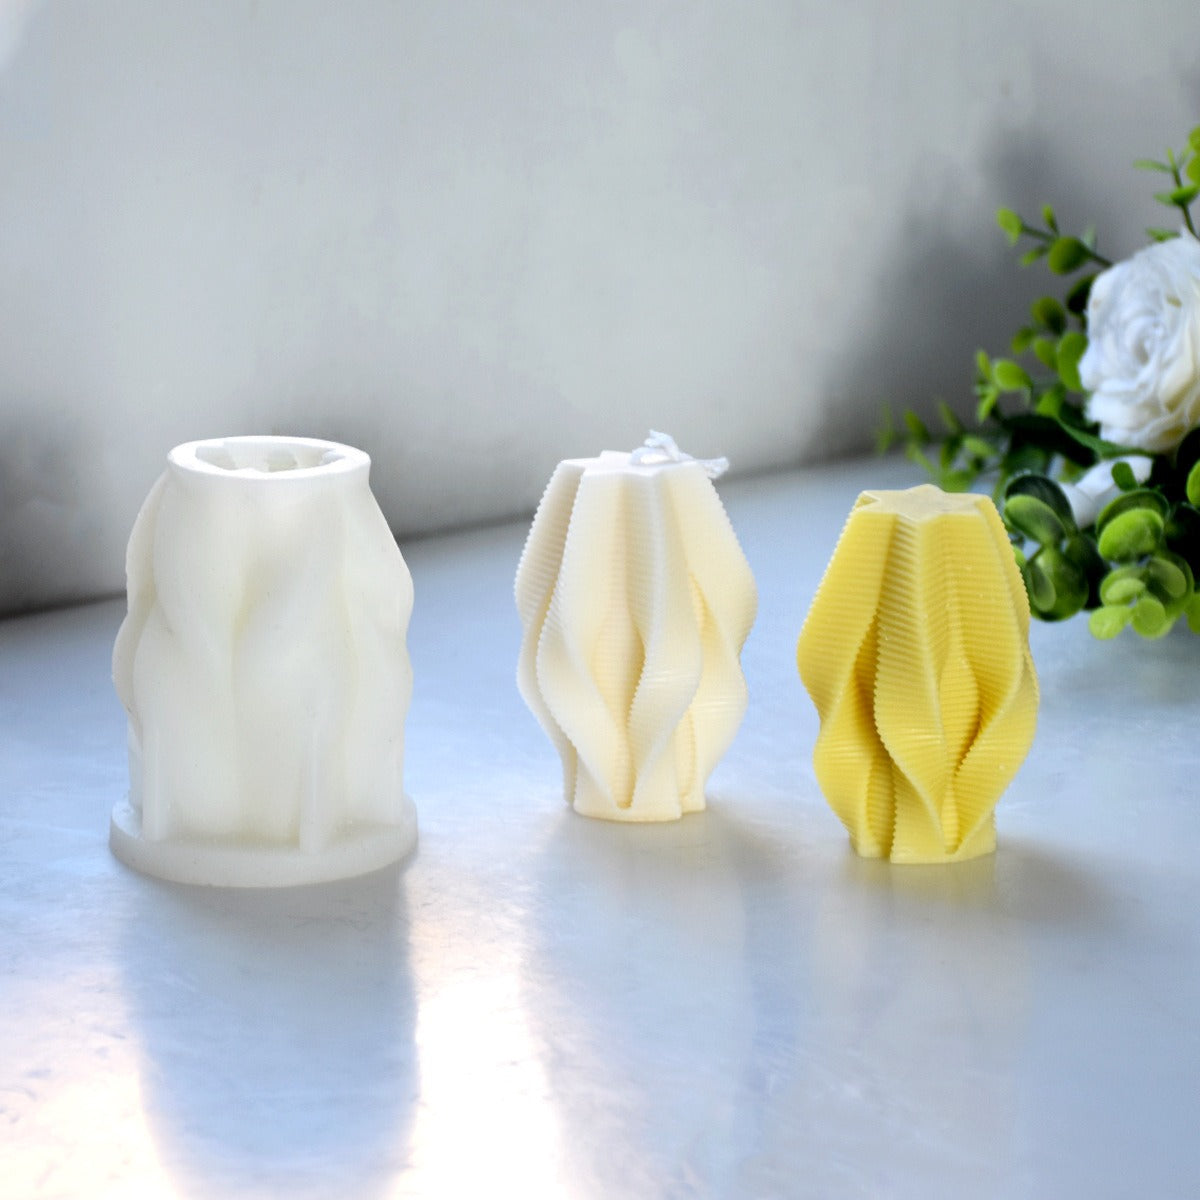
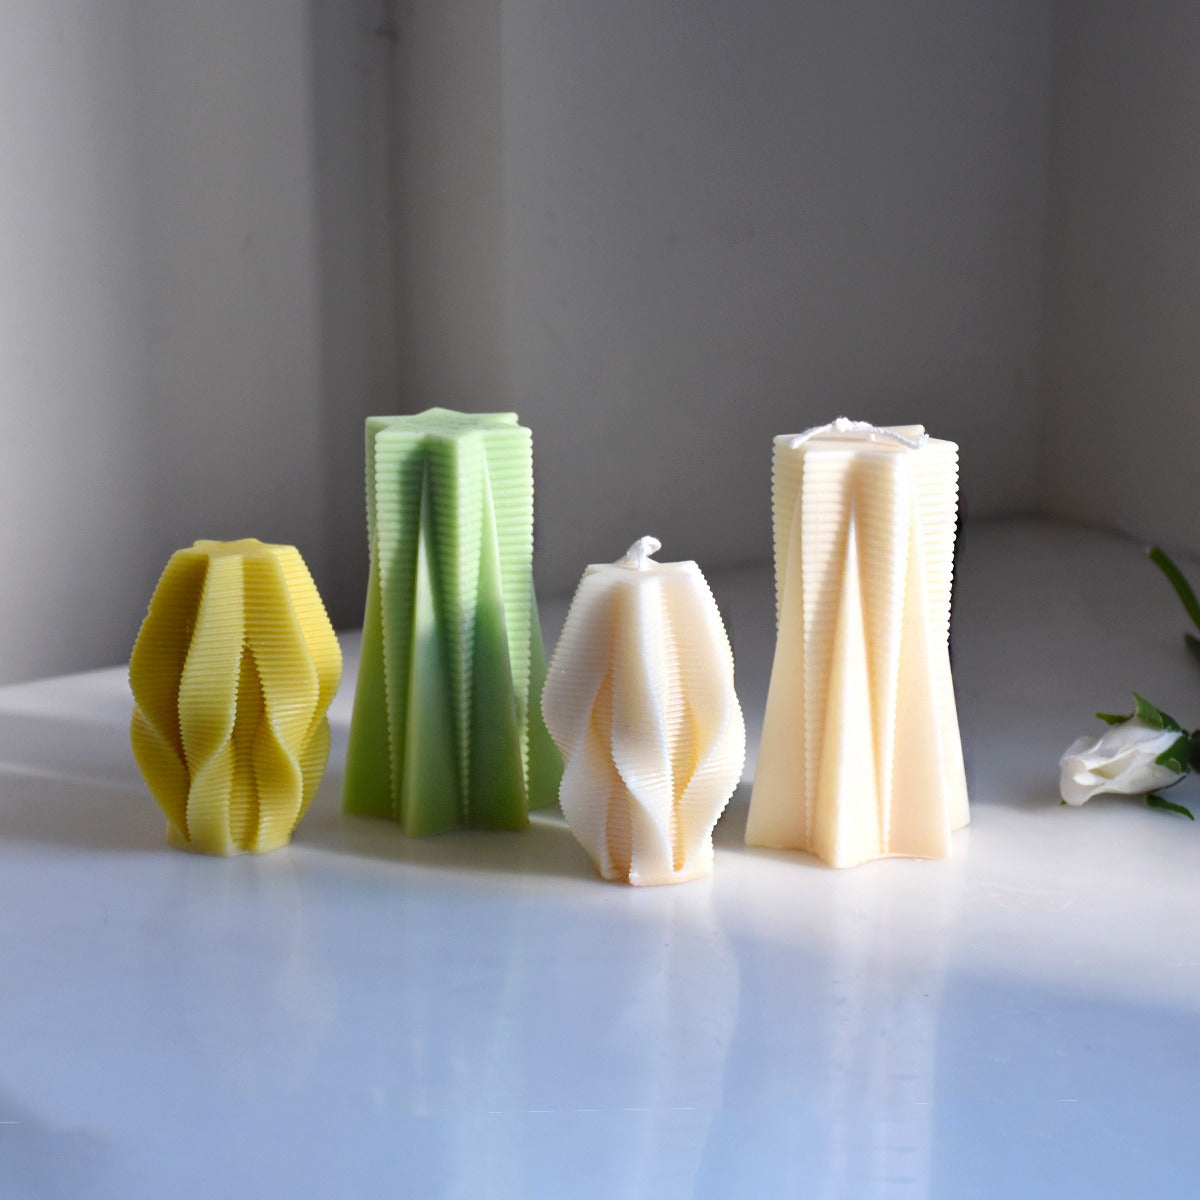
One pour turns plain wax into a sculptural centerpiece with an irregular pillar silhouette, deep geometric ridges, and flowing facets. Use it for weekend experiments, handmade gifts, home décor, or a small-batch signature.
Read the full descriptionOne pour turns plain wax into a sculptural centerpiece with an irregular pillar silhouette, deep geometric ridges, and flowing facets. Use it for weekend experiments, handmade gifts, home décor, or a small-batch signature.
Make eye-catching geometric pillar candles with a distinctive sculptural texture.
Plain pillar candles become tall, faceted centerpieces with a single creative pour. Shape intricate geometric texture without carving every ridge by hand.
The irregular three-dimensional silhouette gives finished candles a distinctive presence that smooth cylindrical molds cannot create. A simple ivory, cream, or yellow wax becomes a display piece with a stronger point of view.
Pronounced flowing facets and ribbed contours transfer the mold's visual character directly into the candle surface. The texture stays visible even when the project uses a restrained neutral color.
Flexible silicone lets makers work around the sculptural form during unmolding instead of forcing a rigid container. Let the cast set fully, then flex the body gradually around the detailed surface.
The open-top casting design gives you a straightforward entry point for filling, setting, and experimenting with different wax finishes. It also makes the fill level easy to see as you work.
Set the open-top silicone mold on a stable, level surface. Check the ridges and keep your wax, resin, or other chosen casting material ready.
Follow the handling and temperature guidance for your selected material, then pour steadily through the open top so the deep contours fill evenly.
Leave the cast undisturbed until it has fully set according to the material maker's instructions. Rushing this stage makes detailed release harder.
Gently loosen the silicone around the candle or casting. Work gradually around the faceted surface instead of pulling the finished piece out by force.

Smooth pillars are easy to make, but they can make a thoughtful project look interchangeable. When every candle has the same straight sides, the color has to do all the creative work.
Hand-carving deep ridges takes patience and rarely gives you the same surface twice. The flexible, open-top silicone form puts the irregular silhouette and flowing facets into the pour itself.

Release the cast and the finished candle has a tall irregular profile with pronounced ribbed detail. Change the wax color, finish, or styling, then use the recognizable form for décor, gifting, or a small collection.
Work around the cast slowly instead of stretching one section sharply.
Use a soft cleaning method suited to the material you cast and avoid sharp tools.
Keep the mold clean, dry, and free from heavy objects that could deform the ridges.
| Geometric silicone mold | Smooth pillar mold | Hand-carved finish | |
|---|---|---|---|
| Built-in irregular silhouette | — | Partial | |
| Deep geometric ridges | — | ||
| Texture transfers during casting | — | — | |
| Requires manual surface shaping | — | — | |
| Useful for a recognizable small-batch style | Partial | Partial |
It is suitable for candle-making projects and decorative casting projects such as resin and plaster, provided the selected material's instructions confirm silicone compatibility. Always follow that material's temperature and handling guidance.
Let the candle set completely first. Then flex the silicone gradually around the ridges and loosen the mold section by section. Avoid pulling the candle by its top or using a sharp tool.
The mold uses flexible silicone construction, so it can be flexed around the sculptural form during release. Gentle handling, careful cleaning, and proper storage keep the detailed shape ready for repeated casting.
Yes. The open top gives you a clear entry point and lets you choose a lower or fuller pour level for different creative finishes. The final silhouette will change with the fill level.
Clean it gently using a soft method suited to the material you cast. Avoid sharp implements and aggressive scrubbing because the deep grooves need careful handling.
The mold provides the same sculptural form and ribbed pattern each time, but wax color, pour level, cooling, and finishing can create small differences. That variation is part of the handmade character.


 Geometric Pillar Candle Mold for Sculptural DIY Designs