
$39.90
Free delivery · 7–14 days
Halloween Ghost Candle Molds for Easy DIY Decorations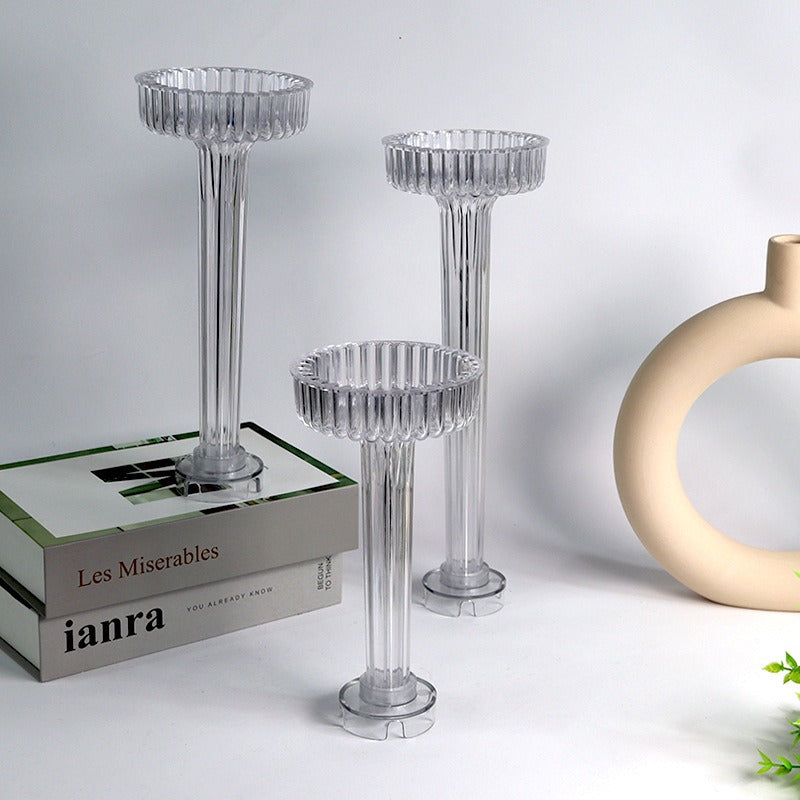
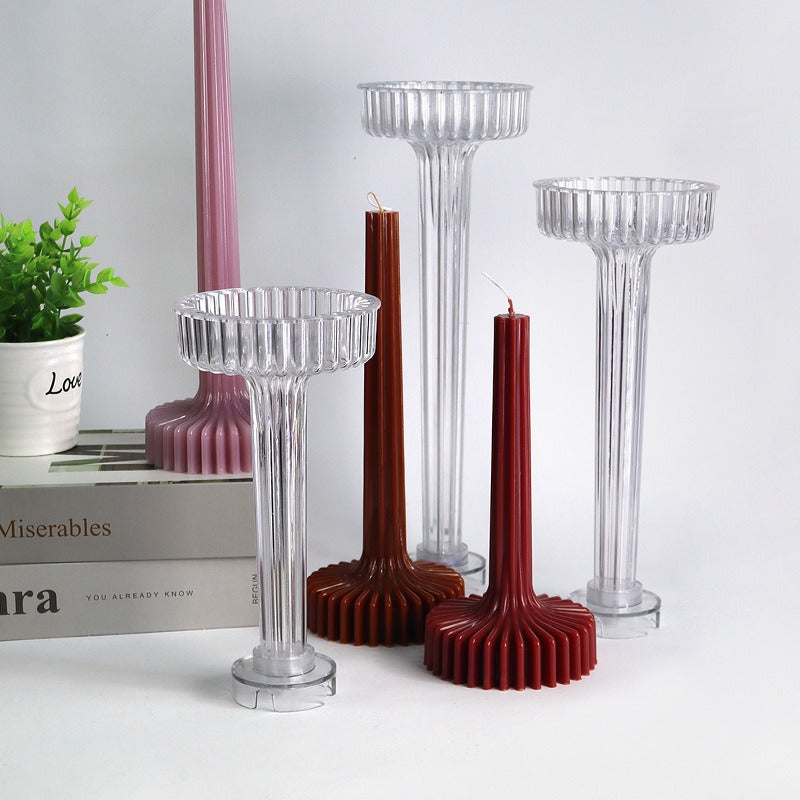
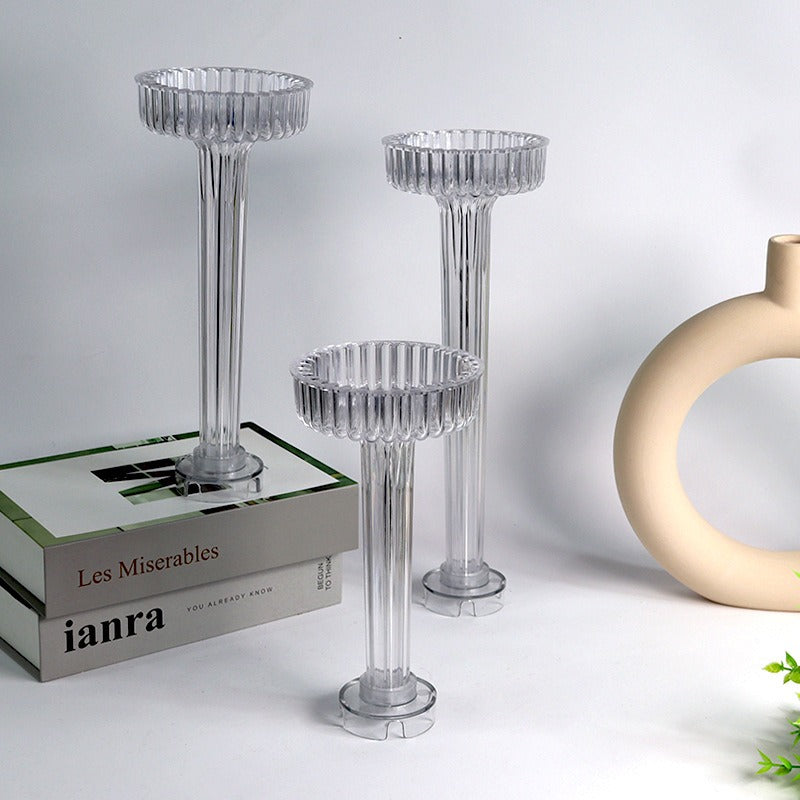
Turn ordinary wax into a sculptural centerpiece with a tall shaft, pronounced ribbing, and a broad fluted base. This reusable plastic mold gives DIY makers a repeatable form for gifts, home styling, and small-batch collections.
Read the full descriptionTurn ordinary wax into a sculptural centerpiece with a tall shaft, pronounced ribbing, and a broad fluted base. This reusable plastic mold gives DIY makers a repeatable form for gifts, home styling, and small-batch collections.
Make eye-catching sculptural pedestal candles with a distinctive fluted design
Move beyond plain poured candles and create tall, ribbed pedestal designs that feel made for display, gifting, or boutique-style collections.
The rack-vase silhouette gives poured wax a tall, elegant profile that reads as decor rather than an everyday cylinder.
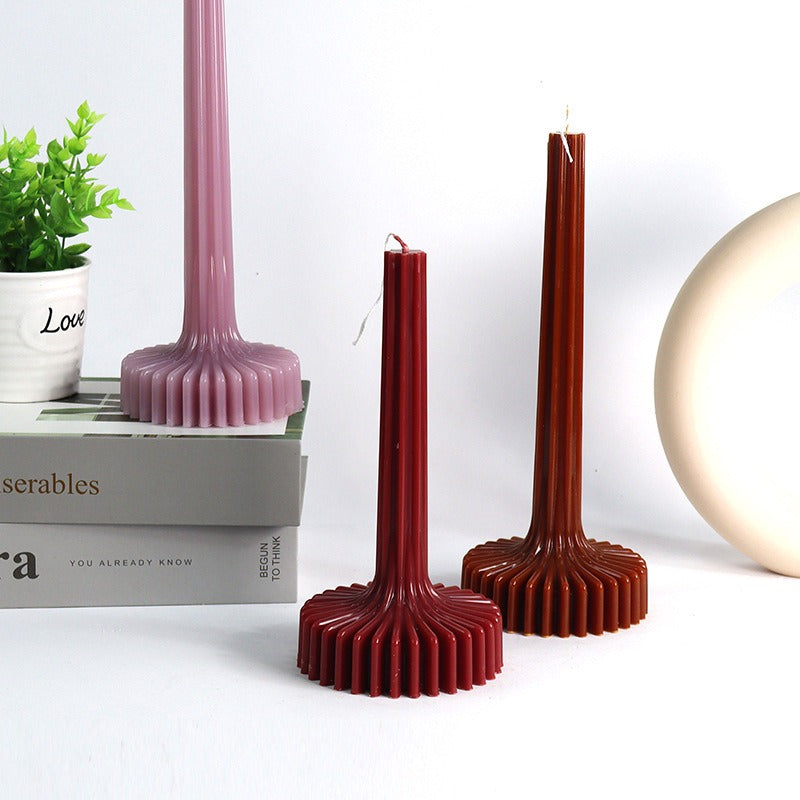
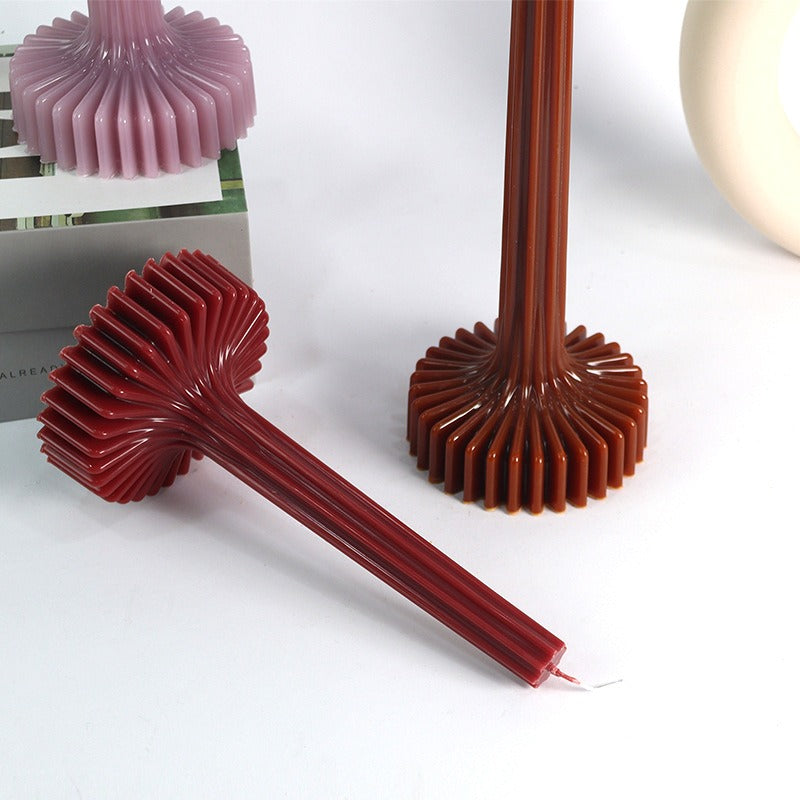
Vertical ridges add shadow, texture, and visual rhythm while making the finished candle distinctive from every angle.
The broad fluted pedestal base gives the candle visual weight and an upright form suited to a decorative centerpiece.
Return to the same recognizable silhouette for handmade gifts, seasonal batches, boutique styling, and small-batch candle collections.
Clean and dry the glossy plastic mold. Set it upright on a stable, level surface and secure the wick according to your usual candle-making setup.
Use the wax and pouring method suited to your candle-making practice. Pour steadily so the tall shaft and narrow ridges fill evenly.
Allow the wax to cool fully before handling. A complete cool-down protects the fine grooves and keeps the pedestal base clean during release.
Work patiently around the detailed ridges and ease the candle out with even pressure. Avoid sharp tools that can scratch the mold or mark the wax.
Place the finished candle on a level surface, inspect the wick and base, and test its burn responsibly before gifting or displaying it lit.
Basic pillar molds produce ordinary cylinders, even when the maker has invested time in the wax, wick, color, and finish. A handmade candle can feel personal without looking display-worthy, and hand-carving complex shapes brings uneven results.

The rack-vase silhouette gives you the architectural idea in a repeatable format. Pour into one decorative form and let the mold create the tall shaft, vertical fluting, and broad pedestal base together.

Once released, the candle reads as a decorative object before it is even lit. Group burgundy, chocolate brown, dusty mauve, or clear glass-like finishes on a tabletop, give one as a housewarming gift, or build a recognizable shape for a handmade collection.
Wipe away wax residue with a soft cloth and mild cleaning method suited to plastic.
Do not scrape the fluting with knives, needles, or other sharp tools.
Make sure the mold is clean and dry before storing or preparing the next pour.
Keep the form in a protected place where the tall walls and pedestal shape will not be crushed.
| Sculptural Ribbed Pedestal Mold | Plain Pillar Mold | Improvised Container | |
|---|---|---|---|
| Tall decorative silhouette | Yes | Partial | No |
| Pronounced vertical ribbing | Yes | No | No |
| Integrated pedestal base | Yes | No | No |
| Repeatable signature shape | Yes | Yes | Partial |
| Ready for decorative display | Yes | Partial | Partial |
The mold works with a candle-making workflow suited to your chosen wax. Follow that wax's handling guidance and pouring temperature rather than treating the plastic as a universal temperature guide.
Let the candle cool fully, then release it slowly with even pressure. The detailed grooves need patience. Forcing warm wax out or using sharp tools can damage the ridges and scratch the glossy plastic.
Use the release method recommended for your wax and candle-making setup. Keep the mold upright on a stable, level surface while the wax cools. The mold does not replace a secure workspace.
Yes. The finished form has a broad fluted pedestal base intended to give the candle a stable, upright decorative presence. Always place it on a level, heat-safe surface when burning.
Beginners can use it as a first sculptural project if they already understand basic wax, wick, cooling, and burn-safety practices. The visual result feels advanced, while the workflow stays focused on careful preparation and release.
Yes. The reusable plastic design gives makers a consistent signature shape for gifts, boutique styling, seasonal batches, and small handmade collections. Its value grows each time you return to the form.


 Candle Mold for Sculptural Ribbed Pedestal Candles