
$64.90
Free delivery · 7–14 days
Windshield Cleaner Tablets for Clearer, Safer Driving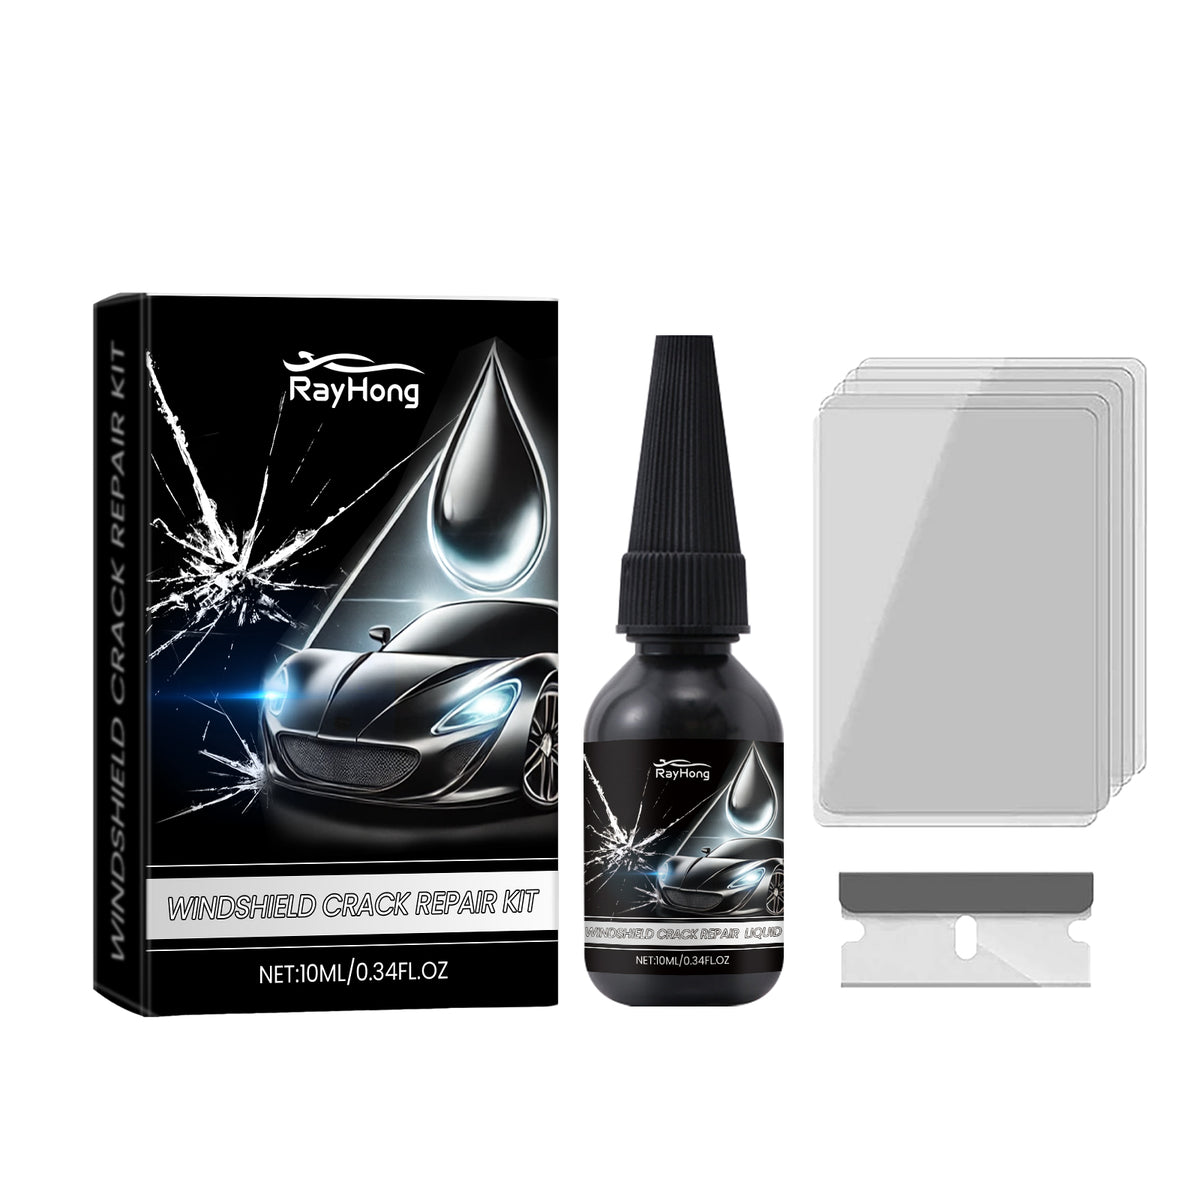
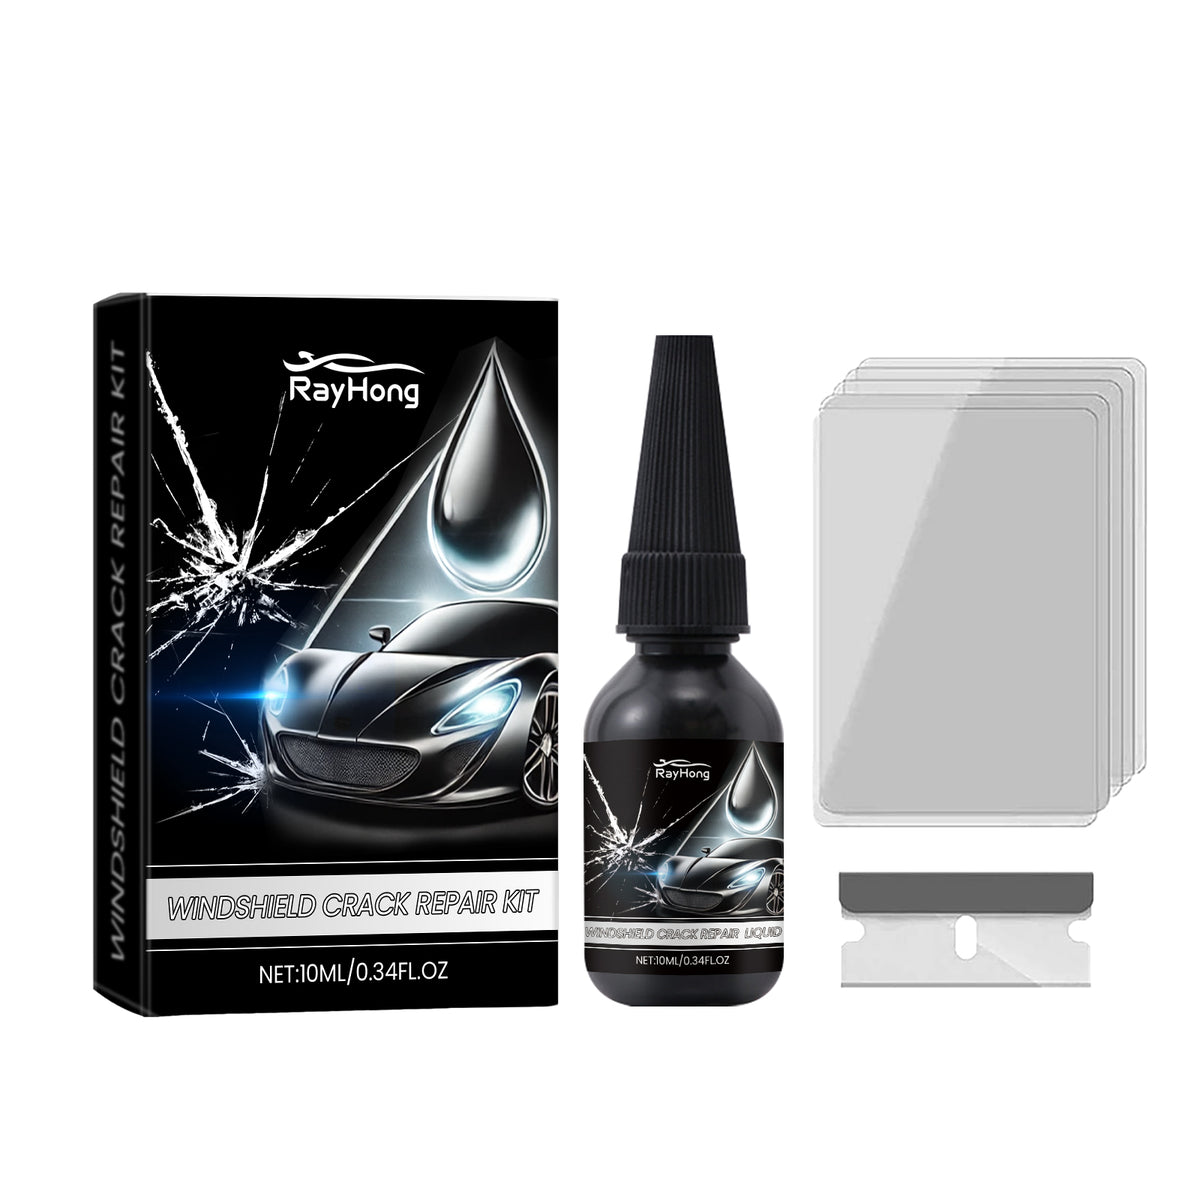
Clearer glass starts with acting on the small mark you noticed today. This compact windshield repair kit brings 10ML of resin, transparent tabs, and a scraper together for suitable minor chips and…
Read the full descriptionClearer glass starts with acting on the small mark you noticed today. This compact windshield repair kit brings 10ML of resin, transparent tabs, and a scraper together for suitable minor chips and…
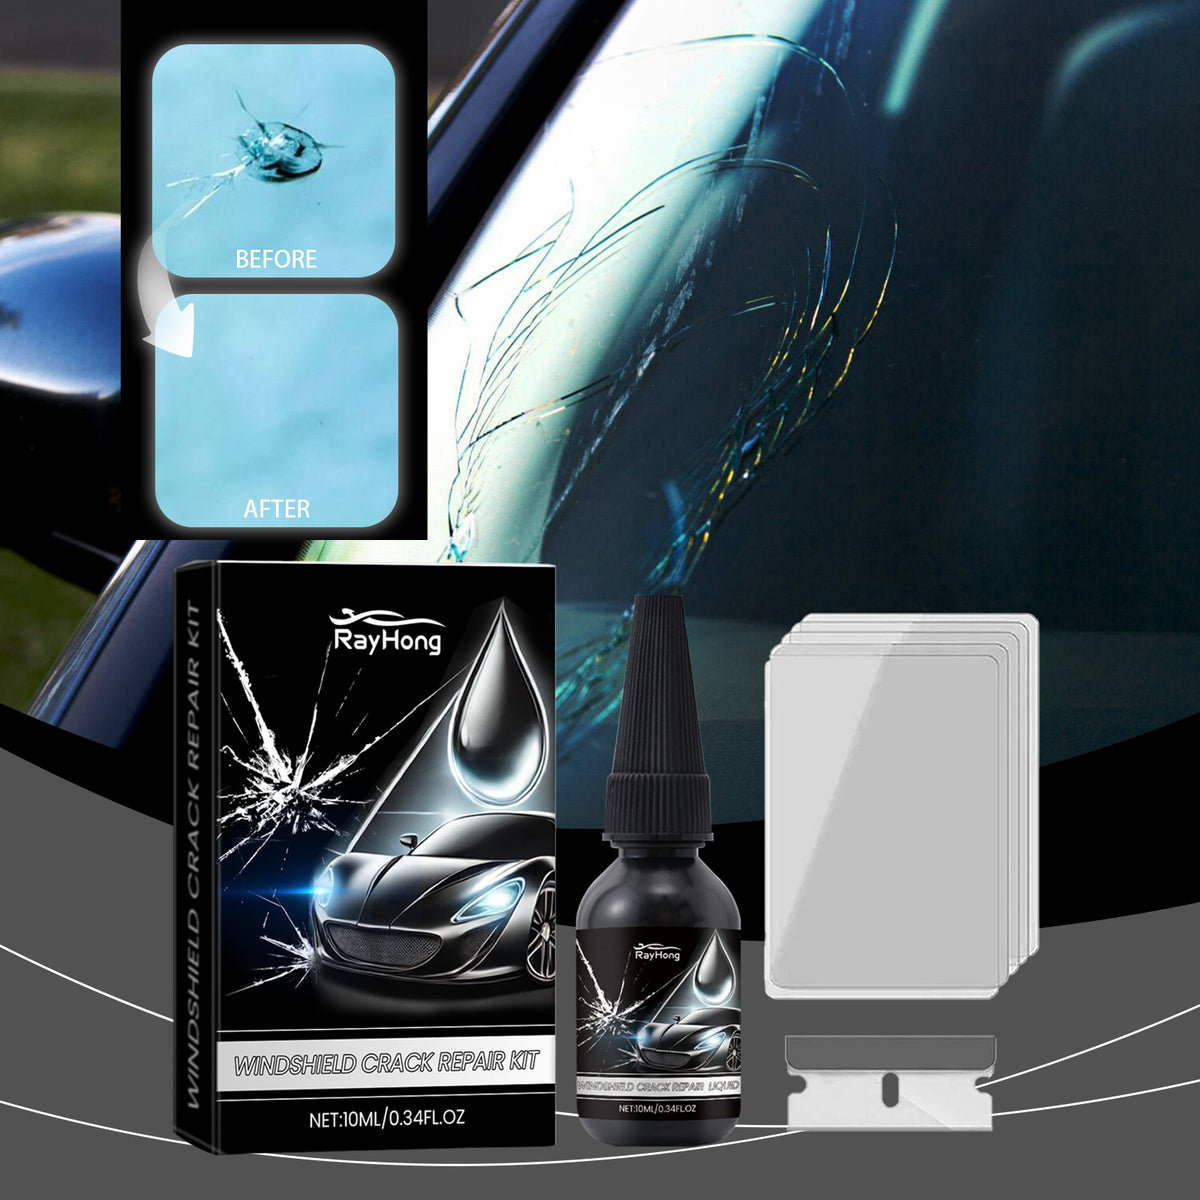
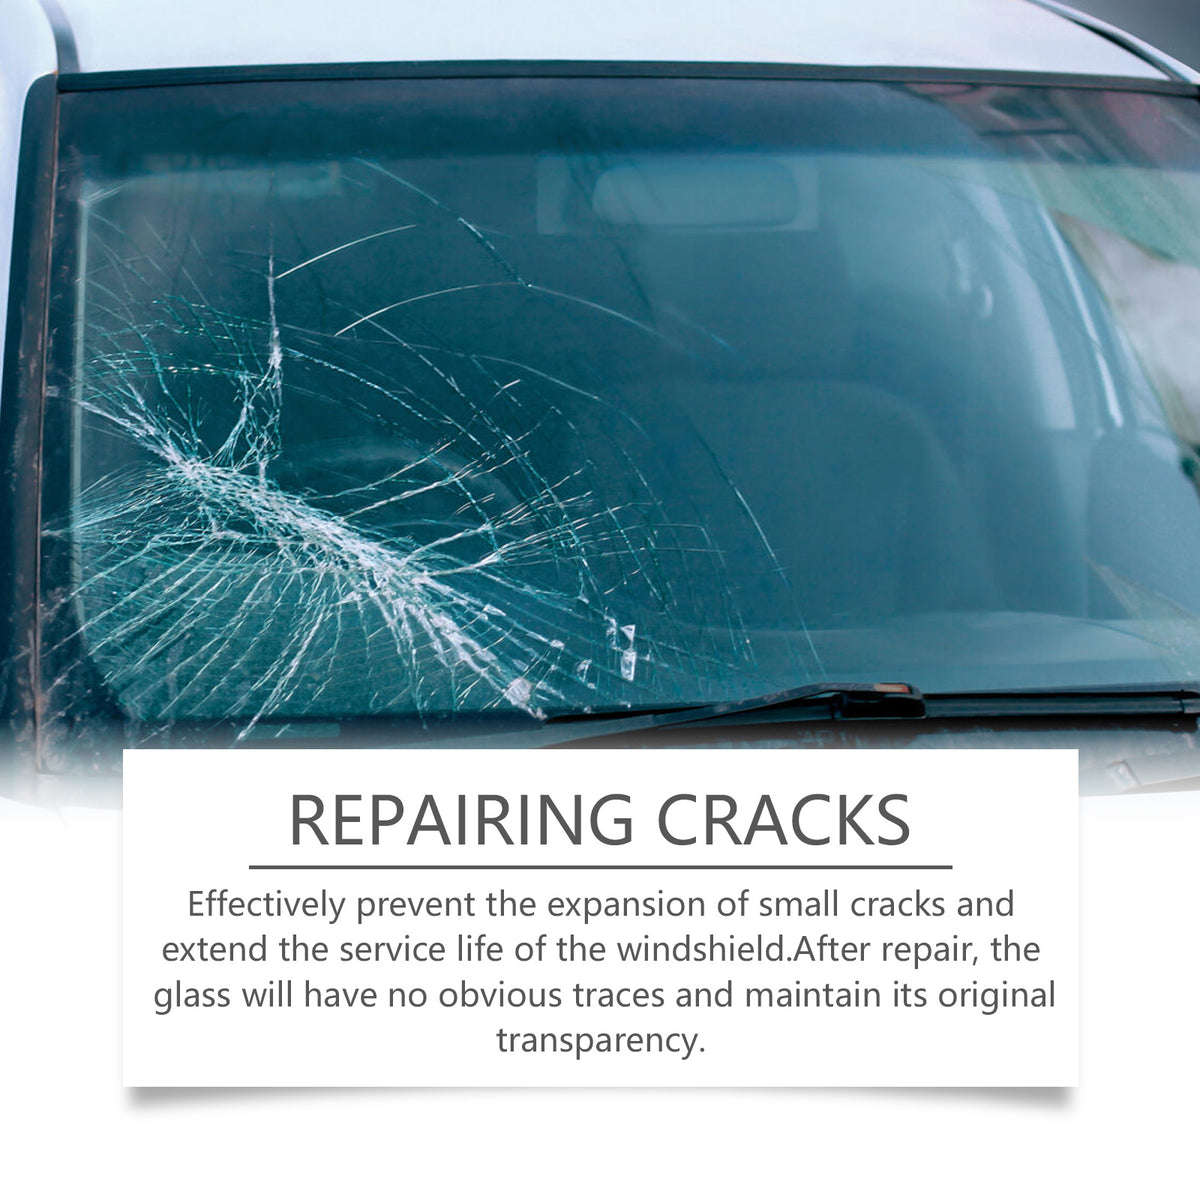
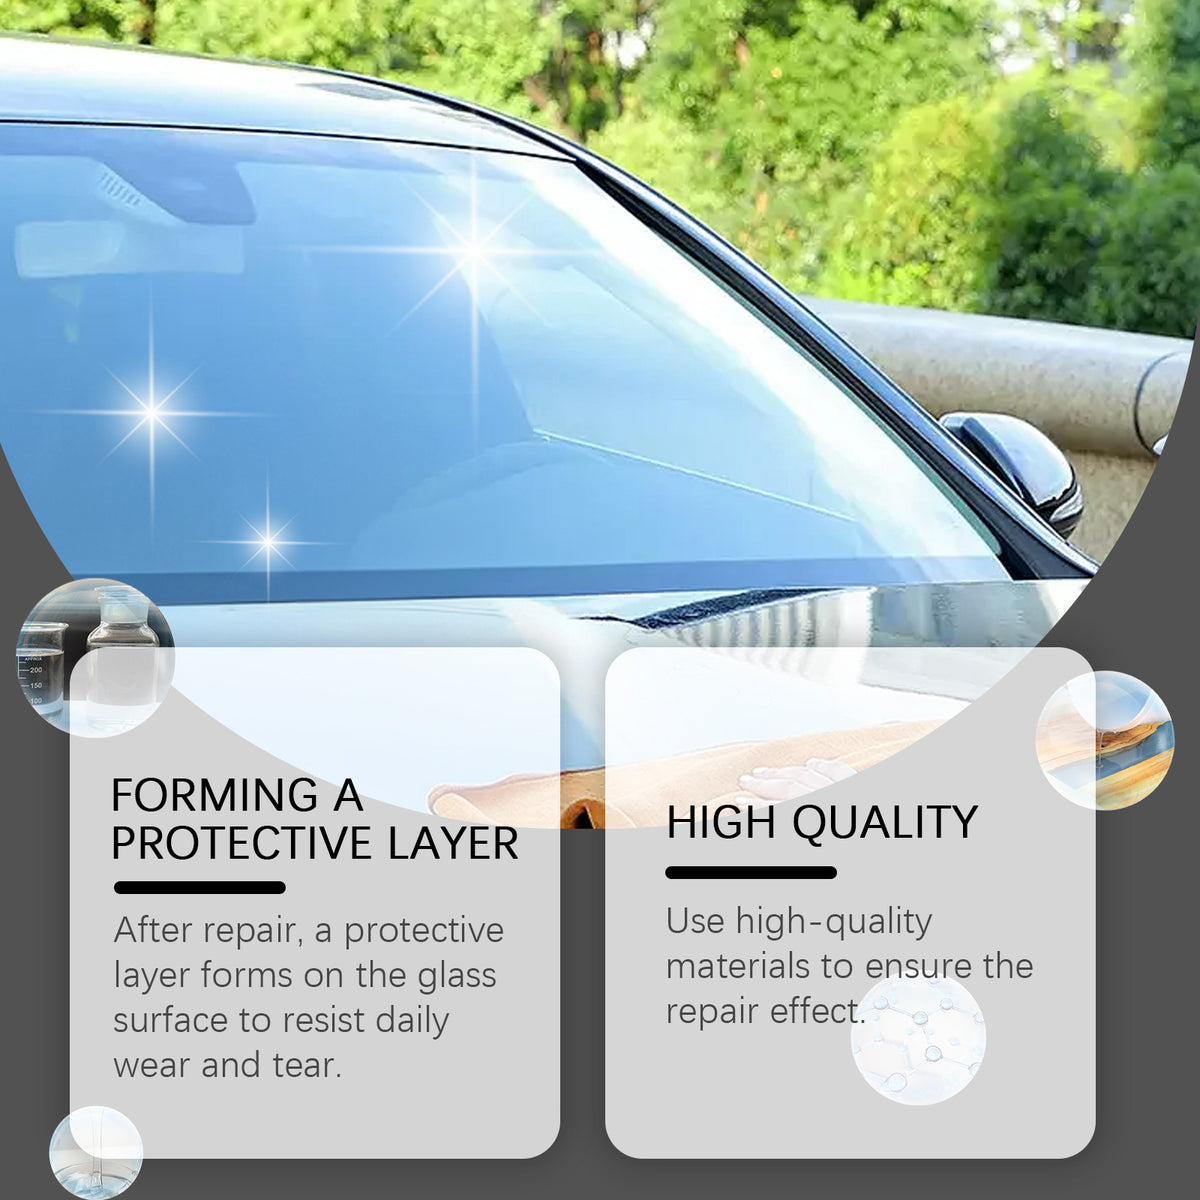
Repairs small windshield cracks while helping prevent them from expanding and preserving glass transparency
A compact DIY kit helps treat minor windshield chips and cracks before they grow. Reduce the visible mark while preserving your windshield’s original transparency.

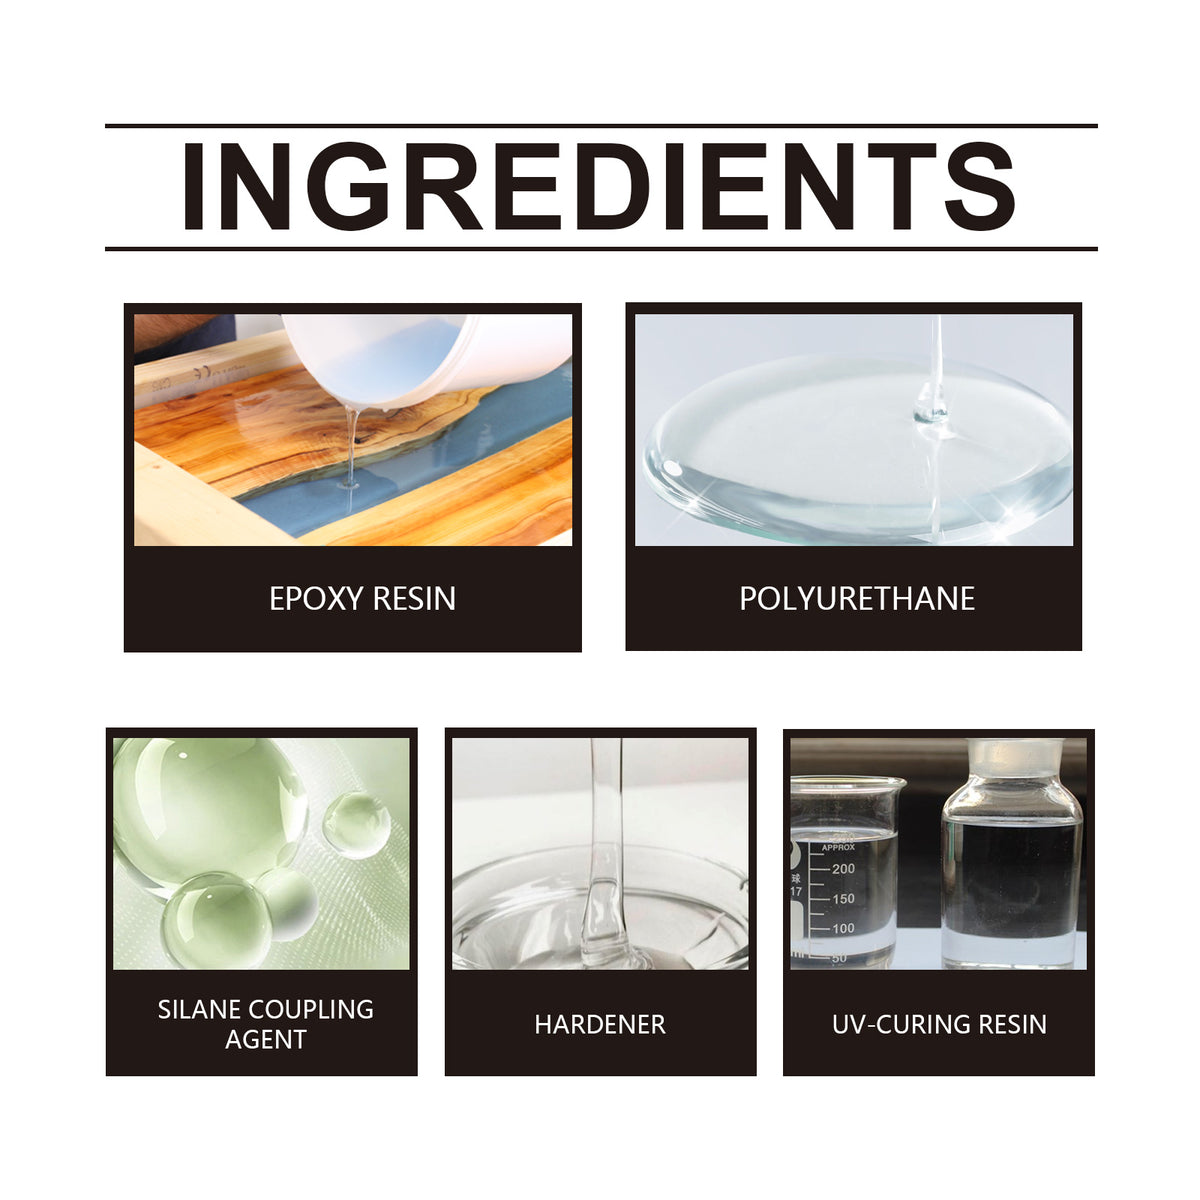
The resin is made for small windshield cracks and chips, giving you a way to address the mark before it has more opportunity to expand.

The precision bottle nozzle supports focused placement of the clear repair fluid instead of broad, imprecise application across the glass.
Multiple transparent repair tabs cover and manage the application area while keeping the work zone visible during the repair.

The included scraper removes excess material after treatment for a cleaner-looking surface that is easier to inspect.
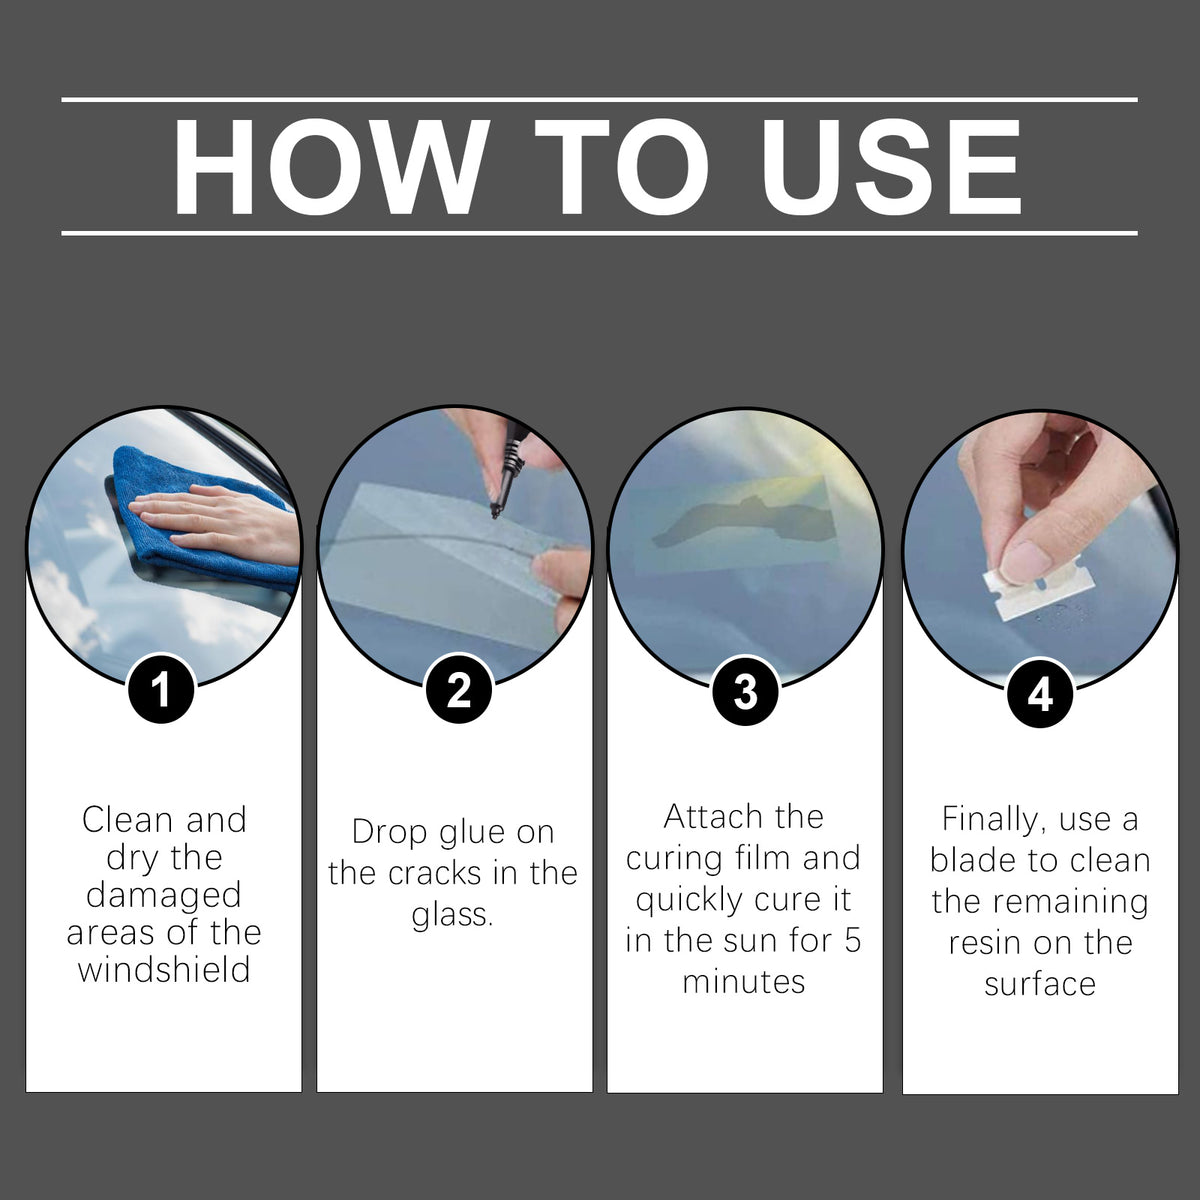
Park the vehicle and examine the chip or crack in good light. Confirm that it is minor and suitable for careful DIY treatment.
Remove dirt, moisture, and loose particles from the repair area. A clean, dry surface gives the resin a clearer working path.
Place a repair tab over the damaged area so the work zone remains visible and contained.
Use the precision nozzle to place the repair fluid carefully through the tab. Avoid broad application away from the mark.
Remove excess material with the included scraper, then inspect the glass from both sides before returning to normal driving.
10ML clear repair resin with precision nozzle
Keeps the application area visible and contained
Removes excess material from the glass surface
Compact storage for the repair setup
A tiny chip can catch your eye on every drive. The uncertainty is familiar: ignore it, cover it temporarily, or worry that heat, cold, road vibration, and time will make the damage harder to address.
This four-piece setup brings clear resin, transparent tabs, a scraper, and a compact box together for suitable minor damage. Keep it ready at home instead of waiting for a small mark to become a larger concern.
Clean, dry glass gives the resin a better working surface. Controlled placement through the precision nozzle, careful tab positioning, and a final pass with the scraper keep the process measured rather than messy.
After treatment, the small mark can look less noticeable while the glass retains its original transparency. Inspect the result from inside and outside, then monitor the area instead of assuming every crack is suitable for DIY repair.
Assess the damage in good light, clean the glass, and decide whether the mark is appropriate for DIY treatment.
Use the scraper to clear excess resin and leave the treated area easier to inspect.
Inspect from inside and outside before driving normally. Do not drive if visibility or glass integrity remains concerning.
Keep checking for changes or spreading. Seek professional assessment if the crack grows, reaches an edge, or affects safe vision.
| This kit | Ignore the mark | Professional service | |
|---|---|---|---|
| At-home convenience | Yes | Yes | No |
| Suitable for minor chips | Yes | No action | Yes |
| Handles edge-reaching damage | No | No | Yes |
| Includes repair tools | Yes | No | Service provided |
| Best value for extensive damage | No | No | Yes |
It is intended for suitable minor windshield chips and small cracks. Large, branching, edge-reaching, or spreading damage needs assessment by a glass professional.
Use extra caution with any damage in the driver’s view. Inspect the result from inside and outside, and choose professional service if visibility remains affected.
The treatment can reduce the visible appearance of a small chip and preserve the glass’s original transparency. The final result depends on the original damage, so a completely invisible repair is not guaranteed.
This is a windshield crack repair kit for automotive glass. Confirm that the damage is suitable before use, follow the product instructions, and ask a glass professional when the glass or crack type is uncertain.
The process is careful rather than complicated: clean and dry the glass, position the transparent tab, place the resin with the nozzle, then remove excess with the scraper. Good light and patience matter.
Stop the DIY process and seek professional assessment. Edge-reaching, growing, or visibility-obstructing damage can require repair or replacement beyond this compact kit.


 DIY Windshield Repair Kit for Small Cracks & Chips