
$46.90
Free delivery · 7–14 days
Magnetic Sphere Puzzle Set for Creative 3D Sculptures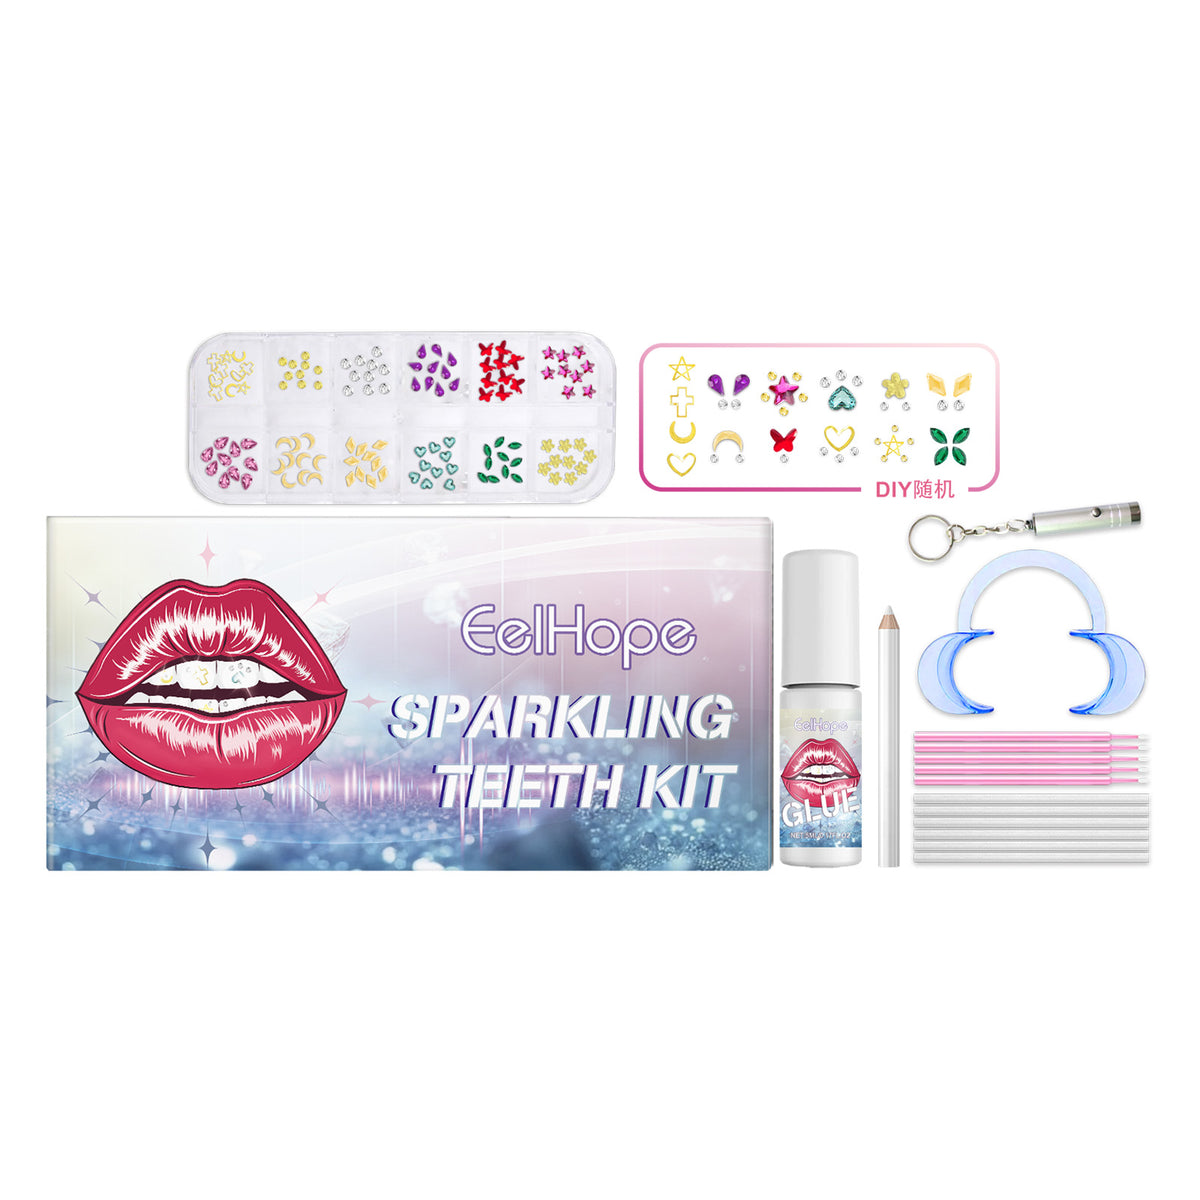
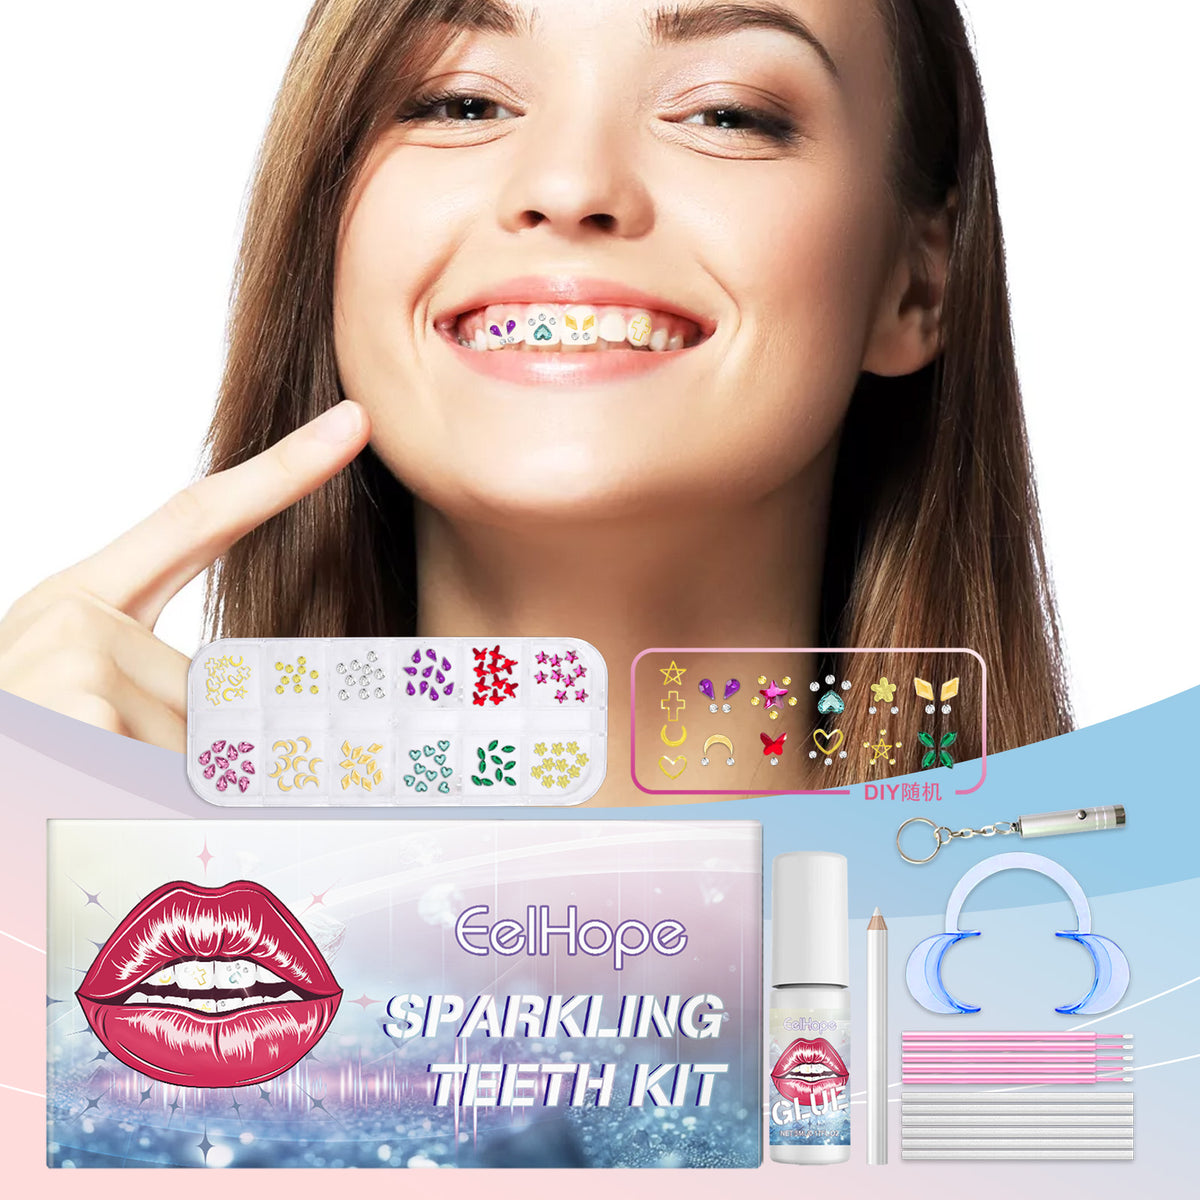
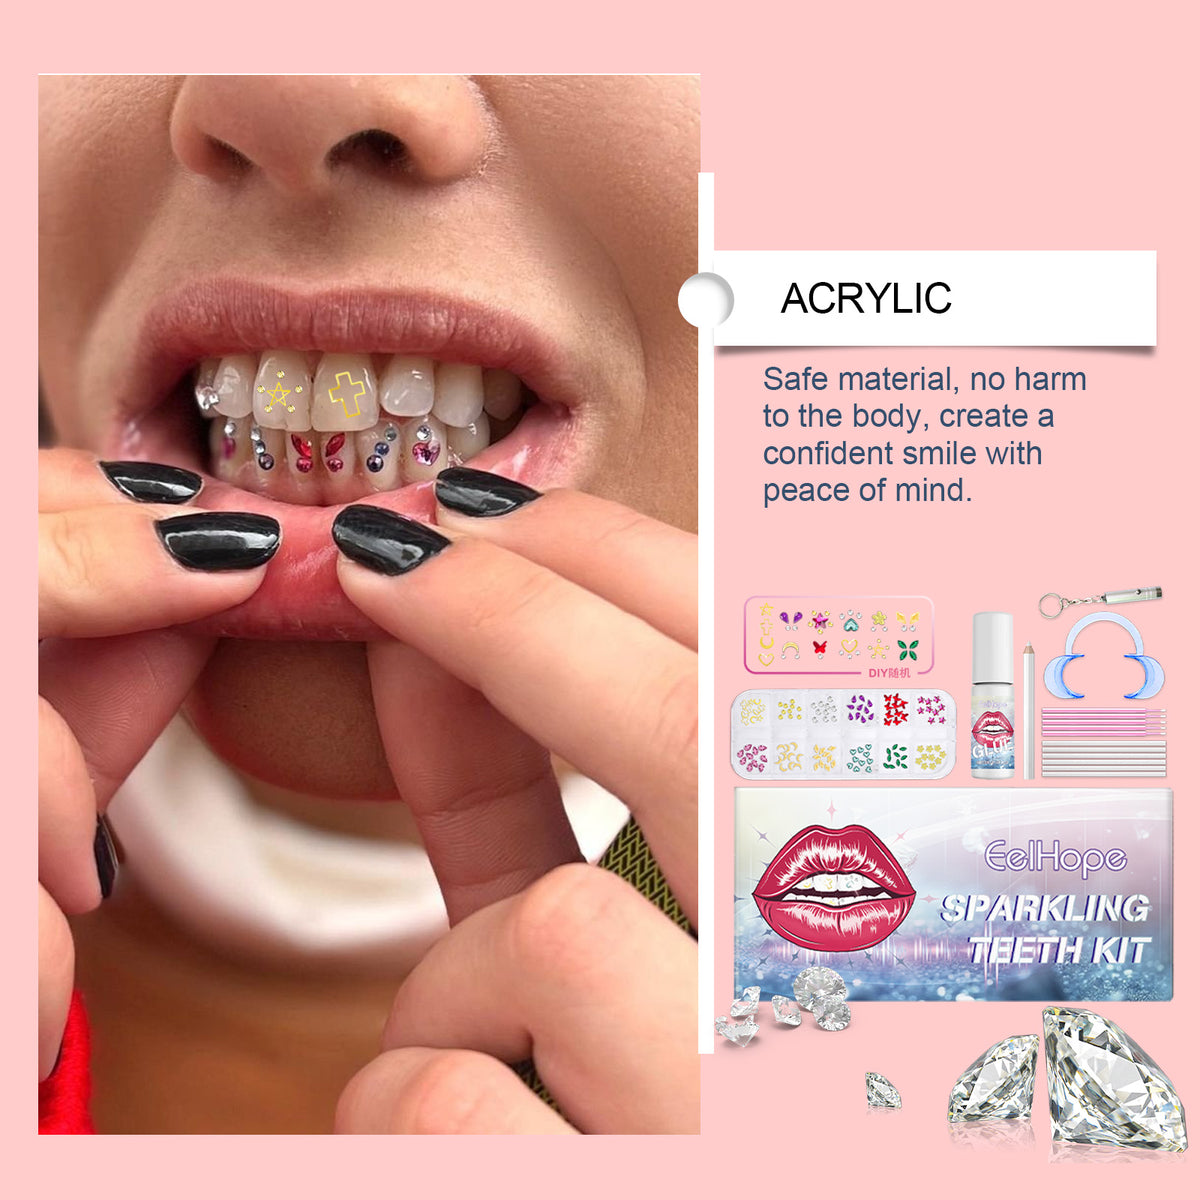
Turn a plain smile into a colorful styling detail for festivals, parties, photoshoots, and creative beauty sessions.
Read the full descriptionTurn a plain smile into a colorful styling detail for festivals, parties, photoshoots, and creative beauty sessions.
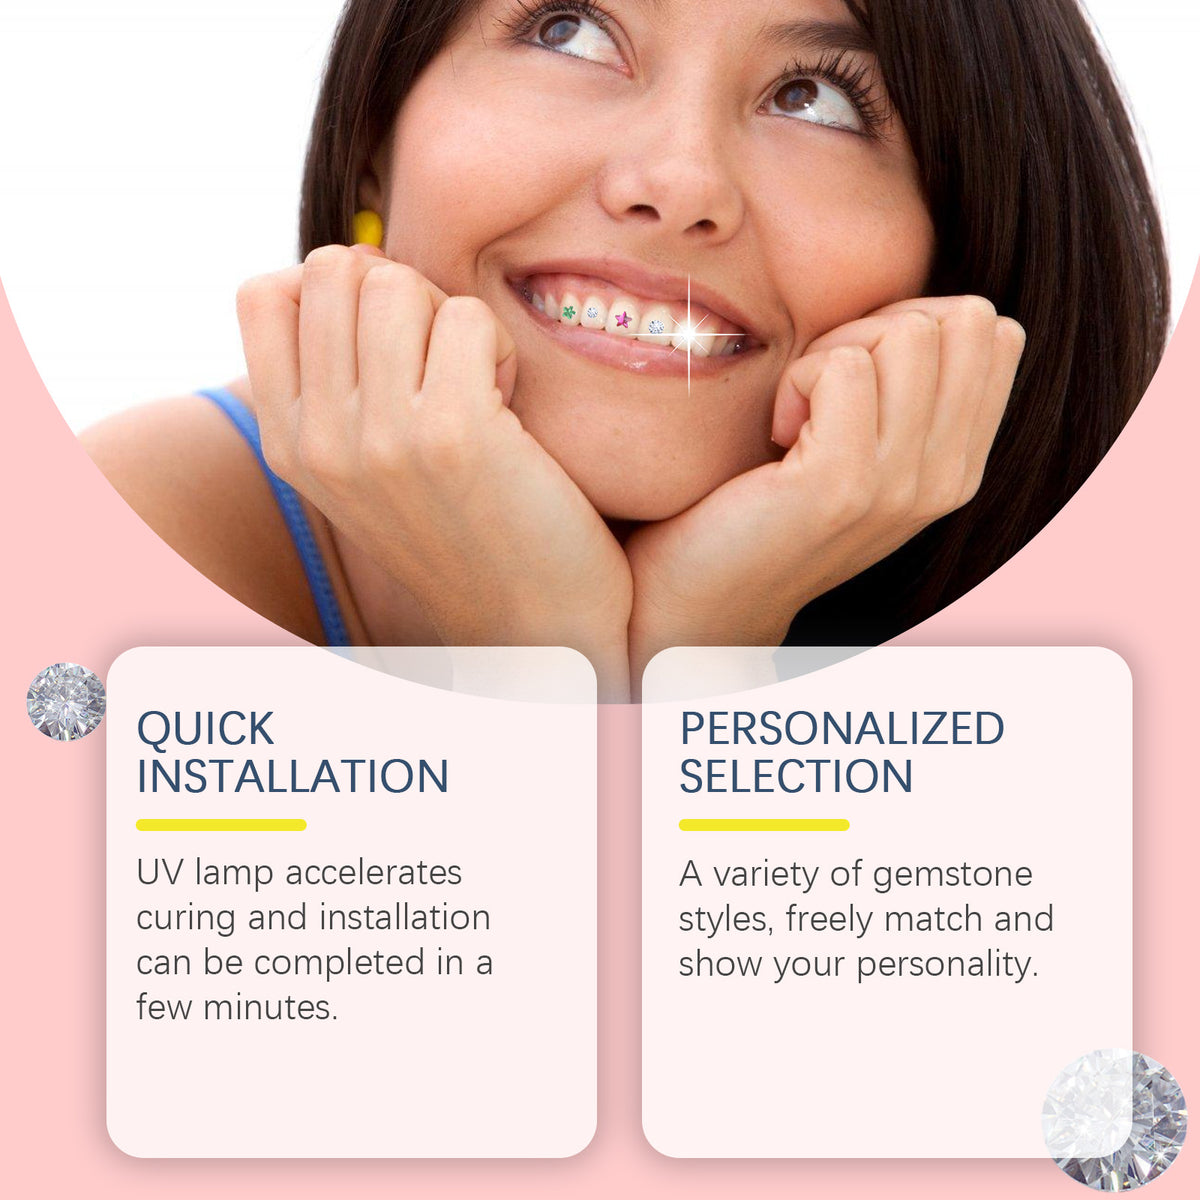
Create a personalized sparkling smile with colorful tooth crystals and quick UV-assisted installation.
Skip the one-look-fits-all accessory. Choose colorful tooth crystals, arrange your design, and create a smile detail made for your next photo, party, or festival.

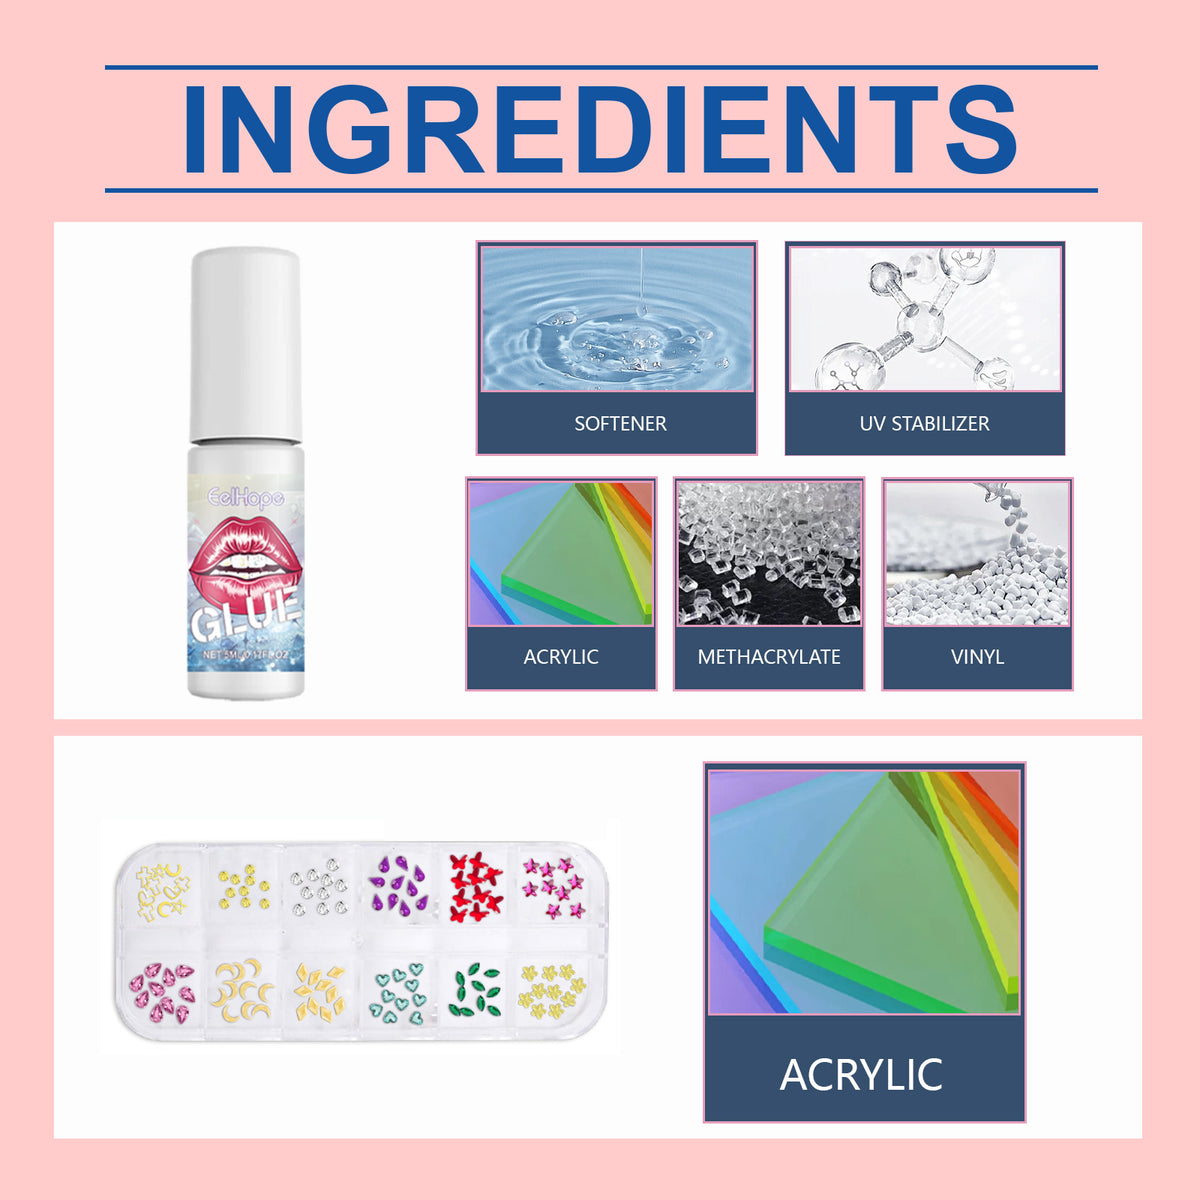
Ruby pink, lavender, baby blue, gold, silver, and white crystal styles let you create a coordinated, subtle, or colorful smile concept instead of accepting one fixed look.
The selection tray gives small crystals a dedicated place for arranging a pattern before application. That means less guesswork and a cleaner creative process.

The compact white UV curing lamp is included for the stated UV-assisted curing process. Follow the complete directions and keep exposure away from eyes and unnecessary skin contact.
The box groups the lamp, crystals, tray, metal tool, blue applicator pieces, and pink-and-white accessory strips for a prepared at-home styling session.
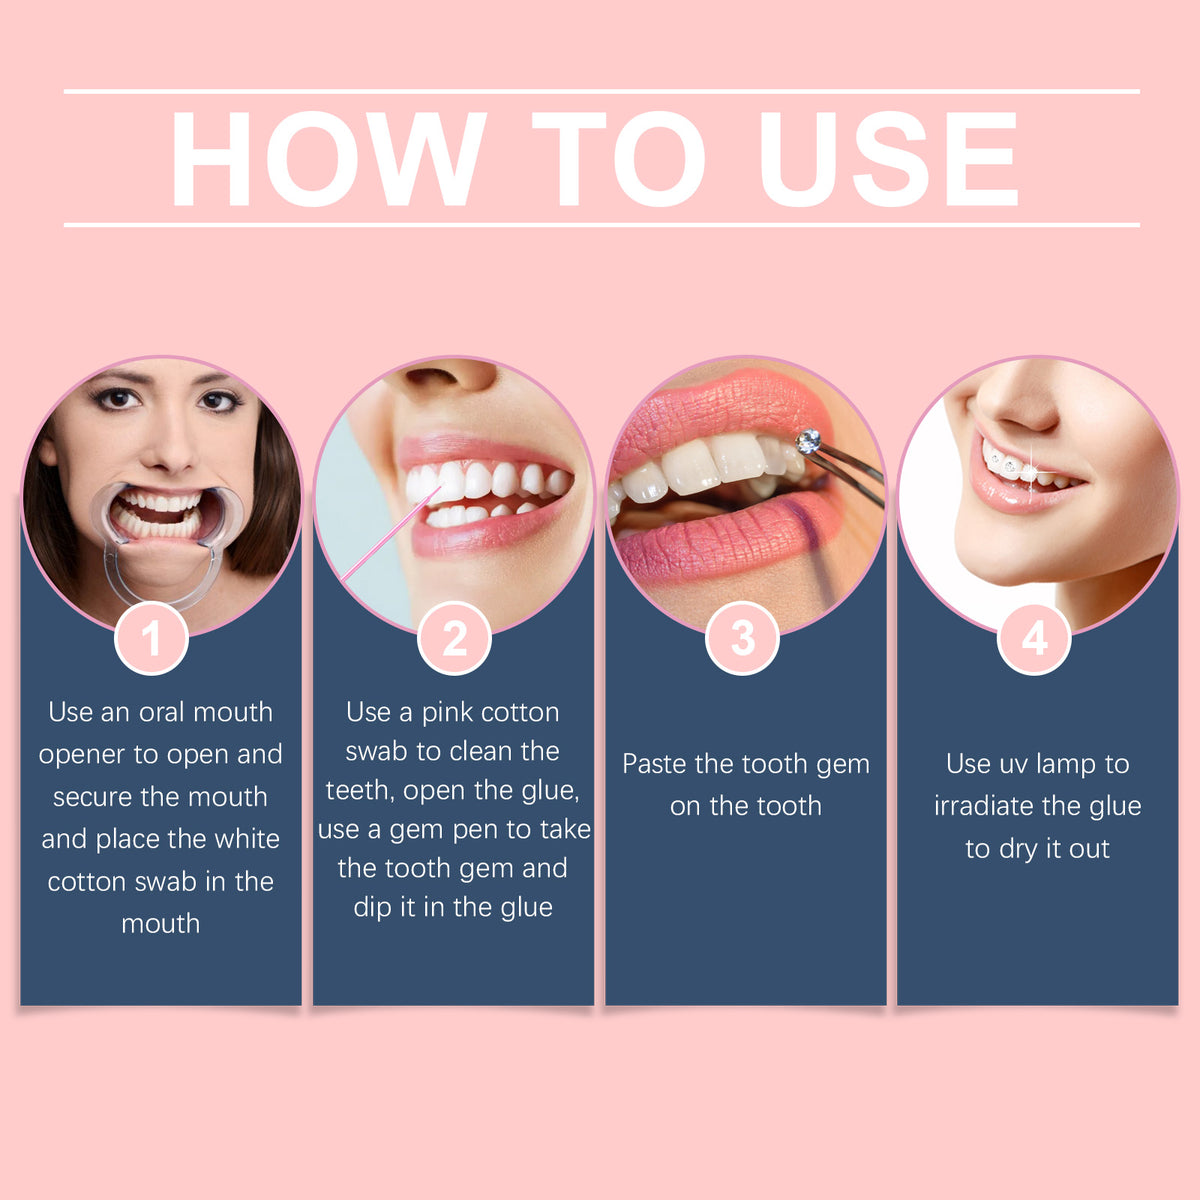
Lay out the box, crystals, tray, lamp, metal tool, applicator pieces, and accessory strips on a clean, bright surface. Check that every material is clear to you before starting.
Sort the crystal styles in the selection tray. Try a single accent, a balanced pattern, or a playful mix before bringing the design near your teeth.
Do not continue over braces, damaged enamel, irritated gums, or uncertain dental work. Ask a dental professional when your oral health or materials raise questions.
Use only the supplied materials as directed. The UV lamp supports the stated curing process, but it does not replace careful placement, readable instructions, or safety checks.
Do not force a crystal into place or improvise with household glue. Stop for discomfort, irritation, unclear instructions, or unexpected residue.
Keeps the complete setup together.
For the stated UV-assisted curing process.
Includes colorful ruby pink, lavender, baby blue, gold, silver, and white styles.
Arrange your pattern before placement.
Keychain-style application accessory.
Part of the application accessory assortment.
Additional pastel application accessories.
A carefully styled look can still feel unfinished when your smile has no personal detail. Start by choosing colors and arranging the look before anything reaches your teeth.
Loose gems and improvised adhesives make placement messy and leave too much room for guesswork. The organized box gives your crystals, tray, tools, and lamp a clear place in the process.
Read every available direction, prepare a clean workspace, and keep dental-safety awareness in the room. Adult supervision matters, especially when the instructions or materials are unclear.
The result is a deliberate, camera-catching accent that belongs to your aesthetic. Go subtle with one glint or build a colorful smile detail for the next festival, shoot, or party.
| This tooth crystal kit | Loose gems | Professional application | |
|---|---|---|---|
| Choose from varied crystal styles | Yes | Partial | Partial |
| Selection tray for planning | Yes | No | No |
| Dedicated UV lamp included | Yes | No | No |
| Core accessories grouped together | Yes | No | Partial |
| Dental assessment included | No | No | Yes |
| Best for creative control at home | Yes | Partial | No |
Do not apply over braces, damaged enamel, irritated gums, or uncertain dental work. Anyone with fillings, crowns, veneers, sensitivity, or oral-health concerns should ask a dental professional before using tooth jewelry.
The kit includes the pictured application accessories, but the detailed directions are not fully readable in the available product information. Do not improvise with household glue. Stop and seek professional guidance if any material or step is unclear.
The compact lamp supports the kit's stated UV-assisted curing process. Use it only according to the complete directions, never stare into the light, and keep unnecessary exposure away from eyes and skin.
Yes. Use the selection tray to sort and arrange the ruby pink, lavender, baby blue, gold, silver, and white styles before placement. It is the easiest way to test a subtle or statement pattern.
It is intended for fashion-forward adults, and minors need responsible adult supervision. Do not use it over braces, crowns, veneers, damaged enamel, or irritated gums without dental advice.
Loose gems give you pieces but little structure. This kit combines a selection tray, varied crystals, application accessories, and a dedicated UV lamp in one compact setup. A professional application remains the better route for anyone who needs dental assessment or has complex restorations.
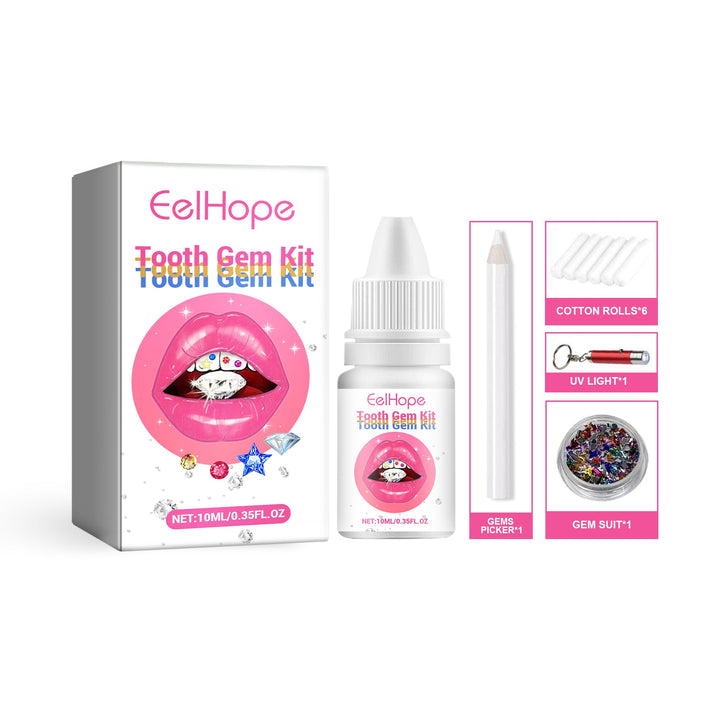


 Tooth Crystal Kit for DIY Sparkling Smile Styling Set