$64.90
Free delivery · 7–14 days
Hair Styling Spray for Touchable, Long-Lasting Hold
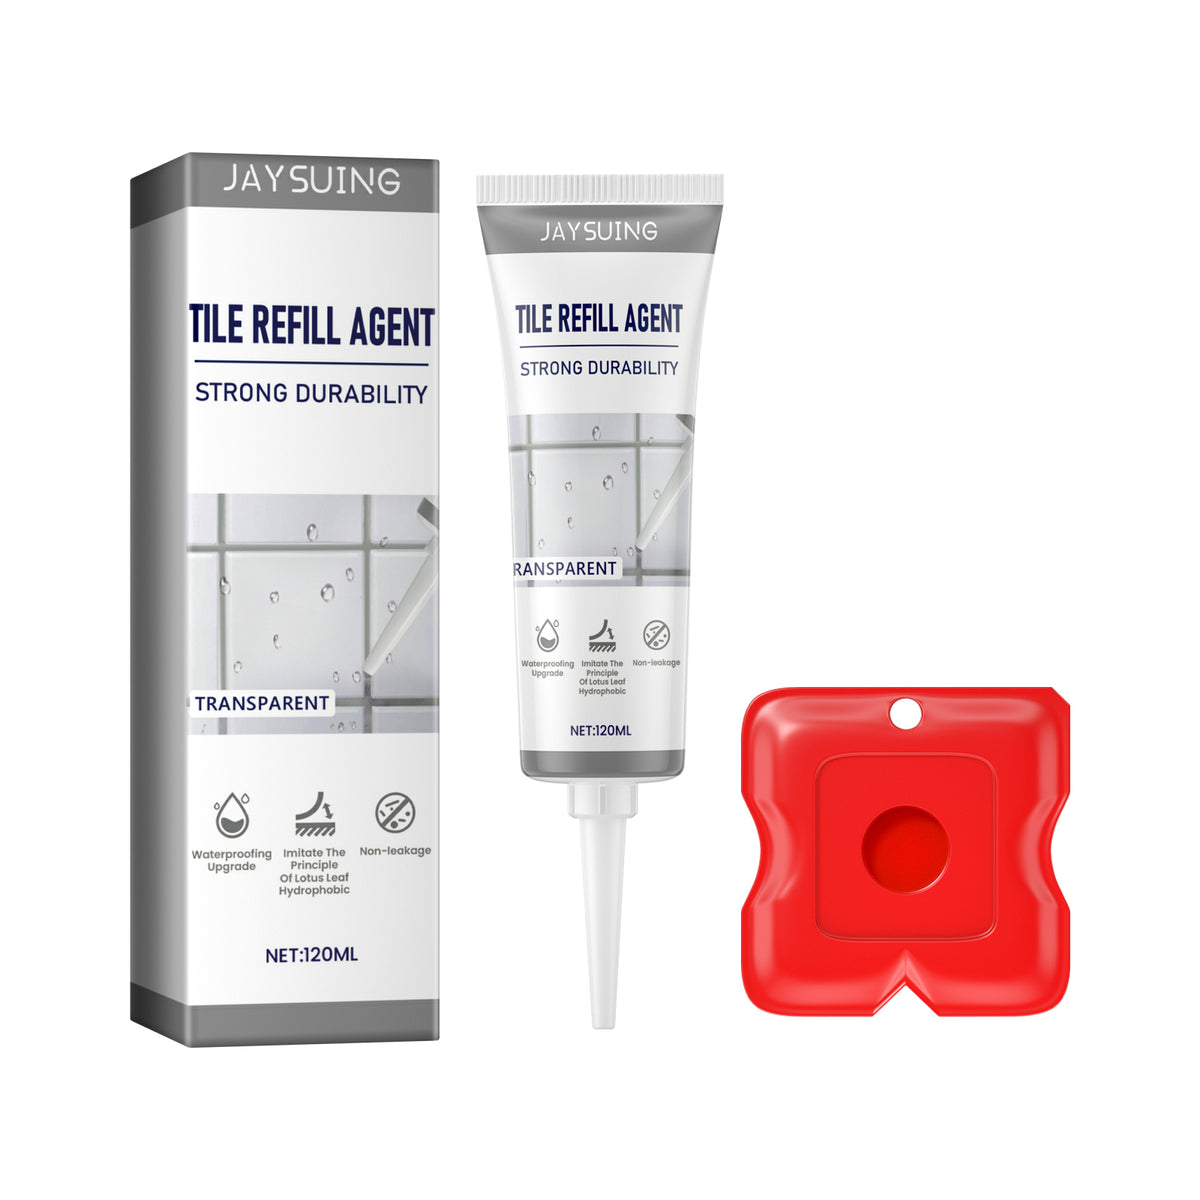
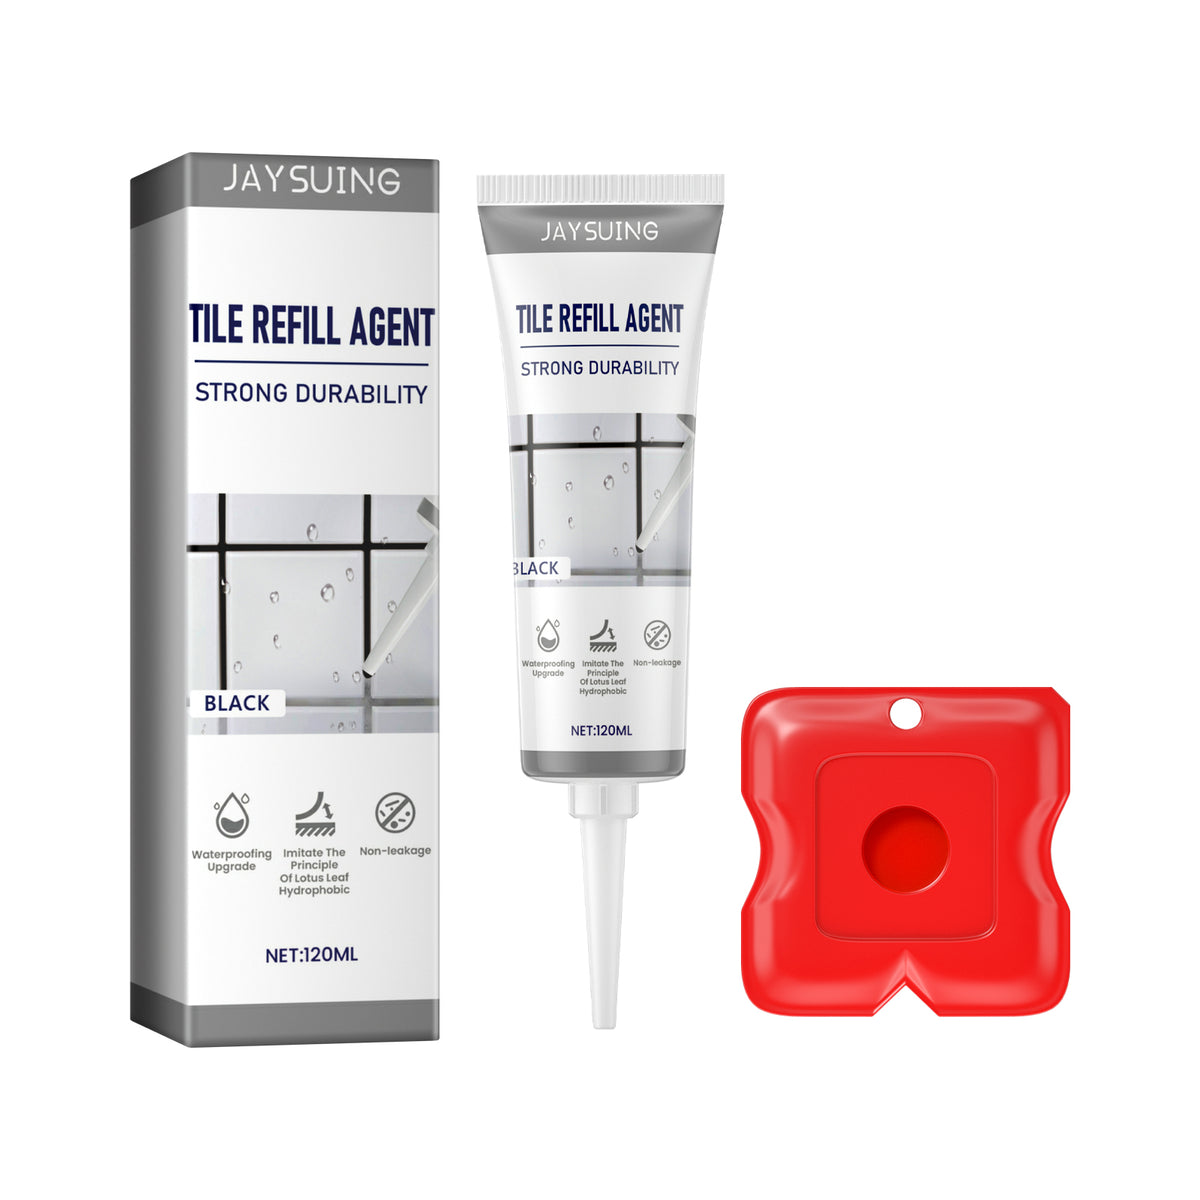
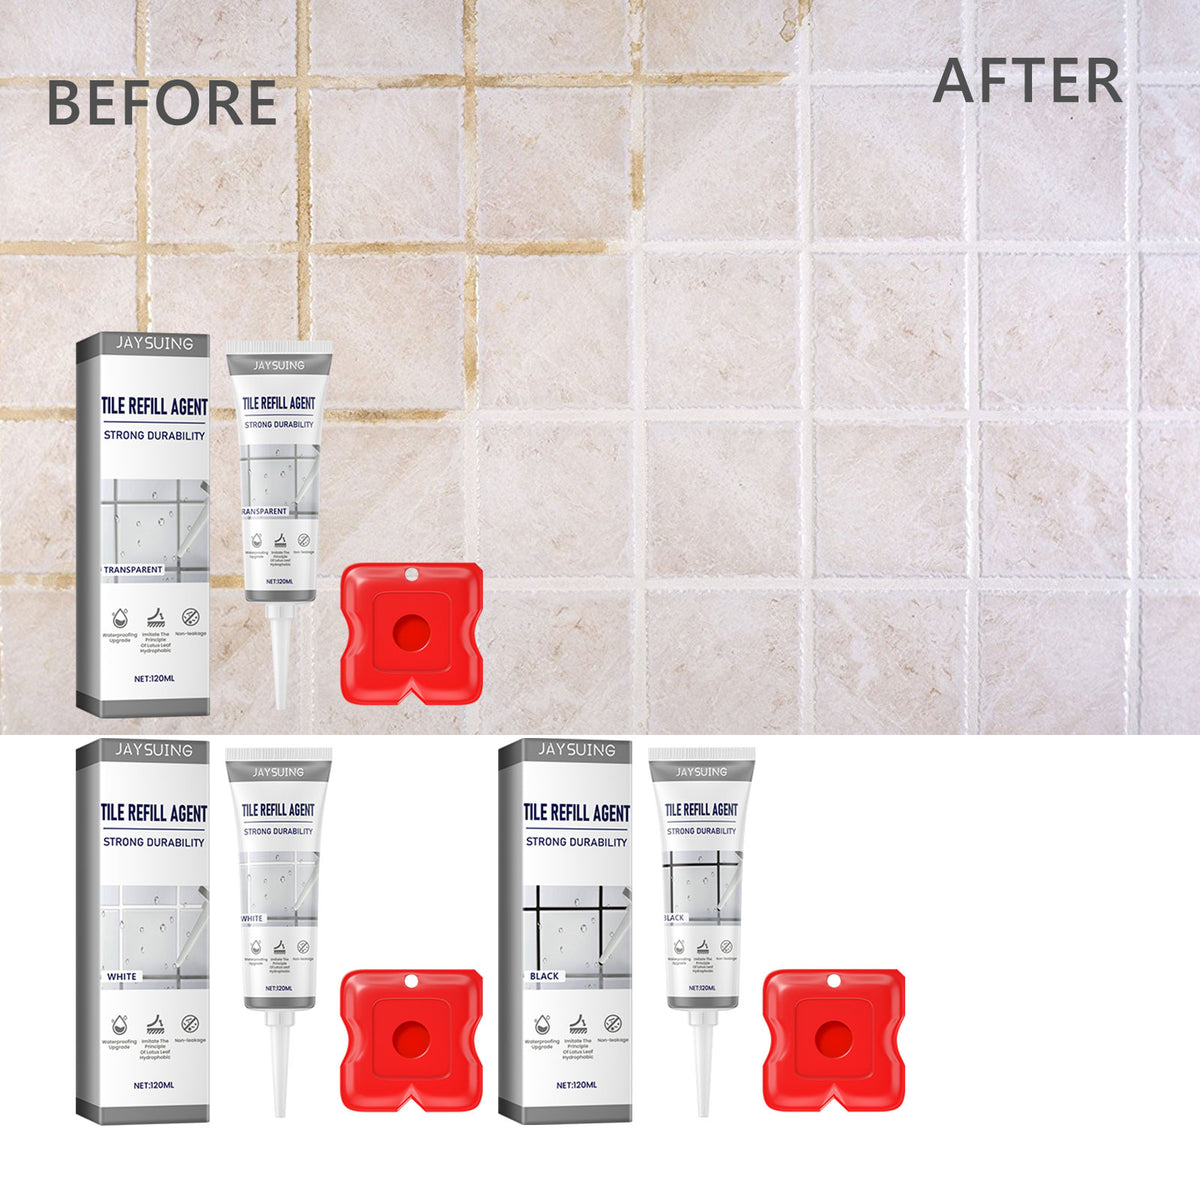
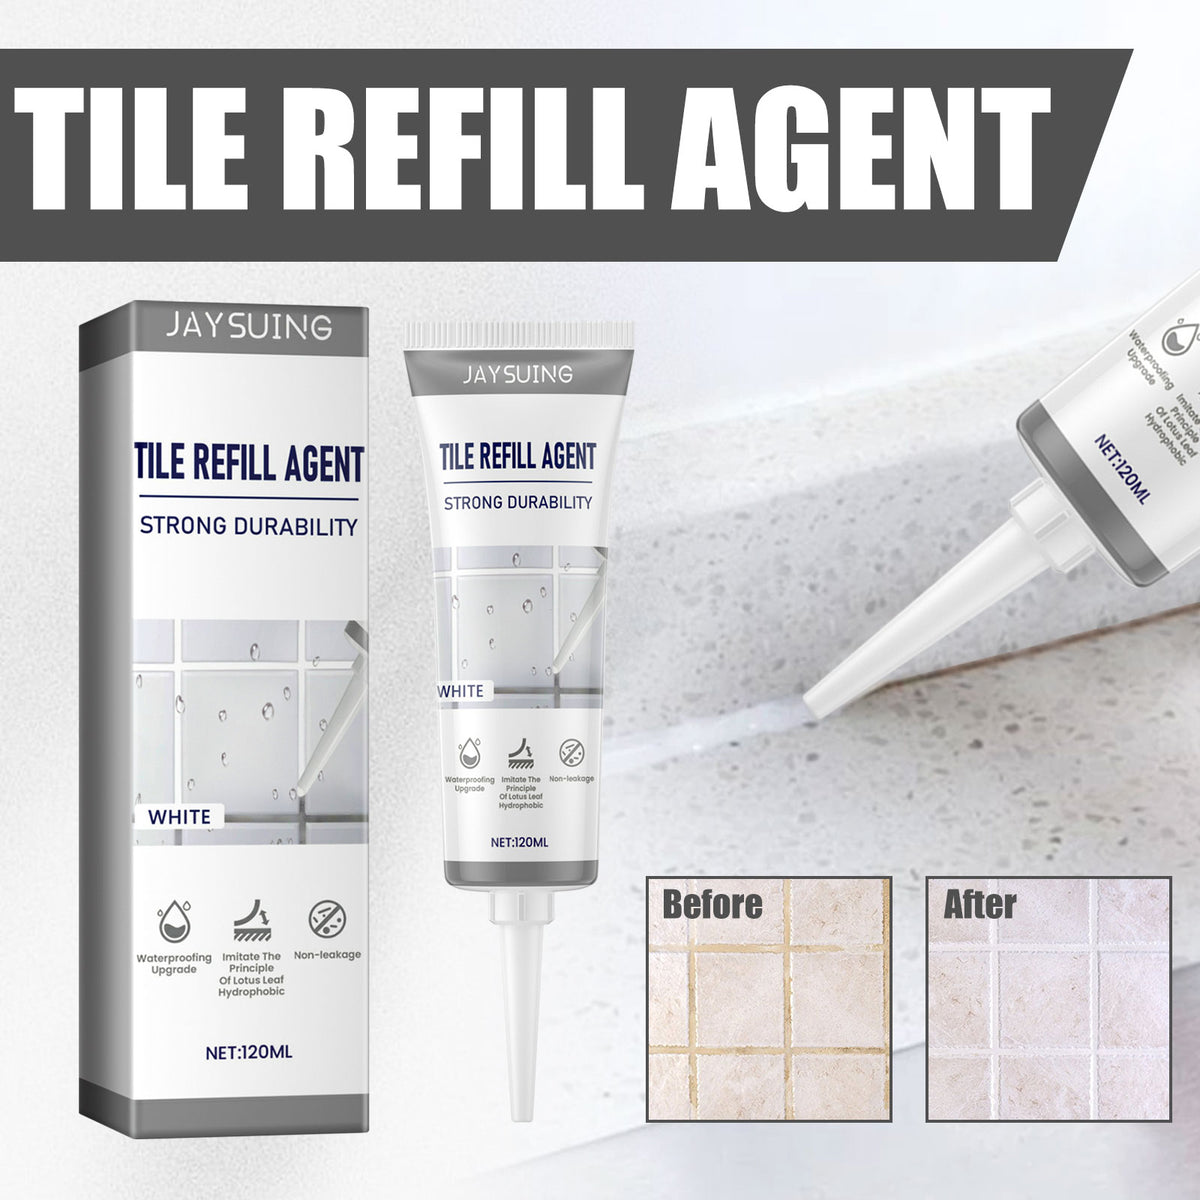
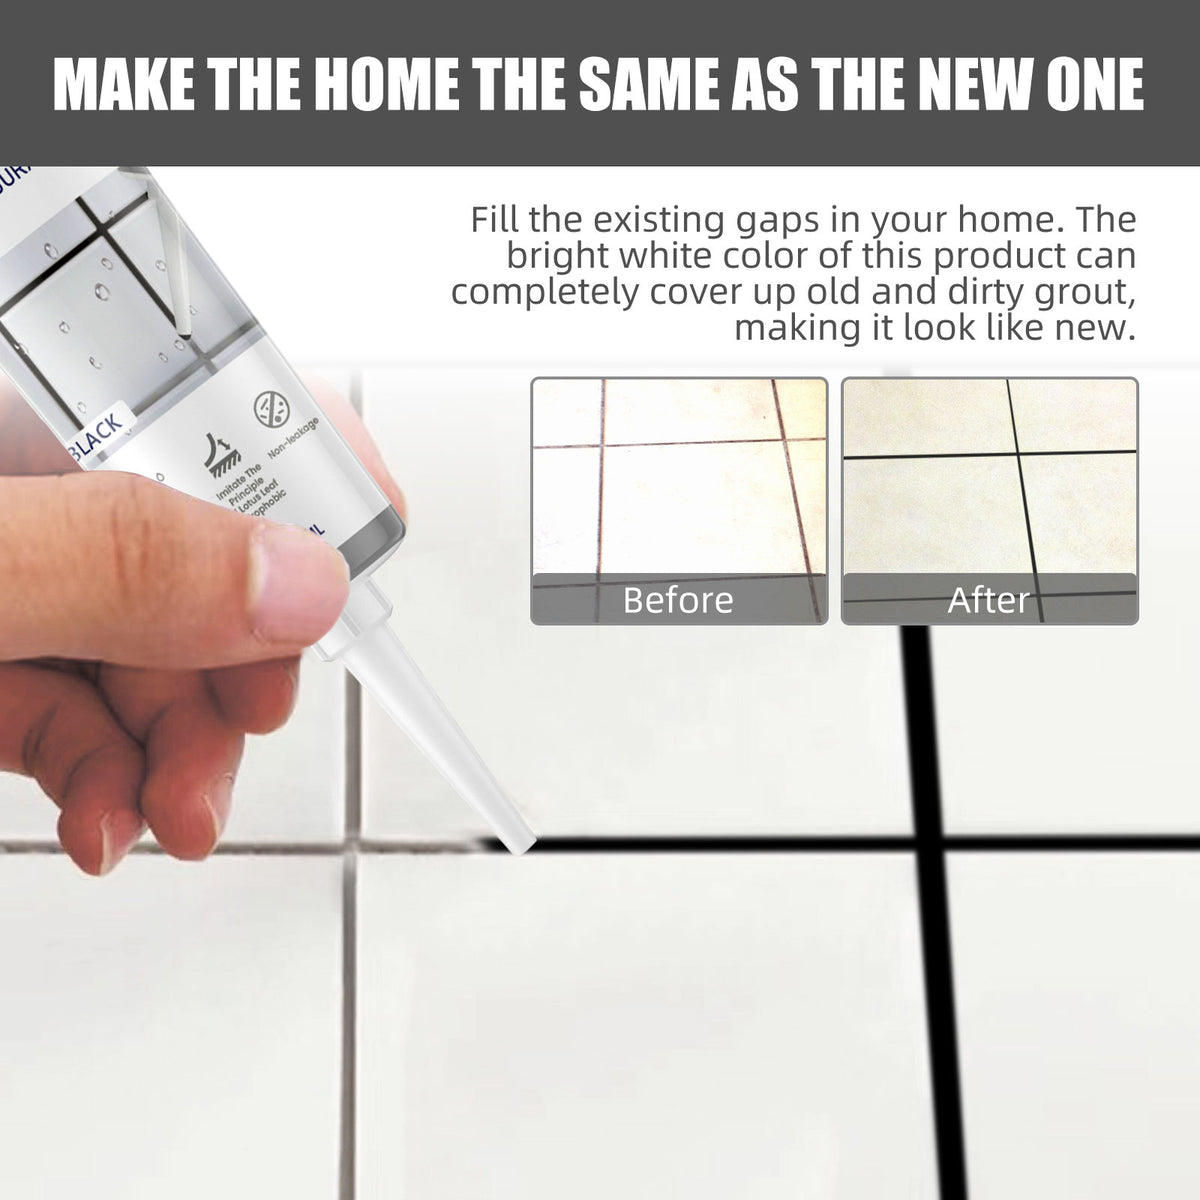
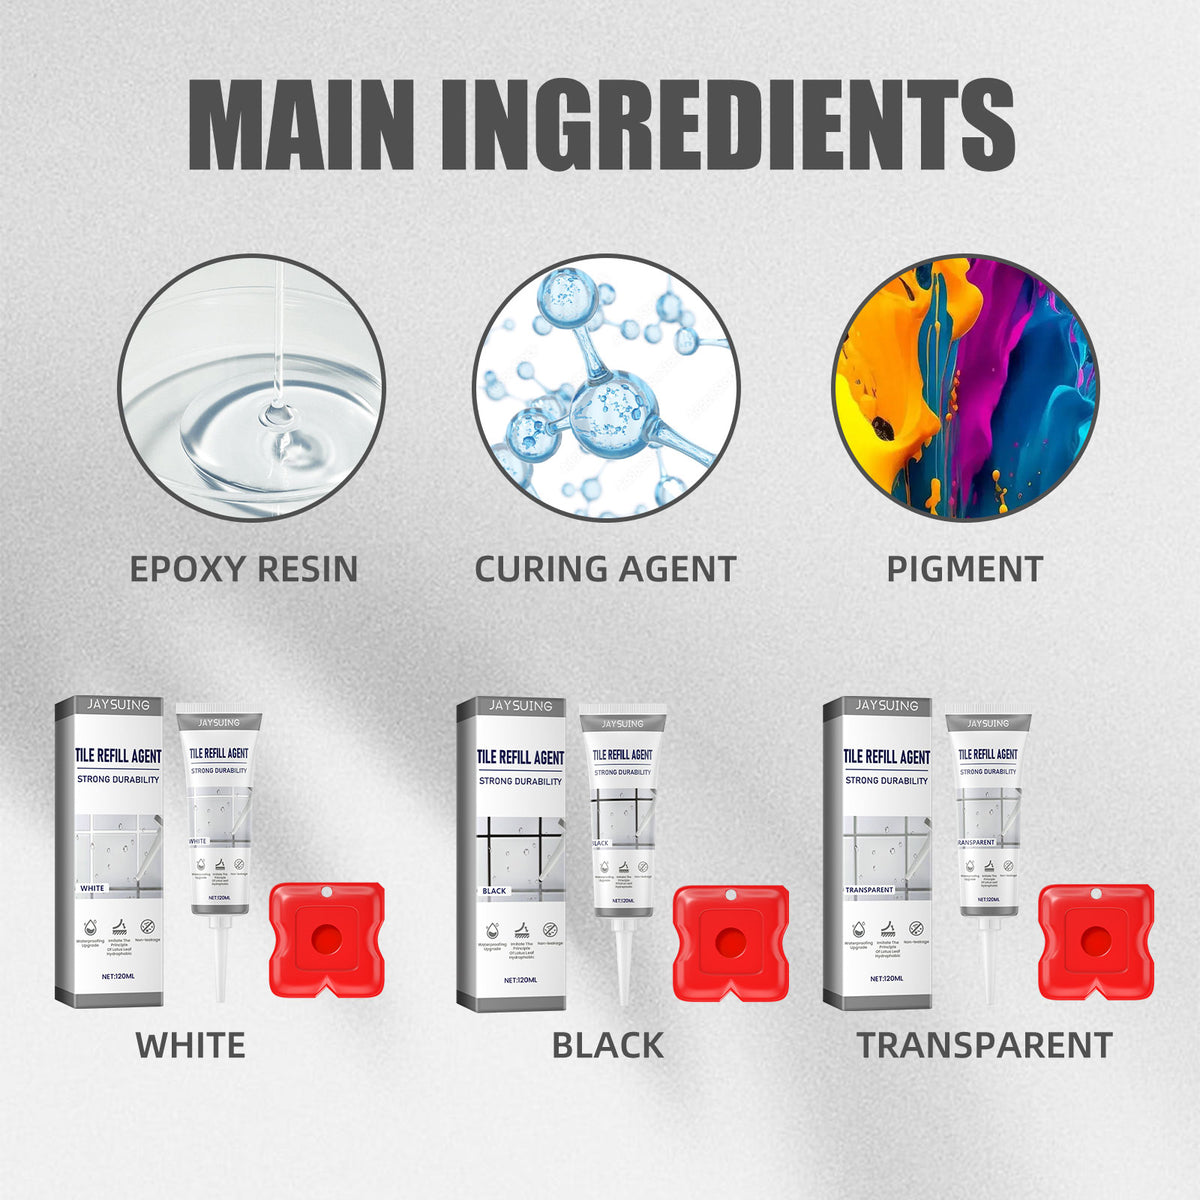
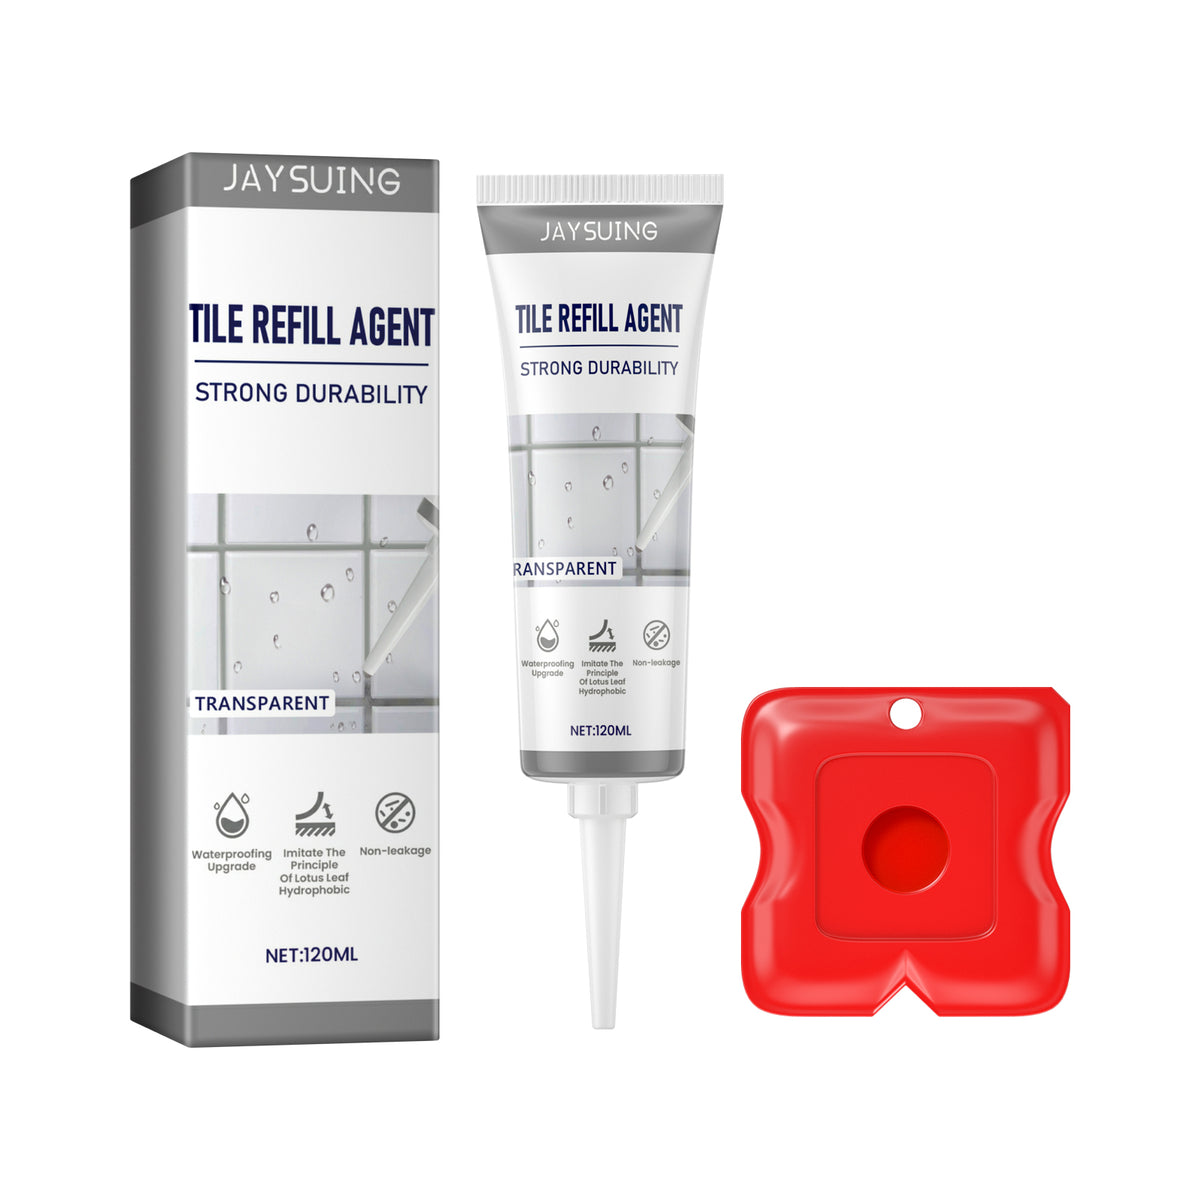
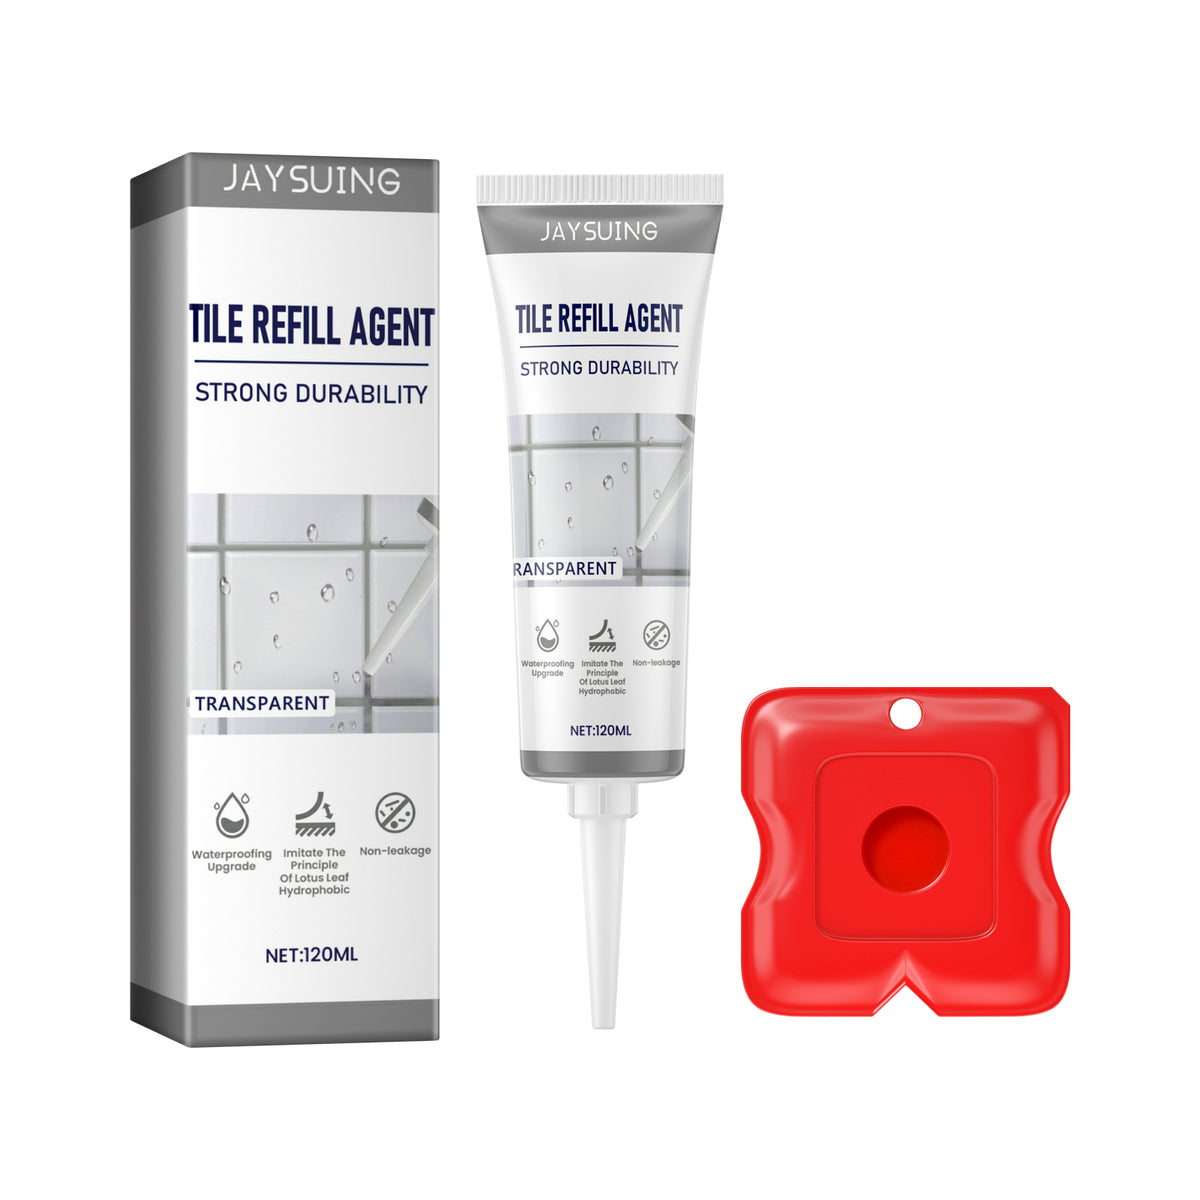
Cleaner-looking tile joints bring quick relief to a bathroom, kitchen, or floor that feels unfinished. This 120 ml tube and red scraper make targeted grout line repair more controlled and manageable.
Read the full descriptionCleaner-looking tile joints bring quick relief to a bathroom, kitchen, or floor that feels unfinished. This 120 ml tube and red scraper make targeted grout line repair more controlled and manageable.
Refresh tile joints with a durable, waterproofing sealant and included smoothing tool
Refresh uneven, discolored tile joints without a messy renovation. Apply a controlled bead, smooth it with the included tool, and leave kitchens and bathrooms looking maintained.

The pointed dispensing nozzle directs liquid sealant into narrow, worn tile joints instead of spreading product broadly across the surrounding surface.
The included red scraper gives DIY users a dedicated way to level and tidy the applied bead for a more uniform-looking joint. It takes a little practice, but the process stays focused.
The packaging positions the formula for waterproofing upgrades and moisture-exposed kitchen and bathroom joint maintenance. It is suited to targeted surface touch-ups, not structural repairs.
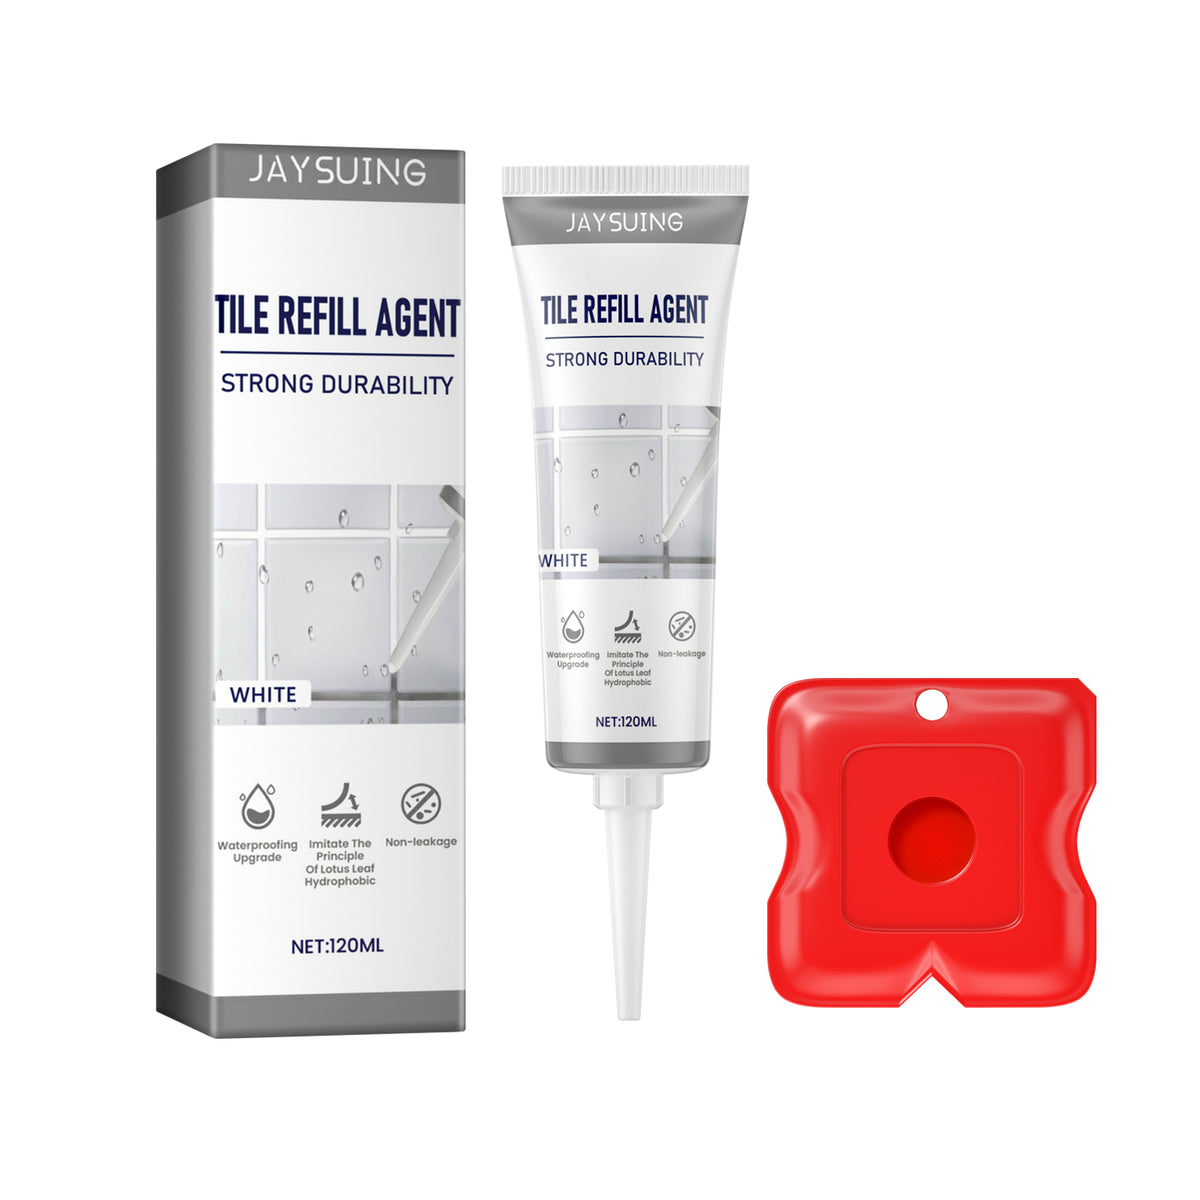
Transparent, white, and black variants let you choose a closer visual fit for your tile gaps rather than accepting one universal finish.
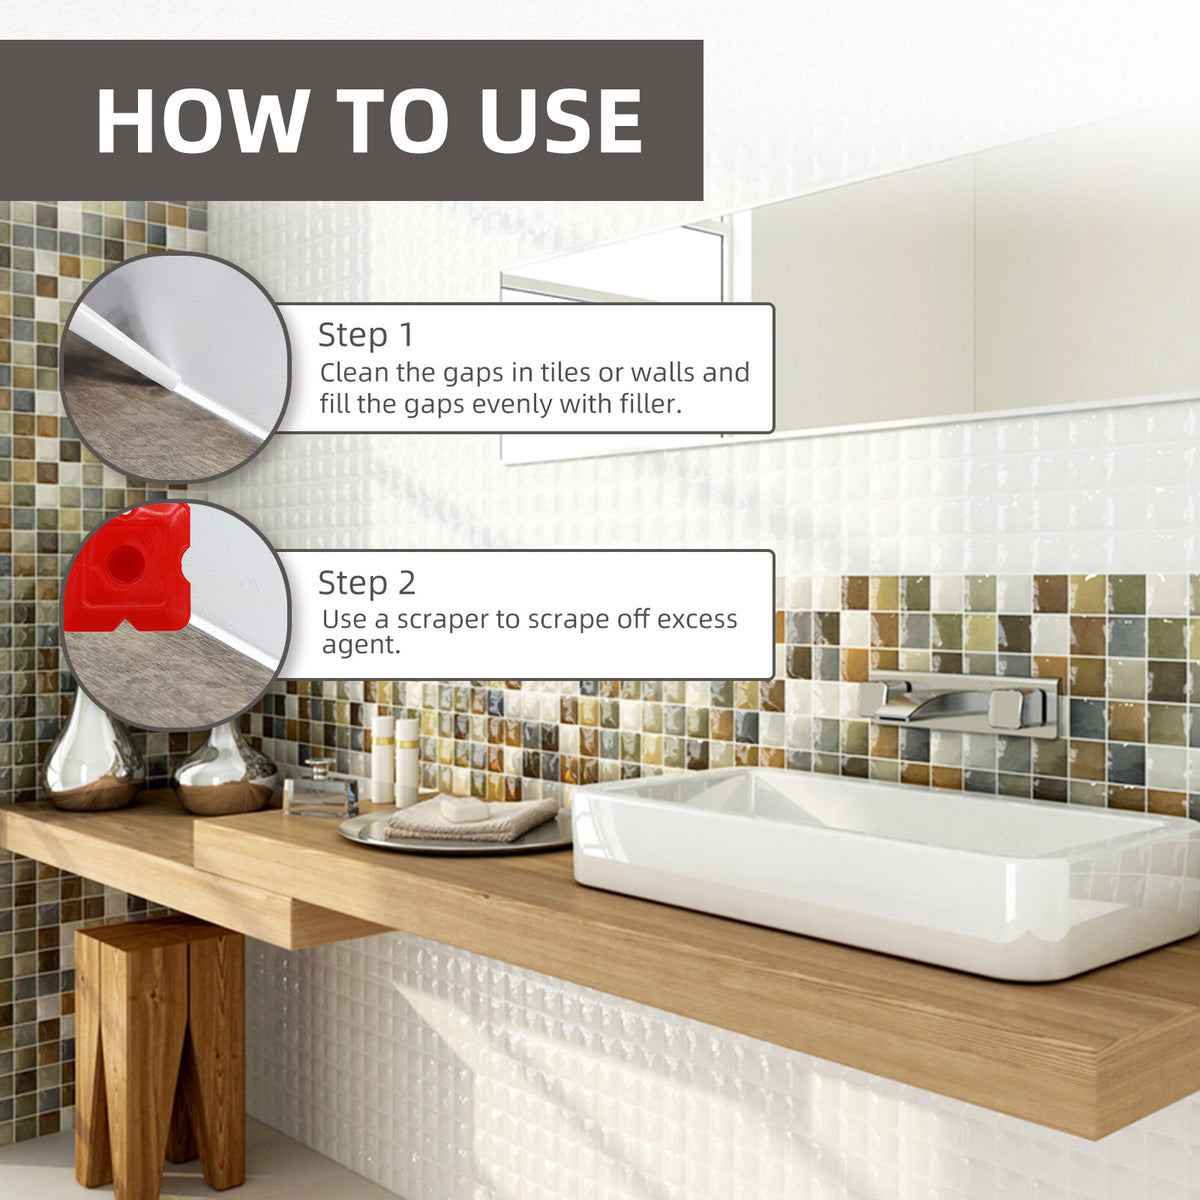
Remove loose residue, clean the joint, and let the area dry fully. Protect the surrounding tile from unnecessary product.
Hold the pointed nozzle close to the joint and squeeze steadily. Work in a small section rather than laying down one oversized bead.
Use the red scraper promptly to level the bead and tidy excess. Move at a steady pace for a more uniform-looking line.
Check the repaired section from different angles. Reserve deep damage or movement in the joint for proper repair rather than surface touch-up.
120 ml liquid sealant with pointed nozzle
For leveling and tidying the applied bead
Product presentation box
Discolored, uneven gaps can undermine the appearance of an otherwise clean bathroom, kitchen, splashback, or floor. Scrubbing may brighten the surrounding tile, but the worn line itself still draws attention.
The pointed nozzle directs liquid sealant into narrow joints, while the red scraper gives you a dedicated finishing tool. That combination makes a small touch-up feel more manageable than spreading general-purpose caulk by eye.
Work on the areas that need attention, smooth the bead promptly, and choose the finish closest to your existing tile lines. The result is a more uniform-looking joint without turning a contained repair into a full renovation.
| Tile Joint Sealant | Scrubbing | Full Regrout | |
|---|---|---|---|
| Best for selected worn joints | Yes | Partial | No |
| Pointed application | Yes | No | Partial |
| Dedicated smoothing tool included | Yes | No | No |
| Suitable for deep structural damage | No | No | Yes |
| Focused project scope | Yes | Yes | No |
Yes. It is intended for targeted maintenance around moisture-exposed tile joints in bathrooms, kitchens, splashbacks, and similar areas. Clean and dry the joint first, and follow the product directions.
Coverage depends on joint width, depth, bead size, and how many sections need repair. The 120 ml format suits focused touch-ups, but it is not a promise of coverage for an entire room.
Yes. Use steady pressure and start with a small section. The nozzle directs the bead, then the red scraper levels and tidies it. A test area helps you get comfortable before working on a visible joint.
It can suit selected floor-joint touch-ups as well as wall-joint maintenance. Work only on clean, dry surface joints and do not use a cosmetic sealant in place of repairing deep or structural damage.
Choose transparent when you want a less visible finish, white for light grout lines, or black for dark lines. Test a small area first because older grout can vary in color.
No. This is a focused surface touch-up for worn or unattractive joints. Severely damaged grout, movement, water intrusion, or underlying substrate problems need proper repair or full re-grouting.


 Tile Joint Sealant for Cleaner, Waterproof Kitchen Repairs