
$64.90
Free delivery · 7–14 days
Stone Countertop Polish for Lasting Shine and Protection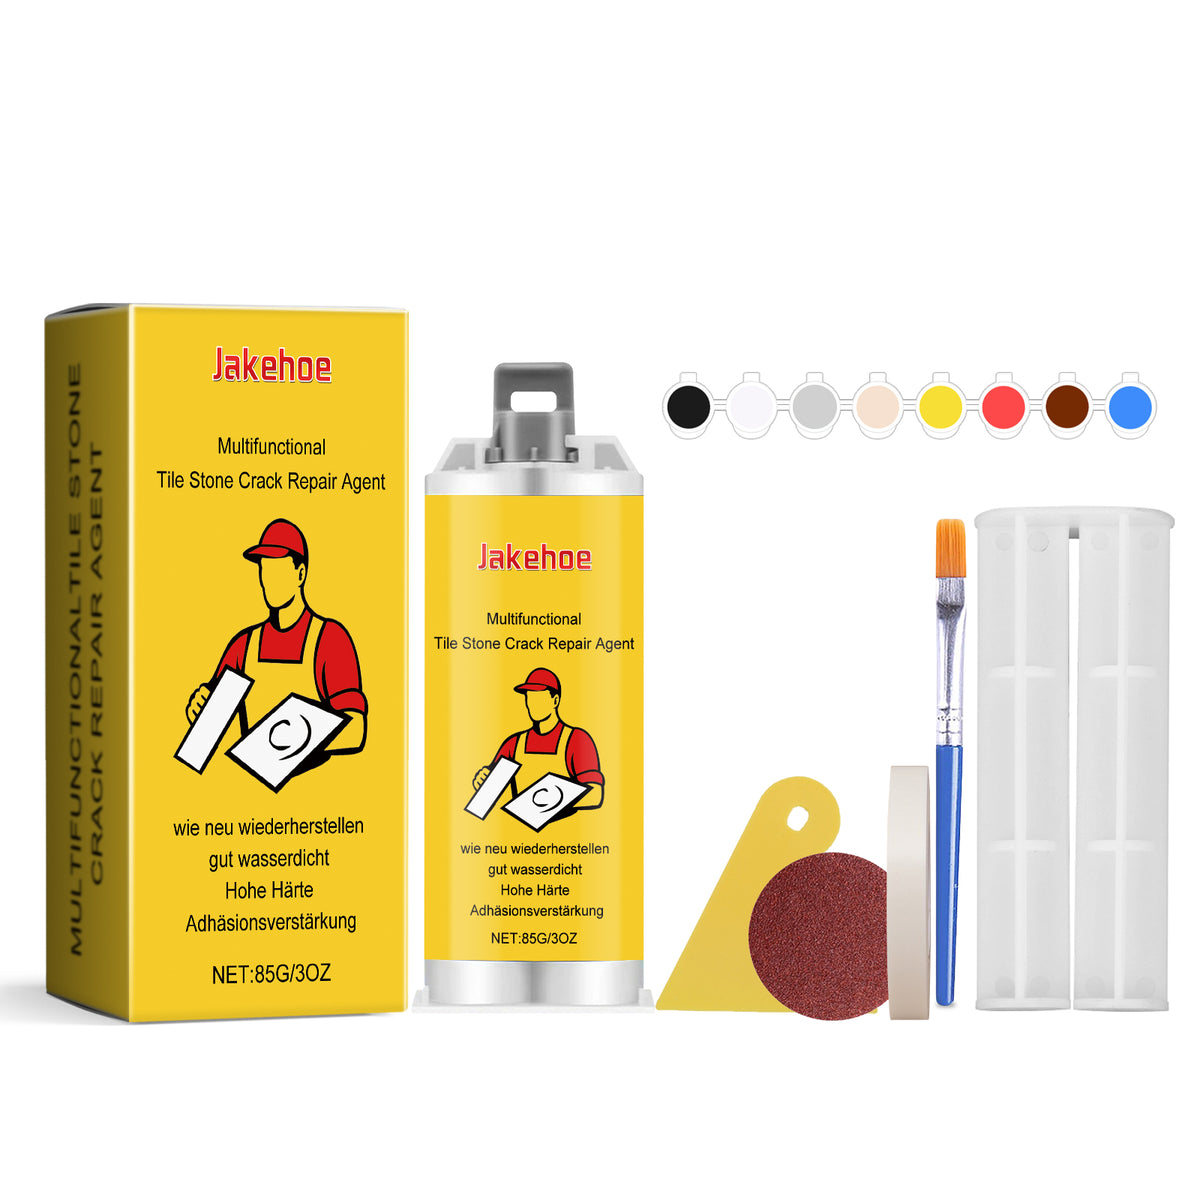
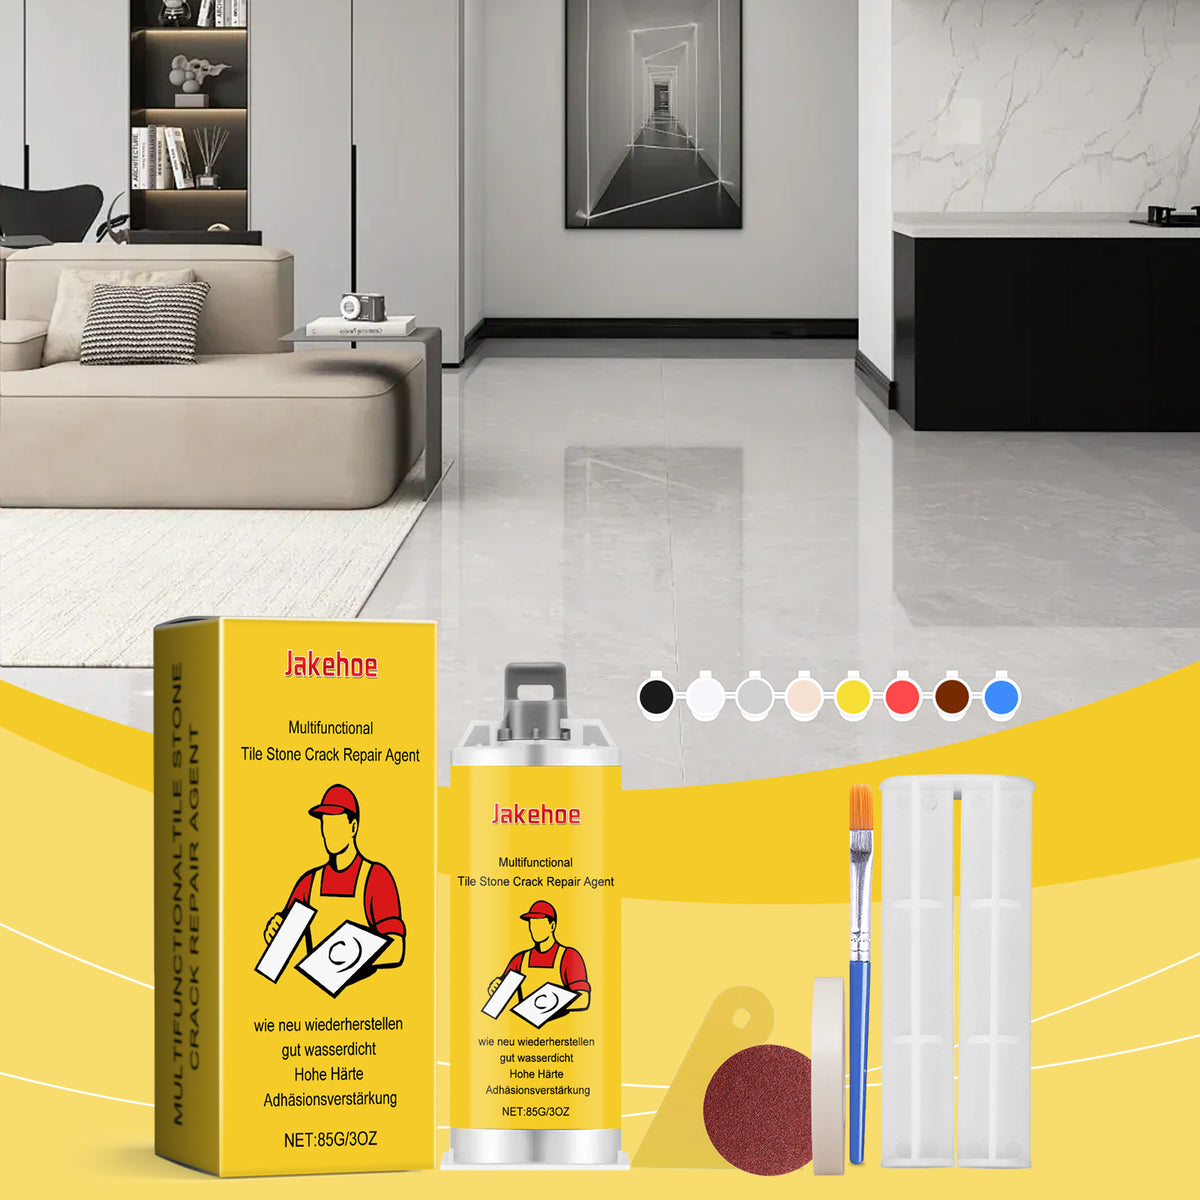
A more finished-looking room starts with the defect you can see. This complete 85g tile crack repair kit brings compound, color options, applicators, mixing cups, and sanding tools together for…
Read the full descriptionA more finished-looking room starts with the defect you can see. This complete 85g tile crack repair kit brings compound, color options, applicators, mixing cups, and sanding tools together for…
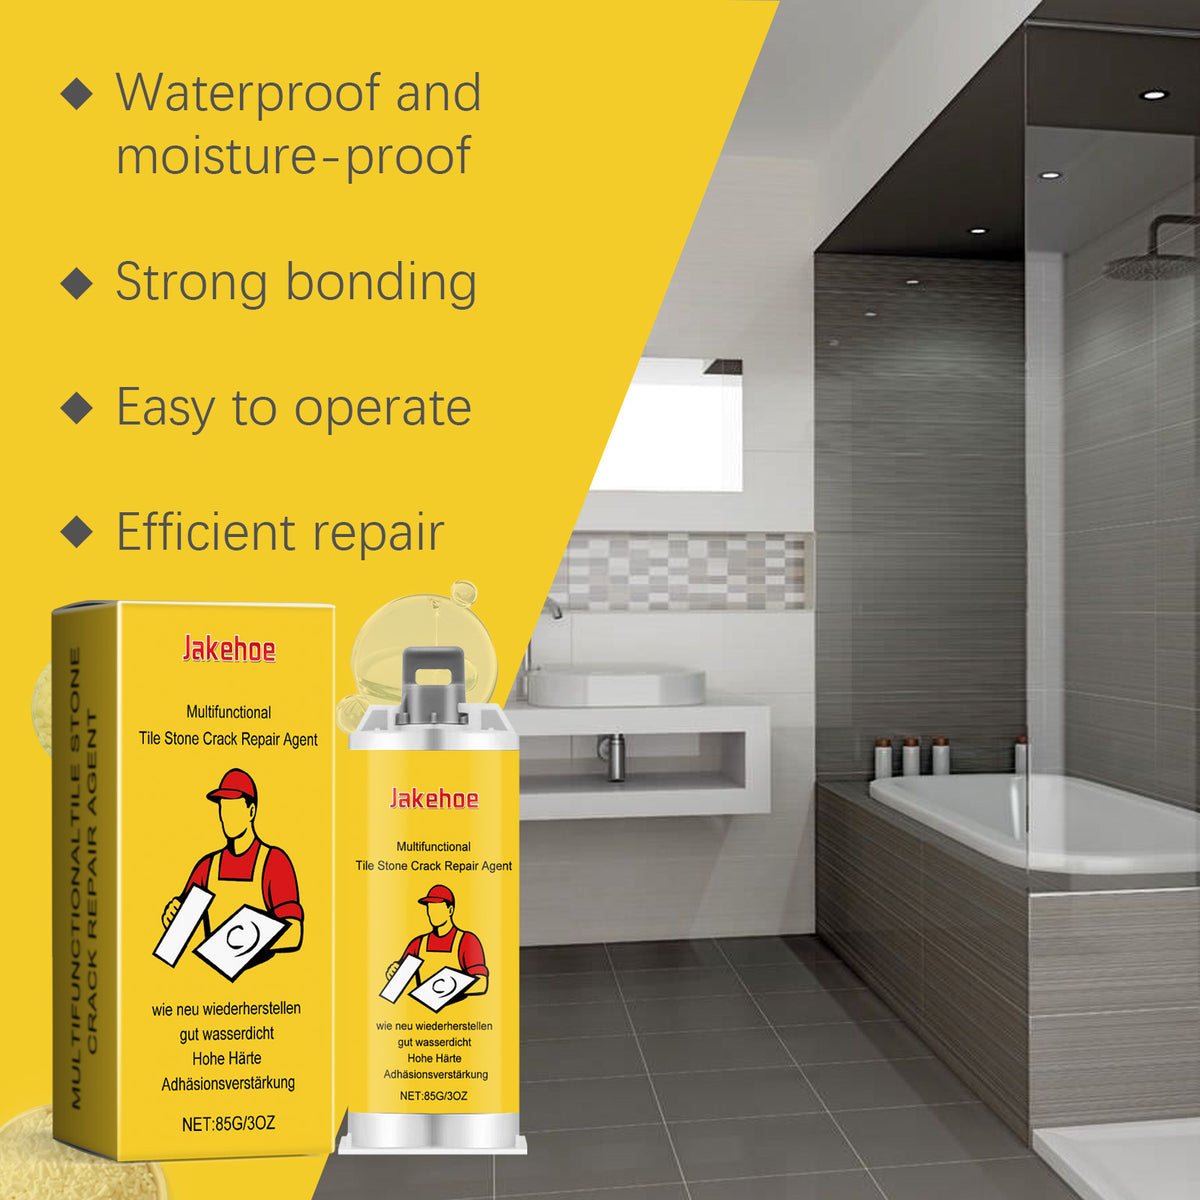
Waterproof, strongly bonding tile crack repair for efficient restoration
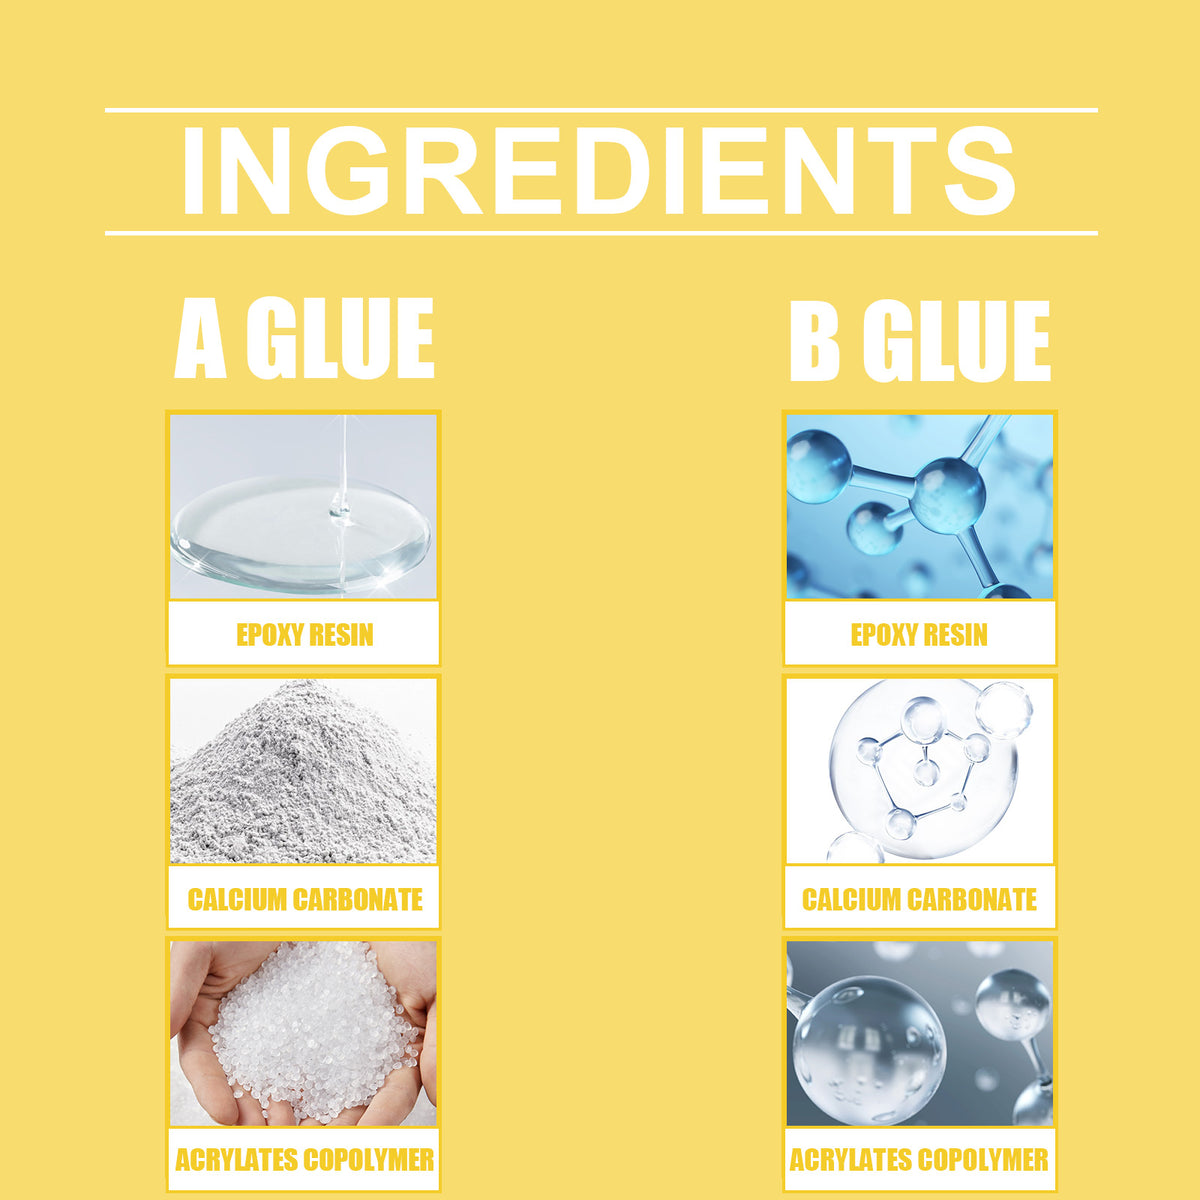
Stop staring at cracked, chipped, or worn tile surfaces. This complete repair kit helps you fill, color-match, smooth, and protect damaged ceramic, marble, and glazed tiles.

Use the repair compound for localized cracks, pits, chips, and worn areas where a controlled fill makes more sense than replacing the whole tile. The strong-bonding claim supports a focused repair workflow.

Multiple color options give DIY renovators a practical starting point for working toward a closer visual match across glazed tile, ceramic, marble, and decorative surfaces. Test the direction before committing to the repair.

Application brushes, mixing cups, a sanding pad, and a small sanding block support a deliberate fill-and-finish process. You can apply controlled amounts, refine the surface, and inspect the result as you work.

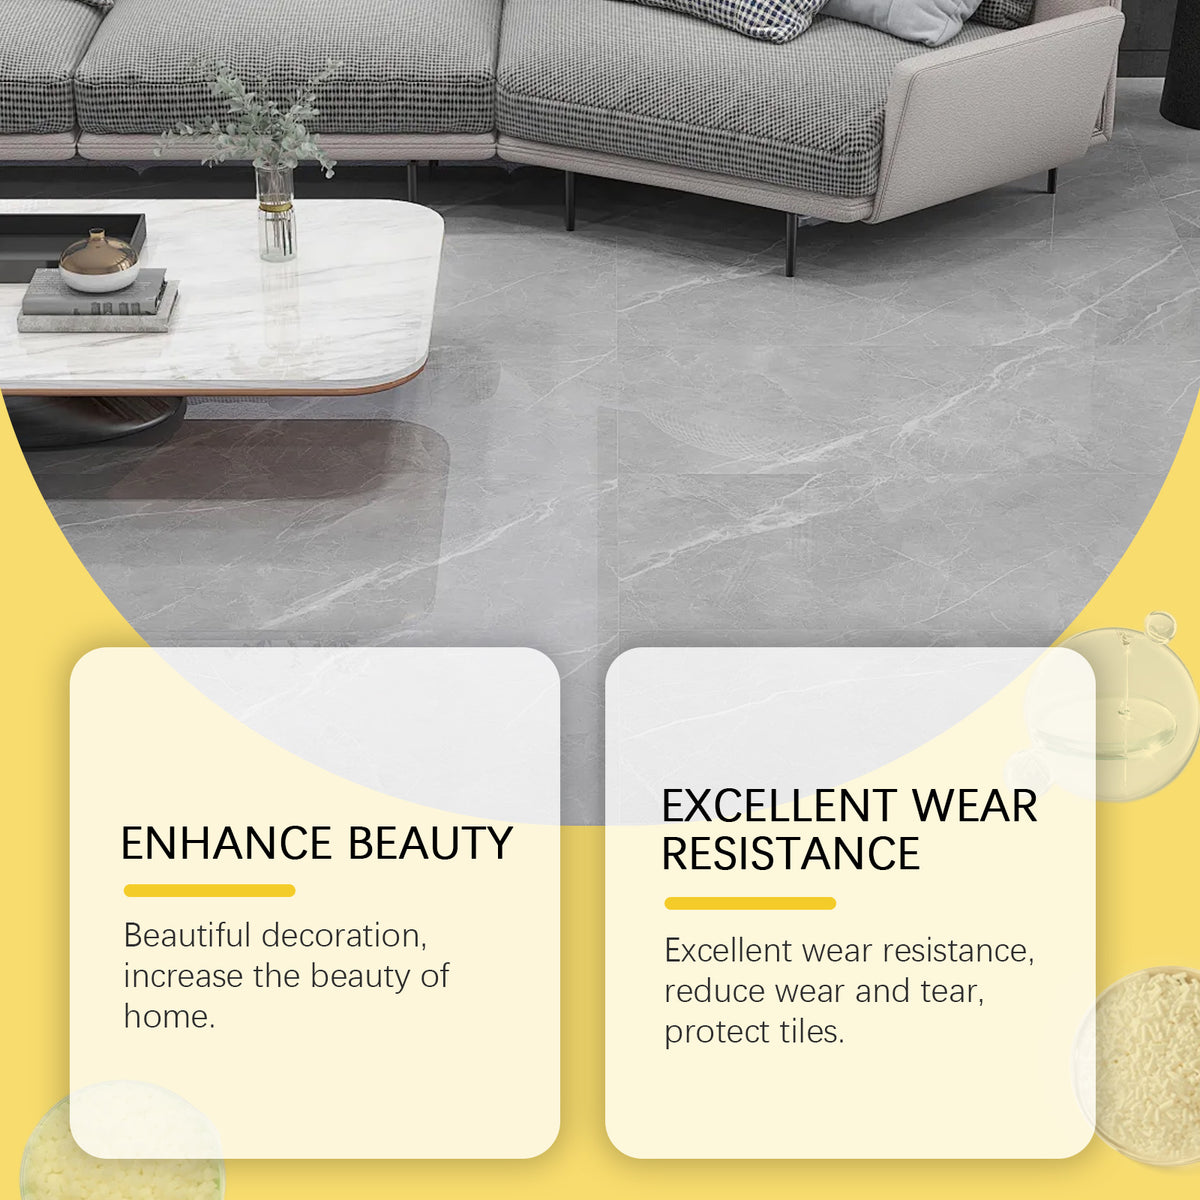
Waterproof and moisture-proof packaging claims make the kit relevant to bathroom and kitchen repair scenarios. Excellent wear resistance and surface-protection claims also suit visible areas that experience everyday use.
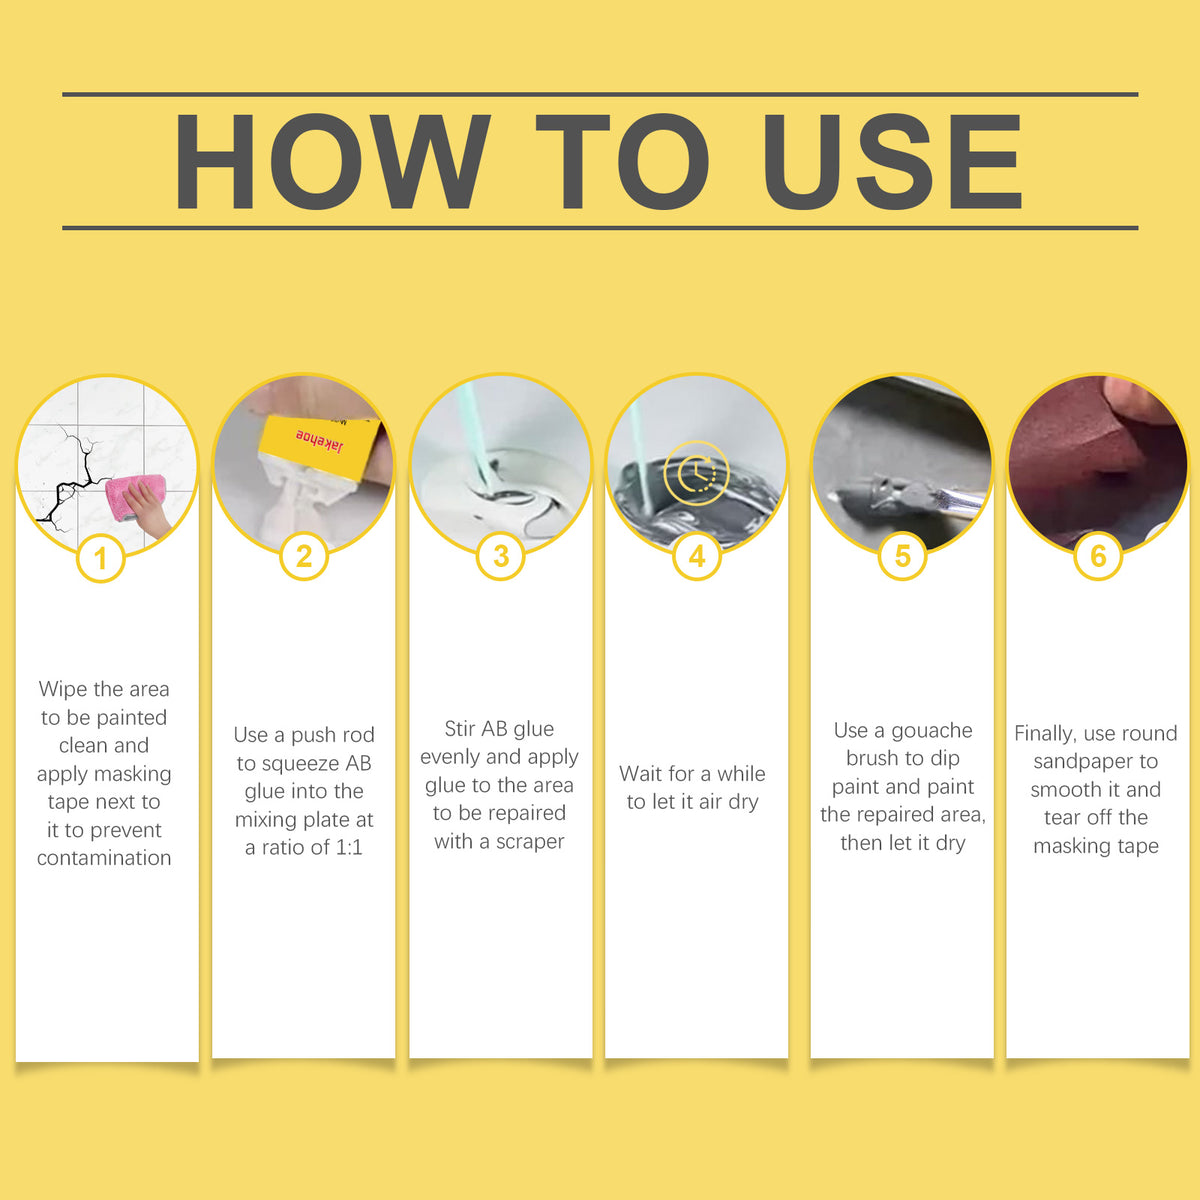
Remove dirt and grime from the damaged area, then let the surface dry fully before applying compound.
Choose the closest included color option and test a small amount beside the surrounding tile under normal room lighting.
Use the cartridge or application brush to place controlled amounts into the crack, pit, chip, or worn area.
Build the fill gradually, then use the sanding pad or small sanding block to refine the repair without creating a raised patch.
Check the repaired area from different angles and in normal room light. Make small adjustments only after the surface is clean and dry.
Main material for filling localized surface damage.
For working toward a closer visual match.
For controlled application and detail work.
For organizing color and compound preparation.
For smoothing the repaired area.
For more deliberate surface finishing.
Compact packaging for storing the setup.

One crack, pit, or chip can make an otherwise finished room feel neglected. It catches the eye during cleaning, gathers attention around the damaged spot, and makes the whole tile look worse than it is.
Instead of reaching for plain glue alone, you have the repair compound, color options, applicators, mixing cups, and sanding accessories together. That makes the work easier to organize and gives you more control over the fill and finish.
Clean preparation, careful color selection, and gradual smoothing keep the repair focused on the defect. Once the area is filled and finished, the damaged spot becomes less distracting in daily life.
| Jakehoe Repair Kit | Plain Glue | Whole-Tile Replacement | |
|---|---|---|---|
| Localized crack or pit workflow | Yes | Partial | No |
| Color options included | Yes | No | Partial |
| Sanding accessories included | Yes | No | No |
| Requires removing the whole tile | No | No | Yes |
| Best for small visible damage | Yes | Partial | No |
| Complete 85g repair setup | Yes | No | No |
Yes. It is intended for cracks, pits, chips, and worn areas on glazed tiles, ceramic, marble, and other suitable hard surfaces. Test the color and finish on a small inconspicuous area first.
The packaging states that the compound is waterproof and moisture-proof, making it relevant to bathroom and kitchen repair scenarios. The surface still needs to be clean and fully dry before application.
Start with the closest visible color and test a small amount against the surrounding tile. Compare it in the room's normal light, then adjust your selection before filling the main defect.
Yes. The complete setup includes application brushes, mixing cups, a sanding pad, a small sanding block, assorted color options, the repair compound cartridge, and the printed box.
Yes, for localized surface damage and a careful repair attempt. Clean and dry the area, apply controlled amounts, test the color, and sand gradually rather than rushing the finish.
For a small crack, pit, chip, or worn spot, a localized repair can avoid removing an otherwise serviceable tile and disturbing the surrounding area. Whole-tile replacement remains the better route for large or structural damage.


 Tile Crack Repair Kit for Waterproof Surface Restoration