
$47.90
Free delivery · 7–14 days
Donut and Cookie Cutter Set: Heart, Flower, Round Shapes
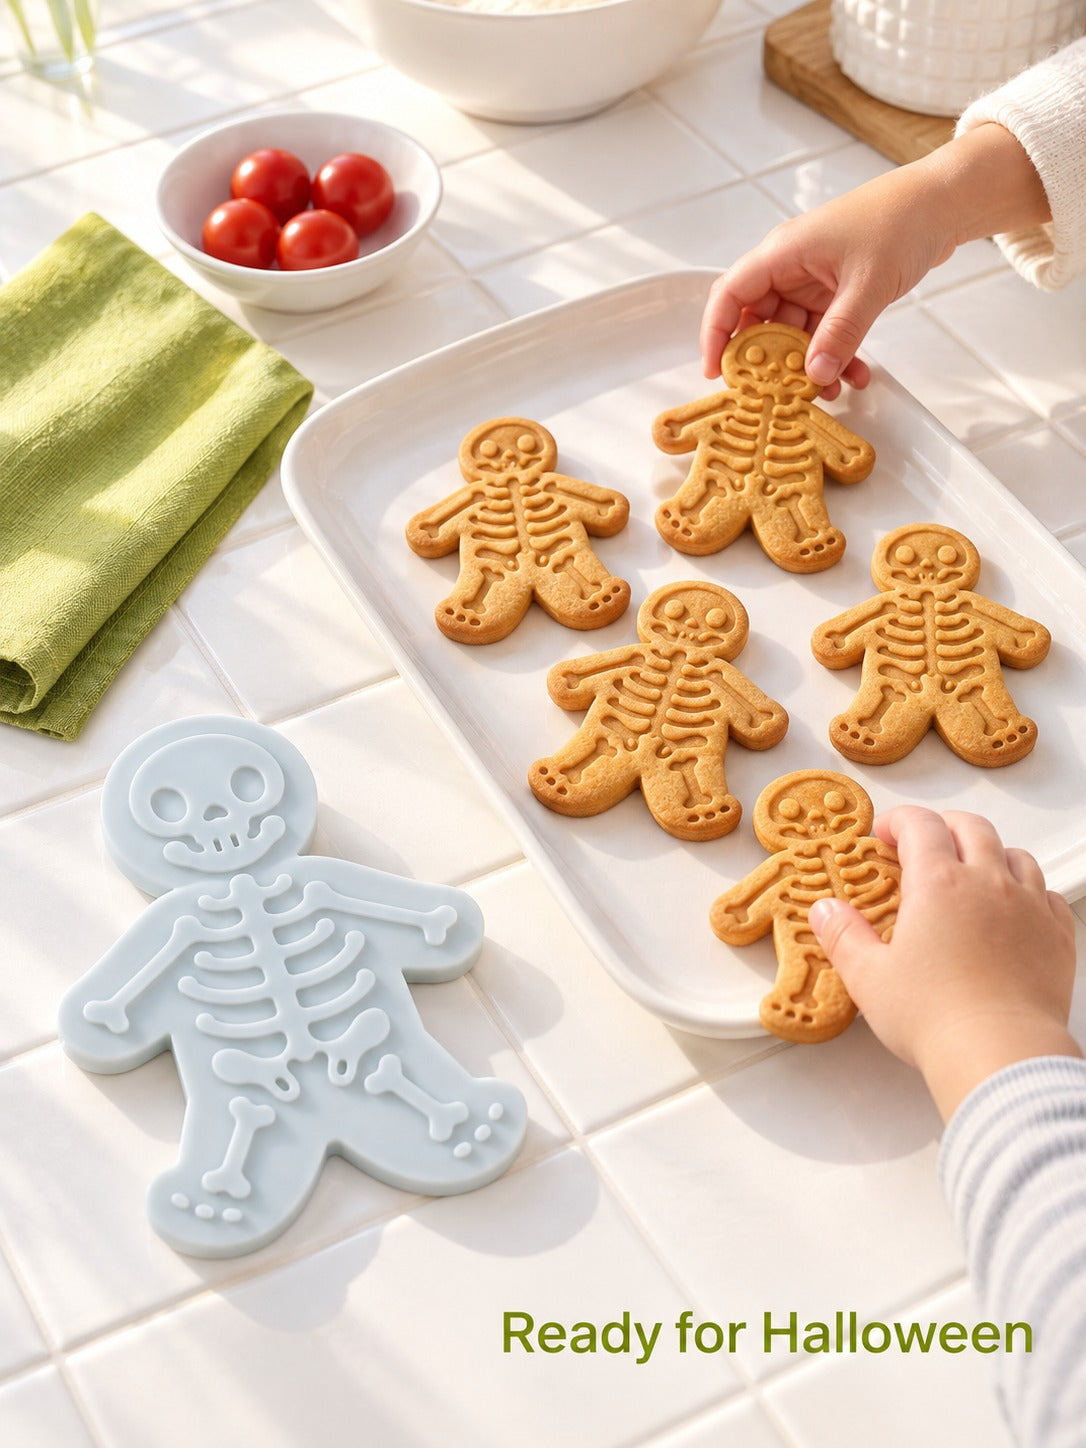


Skeleton cookies used to mean hours of icing and a lot of patience. This mould cuts the gingerbread man and presses the ribs and skull into the dough in one step, so the tray looks planned before it goes in the oven. Parents and home bakers get a spooky batch that looks designed, with the...
Read the full descriptionSkeleton cookies used to mean hours of icing and a lot of patience. This mould cuts the gingerbread man and presses the ribs and skull into the dough in one step, so the tray looks planned before it goes in the oven. Parents and home bakers get a spooky batch that looks designed, with the kids able to help.
Press-cut skeleton gingerbread cookies with detailed bone relief in one step
Stop carving bones by hand and stop serving plain gingerbread. Press the dough once and get a skeleton with ribs and skull relief, ready for the oven.

The raised skeleton relief sits inside the mould, so the ribcage and skull press into the dough as the outline cuts. You get the shape and the bones in one motion, with no icing and no separate stamp. The ribs stay readable on the cookie surface, which is the detail most people try and fail to draw by hand.

Separate the two halves, press chilled dough into the cavity, then close and lift. The flat grip back gives you something solid to hold while you release the cookie. The whole sequence takes three moves, so kids can follow it without help.

The mould arrives with a hanging tag on a teal ribbon, so it works as a seasonal gift for the baker on your list. The smooth matte finish and pale ice-blue tint look tidy on a shelf between Octobers.
Open the two-part mould and dust the inside lightly with flour. Tap off any extra so the fine relief stays clear.
Use chilled, firm dough. Press it into the cavity with even pressure, then close the mould so the ribs and skull take the shape.
Lift the cookie out using the flat grip back and set it on a lined tray. Bake it as your recipe directs.
It does when the dough is firm. Chill the dough until it holds its shape, press with even pressure, and the raised ribs and skull keep their definition in the oven. Soft dough spreads and blurs the fine relief, so this step matters more than any other.
The mould is plastic with a smooth matte finish, and the raised relief has no deep pockets to trap dough. Wash it by hand in warm soapy water after each batch. The packaging does not list a food-contact certification, so check the listing details if that is a requirement in your kitchen.
It cuts one shape: a skeleton gingerbread man with skull and bone relief. If you want other designs, a cookie maker with a different pattern will suit you better, and this one stays the Halloween tool.
Firm dough works best. Chilled gingerbread dough holds the relief well, and a stiff sugar cookie dough behaves the same way. Soft or sticky dough is the main reason detail gets lost.
Yes. Kids can dust the mould, press the dough and help with the release. Keep an adult on the release step, since the cookie is still soft when it comes out of the mould.
Think about the time it saves. One press replaces a cutter, a stamp and an evening of icing bones by hand. It goes back in the drawer between Octobers and comes out again for the next party.


 Skeleton Cookie Mold: Press-Cut Bone Detail for Halloween