
$48.90
Free delivery · 7–14 days
Waterproof Travel Duffle Bag with Separate Shoe Compartment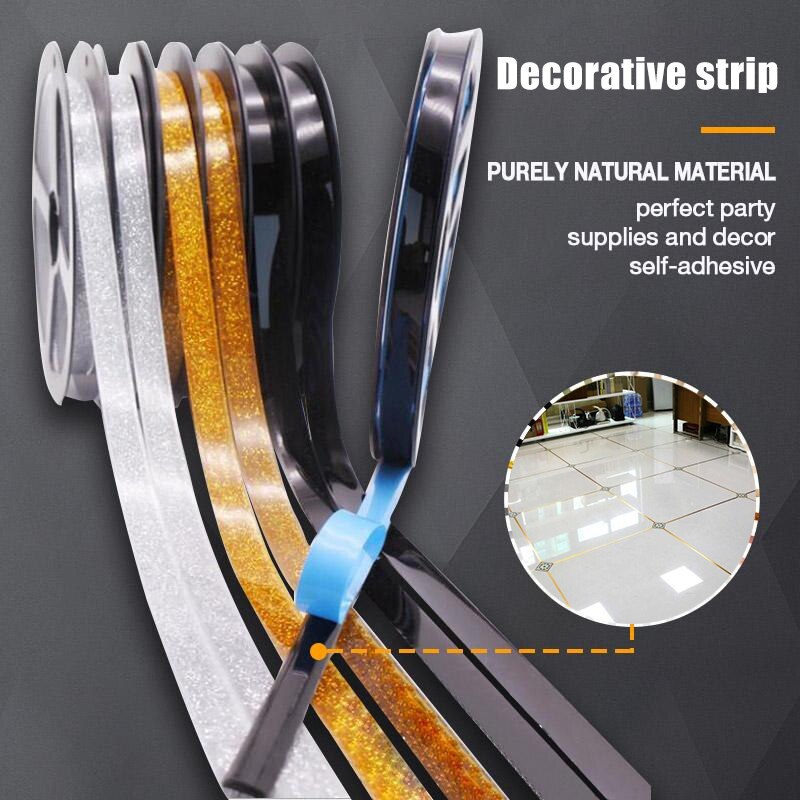
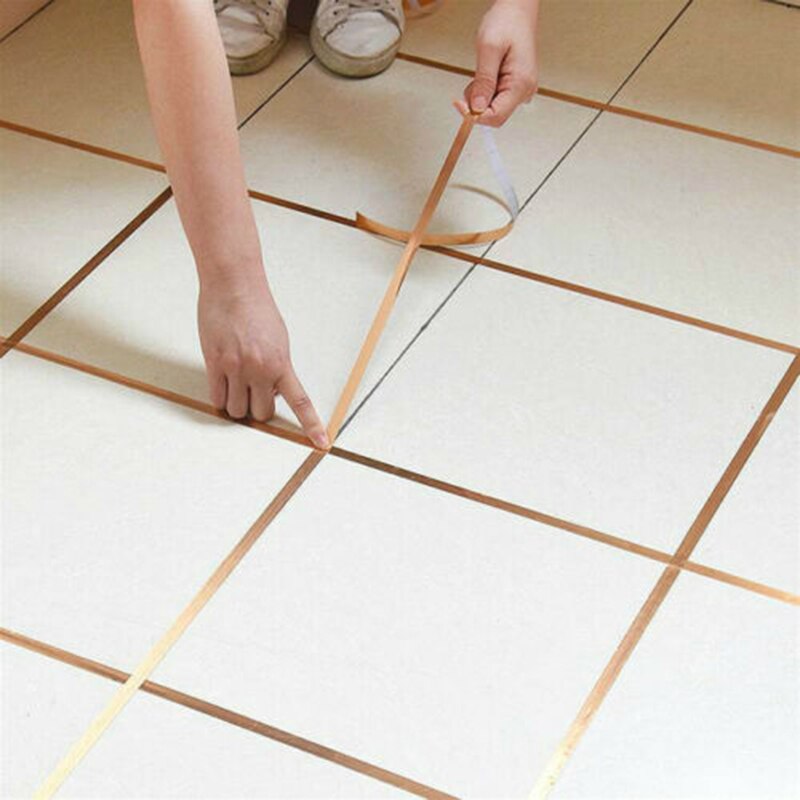


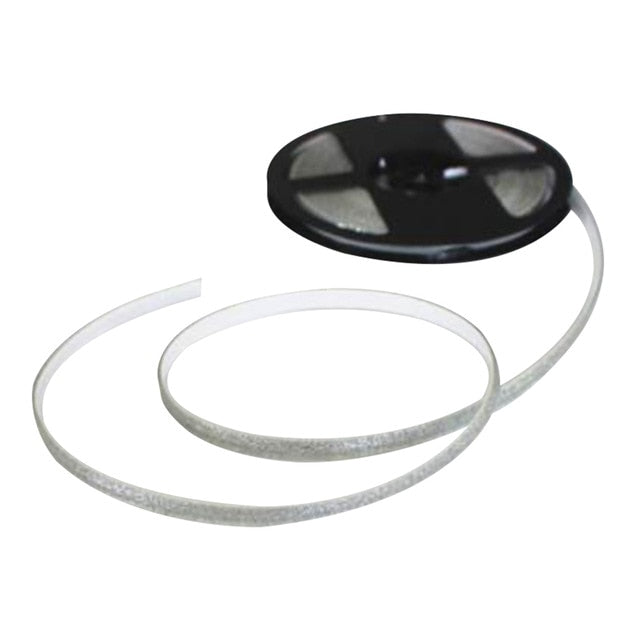

Give your tile project the finished look it deserves with a narrow reflective border that covers rough-looking transitions and exposed edges. The flexible self-adhesive roll is easy to measure, align, and press into place around suitable ceramic tile surfaces.
Read the full descriptionGive your tile project the finished look it deserves with a narrow reflective border that covers rough-looking transitions and exposed edges. The flexible self-adhesive roll is easy to measure, align, and press into place around suitable ceramic tile surfaces.
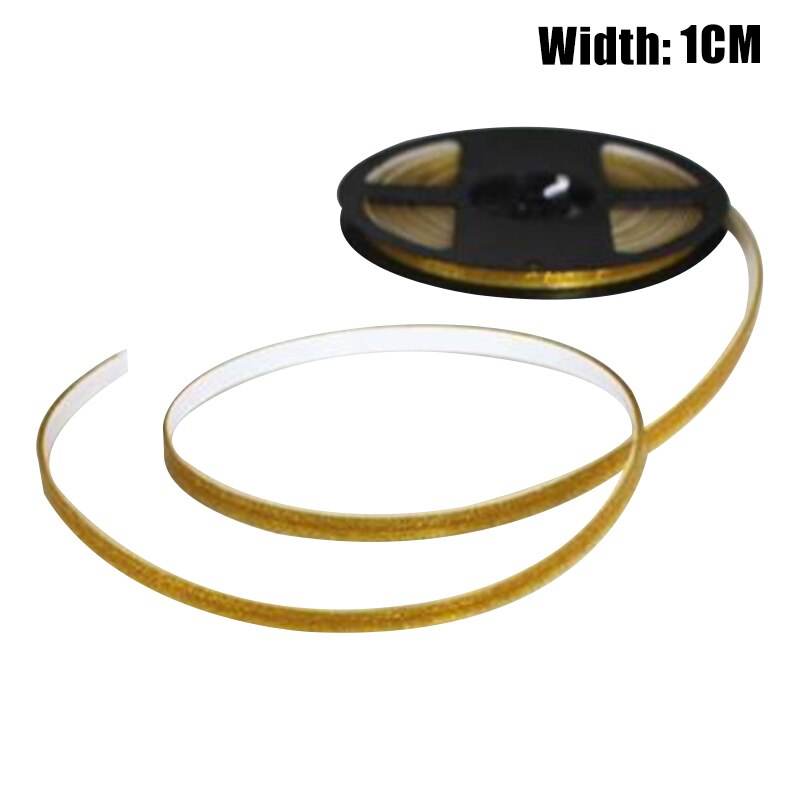
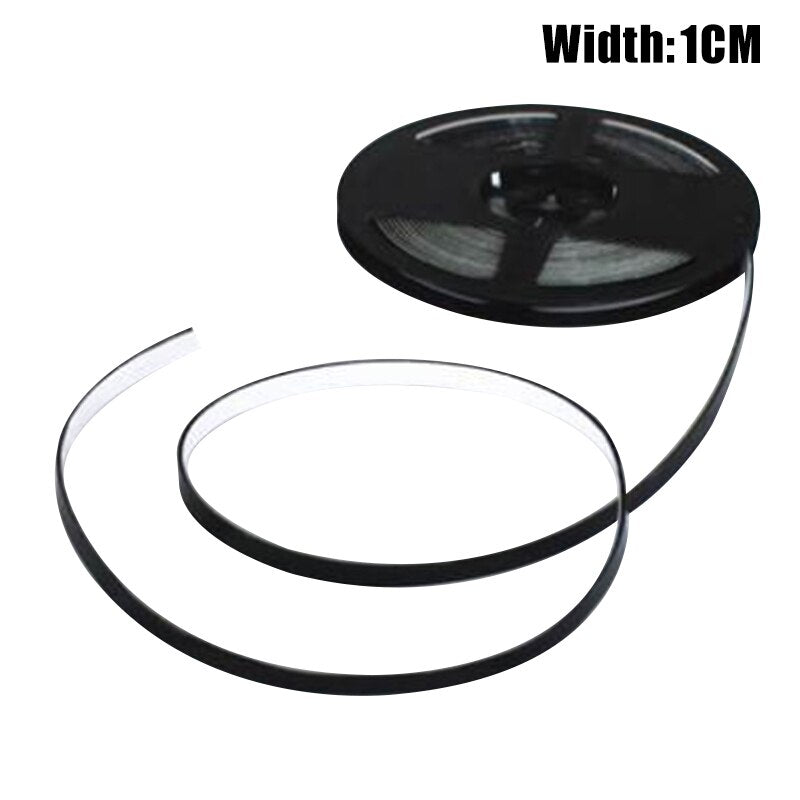
Self-adhesive 1 cm decorative strip for giving ceramic tile edges a clean, polished finish
Hide visible gaps, rough corners, and dated transitions with a flexible 1 cm decorative strip. Apply a clean metallic border for a more finished tile installation.

The narrow 1 cm strip creates a straight contrasting line that conceals rough-looking transitions and gives ceramic tile a more deliberate finish.

The flexible roll follows tile edges and corners more easily than rigid decorative edging, helping DIY users keep a consistent line.

The self-adhesive backing simplifies decorative edge finishing. Measure the run, align the strip, and press it into place without separate attachment hardware.
Gold, black, silver, and white finishes let you coordinate the border with tile, fixtures, grout, or the wider room palette.
Remove dust, grease, and moisture from the ceramic tile or other smooth surface. Let it dry fully before opening the adhesive backing.
Hold the flexible roll against the edge or corner and mark the length you need. Cut the strip cleanly before final placement.
Expose the backing gradually while positioning the strip. Check the line as you go so the border stays straight.
Follow the corner without stretching the strip. Smooth the surface with your fingers and press along the full edge for consistent contact.
Flexible glossy strip for decorative edge and border finishing.
Available in gold, black, silver, or white.
Use your own cleaning cloth, measuring tool, and scissors or cutter.
You step back from the finished tile work and notice the exposed side, visible gap, or uneven corner. One rough transition can draw attention away from an otherwise careful renovation.
A flexible self-adhesive strip gives you a practical way to finish narrow tile edges and corners without adding bulky rigid trim. Measure, align, and press the metallic accent into place.
The straight reflective border gives the tile installation a cleaner visual line. Gold, black, silver, or white lets you match the finish to the tile, grout, fixtures, or wider room palette.
Remove dust, grease, and moisture before application.
Use gentle wiping rather than aggressive scrubbing across the strip.
Inspect corners and ends from time to time, especially in frequently used areas.
Keep this decorative finish separate from waterproofing, grout, or structural edge protection.
| Self-adhesive strip | Exposed tile edge | Bulky rigid trim | |
|---|---|---|---|
| Creates a decorative border | Yes | No | Yes |
| Flexible around corners | Yes | N/A | Partial |
| Self-adhesive application | Yes | No | No |
| Narrow 1 cm profile available | Yes | No | Partial |
| Replaces waterproofing or structural trim | No | No | No |
It is made for clean, dry, smooth surfaces such as ceramic tile. Remove dust, grease, and moisture first, then apply gradually while pressing the strip firmly into place.
Yes, it suits decorative edging and border work around kitchen and bathroom tile when applied to a clean, smooth surface. It is a decorative strip, not a replacement for waterproofing or structural trim.
The 1 cm width suits narrow exposed edges, transitions, and decorative borders. Measure the area first. For a wider gap or an edge that needs physical protection, choose proper tile trim instead.
The flexible roll can follow corners more easily than rigid edging. Guide it gently without stretching, and expose the backing gradually so you can keep the line controlled.
No. It improves the appearance of a completed tile installation. Use the required waterproofing, grout, and structural edge protection before adding this decorative finish.
Choose white for a quieter blend, black for crisp contrast, silver for a cool reflective accent, or gold for warmer decorative definition.


 Self-Adhesive Tile Edge Strip for Clean, Polished Finishes