$46.90
Free delivery · 7–14 days
Polygel Nail Extension Kit for Fast, Smooth Nail Builds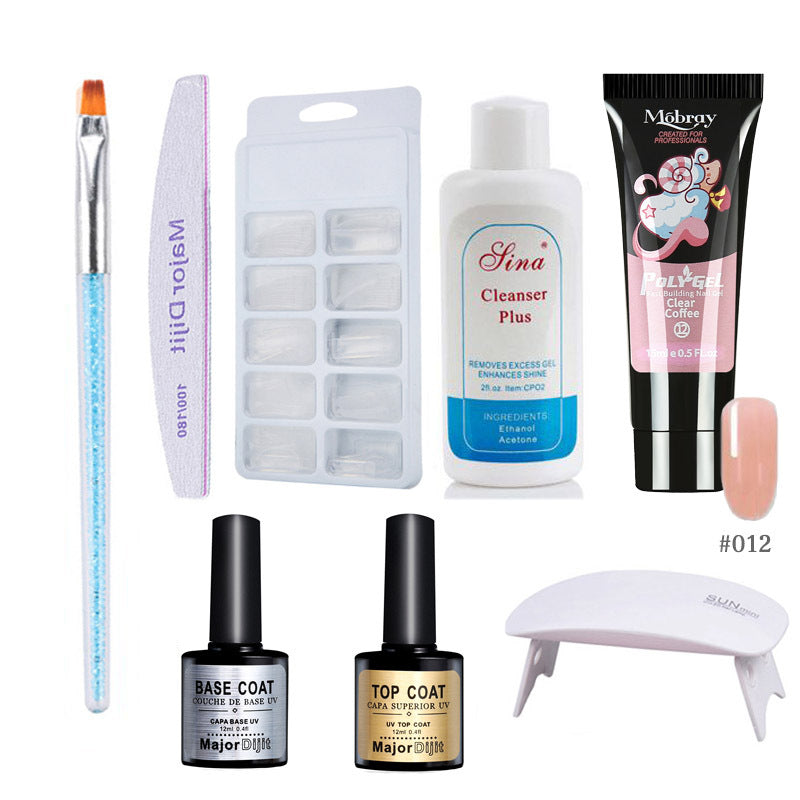

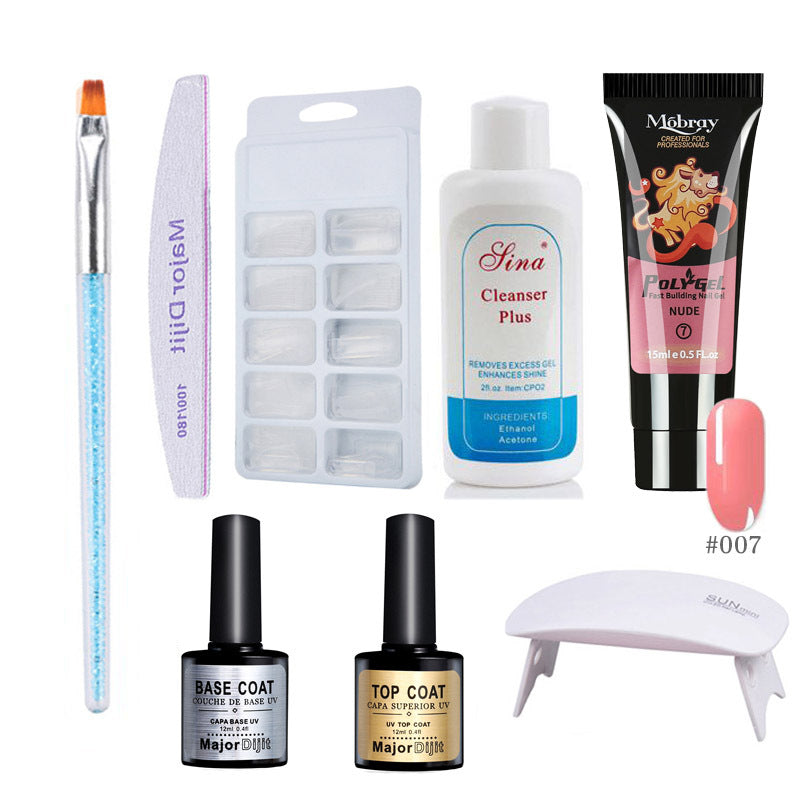
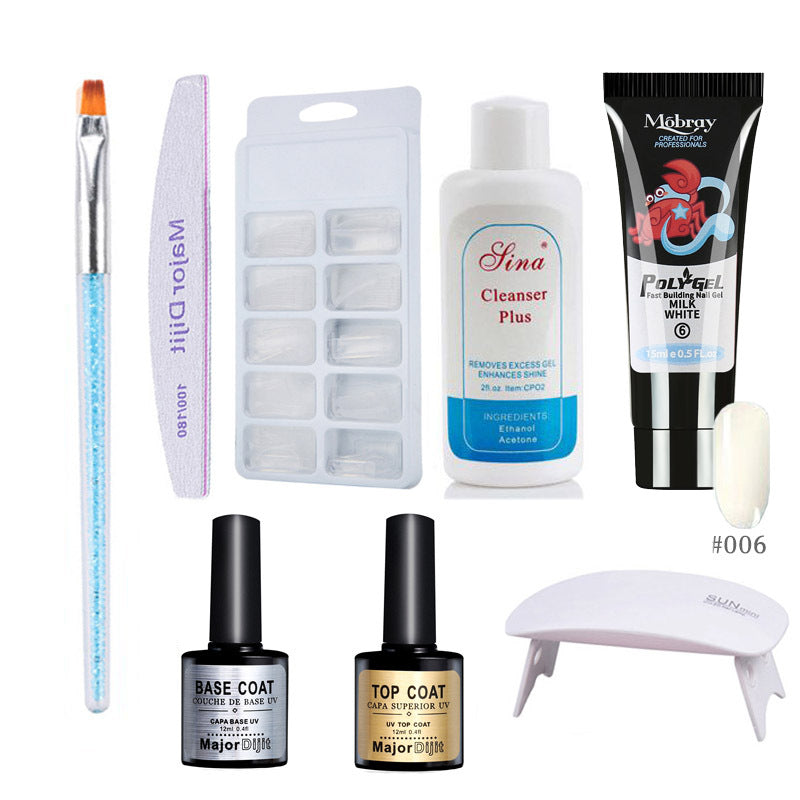
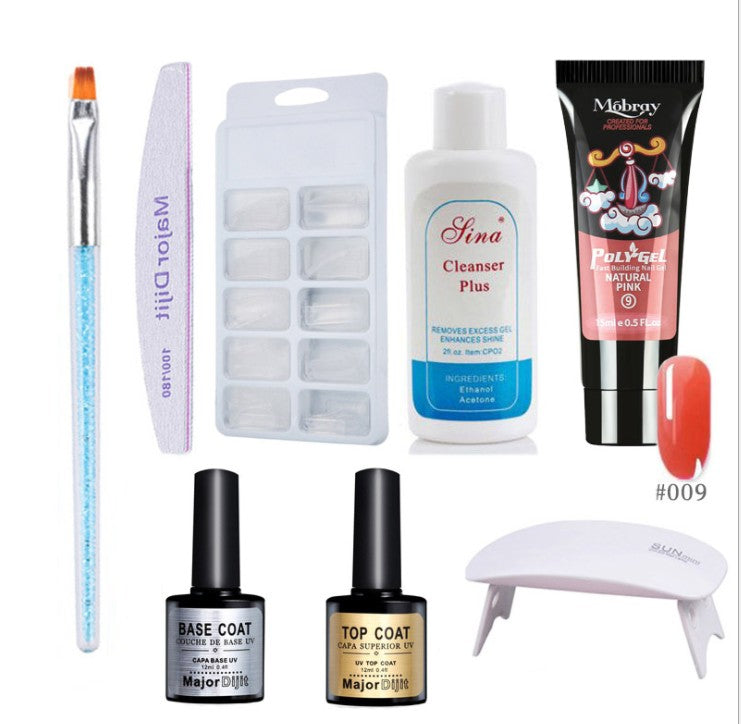

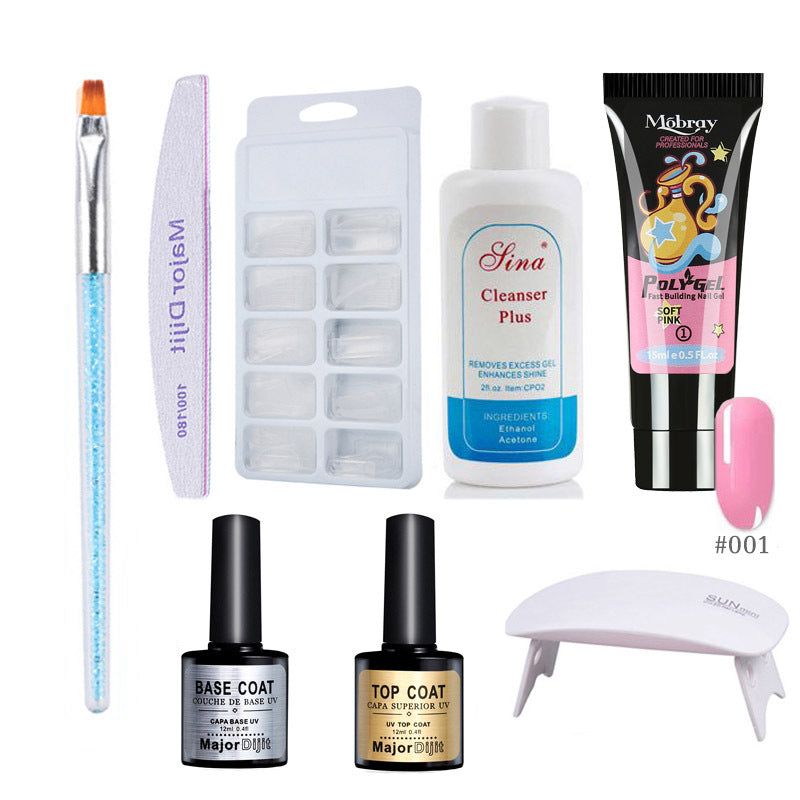
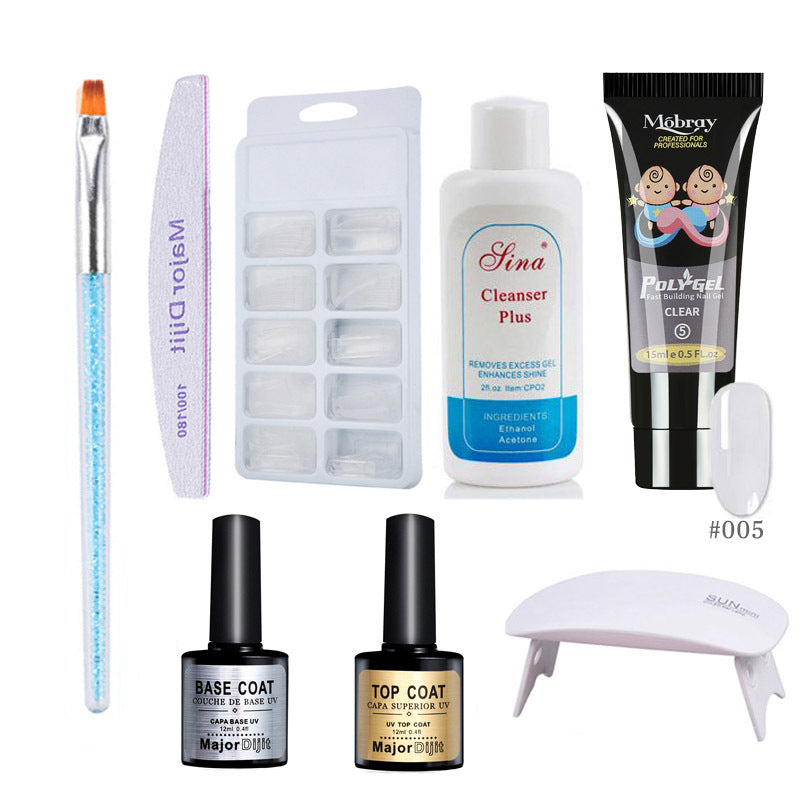
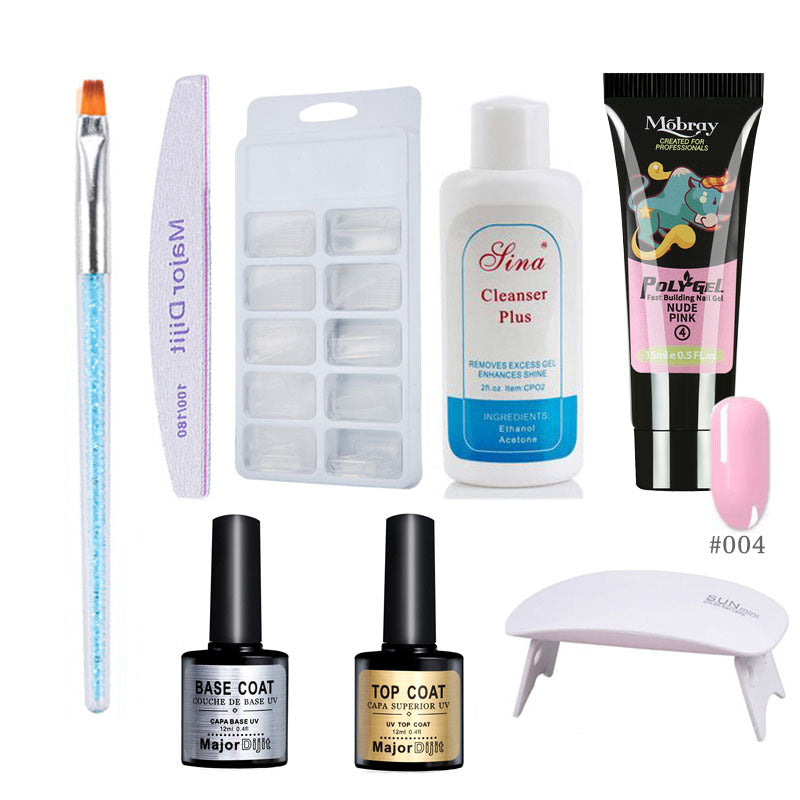
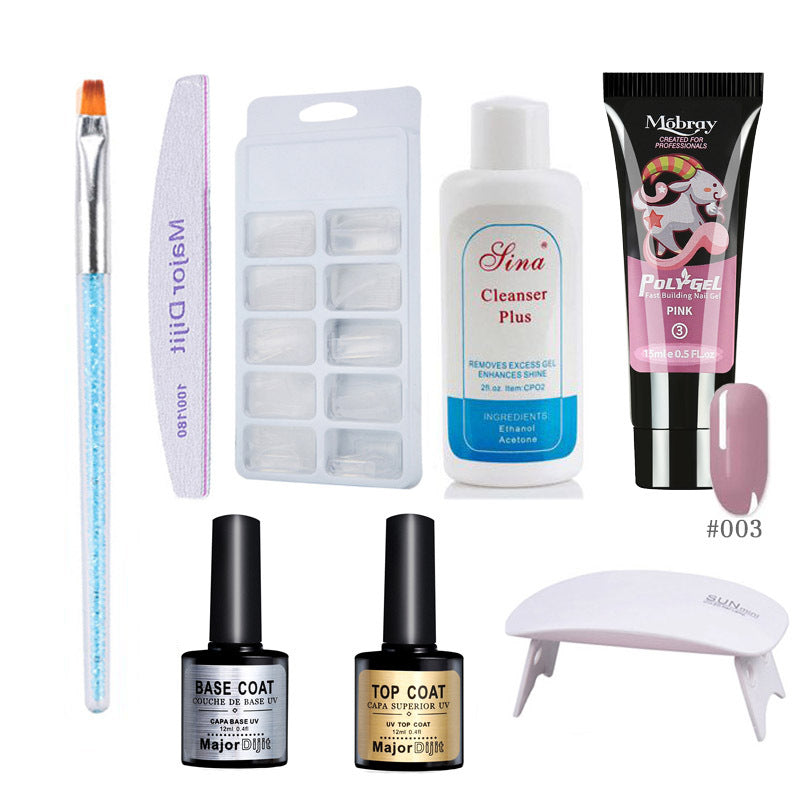
Build shaped, glossy extensions at home with a complete poly gel manicure setup. The compact kit brings the gel, UV/LED lamp, forms, coats, brush, file, and cleanser to one manicure table.
Read the full descriptionBuild shaped, glossy extensions at home with a complete poly gel manicure setup. The compact kit brings the gel, UV/LED lamp, forms, coats, brush, file, and cleanser to one manicure table.
Complete at-home poly gel extension kit with curing lamp and essential manicure tools
Turn a bare, short-looking manicure into shaped, lengthened nails with a complete poly gel setup. Build, cure, and finish your look without piecing together separate supplies.

The poly gel tube is for building shaped, lengthened nails rather than simply adding color to the natural nail. Use the forms and dual-ended brush to guide the extension shape before curing.

The dedicated UV/LED lamp gives the poly gel, base coat, and top coat a defined curing stage. Follow the lamp and product directions for each layer and keep the application controlled.

Separate base and top coat bottles make the prep-and-finish routine clear. They give the manicure table dedicated products for the layers that frame the poly gel build.

Forms, a dual-ended brush, file, and cleanser reduce the missing-supply problem that makes first attempts feel improvised. The coordinated set gives beginners a clear place to start.
Clean the nail area, organize the forms and tools, then apply the base coat according to its product directions.
Use the brush and poly gel with a nail form to create the length and shape you want. Work in manageable amounts so the surface stays controlled.
Place the nail under the UV/LED lamp and follow the product directions for curing. Keep uncured gel away from the surrounding skin.
Refine the edge with the file, cleanse as directed, then apply the top coat and cure for a glossy finish.
For building shaped, lengthened nails.
For curing the manicure layers.
For the manicure prep stage.
For the glossy finishing stage.
For the cleansing step.
For guiding extension shape and length.
For refining the finished shape.
For placing and shaping the poly gel.
You want shaped length, but your starting point is short-looking nails, scattered supplies, and too many tutorial tabs. Basic polish adds color, not extension length, while an incomplete kit leaves the most important steps to chance.
This compact setup brings the poly gel, UV/LED lamp, forms, brush, file, cleanser, base coat, and top coat together. Instead of shopping for one more missing piece, you can focus on prep, building, curing, and finishing.
Lay out the tools, choose a clear, nude, or pink-toned finish, and work through the same sequence each time. Practice turns the manicure table into a place where shaped length and a glossy finish feel more achievable.
| Complete kit | Single gel tube | Separate supplies | |
|---|---|---|---|
| Poly gel for building | |||
| UV/LED curing lamp | — | Partial | |
| Base and top coats | — | Partial | |
| Forms, brush, and file | — | Partial | |
| Cleanser included | — | Partial | |
| One coordinated setup | — | — |
The lamp is included for the kit’s curing workflow, including the poly gel, base coat, and top coat. Follow the directions for each product and cure each layer as instructed.
Yes. It is arranged as a beginner-friendly starting setup with the main build, cure, prep, shaping, and finish tools together. Start with a simple shape and practice manageable amounts of gel.
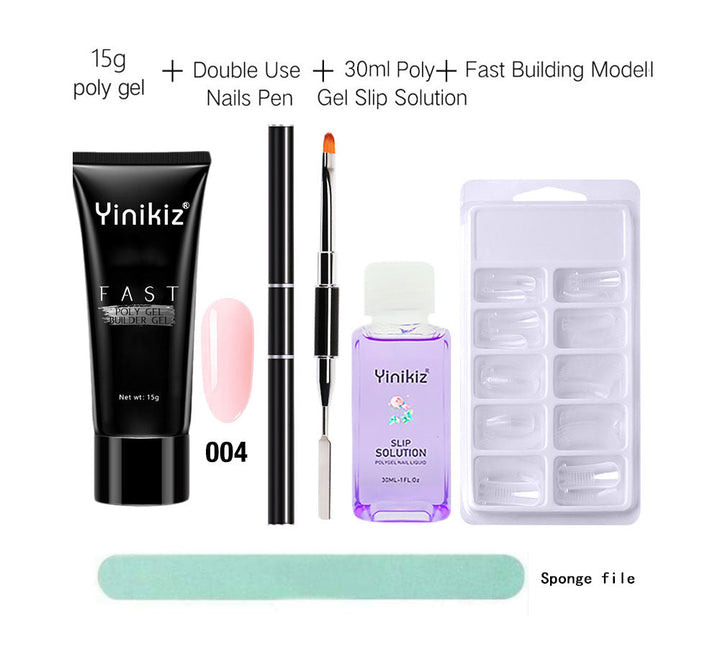
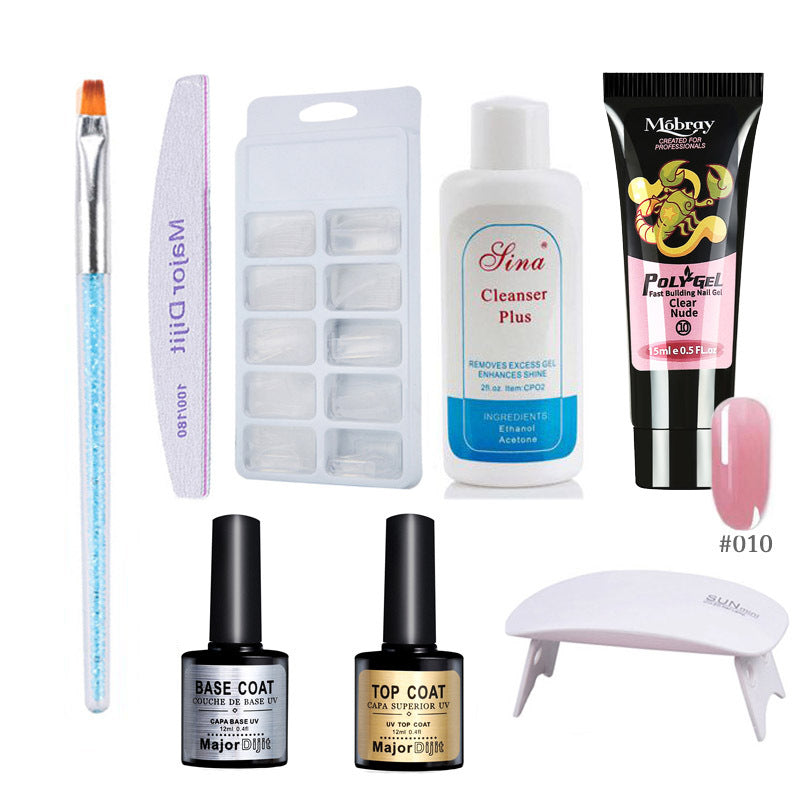
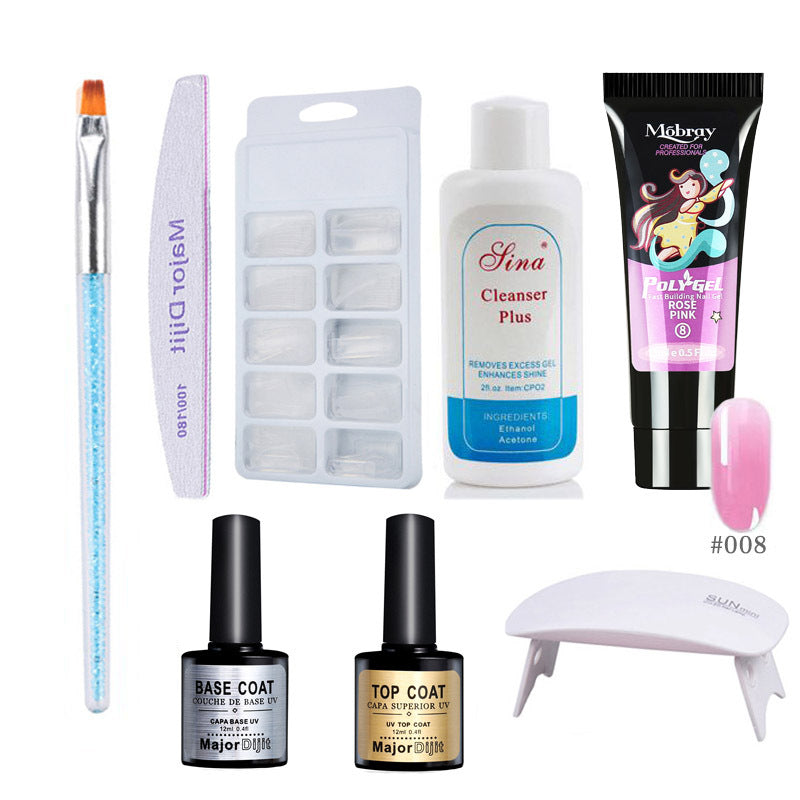
The setup includes a poly gel tube, UV/LED lamp, base coat, top coat, nail cleanser, nail form tips, nail file, and dual-ended nail brush.
The visible shade options include clear coffee, clear nude, and rose pink, with additional color variants available. The translucent tones suit clear and soft pink-toned manicure looks.
No. The kit includes the dual-ended brush, nail form tips, nail file, and cleanser, so those core application supplies are already covered.
Use them exactly as directed, in a ventilated area, and keep them away from eyes, flames, and unnecessary skin contact. Close the bottles after use.


 Poly Gel Nail Extension Kit for Glossy Home Manicures