
$64.90
Free delivery · 7–14 days
Headlight Restorer for Cloudy, Yellowed, Dull Lenses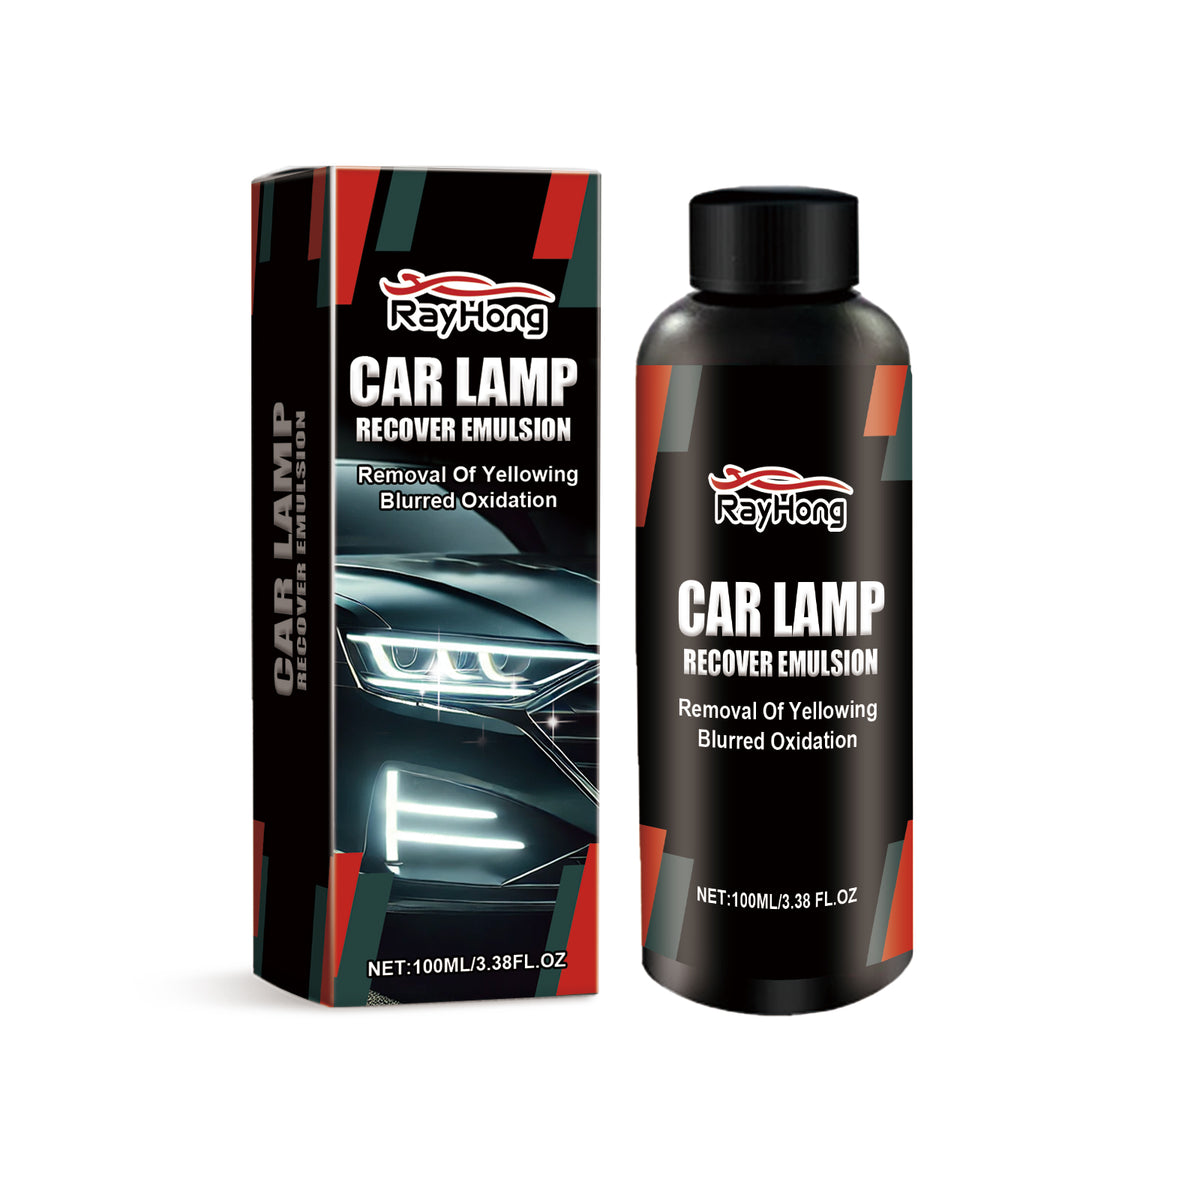
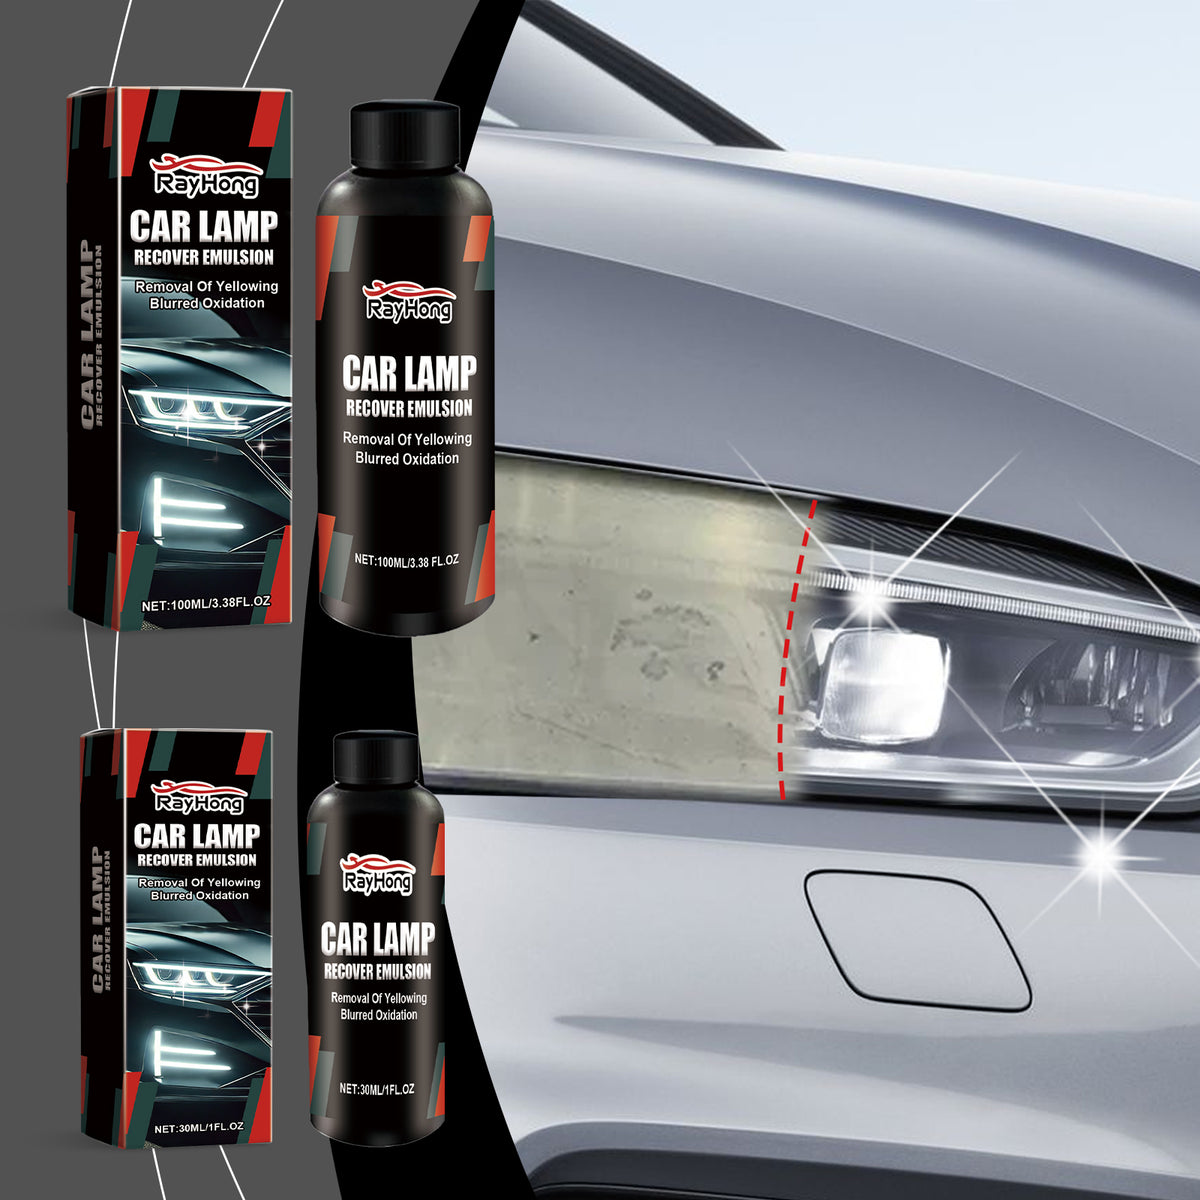
Give tired headlights a clearer, glossier-looking front end with a focused DIY surface treatment for yellowing, haze, oxidation, and light scratches.
Read the full descriptionGive tired headlights a clearer, glossier-looking front end with a focused DIY surface treatment for yellowing, haze, oxidation, and light scratches.
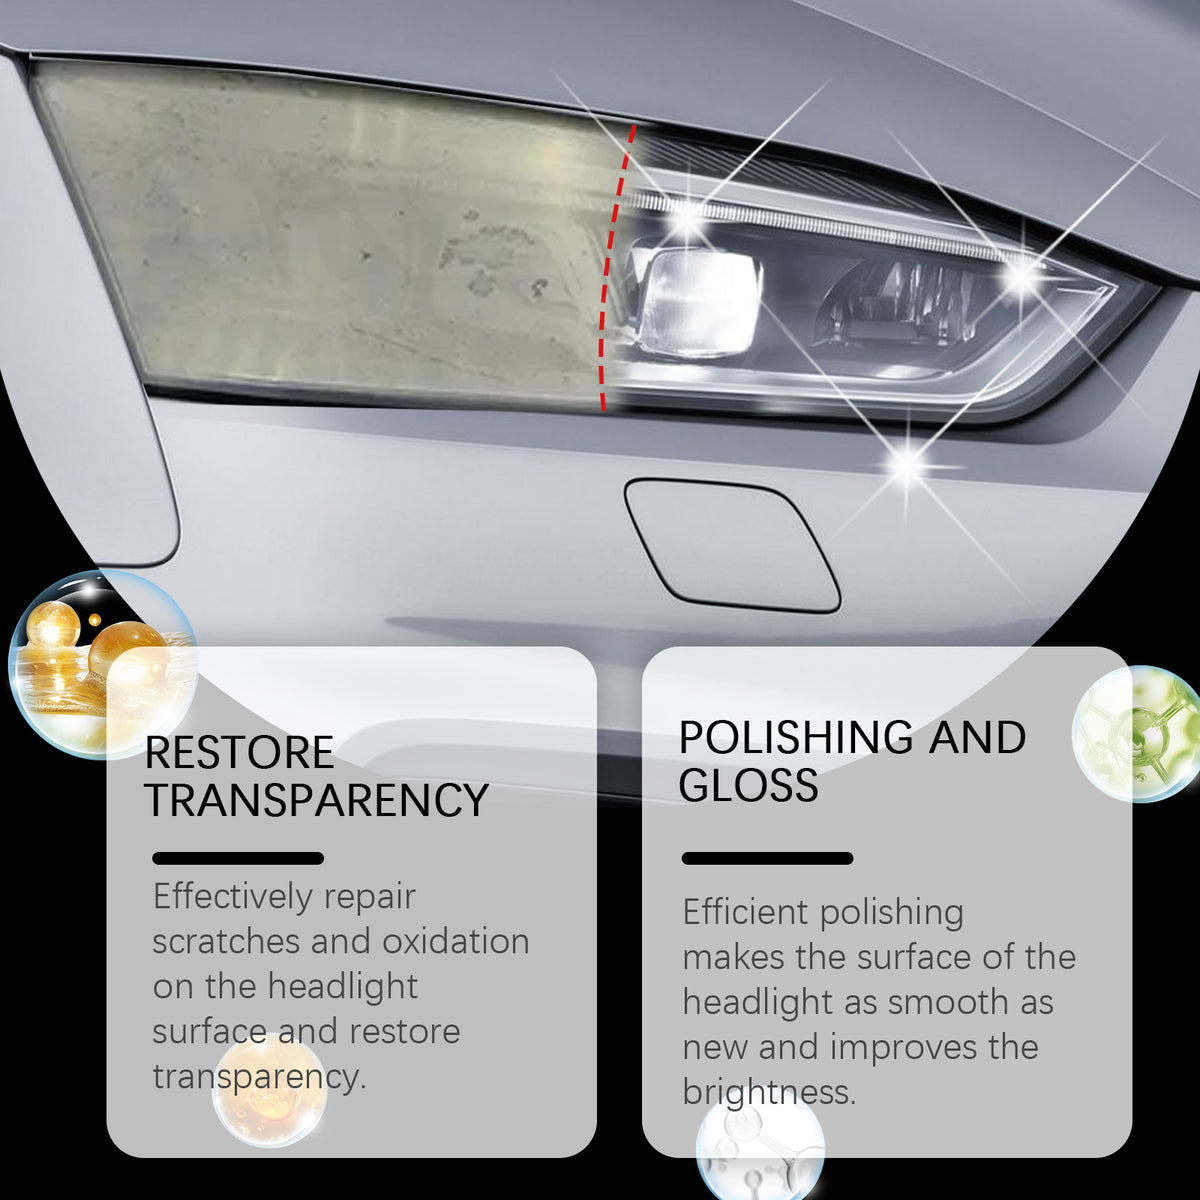
Restores transparency and gloss to yellowed, blurred, oxidized headlights.
Turn yellowed, cloudy lenses into a cleaner, glossier-looking finish with a DIY restoration treatment. Spend less time staring at oxidation and more time enjoying a refreshed vehicle.

The emulsion is made for yellowing, blurred oxidation, surface scratches, and haze. After polishing, the lens can look clearer and more transparent.

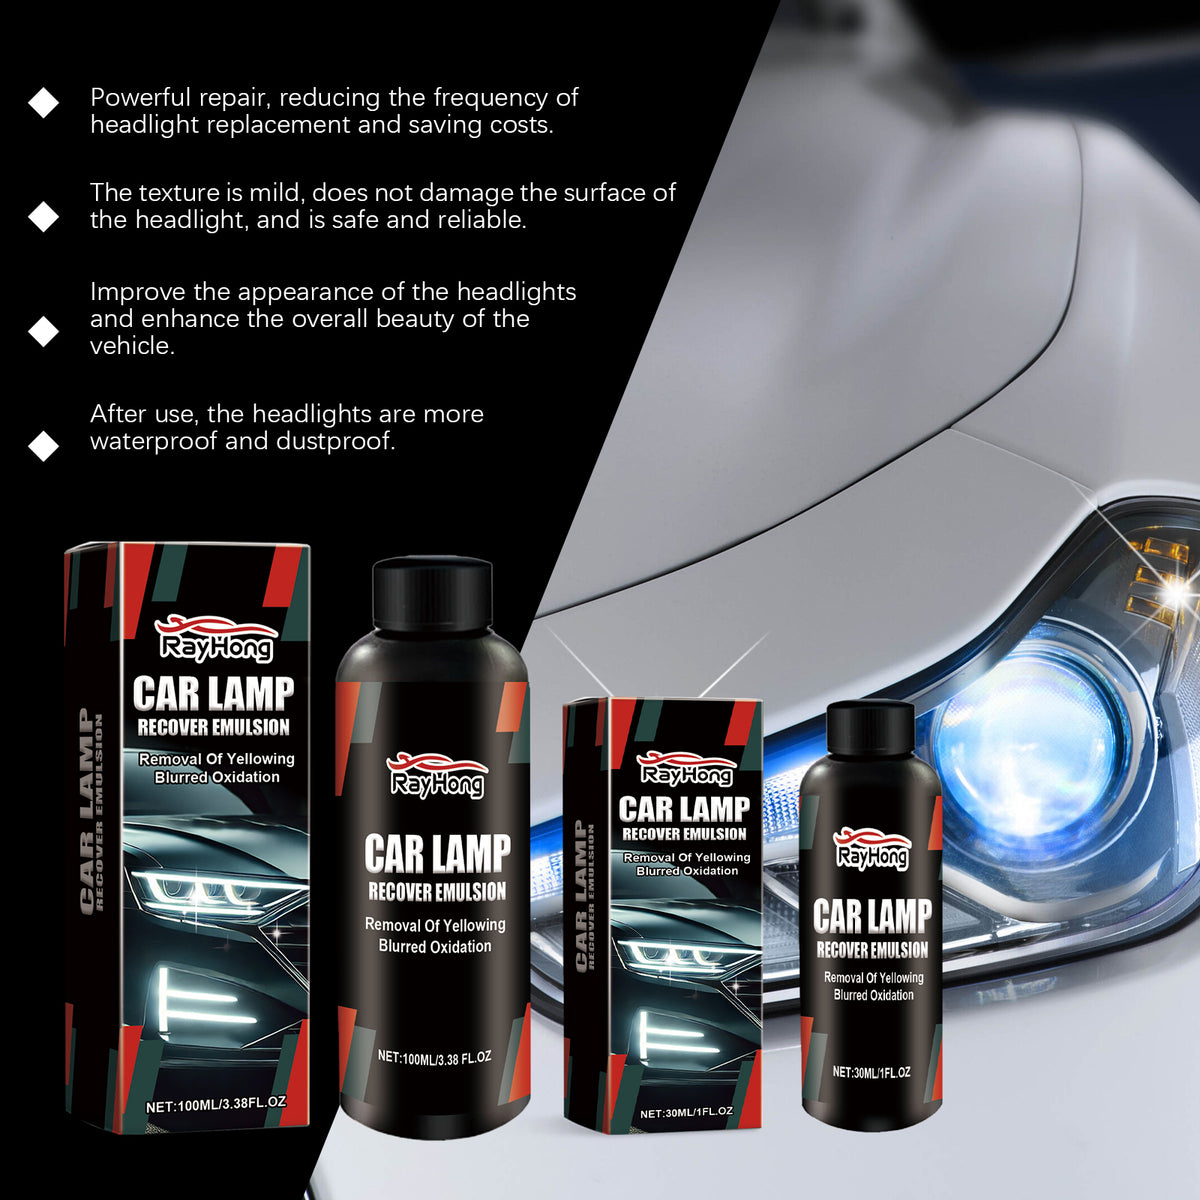
Efficient polishing smooths the visible surface and improves brightness and gloss. It is for surface dullness, not deep cracks or internal damage.

The packaging claims a more waterproof and dustproof surface after use, giving the refreshed lens added care between detailing sessions.
A boxed 100ml bottle gives car owners a focused restoration product without committing immediately to a full lamp replacement.
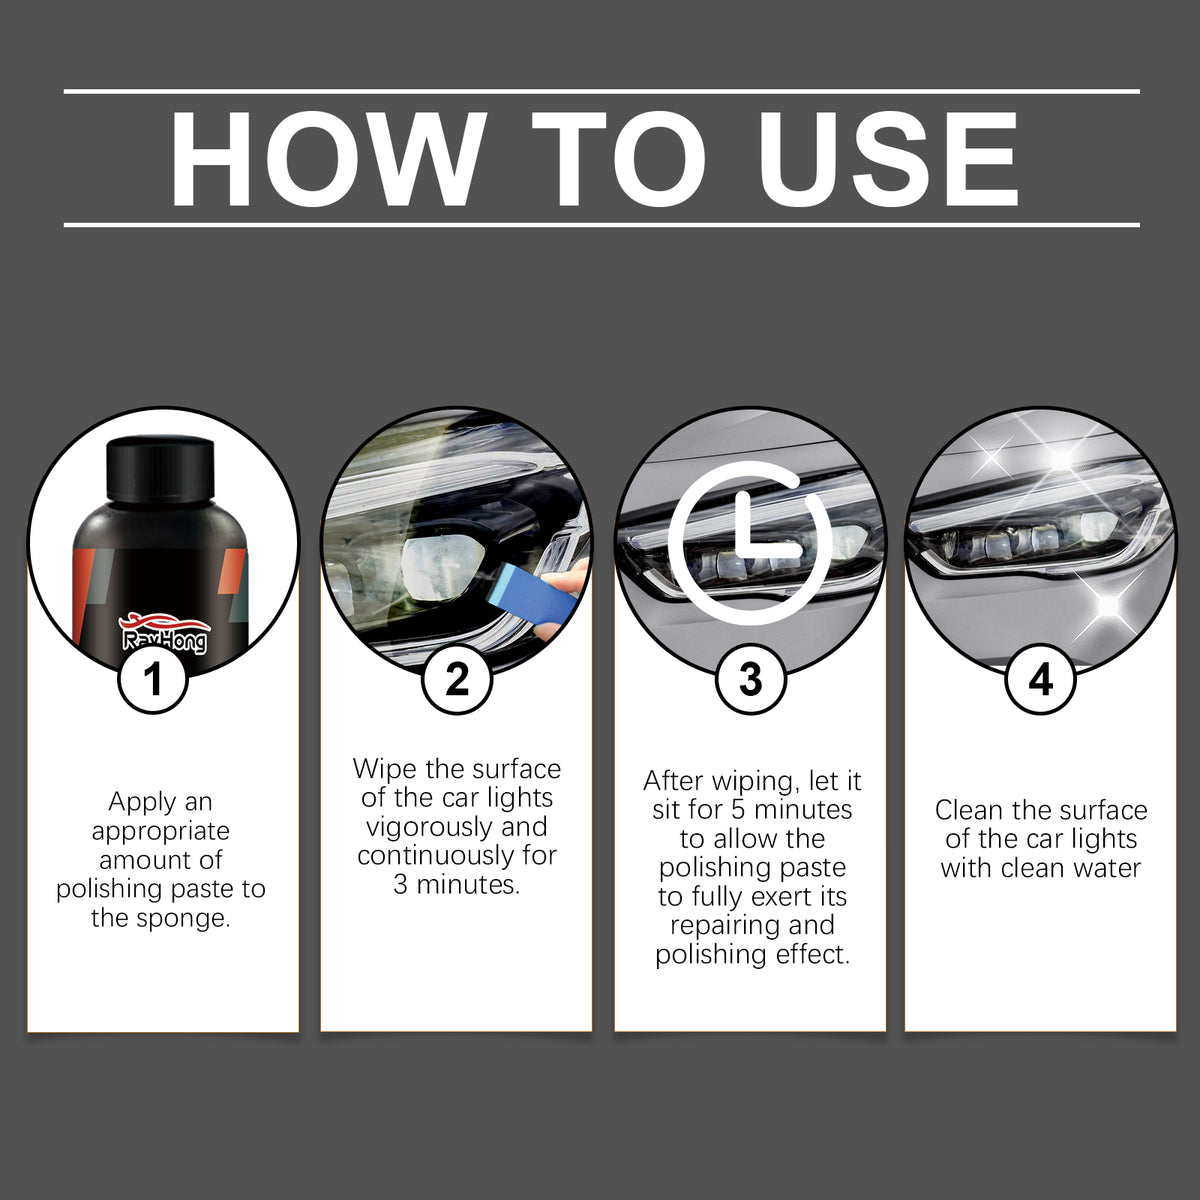
Wash away dirt, dust, and grit, then dry the exterior lens thoroughly before applying anything.
Inspect the lens in daylight. Surface yellowing and haze are suitable starting points, while cracks, internal moisture, or deep damage need a different solution.
Apply the emulsion to a discreet section first, especially if the lens has a previous coating or an unusual surface condition.
Use controlled pressure and polish the cleaned exterior surface as directed. Avoid aggressive rubbing and inspect the finish frequently.
Compare the treated area with the untreated surface in daylight. Continue only when the result looks even and the lens condition supports further treatment.
100ml black plastic bottle with screw cap
Matching branded packaging
Yellowed, blurred lenses stand out every time you approach the car. Oxidation, light scratches, water, and dust buildup can make the front end look neglected beside freshly cleaned paint.
Before considering a complete lamp replacement, clean the exterior lens and assess the damage. A purpose-designed recovery emulsion is a sensible surface-care step for yellowing, haze, oxidation, and light scratches.
Careful polishing can shift the visual impression from cloudy and dull to clearer, brighter-looking, and glossier. The packaging also claims a more waterproof and dustproof surface after use.
| Rayhong emulsion | Generic polish | Replacement assembly | |
|---|---|---|---|
| Made specifically for headlight surface care | Yes | Not specific | Yes |
| Addresses surface yellowing and oxidation | Yes | Partial | Yes |
| Useful for light surface scratches | Yes | Partial | Yes |
| Requires replacing the complete lamp | No | No | Yes |
| Suitable for deep cracks or internal damage | No | No | Yes |
| Focused DIY convenience | Yes | Partial | No |
It is intended for suitable exterior headlight lens surfaces, especially visible yellowing, haze, oxidation, and light scratches. Test a discreet area first and follow the product directions.
No. It is a surface restoration emulsion for oxidation, haze, and light surface scratches. Cracks, internal moisture, and structural damage need professional assessment or replacement.
The bottle contains 100ml, but exact coverage depends on lens size, oxidation, scratch condition, and how much product the restoration requires. The product information does not provide a fixed coverage area.
Yes. Clean and dry the exterior lens first. Dust, grit, and moisture can interfere with controlled polishing and make the finish uneven.
It is a practical DIY first step for surface yellowing and haze. It is not a replacement for professional restoration or a new assembly when the lens has deep, internal, cracked, or structural damage.
No permanent protection is promised. The packaging claims a more waterproof and dustproof surface after use, while future yellowing depends on the vehicle, exposure, lens condition, and care.


 Car Headlight Restoration Paste for Clearer Lenses