
$64.90
Free delivery · 7–14 days
Headlight Restorer for Cloudy, Yellowed, Dull Lenses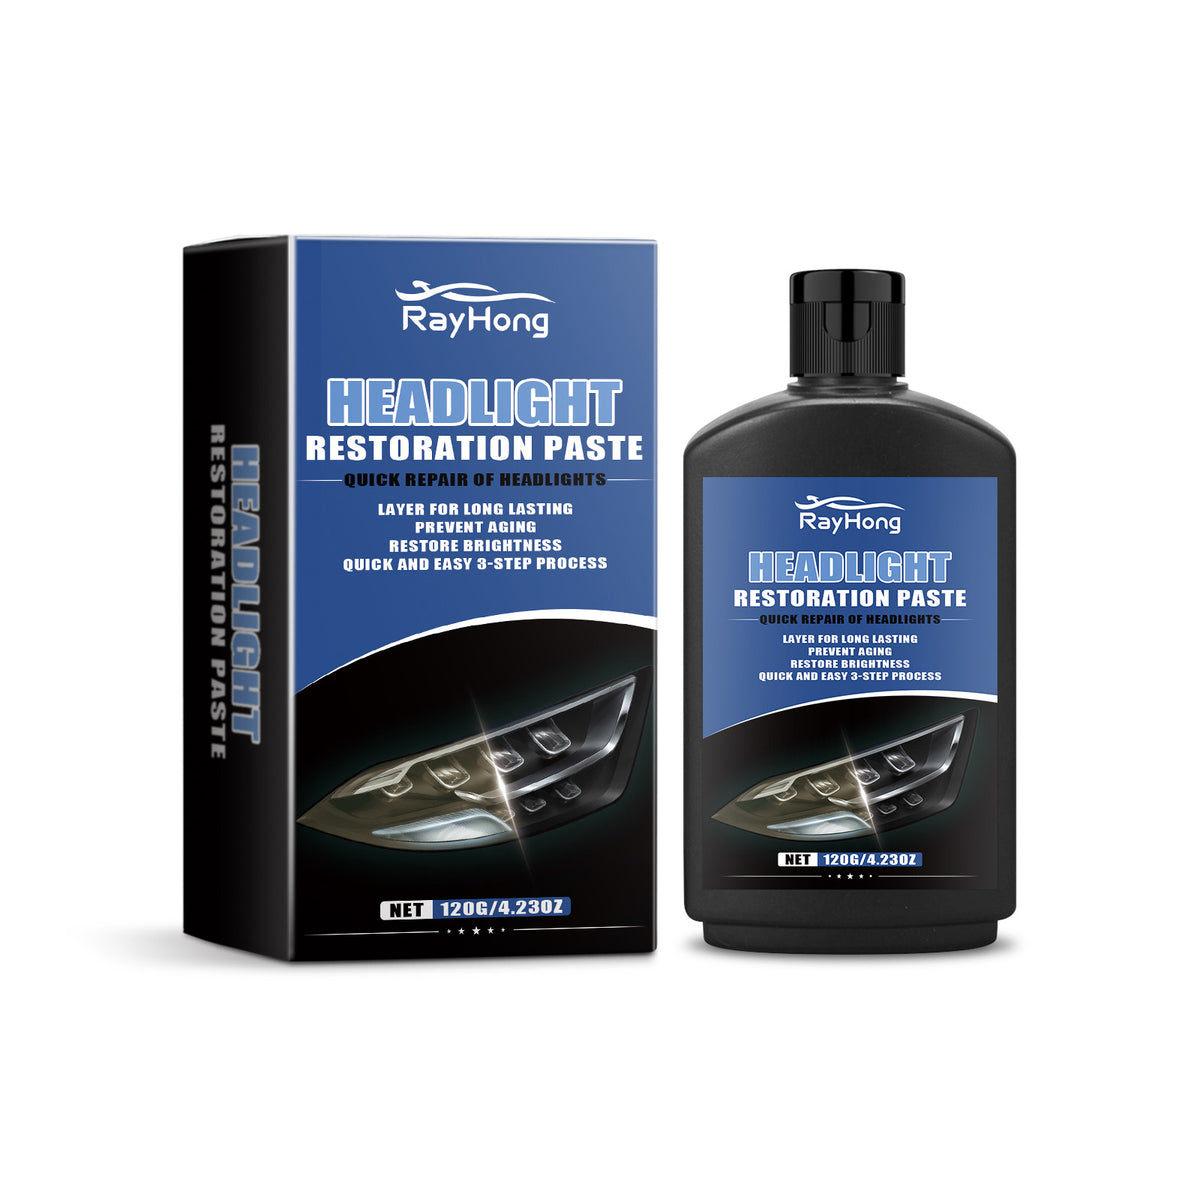
Bring back a clearer, brighter-looking front end without turning headlight care into a complicated detailing job.
Read the full descriptionBring back a clearer, brighter-looking front end without turning headlight care into a complicated detailing job.
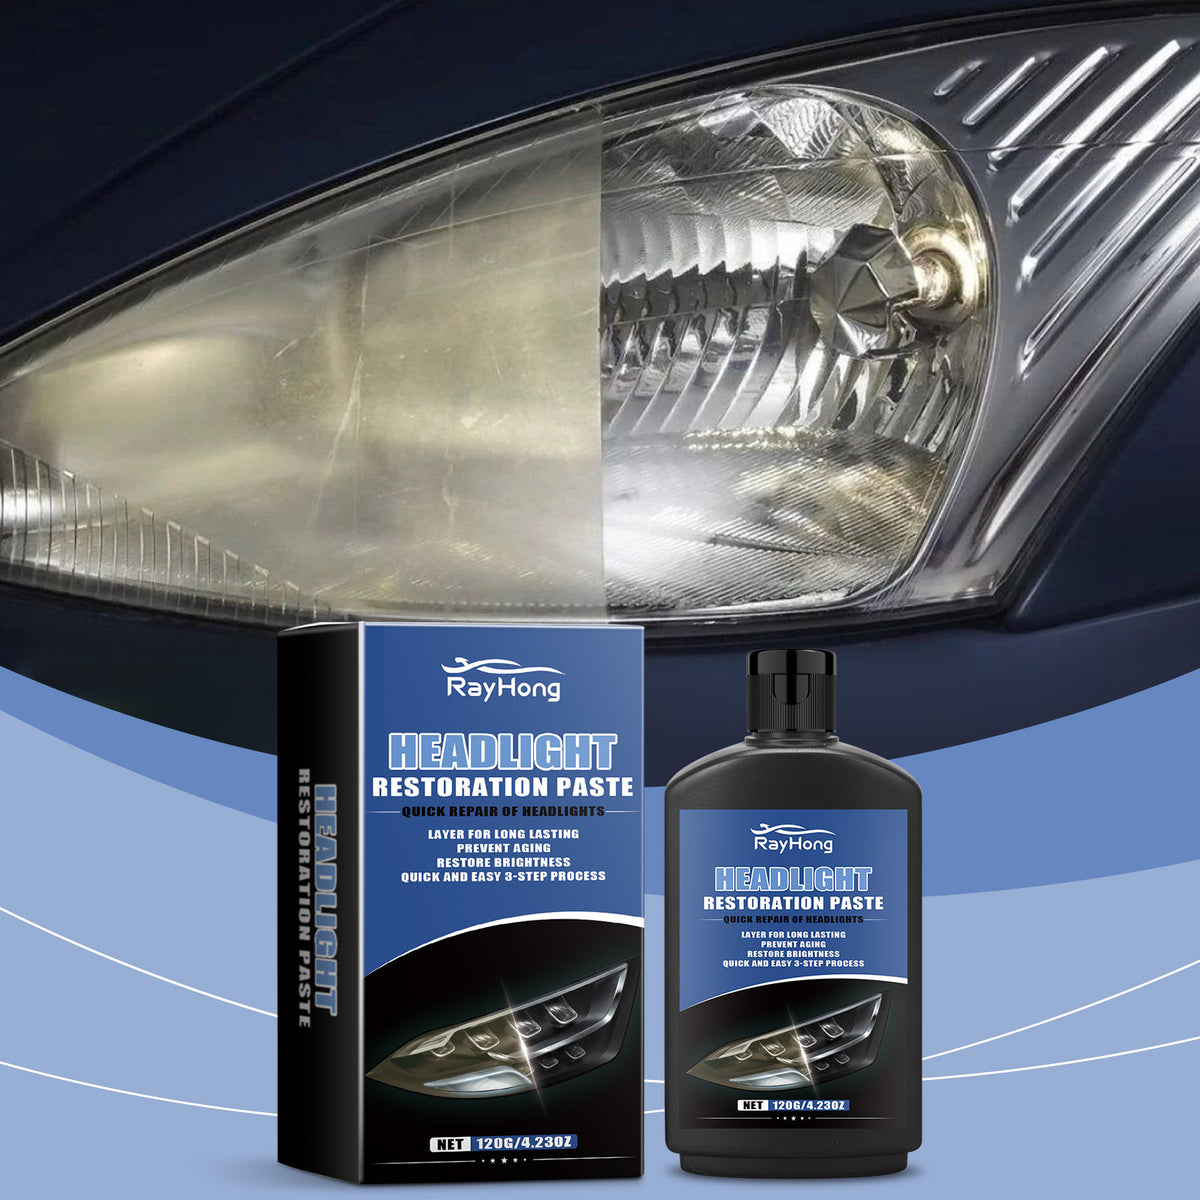
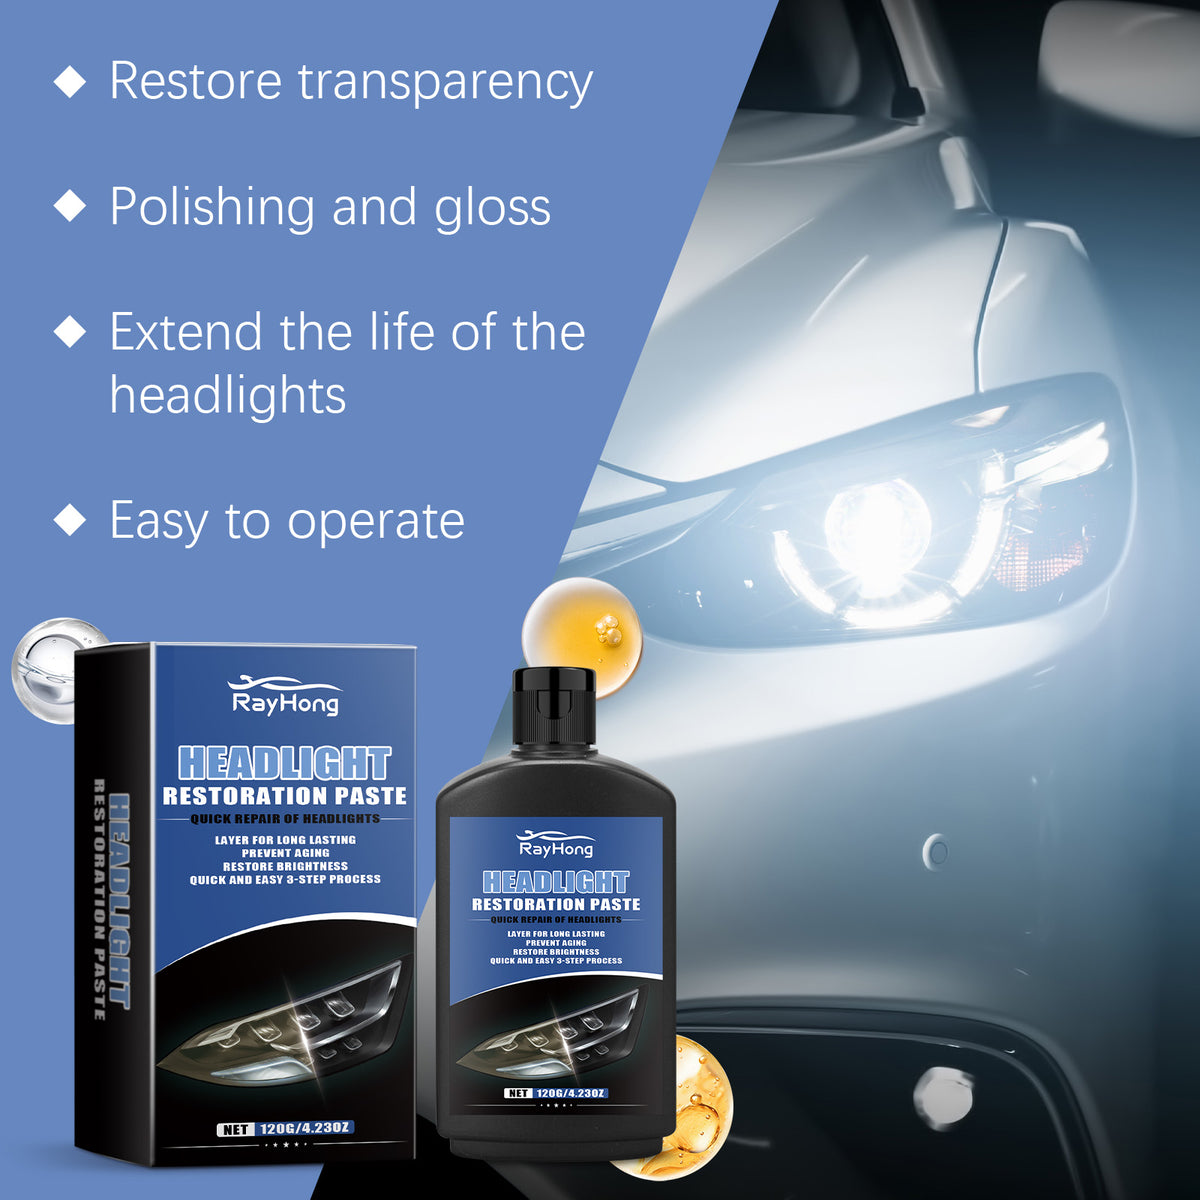
Restore cloudy, yellowed headlights to a clearer and brighter appearance while adding protective gloss.
Refresh yellowed, hazy headlights at home without a complicated detailing routine. The 3-step cream process restores a clearer, brighter-looking finish and adds protective gloss.

The cream addresses yellowed, cloudy, hazy, dull, and oxidized-looking lens surfaces, supporting a clearer and more transparent appearance.

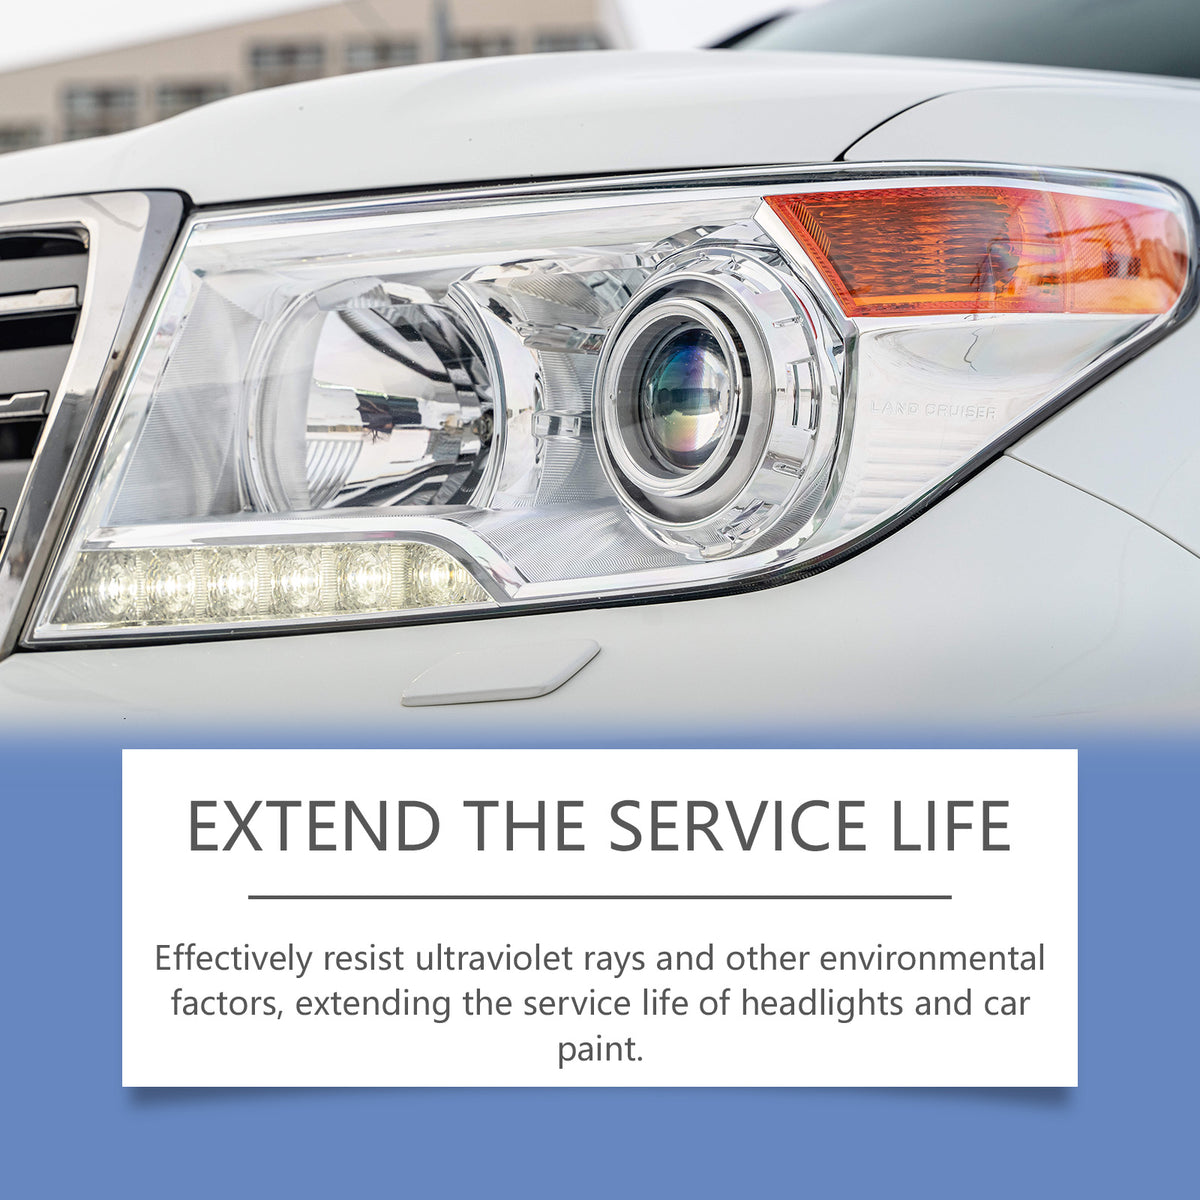
The protective layer makes this more than a quick clean. Its stated care positioning includes resistance to ultraviolet rays and other environmental factors.

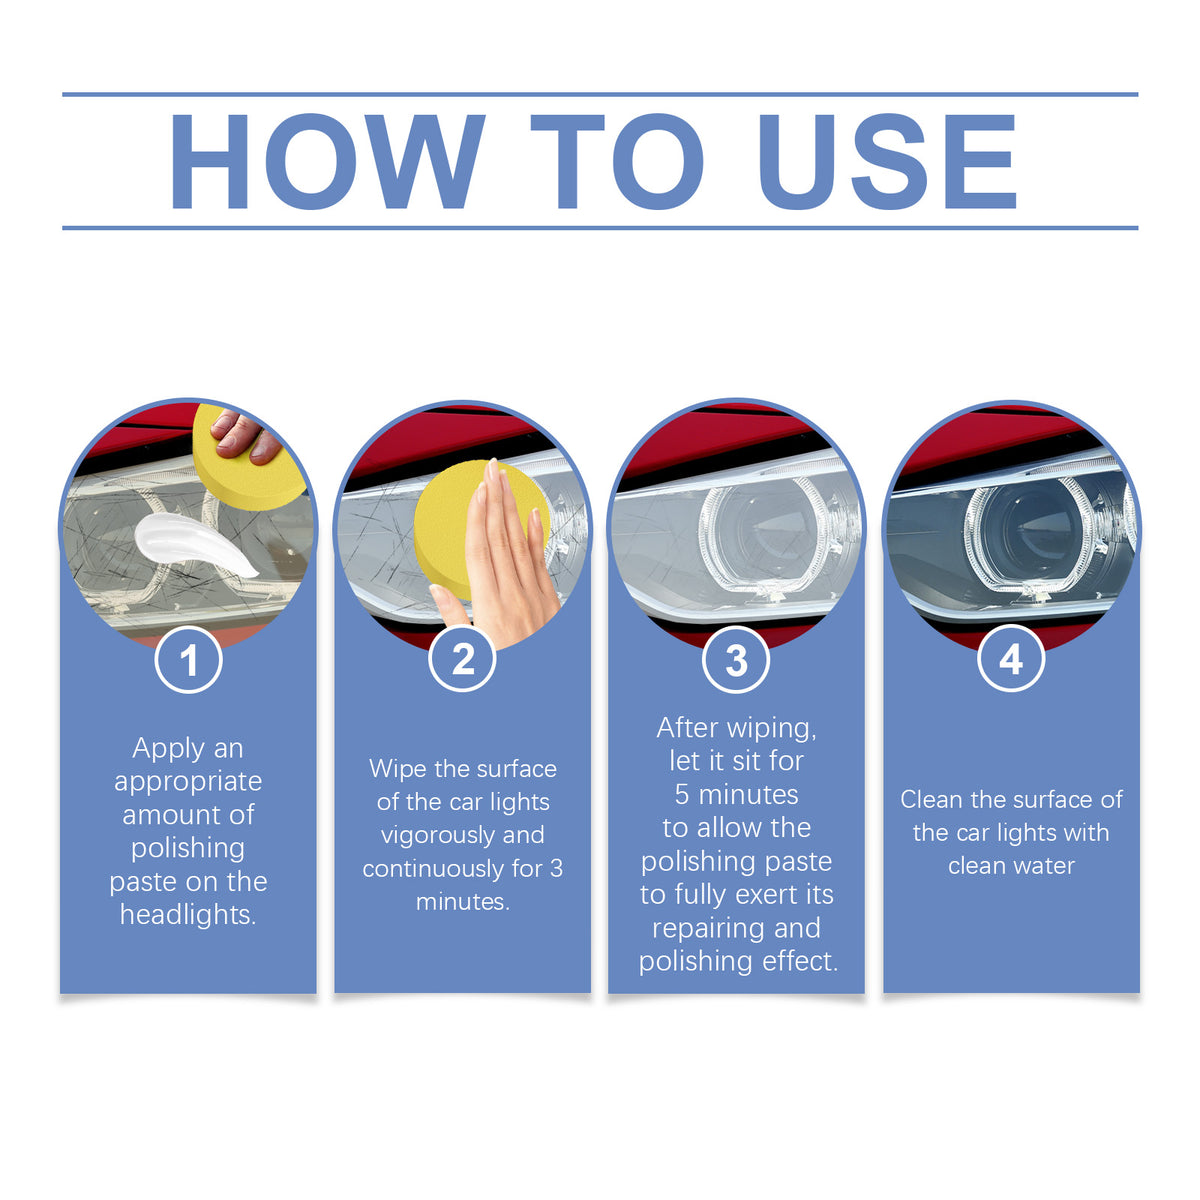
The packaging presents a quick, easy 3-step process, so DIY users have a defined restoration routine rather than an improvised household-cleaner fix.
Clean away dirt and road film, then dry the headlight surface before applying the cream.
Apply the restoration cream and work it evenly across the cloudy or yellowed lens area.
Complete the stated process and check the lens for an even, clearer-looking and glossier finish.
Opaque black plastic bottle with screw-top closure
Matching blue-black branded carton
Dull, yellowed lenses quietly age the whole car. When the surface looks cloudy and less transparent, every inspection, resale photo, or night drive can feel less reassuring.
RayHong brings polishing, gloss, and protective headlight care into one 120g bottle. The stated 3-step process gives first-time DIY detailers a clear routine instead of guesswork.
After the refresh, the lenses look clearer, brighter, glossier, and better cared for. It is one less maintenance job hanging over you before the next detail, sale, inspection, or road trip.
| Restoration Cream | Household Cleaner | Replacement Assembly | |
|---|---|---|---|
| Purpose-built for headlight care | — | ||
| Polishing and gloss care together | — | — | |
| At-home application | — | ||
| Addresses surface yellowing | — | Partial | |
| Suitable for cracks or internal fogging | — | — | Partial |
It is intended for cloudy, yellowed, hazy, dull, and oxidized-looking plastic headlight lens surfaces. Check the lens condition first, and do not use surface restoration as a solution for deep cracks, chips, or internal fogging.
No. The cream addresses visible surface dullness, yellowing, and cloudiness. Structural damage or moisture inside a sealed headlamp needs professional assessment.
Prepare and dry the lens, polish the surface with the cream, then complete the stated protective-care process. The packaging presents it as a quick and easy 3-step routine.
The product arrives as a restoration paste bottle and matching retail carton. Use a clean, dry lens and follow the supplied instructions for the application method.
For surface haze and yellowing, restoration is the more direct at-home refresh. Replacement is the route for damaged or internally fogged assemblies, so the right choice depends on the lens condition.
The product claims a protective layer that resists ultraviolet rays and other environmental factors. Ongoing exposure and the condition of the original lens still affect how long the finish remains presentable.


 Car Headlight Restoration Cream for Clearer, Brighter Lenses