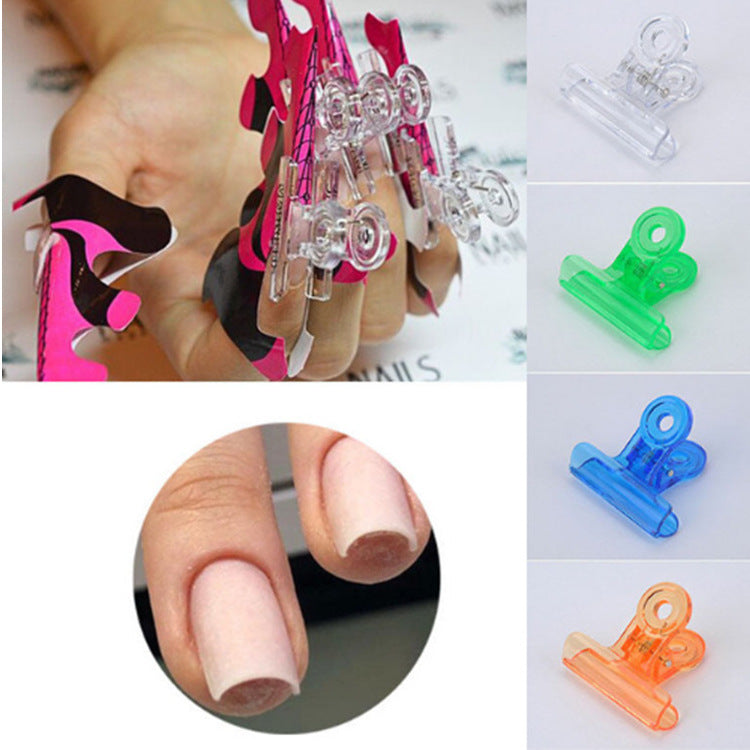
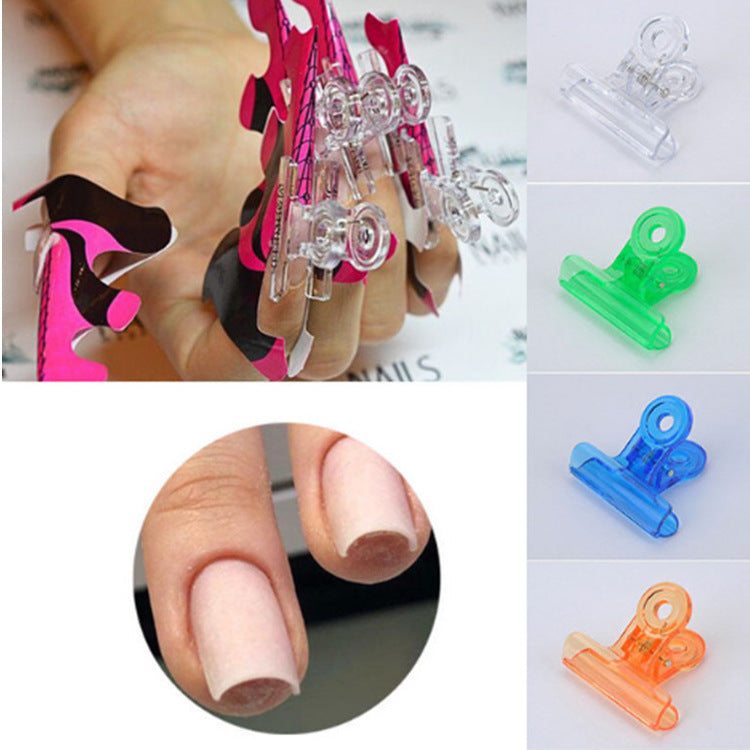
C-Curve Nail Clips for Gel Extensions — Perfect Arch Every
The effortless way to perfect nail arches
No more uneven extensions or lifting tips. Just clip, cure, and reveal a consistent, elegant C-curve — salon-quality results at home.
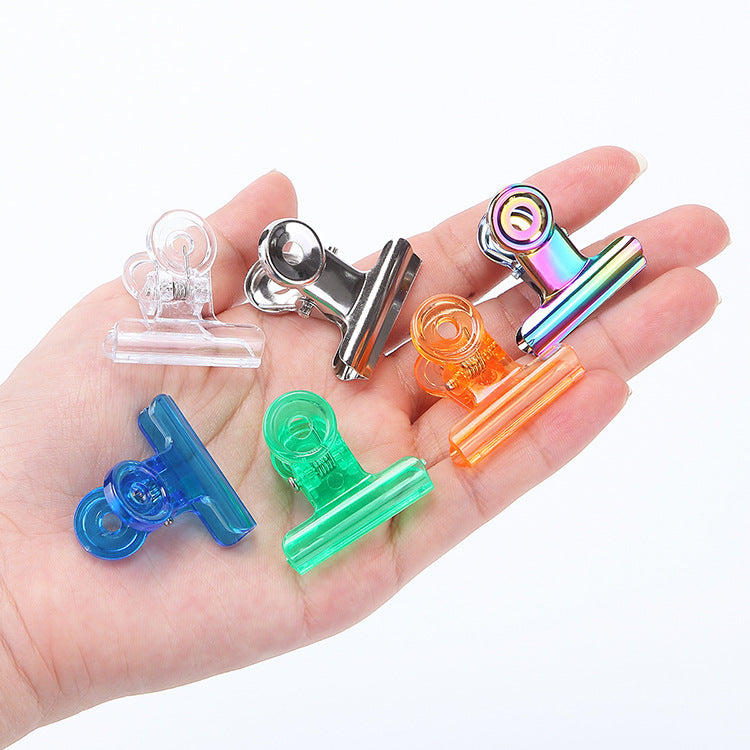
Precision engineering in a tiny package
Three key details that set these clips apart from every other tool in your kit.

Even, consistent pressure
Unlike flimsy manual clamps, the spring-loaded mechanism applies exactly the right tension across the entire nail form. No weak spots, no over-tightening — just a perfect, uniform C-curve every time.
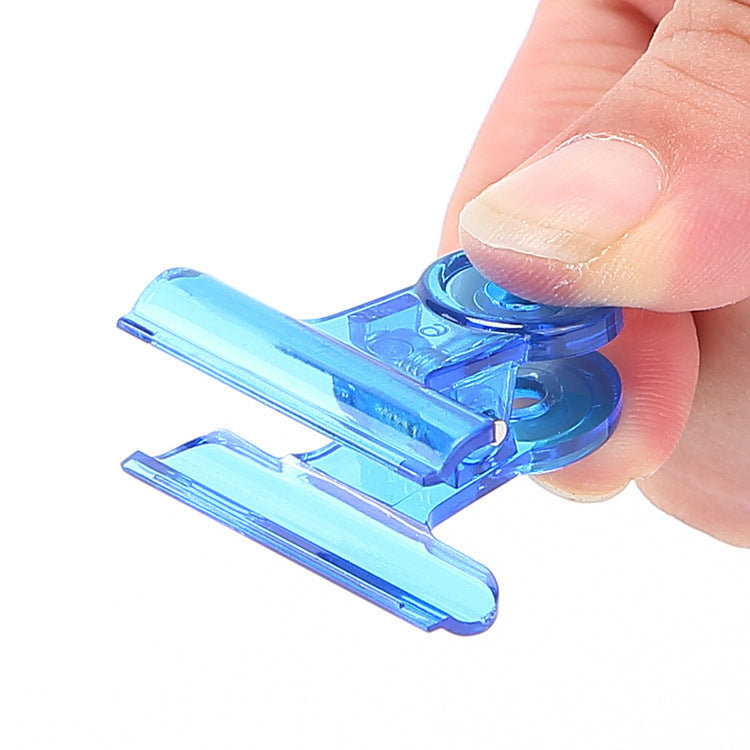
Zero interference with curing
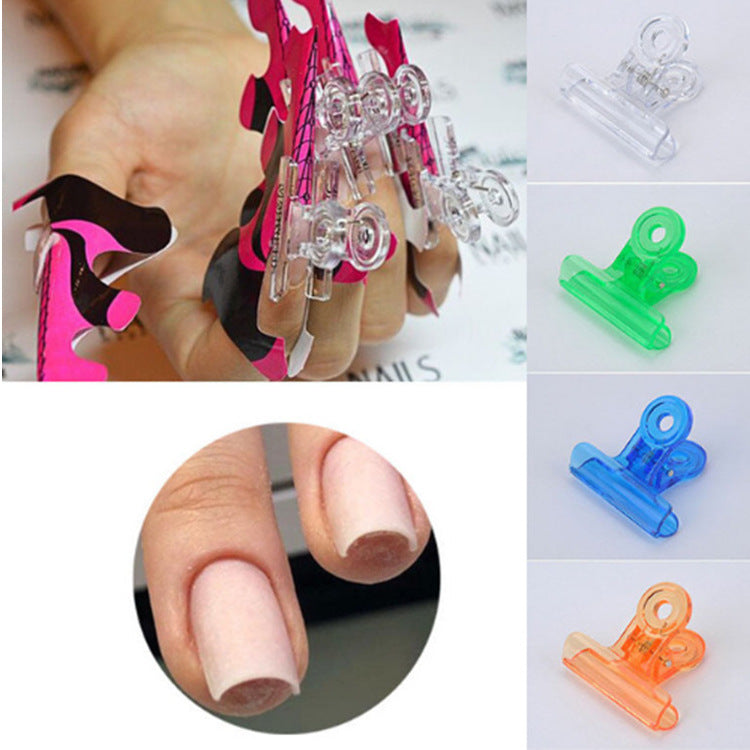
The center cutout leaves the nail extension fully exposed to UV/LED light. No shadows, no uncured gel. Your lamp penetrates evenly, for a strong bond and flawless finish.
So light you’ll forget it’s on
At just a few grams, these clips won’t weigh down your nail or feel clunky. They sit securely without discomfort, even during longer curing sessions.
Your 4-step routine
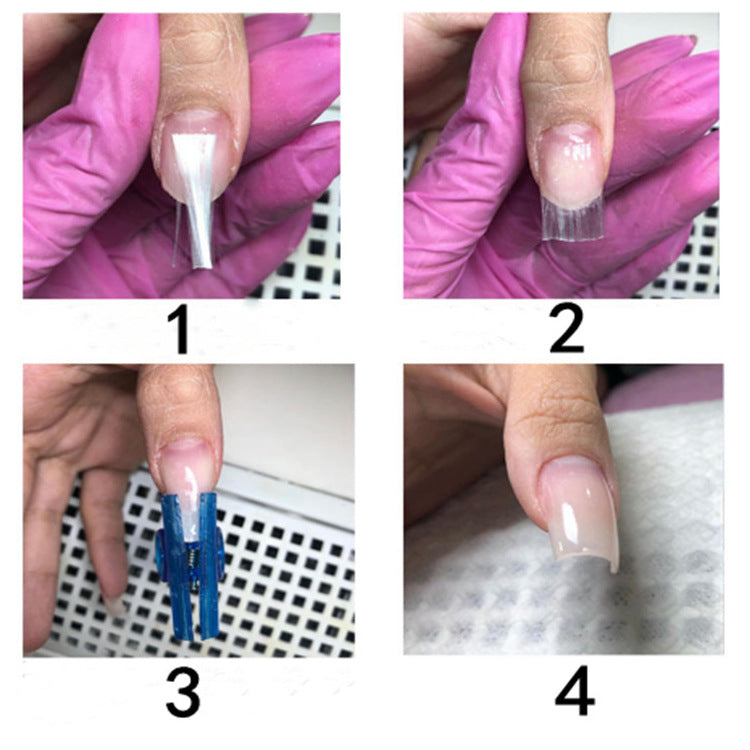
- 1
Prepare your base
Apply your builder gel or acrylic over the nail tip as usual. Attach your nail form or tip, making sure it’s aligned straight.
- 2
Clamp the form
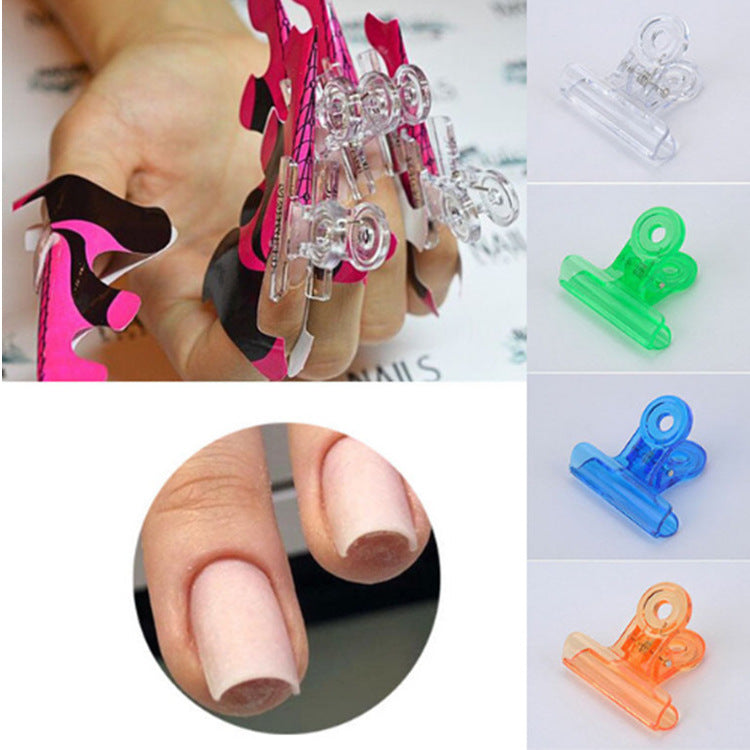
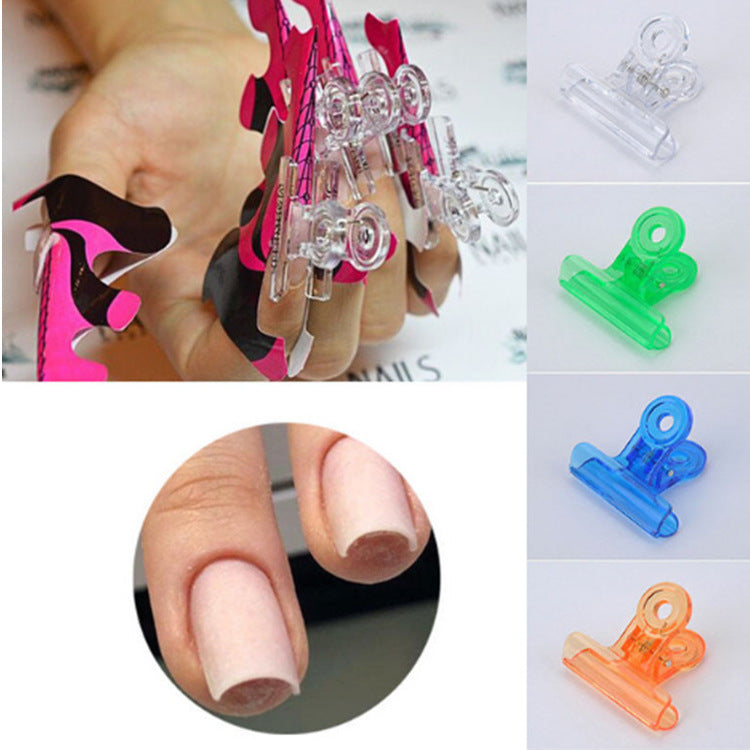
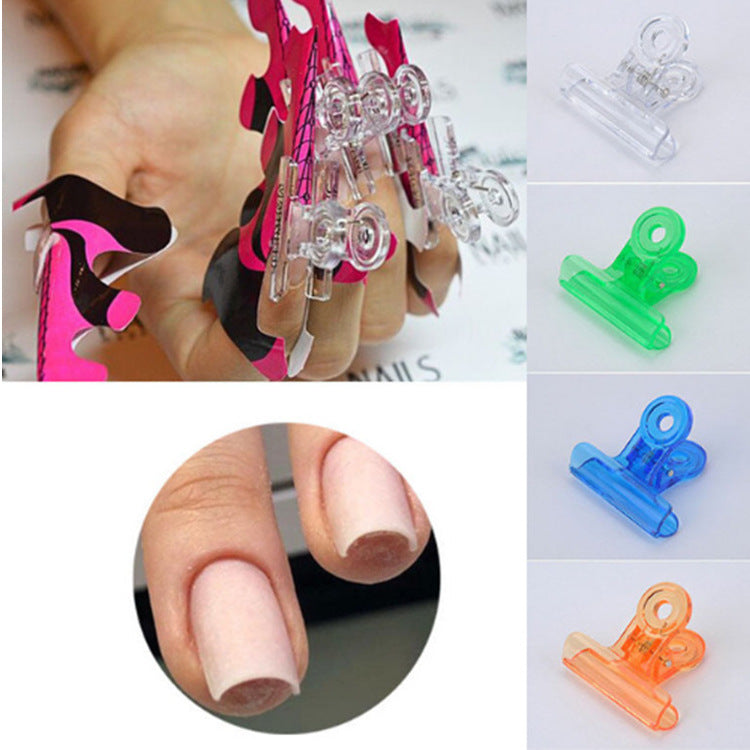
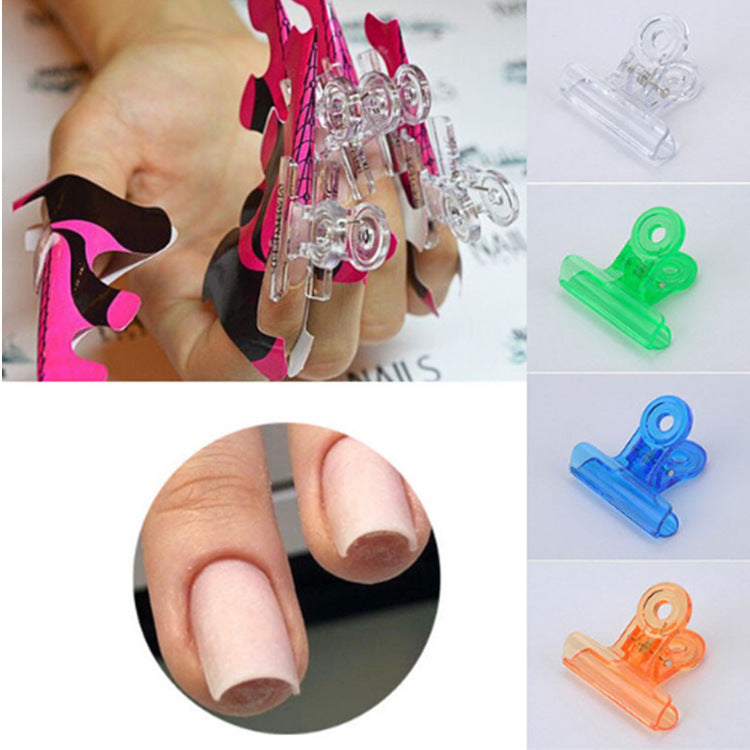
Take a C-curve clip, open the jaws, and position it gently over the nail form so it wraps around the finger. The clip’s curve should mirror the desired arch.
- 3
Cure with confidence
Without moving the clip, cure under your UV or LED lamp. The open center allows light to pass through, so the gel sets uniformly.
- 4
Release and reveal
Once fully cured, carefully release the spring mechanism and lift the clip away. The nail form is now perfectly sculpted — proceed with filing and top coat as usual.
The proof is in the polish
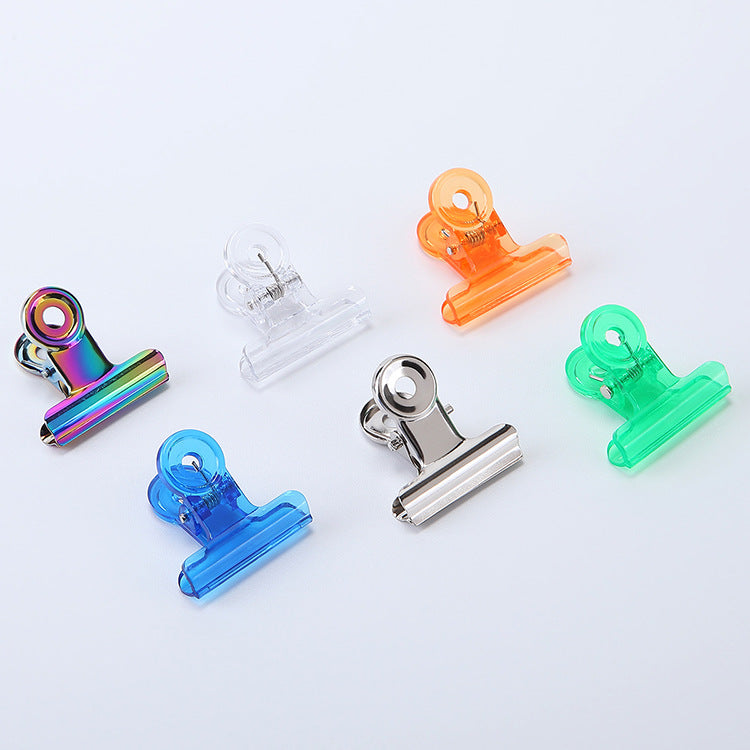
- 6vibrant finishes
- 0.3ozeach clip
- 4.9★from nail techs
- 10k+happy customers
From flat to flawless curves
Sculpting perfect arches used to be a battle against gravity and clumsy fingers. Then we found a way to make it simple.
The struggle is real
You’ve laid the gel, perfected the extension, but the moment you hit the lamp, the nail tip lifts. The form slips. The curve flattens. Hours of work wasted, and all you’re left with is a mediocre, uneven nail that screams DIY.

The clip that changes everything
Meet the C-curve nail clip. Its spring-loaded jaw holds your nail form in a flawless arch while the gel or acrylic cures. No slipping, no lifting, no frustration. Just precise, consistent pressure exactly where it’s needed — across the entire nail bed.
About this item
Transform flat gel extensions into sculpted, perfectly arched nails with a simple clip-and-cure technique.
Achieve perfect salon-quality C-curve nail extensions at home in 4 easy steps
- uneven nail extension curves
- nail tips lifting during curing
- inconsistent nail arch shape
- difficulty holding nail forms in place
Before you buy
Answers to the most common questions we get from nail professionals.