
$47.90
Free delivery · 7–14 days
Transparent Gray Press-On Nails for Salon-Style Glam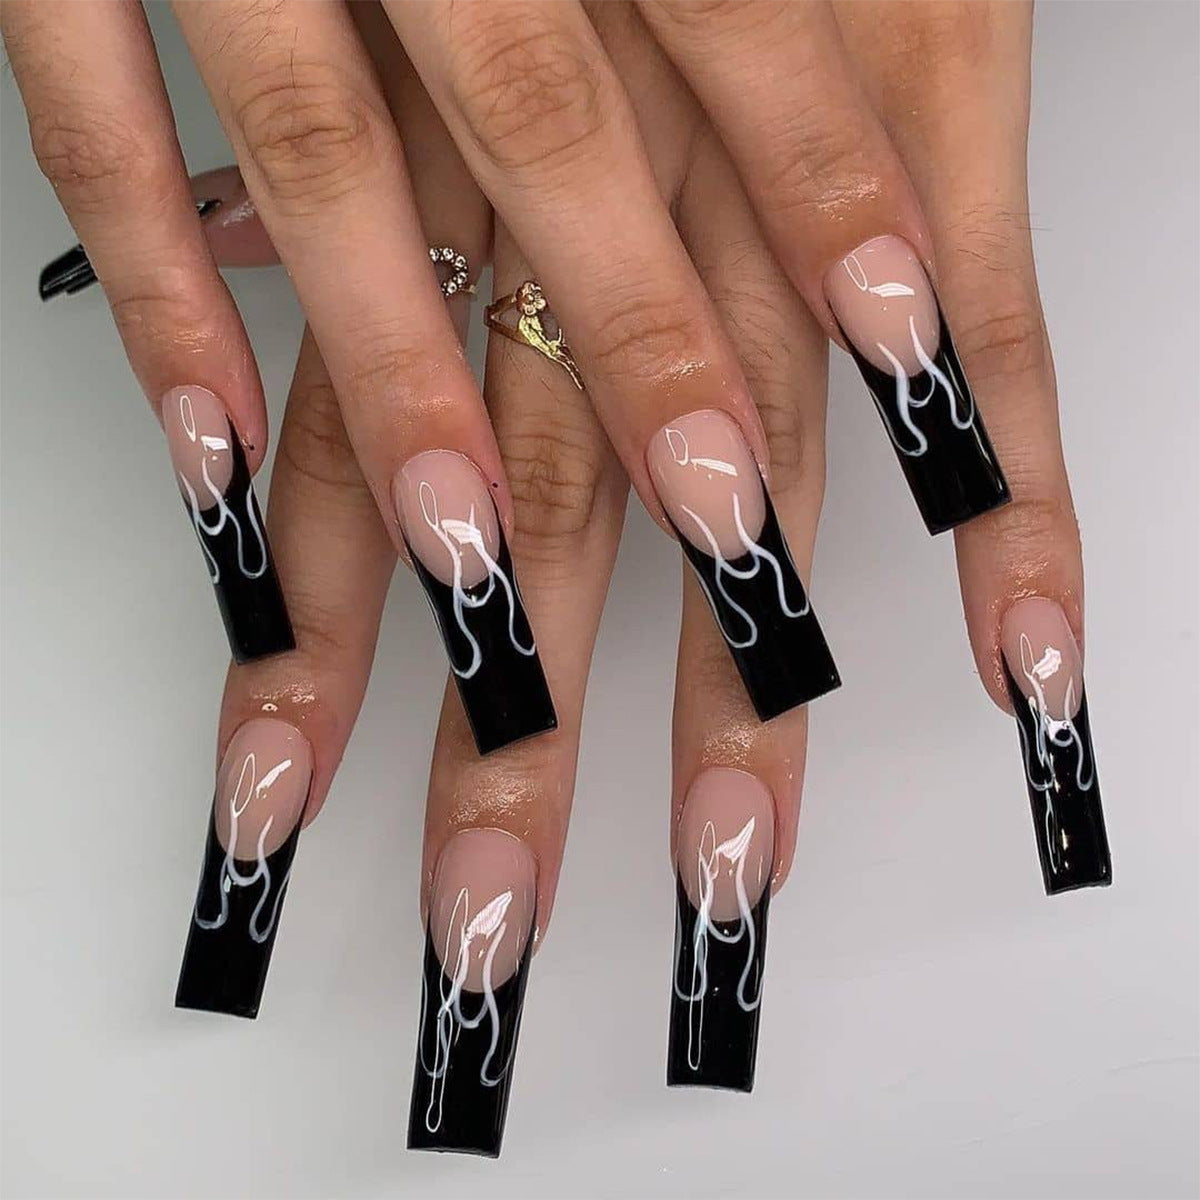
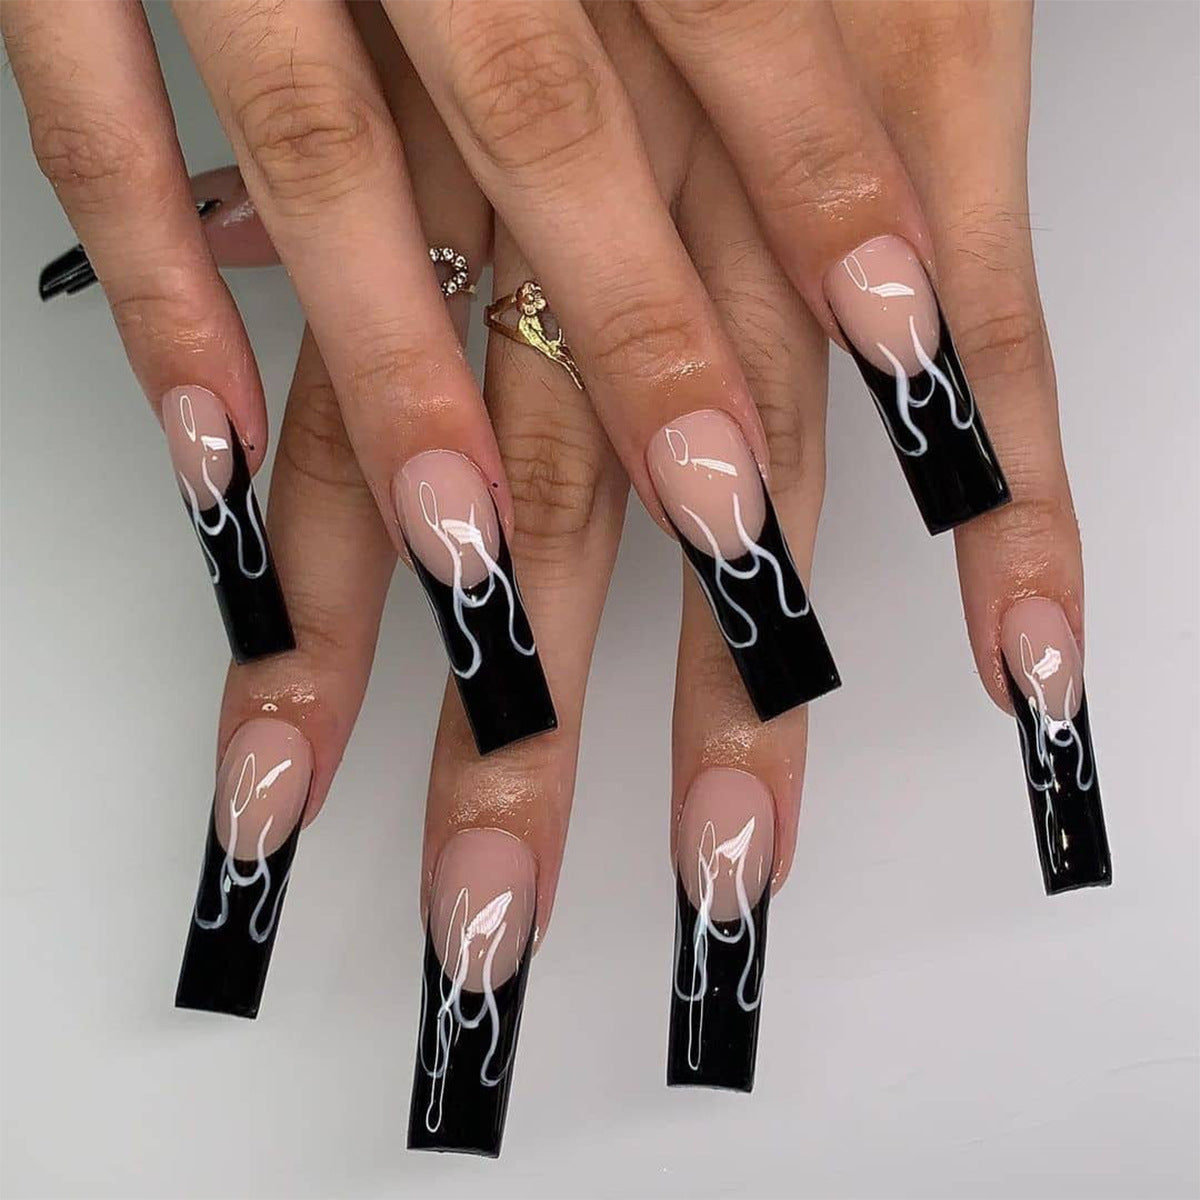
Skip the brush and the smudged tip lines. This set gives you a blush-pink base, glossy black French tips, and hand-painted-style white flame detailing already finished on every nail, ready to press…
Read the full descriptionSkip the brush and the smudged tip lines. This set gives you a blush-pink base, glossy black French tips, and hand-painted-style white flame detailing already finished on every nail, ready to press…
Instantly achieve bold black French flame nail art with ready-finished false nails.
Skip the painstaking French tips and intricate nail art. Apply a coordinated glossy set for a polished, statement-making look at home.
The high-contrast black French tips and white flame linework are already there. No brush, no steady hand, no second coat needed to get the detail even across ten nails.
The molded surface catches light the way a fresh gel manicure does. The blush base and graphic tips read clean and reflective, in person and in photos.
Every nail carries the same black, white, and blush palette, so the finished set looks intentionally styled instead of assembled piece by piece.
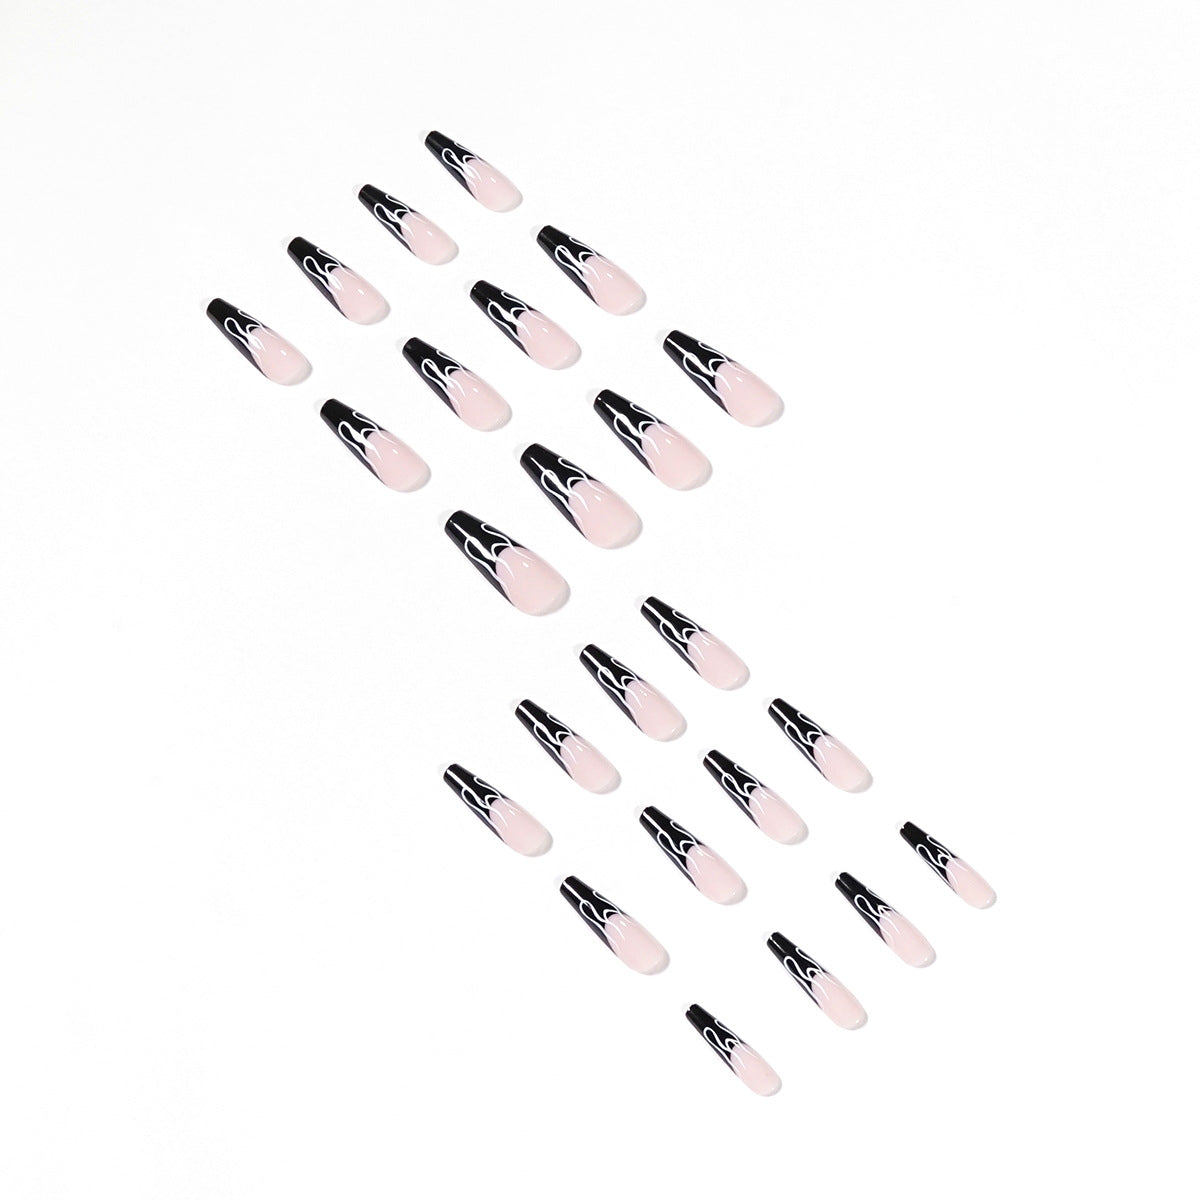
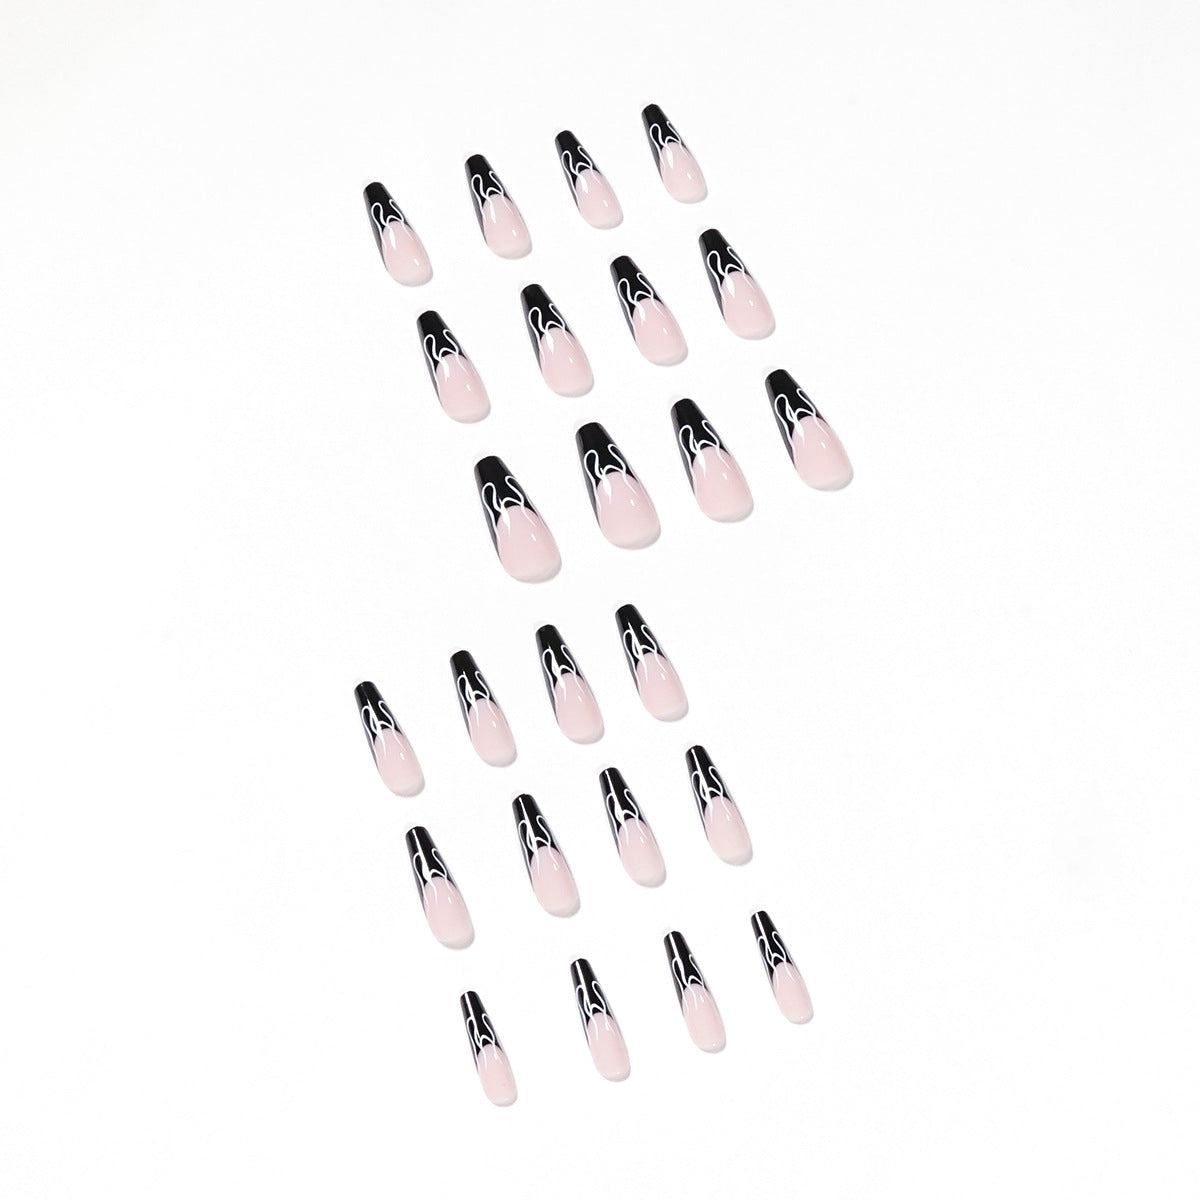
The varied nail widths let you compare against your own nails before you commit to a size, so the fit sorting happens before the adhesive comes out.
Lay the varied nail pieces across your own nails before touching adhesive. Find the closest width match for each finger.
Skip lotion or oil right before application. Clean, dry, residue-free nails give the adhesive the best surface to hold.
Use your preferred nail glue or adhesive tabs, following the product instructions for open time and pressure.
Place each nail at the cuticle line first, then press down toward the tip and hold for a few seconds to set the bond.
Once all ten are on, look over the flame linework and tip alignment under good light before you head out the door.
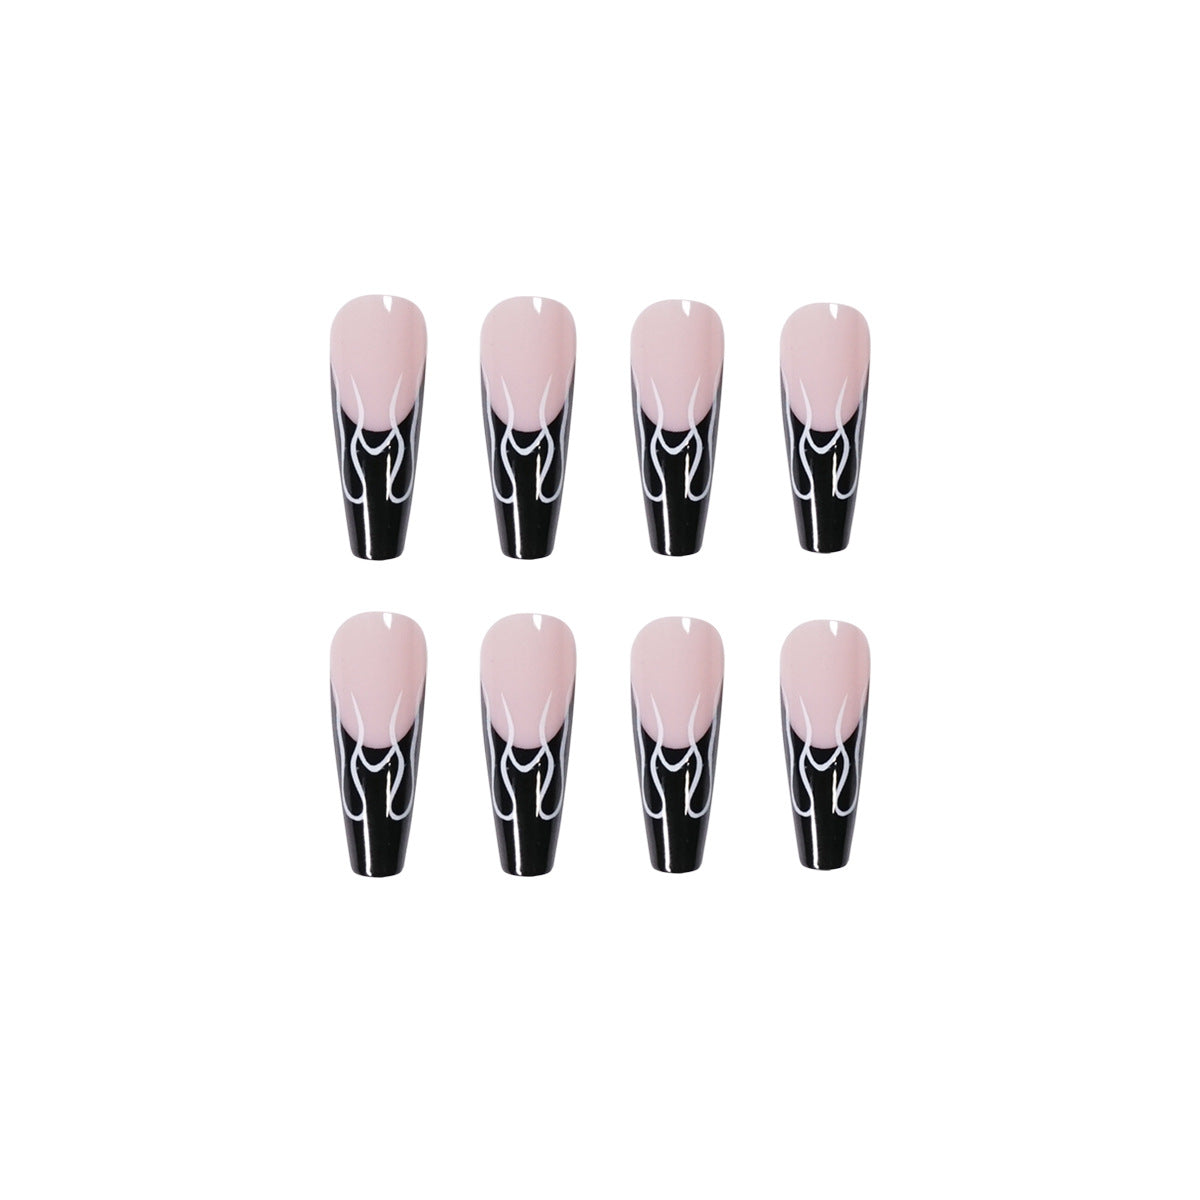
Blush pink base with glossy black French tips and white flame detailing
Sized to help match different natural nail widths
Same black, white, and blush palette repeated across every nail

You line up the brush, hold your breath, and try to get both tips the same width. Then the flame detail. One nail looks sharp, the next one smudges, and forty minutes later you are wiping it all off with a cotton pad, back where you started.

The tips are already black, glossy, and even. The flames are already painted, nail after nail, in matching white linework. All that is left is picking your sizes and pressing them on. No brush, no steady hand required, no redo.

You catch the light off your nails before anyone even says hello. Black tips, blush base, white flame detail, all coordinated, all done. The outfit was ready an hour ago. Now your hands are too.
Avoid abrasive scraping or unnecessary bending of the molded surface
Harsh chemicals can dull the glossy finish over time
Clean, dry nails before application help the adhesive hold and keep the finish looking crisp
If they need cleaning, wipe softly instead of rubbing at the flame detail
| XS | S | M | L | XL | |
|---|---|---|---|---|---|
| Nail width | narrow | medium-narrow | medium | medium-wide | wide |
Lay each size against your natural nail before applying. The set includes varied widths so you can match every finger individually rather than using one size across the whole hand.
| This Set | DIY Painting | Salon Visit | |
|---|---|---|---|
| Even black French tips | Yes | Depends on hand steadiness | Yes |
| Flame detail included | Yes | Requires fine brush skill | Requires extra time/cost |
| Ready same day | Yes | Yes, if skilled | Needs an appointment |
| Consistent across all nails | Yes | Varies nail to nail | Yes |
| Repeatable whenever you want | Yes | Yes, with practice | Requires rebooking |
Lay the pieces across your own nails before applying anything. The set includes multiple widths so you can match each finger individually rather than forcing one size across all ten.
It reads as a polished gel-style finish, not a matte natural nail. That is the point: the blush base, black tips, and white flame detail are built for a graphic, salon-style statement rather than a subtle look.
Yes, use your preferred nail glue or adhesive tabs. Clean, dry nails give the best hold, so skip lotion or oil right before you apply.
That is exactly what the design is built for. The high-contrast tips and flame linework photograph clearly and hold their shape through a full night out.
Every piece in the set carries the same coordinated black tip and white flame design over the blush pink base, so the full manicure matches nail to nail.
Handle them gently, avoid abrasive scraping, and keep them away from harsh solvents. A careful touch keeps the flame linework crisp for longer.


 Black French Flame False Nails | Salon-Style Nail Art