
$34.90
Free delivery · 7–14 days
Glow in the Dark Stars & Moon Stickers - 3D Kids Decor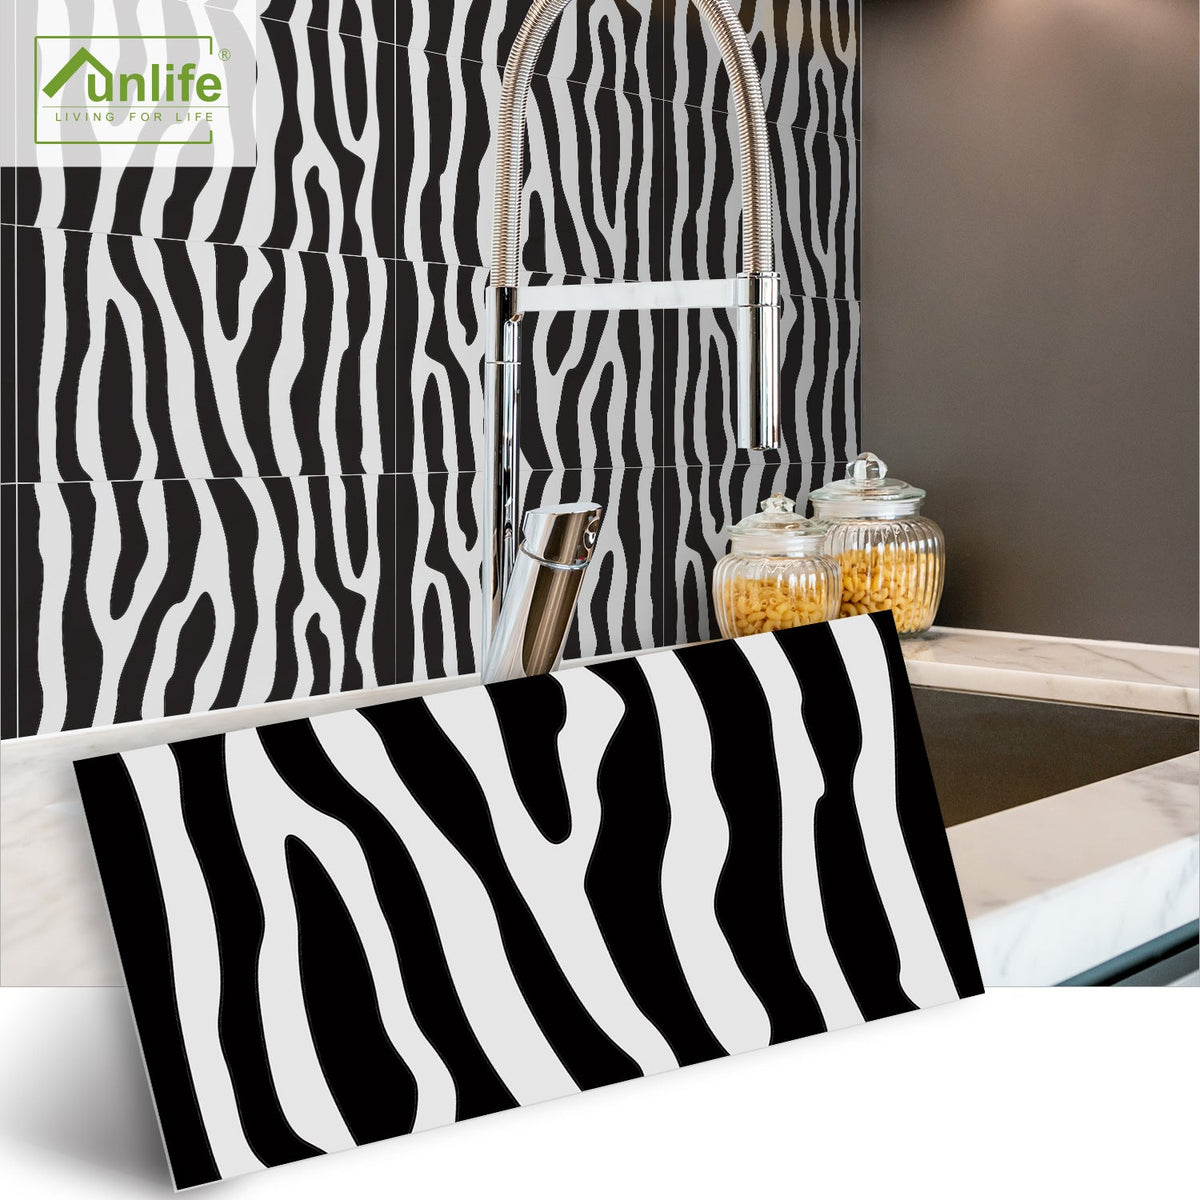
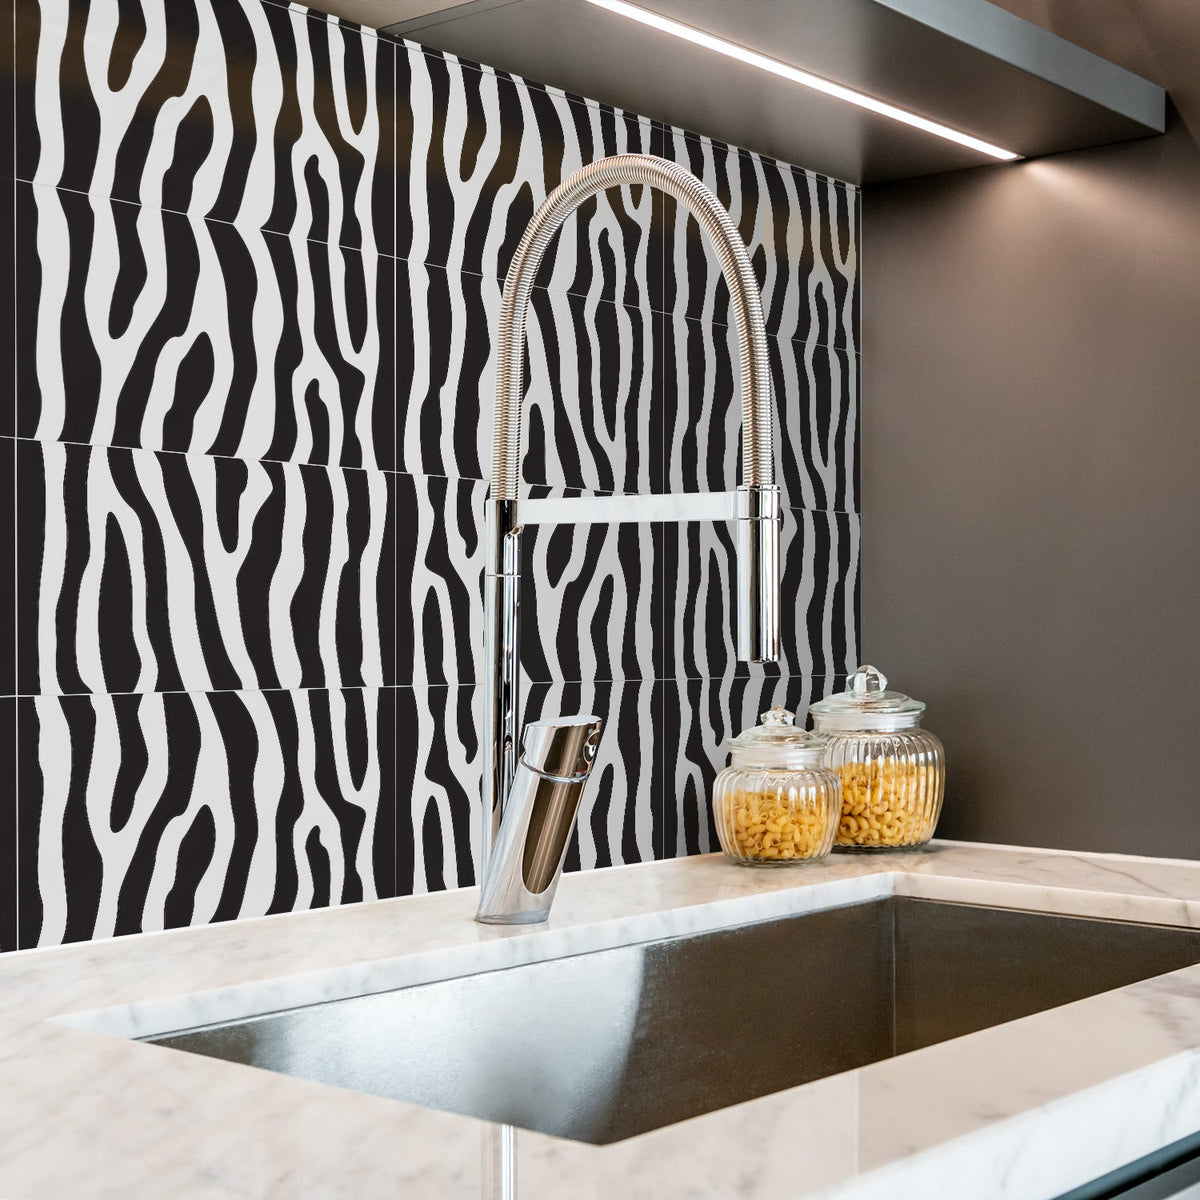
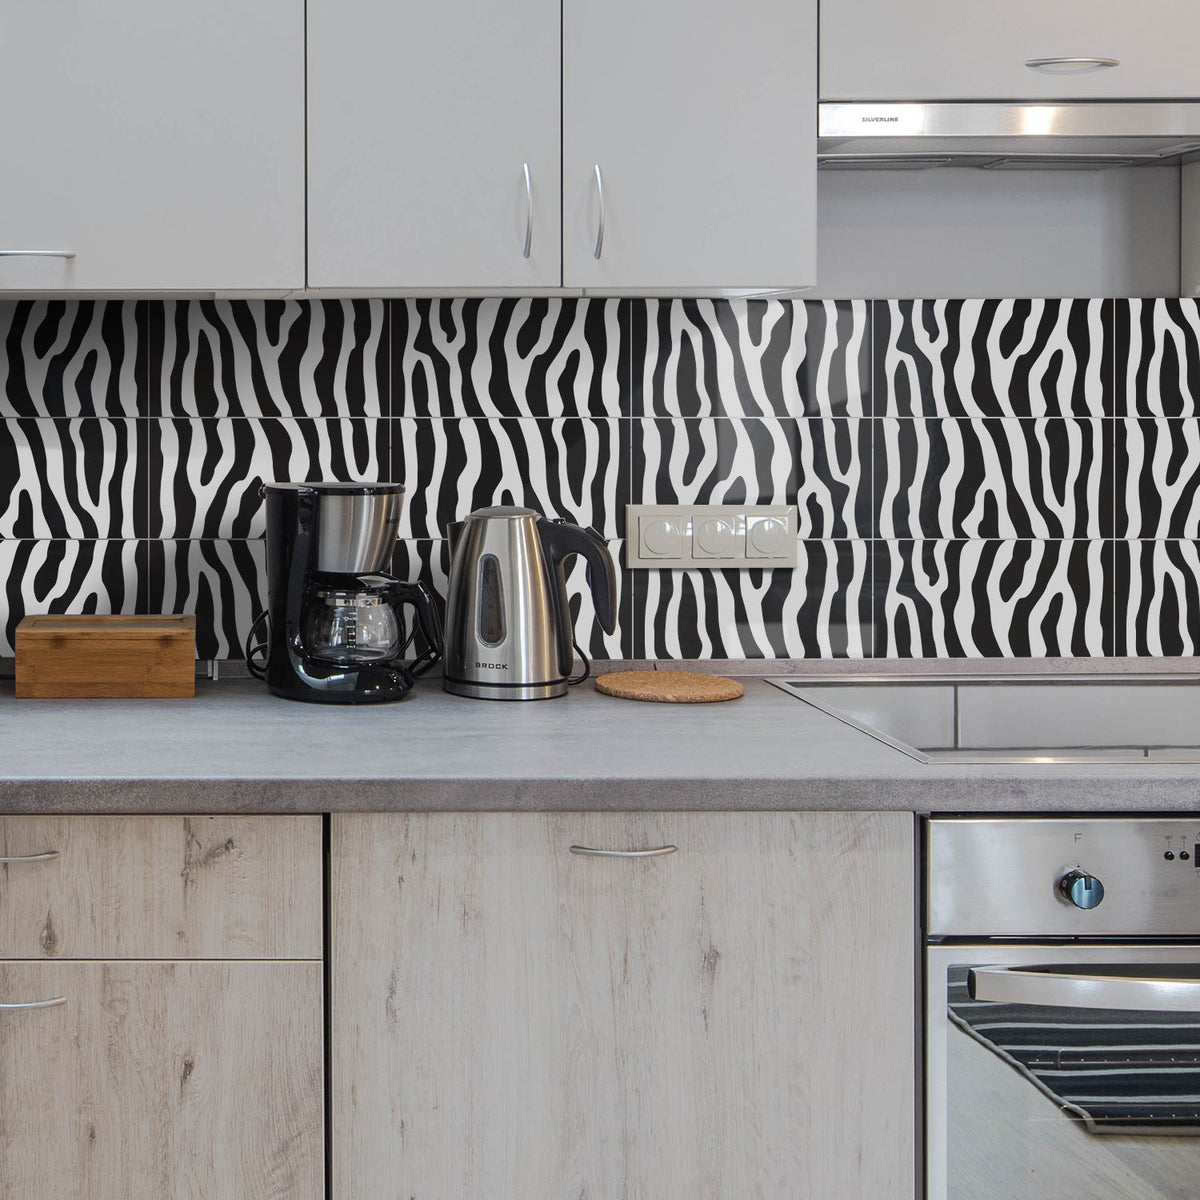
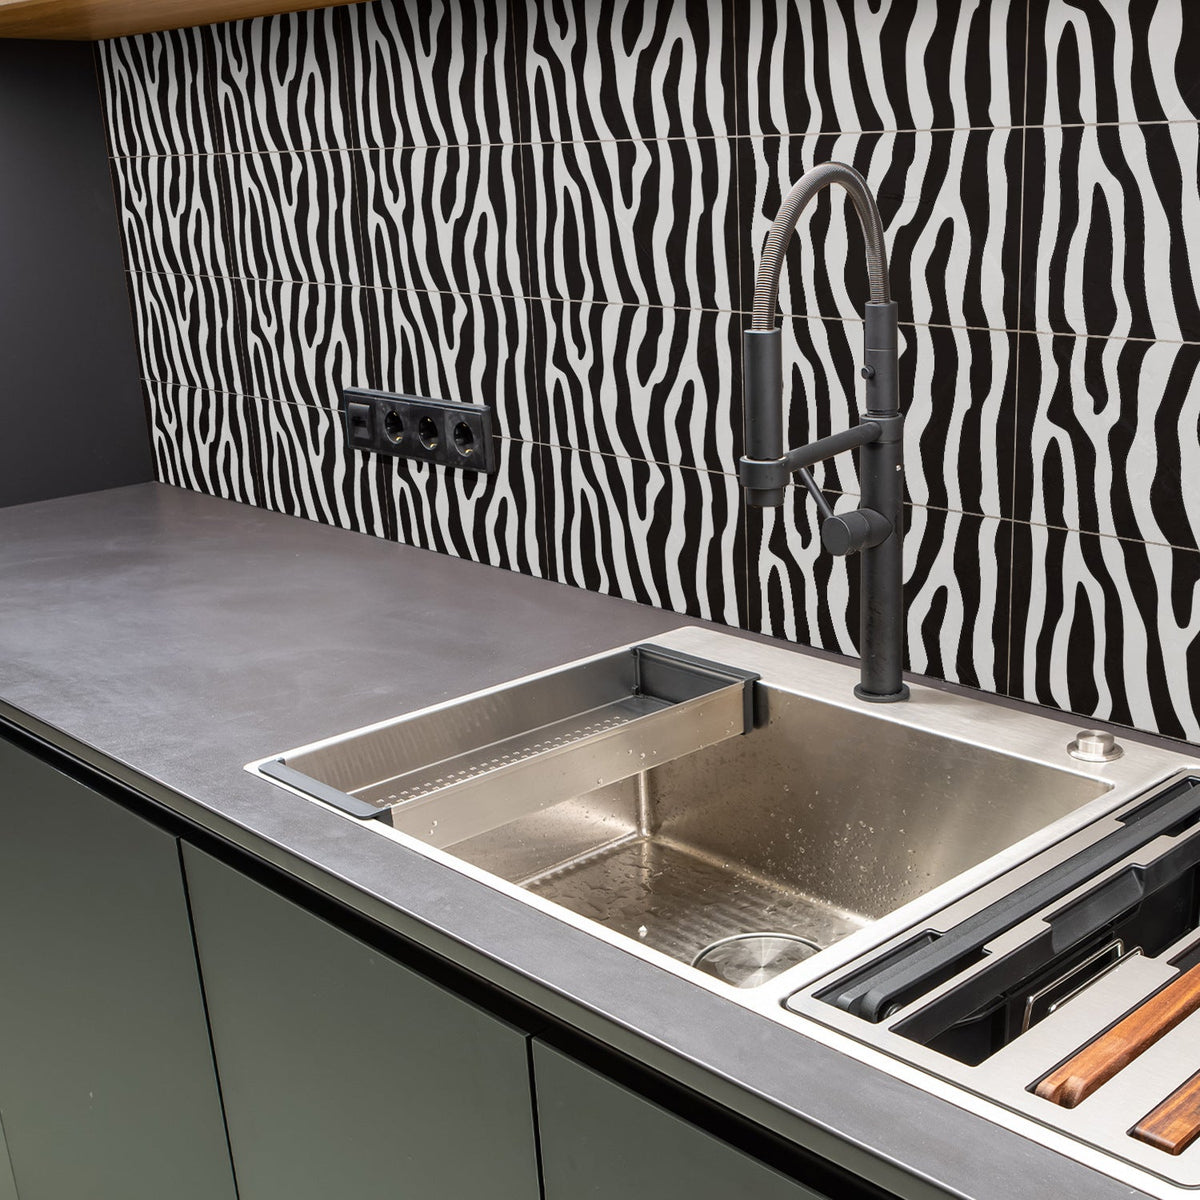

Give a tired kitchen or utility wall a bold new point of view with thickened zebra-pattern brick stickers. The matte peel-and-stick panels create a coordinated monochrome backsplash without grout, mortar, or a full renovation project.
Read the full descriptionGive a tired kitchen or utility wall a bold new point of view with thickened zebra-pattern brick stickers. The matte peel-and-stick panels create a coordinated monochrome backsplash without grout, mortar, or a full renovation project.
Create a dramatic zebra-pattern backsplash makeover quickly without traditional tile installation.
Skip the grout, mortar, and renovation mess. Peel on a continuous brick-style pattern and give your kitchen or utility space a striking monochrome update.
The high-contrast black-and-white zebra pattern turns an ordinary wall into a deliberate design feature. It gives compact kitchens, sink areas, and utility spaces a focal point instead of another background surface.
The rectangular brick-panel layout creates a coordinated tile rhythm without asking you to install individual masonry pieces. Plan the run first so adjoining panels keep their geometric alignment.
The matte plastic surface supports the contemporary monochrome look without a glossy, overly reflective appearance. Up close, it reads as a decorative plastic panel rather than ceramic tile, so the visual promise stays honest.
Clean away dust and grease, then let the wall dry fully. A smooth, sound surface gives the adhesive a neater place to bond.
Dry-position the panels before peeling. Check the stripe direction, the brick rhythm, corners, counters, and any fixtures that interrupt the run.
Choose a visible starting point and keep the first panel straight. That first alignment sets the tone for every adjoining panel.
Peel gradually and press the panel down as you go. Work across the surface carefully rather than committing the entire adhesive face at once.

A plain or dated backsplash can flatten the personality of an otherwise cared-for kitchen. It is there every time you cook, clean, or reach for the sink, quietly asking for something more interesting.

Traditional tile brings grout, mortar, dust, and a project that can quickly take over the room. These thickened peel-and-stick panels bring a strong graphic idea to the wall without asking you to become a tiler first.

Plan the starting line, align the repeating brick rhythm, and smooth each panel into place. The result is a coordinated black-and-white wall that gives the room immediate visual impact and a little more attitude.
Use a soft, lightly damp cloth for everyday marks.
Avoid abrasive pads and aggressive cleaners that can disturb the matte surface.
Keep corners and joins free from standing moisture, grease, and repeated friction.
Wipe kitchen splashes rather than leaving residue on the decorative panels.
| Zebra Panels | Paint | Traditional Tile | |
|---|---|---|---|
| Graphic visual impact | Yes | Partial | Yes |
| Grout or mortar required | No | No | Yes |
| Peel-and-stick application | Yes | No | No |
| Decorative plastic finish | Yes | No | No |
| Full masonry renovation | No | No | Yes |
| Best value for a focused makeover | Yes | Partial | Partial |
Yes, they suit a prepared sink-area or countertop backsplash, provided the surface is clean and dry. Measure around fixtures carefully, keep exposed edges neat, and do not treat the panels as a replacement for a sealed traditional tile installation.
The repeating brick layout is intended to create a coordinated pattern, but alignment depends on careful measuring and placement. Dry-position the panels first, mark a straight starting line, and check the stripe direction before removing the backing.
They create a brick-tile appearance through rectangular panel geometry and a thickened plastic construction. The matte plastic finish is decorative rather than ceramic, so it gives you the graphic effect without pretending to be masonry.
Removal depends on the wall paint, surface condition, adhesive bond, and how the panels are lifted. Renters should test a discreet area first and peel slowly rather than assuming every painted wall will respond the same way.
Do not place the decorative plastic panels directly beside intense heat, open flame, or a high-heat cooking zone. Choose a cooler backsplash or utility wall and follow the appliance clearance requirements.
Use a smooth, clean, dry, suitably prepared surface. Dust, grease, dampness, loose paint, and heavy texture can interfere with a neat application and make the repeating pattern harder to align.


 Zebra Brick Wall Stickers for Dramatic Backsplash Makeovers