
$34.90
Free delivery · 7–14 days
Glow in the Dark Stars & Moon Stickers - 3D Kids Decor
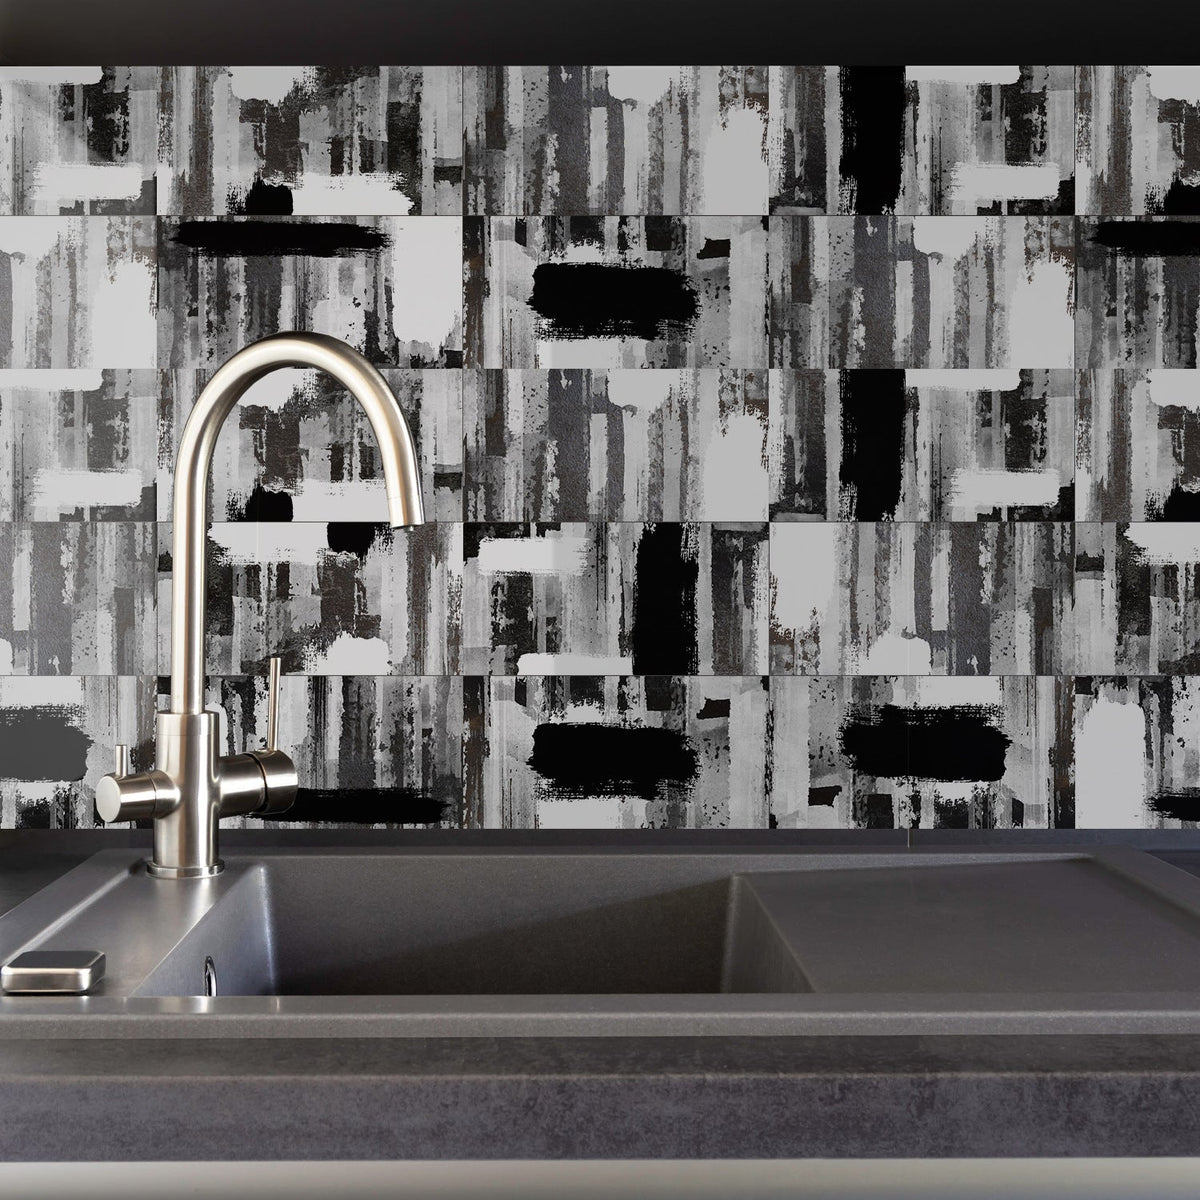

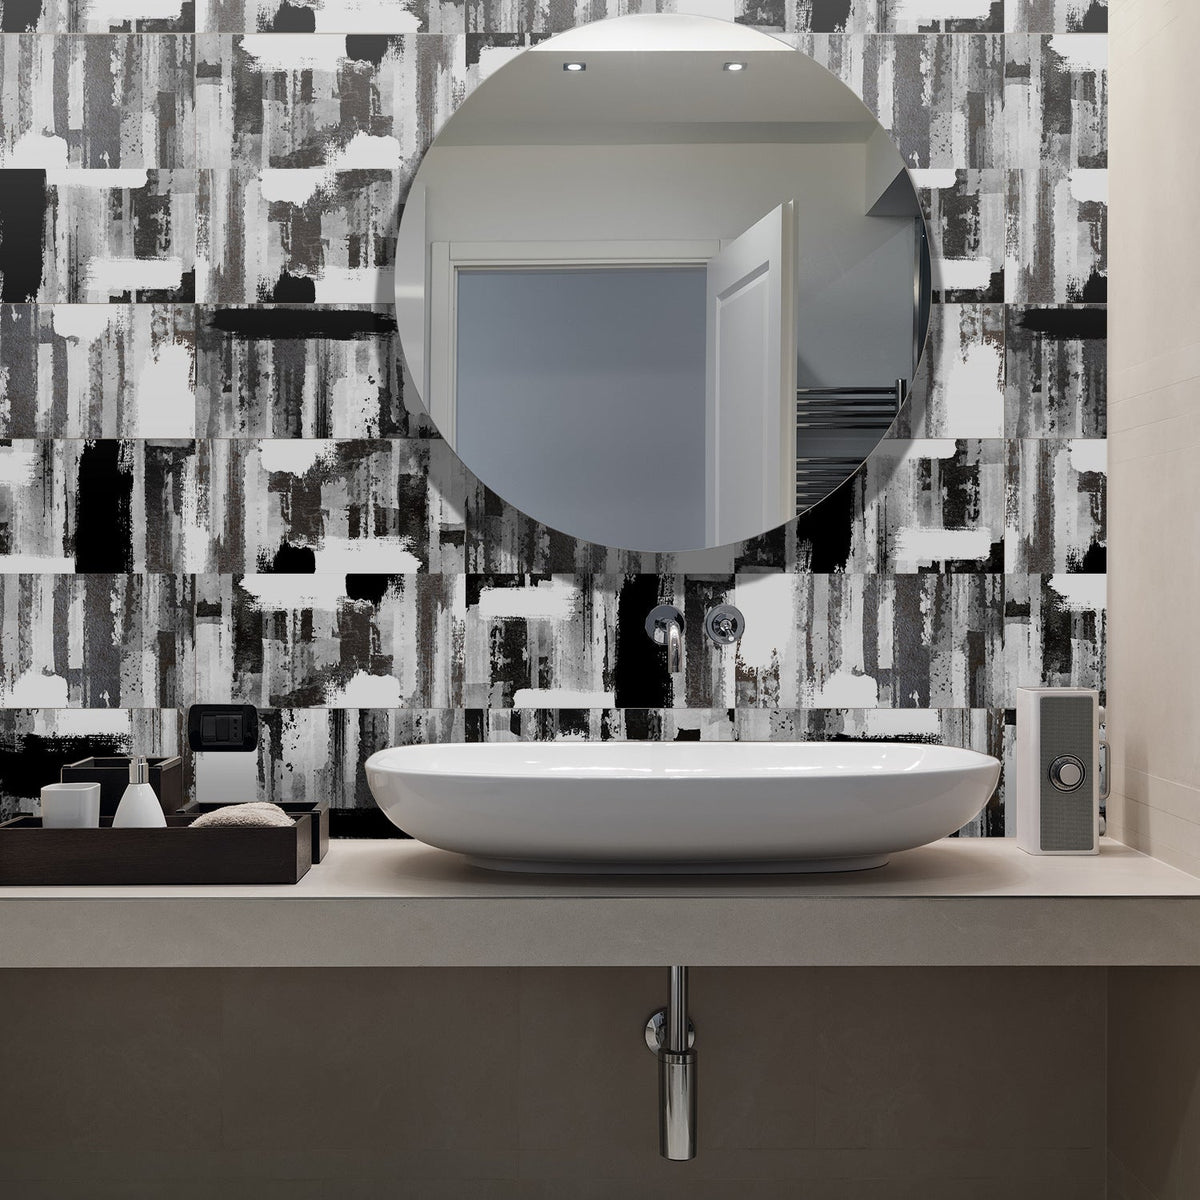
Give a plain bathroom or kitchen wall a bold industrial focal point without tile dust, grout, or a full remodel. These thickened, self-adhesive waterproof stickers bring a matte black, gray, and off-white brick look to a prepared surface.
Read the full descriptionGive a plain bathroom or kitchen wall a bold industrial focal point without tile dust, grout, or a full remodel. These thickened, self-adhesive waterproof stickers bring a matte black, gray, and off-white brick look to a prepared surface.
Transform bathroom and kitchen walls with bold waterproof industrial-style brick stickers.
Turn plain or outdated bathroom and kitchen walls into a dramatic industrial feature. Apply the self-adhesive stickers for a clean decorative finish around sinks, tubs, and counters.
The large-format distressed brick-like geometric pattern turns a plain wall into a deliberate black, gray, and off-white feature. Its continuous visual rhythm gives a backsplash or bathroom wall more presence.
The waterproof surface suits decorative refreshes in moisture-prone bathroom and kitchen settings. It brings the look of bathroom wall stickers or kitchen backsplash stickers to a prepared, suitable wall.
The self-adhesive format removes the need for mortar, grout, or specialist installation. A clean, dry wall and gradual smoothing are still essential for a neat finish.
The thickened plastic construction gives the wall treatment a more substantial feel than a basic thin printed sticker. The matte printed surface keeps the industrial look controlled rather than glossy.
Clean away dust, grease, loose paint, and moisture. Work only on a sound, dry, suitable surface.
Measure the wall, mark fixtures and corners, and lay out the panels before exposing the adhesive.
Expose a manageable section of backing at a time. Keep the panel aligned before pressing it onto the wall.
Work outward with a soft smoothing tool or clean cloth to press down the surface and reduce trapped air.
Match the large brick geometry across neighboring panels, then inspect the edges before moving to the next section.
A plain, dated wall can make an otherwise useful bathroom or kitchen feel unfinished every day. The renovation stays on the list because moisture, mess, cost, and permanence feel like too much for one visual problem.
Traditional tile brings dust, grout, tools, and a lasting commitment. Paint changes color but does not create the graphic brick character you want. A focused treatment gives the wall a clear direction without taking over the whole room.
These thickened, self-adhesive waterproof brick stickers turn the next step into a manageable DIY project. Prepare the wall, peel gradually, align the large pattern, and smooth each section into place.
The matte black, graphite, cool gray, and off-white pattern gives the room a deliberate focal point. Around a sink, tub, or counter, the finished wall feels more graphic, more intentional, and finally worth looking at.
Use a soft damp cloth for everyday marks on the matte plastic surface.
Avoid abrasive pads and aggressive cleaners that can disturb the printed finish.
After cleaning, remove lingering moisture from seams and edges.
The waterproof surface does not repair leaks, damaged walls, or poor bathroom construction.
| 4 pcs | 12 pcs | 24 pcs | |
|---|---|---|---|
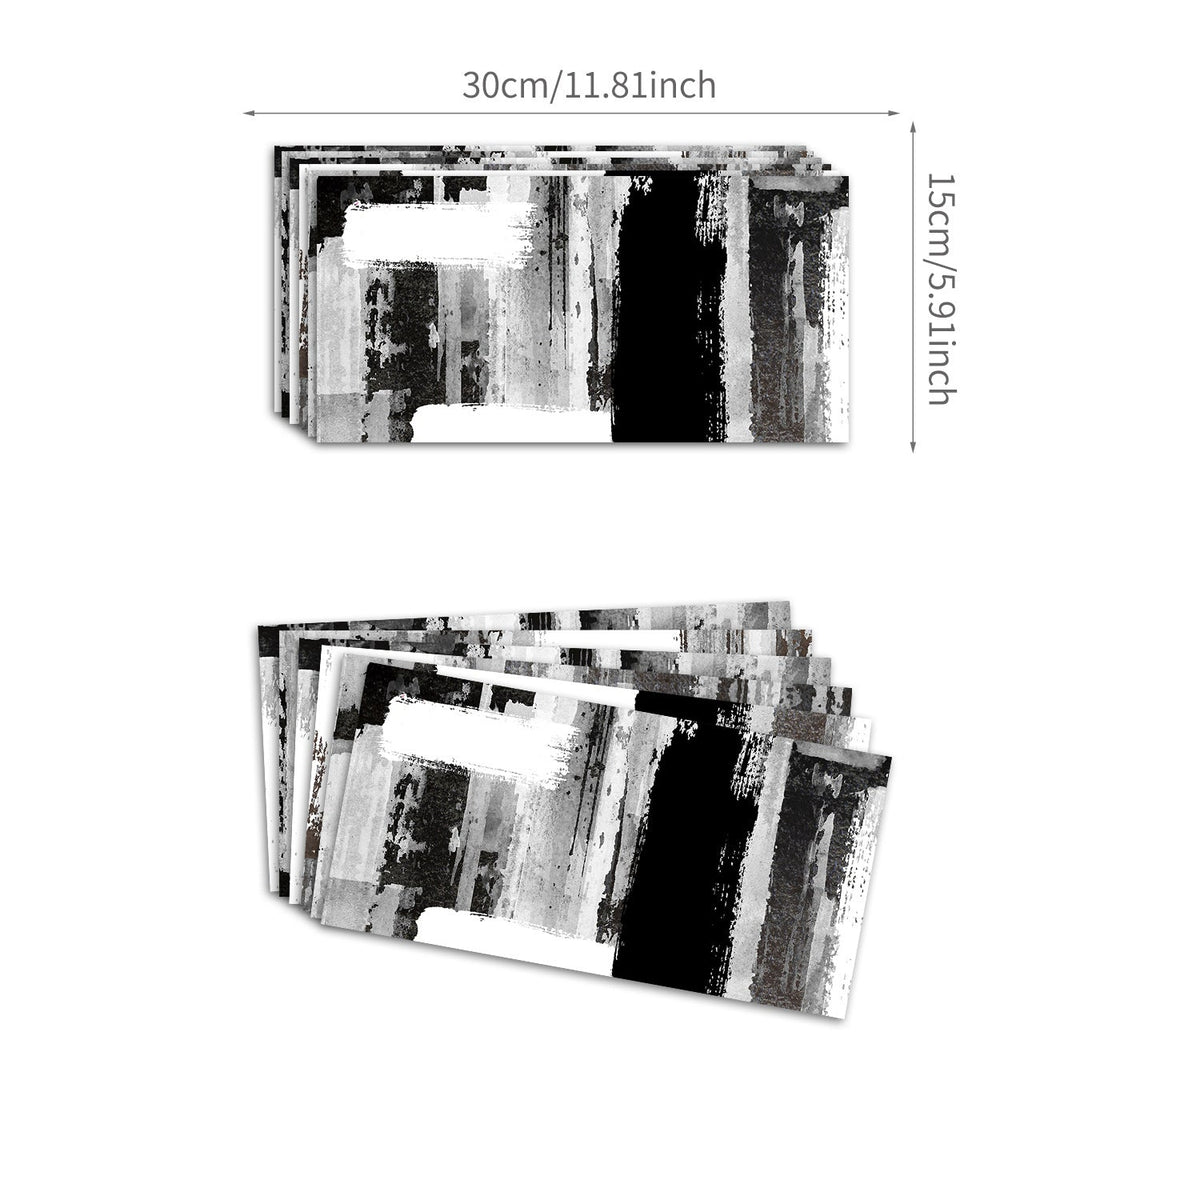
| Panel size (cm) | 30 × 15 | 30 × 15 | 30 × 15 |
| Pack quantity (pcs) | 4 | 12 | 24 |
Measure the wall yourself before ordering. Plan extra care around outlets, corners, sinks, tubs, and counters.
| Brick stickers | Tile renovation | Paint | |
|---|---|---|---|
| Installation approach | Self-adhesive | Mortar, grout, and specialist tools | Roller, brush, and preparation |
| Dust and disruption | Lower-mess decorative project | Demolition and installation mess | Lower-mess, but requires surface preparation |
| Visual effect | Large-format industrial brick pattern | Real tile surface | Flat color finish |
| Commitment | Focused wall treatment | Permanent renovation decision | Color change without brick texture |
| Moisture-related claim | Waterproof surface | Depends on correct tile and grout installation | Paint choice and wall condition matter |
The sticker surface is waterproof, so it suits decorative refreshes in moisture-prone bathroom and kitchen settings. Use it on a sound, dry, suitable wall and do not treat it as structural waterproofing.
Renters can consider them for a focused decorative update, but removal depends on the wall finish, paint condition, and adhesive bond. Test a discreet area first and check your rental terms.
No. Dust, grease, loose paint, moisture, and uneven damage interfere with adhesion. Clean, dry, and inspect the wall before exposing the backing.
Lay out the panels first, mark the main lines, and peel gradually. Match the visible geometric blocks at every join before smoothing the seam firmly.
No. They provide a waterproof decorative surface. They do not repair leaks, seal damaged substrates, or replace proper waterproofing behind a sink, tub, or counter.
Wipe it gently with a soft damp cloth, then dry the edges. Avoid abrasive pads and harsh scrubbing that can affect the matte printed finish.


 Waterproof Brick Stickers for Bathroom Wall Makeover