
$49.90
Free delivery · 7–14 days
Battery-Free Water Flosser for Braces, Bridges and Gums

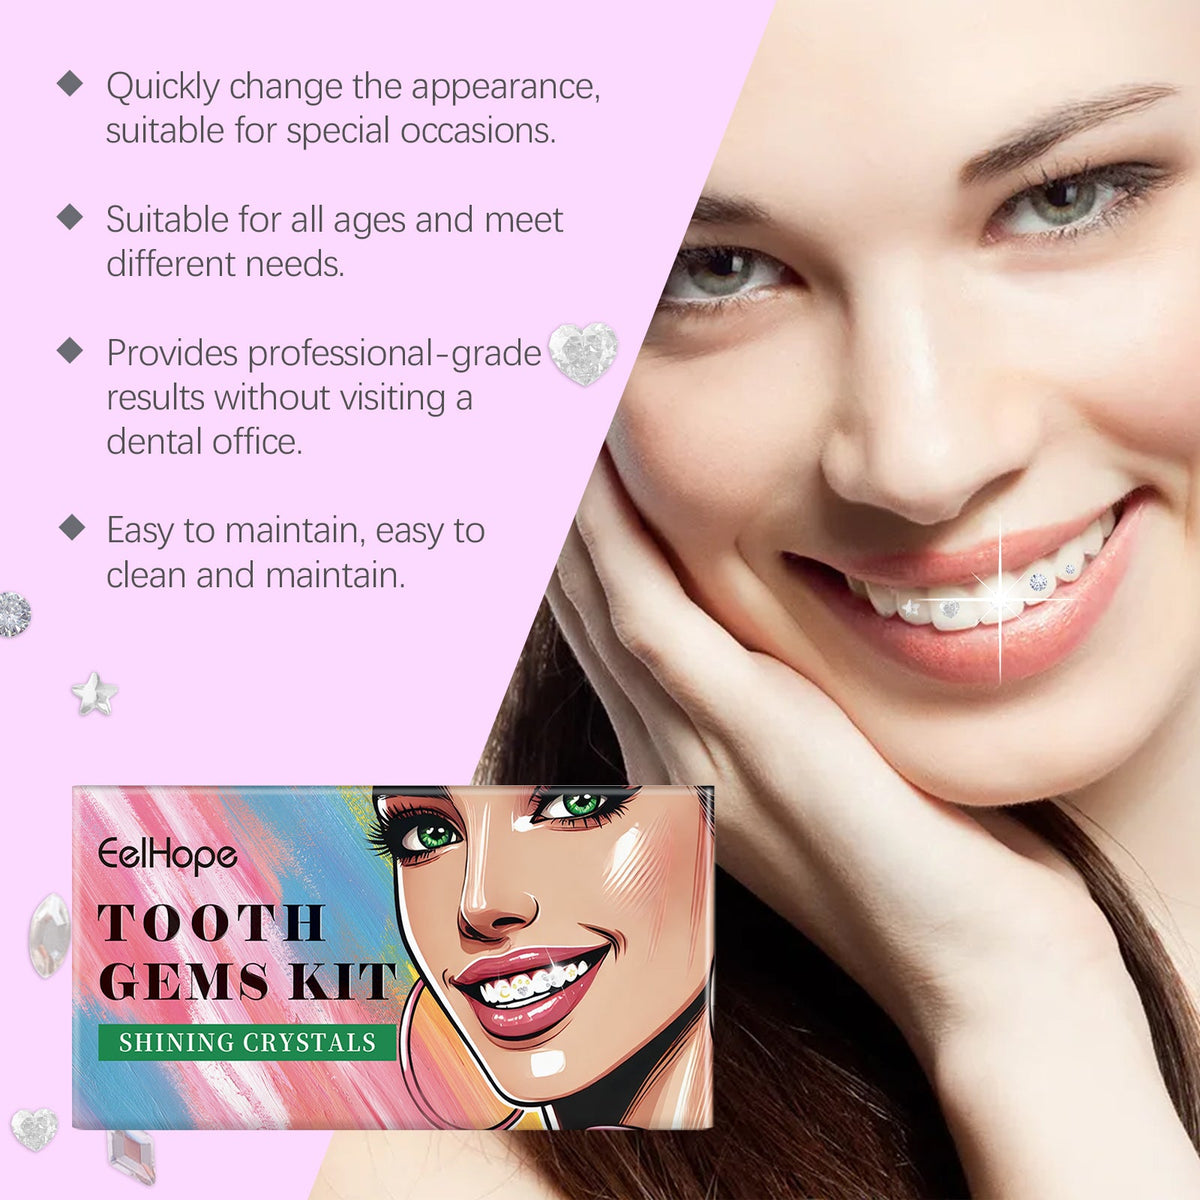


Crystal gems on your front teeth, set in minutes and gone when the night ends. The kit brings 120 gems, a 15ml glue, a gem pen and a UV lamp keychain in one gift box, so the sparkle is ready for the next party, festival or photo night.
Read the full descriptionCrystal gems on your front teeth, set in minutes and gone when the night ends. The kit brings 120 gems, a 15ml glue, a gem pen and a UV lamp keychain in one gift box, so the sparkle is ready for the next party, festival or photo night.
Add sparkling crystal gems to your teeth for an instant glam smile
Before: a plain smile next to everyone's glam. After: crystal gems catching the light at every party, festival, and photo, with a look you can take off when the night ends.

The 12-compartment tray holds 120 crystal gems in hot pink, lavender, sky blue, mint green, champagne gold and clear. Mix shapes for a bold night or stick to one color for something subtle. The DIY sample sheet shows layouts if you want a starting point.

The gem pen lifts each crystal out of the tray, so you dip it in glue and place it without handling the gem with your fingers. Clean teeth with the pink swab first, then set the gem where you want it.

The UV lamp is a keychain, so it rides in your bag all weekend. Hold it over each gem until the glue dries, usually a few seconds per gem. Keep the light off your lips and gums.
Open your mouth and place the white swab inside. Clean the front teeth with a pink swab so the glue has a dry, clean surface to grip.
Open the glue. Use the gem pen to lift one crystal from the tray, dip it in the glue, and set it on the tooth.
Hold the UV lamp over the gem until the glue dries. Repeat for each gem, then check the look in a mirror.
Crystal gems in a 12-compartment tray
15ml brush-cap bottle
Picks up each gem for placement
For cleaning the teeth
Placed in the mouth before you start
Cures the glue
Layout ideas for different looks
Pop-art lip and smile label

Everyone around you is wearing a bit of glam, and your smile is the one thing in the photo that looks ordinary. Waiting for the next event means missing this one. Single gems and sticky stickers from random sellers slip off, and permanent dental jewelry means a dentist and months of commitment you did not sign up for.

The kit has everything in one box: 120 gems, a 15ml glue, a gem pen, swabs and a UV lamp keychain. You clean your teeth, dip each gem, set it, and cure it under the lamp. The whole look comes together in one sitting, before you leave the house.

The gems catch the light when you laugh and stay put through a long night out. When you are done, work them loose gently and rinse your mouth. The look was never permanent, so you can try it again next weekend or skip it altogether.
Expect a slow first try. Clean teeth well, place a few gems on the front teeth, and cure each one. Many people find the second session quicker.
Lining up gems with the gem pen gets faster with practice. Keep the swabs dry and the teeth clean so the glue holds.
The 15ml glue is sized for roughly a month of daily wear. Store it cool and dry, and check the three-year shelf life on the bottle.
Use a soft tool and patience. Never pry with a fingernail or metal.
Rinse your mouth with water and brush gently as usual.
Keep it out of heat and check the shelf life on the bottle.
Hold it over each gem for a few seconds only.
| This kit | Loose single gems | Stick-on gem stickers | |
|---|---|---|---|
| UV curing lamp included | — | — | |
| Curing glue included | — | — | |
| Gem pen for placement | — | — | |
| Multiple gems in one box | Partial | Partial |
The kit is made for intact teeth. Enamel damage comes from forcing gems off, so work each one loose slowly with a soft tool, then rinse your mouth. Skip the kit if your teeth are cracked or sensitive.
Take your time. Warm water and a gentle hand loosen most gems. Do not pry with a fingernail or metal tool. Rinse afterward and brush gently as usual.
Yes, the lamp and glue come in the same kit and are sized for each other. Hold the lamp over each gem until the glue dries, usually a few seconds per gem.
Yes, they are small enough to be a choking hazard. Keep the kit out of reach of children, and remove any loose gem right away. Never leave a gem in your mouth.
Not if your teeth are sensitive. The instructions do not cover braces or other dental work, so ask your dentist before you set gems on teeth with appliances or restorations.
Roughly 30 days of daily wear, based on the 15ml bottle. Occasional use stretches it much further. For about the cost of a couple of single gems, you get 120 gems, a curing lamp and the tools to place them.


 Tooth Gem Kit with UV Lamp, 120 Crystals for Parties