
$64.90
Free delivery · 7–14 days
Concrete Crack Repair Adhesive, Waterproof Wall Seal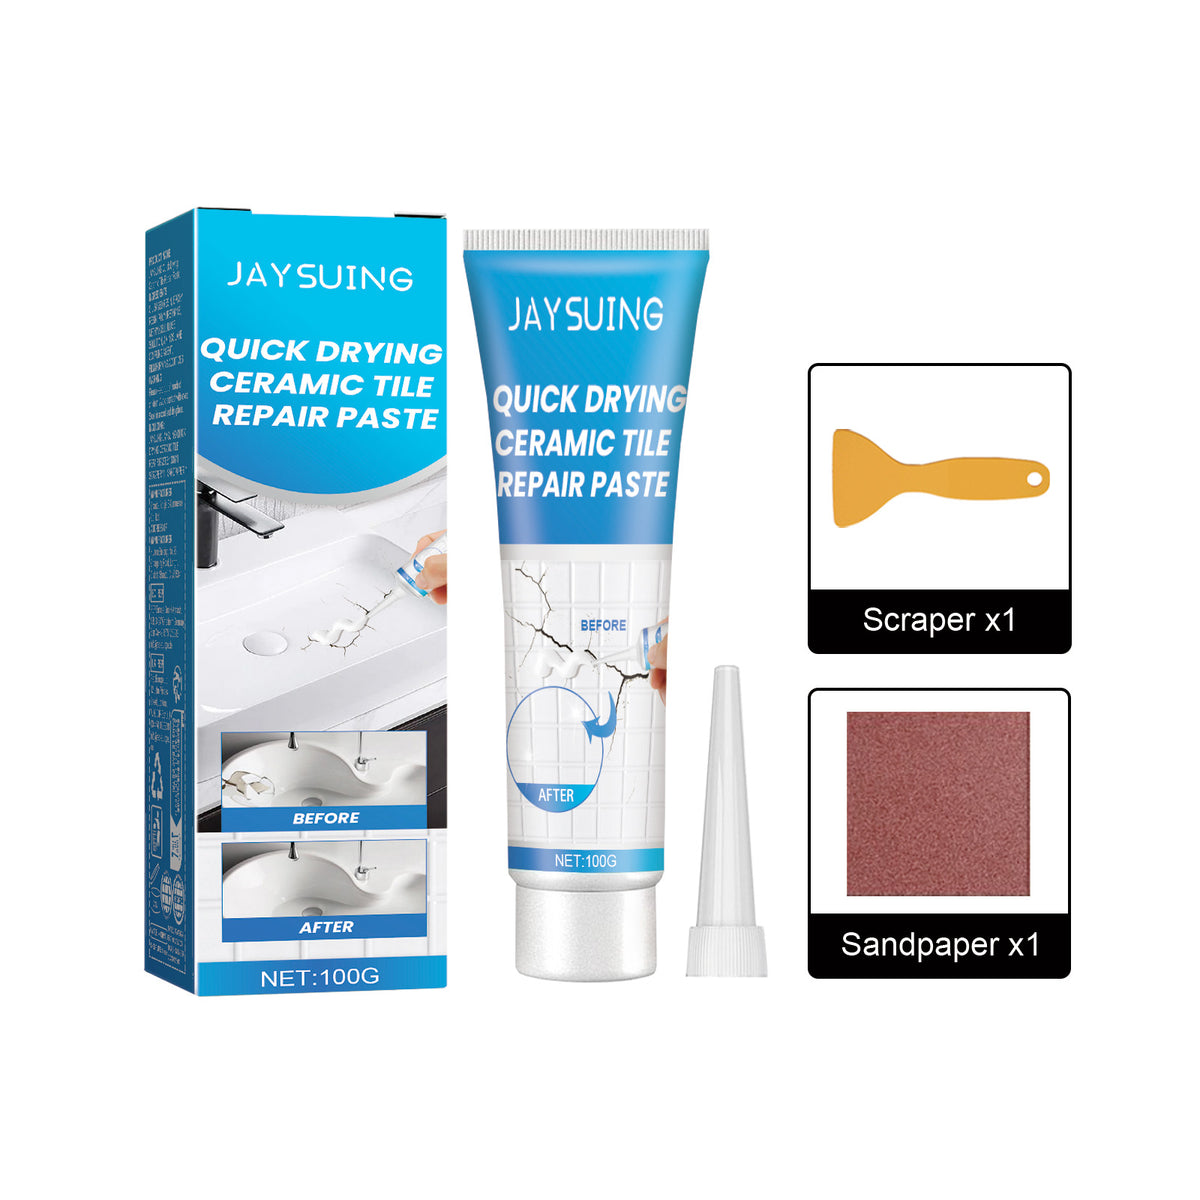
Get a smoother, cleaner-looking surface without turning a small crack into a full replacement project.
Read the full descriptionGet a smoother, cleaner-looking surface without turning a small crack into a full replacement project.
Quick-drying paste repairs cracked ceramic tiles and dries in as little as 8 hours.
Stop staring at chipped, dirty-looking tile damage. Apply the paste, smooth it with the included tools, and give the repair as little as 8 hours to dry.

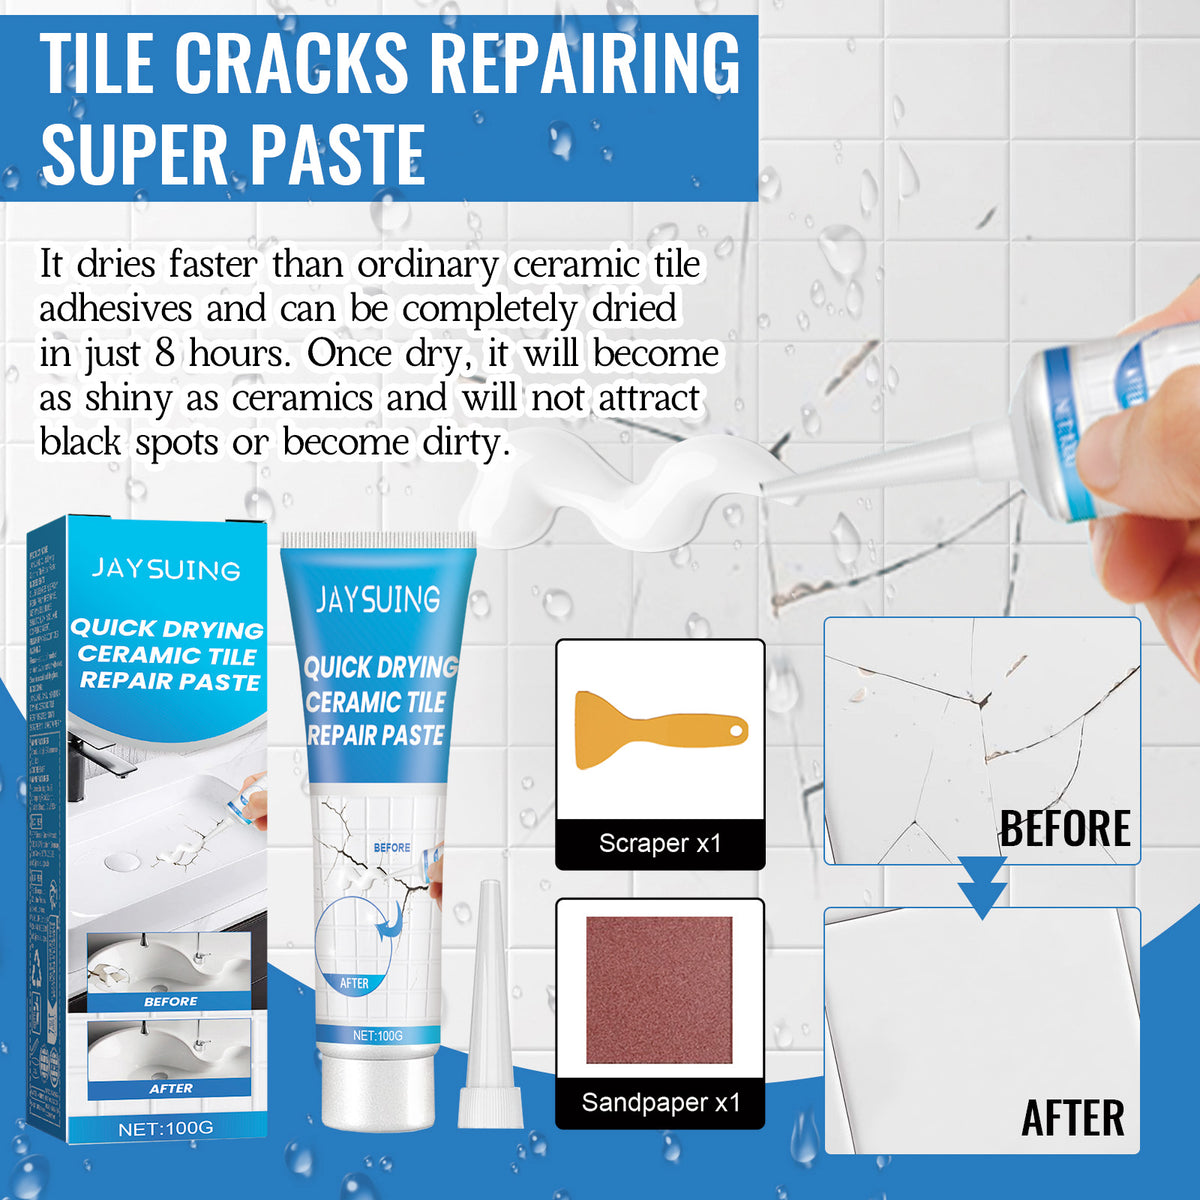
The packaging states that the paste dries faster than ordinary ceramic tile adhesives and can be completely dry in as little as 8 hours. That gives a small repair a clear drying window instead of leaving you guessing.

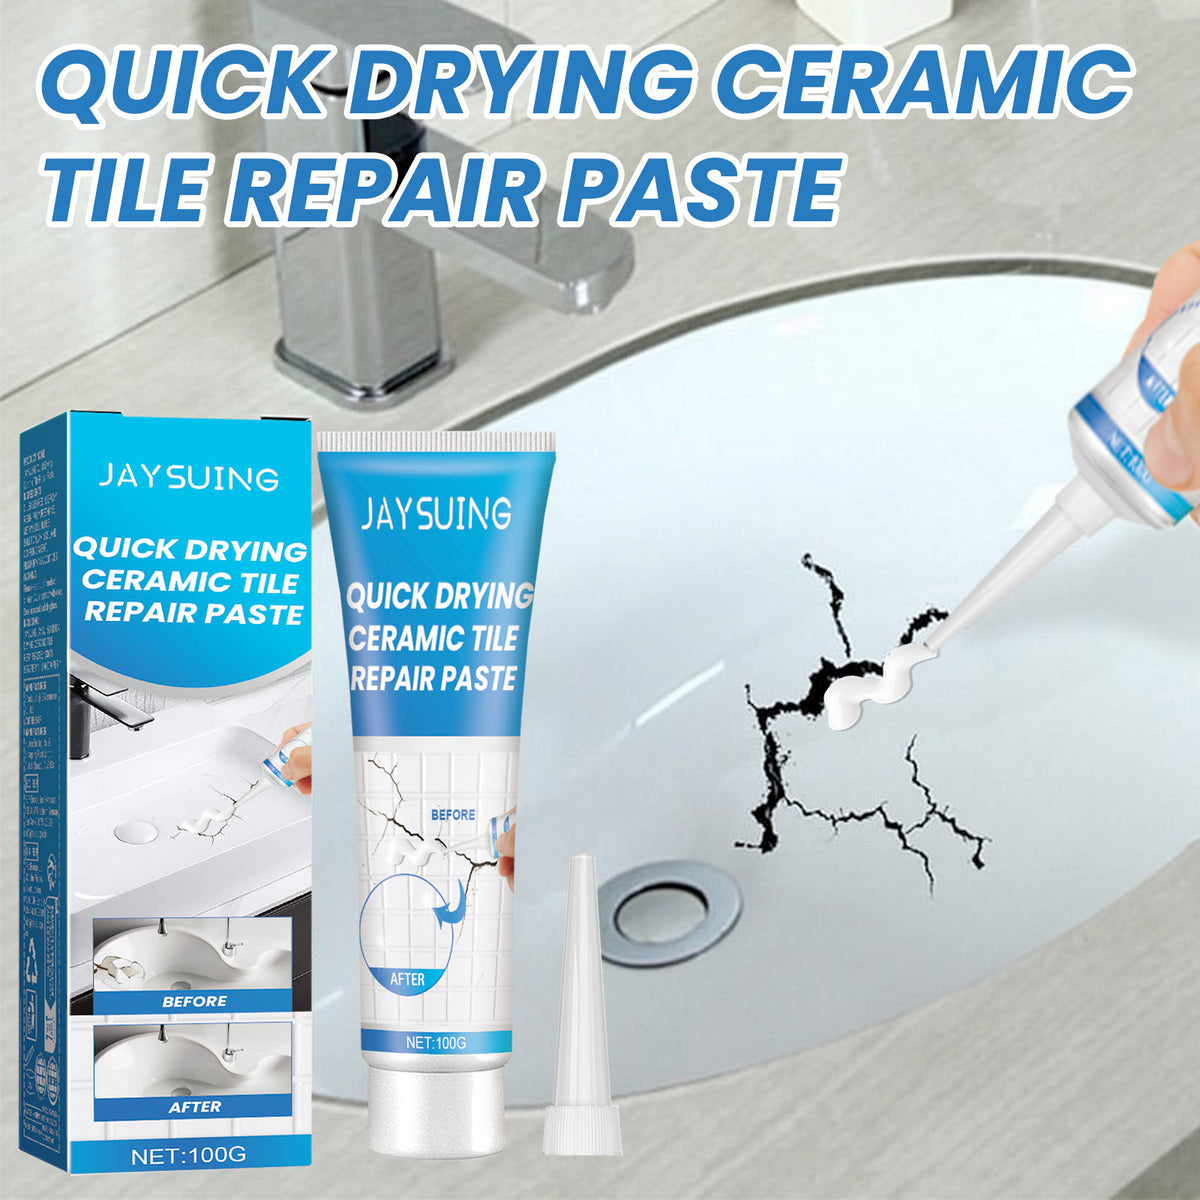
The dedicated nozzle directs paste into a narrow crack, while the squeeze tube lets you control how much comes out. It is a cleaner approach than trying to spread a large amount over the whole surface.
The included scraper and sandpaper support the finishing stage, so the job does not stop after the paste is applied. Smooth away excess material for a more even-looking result.

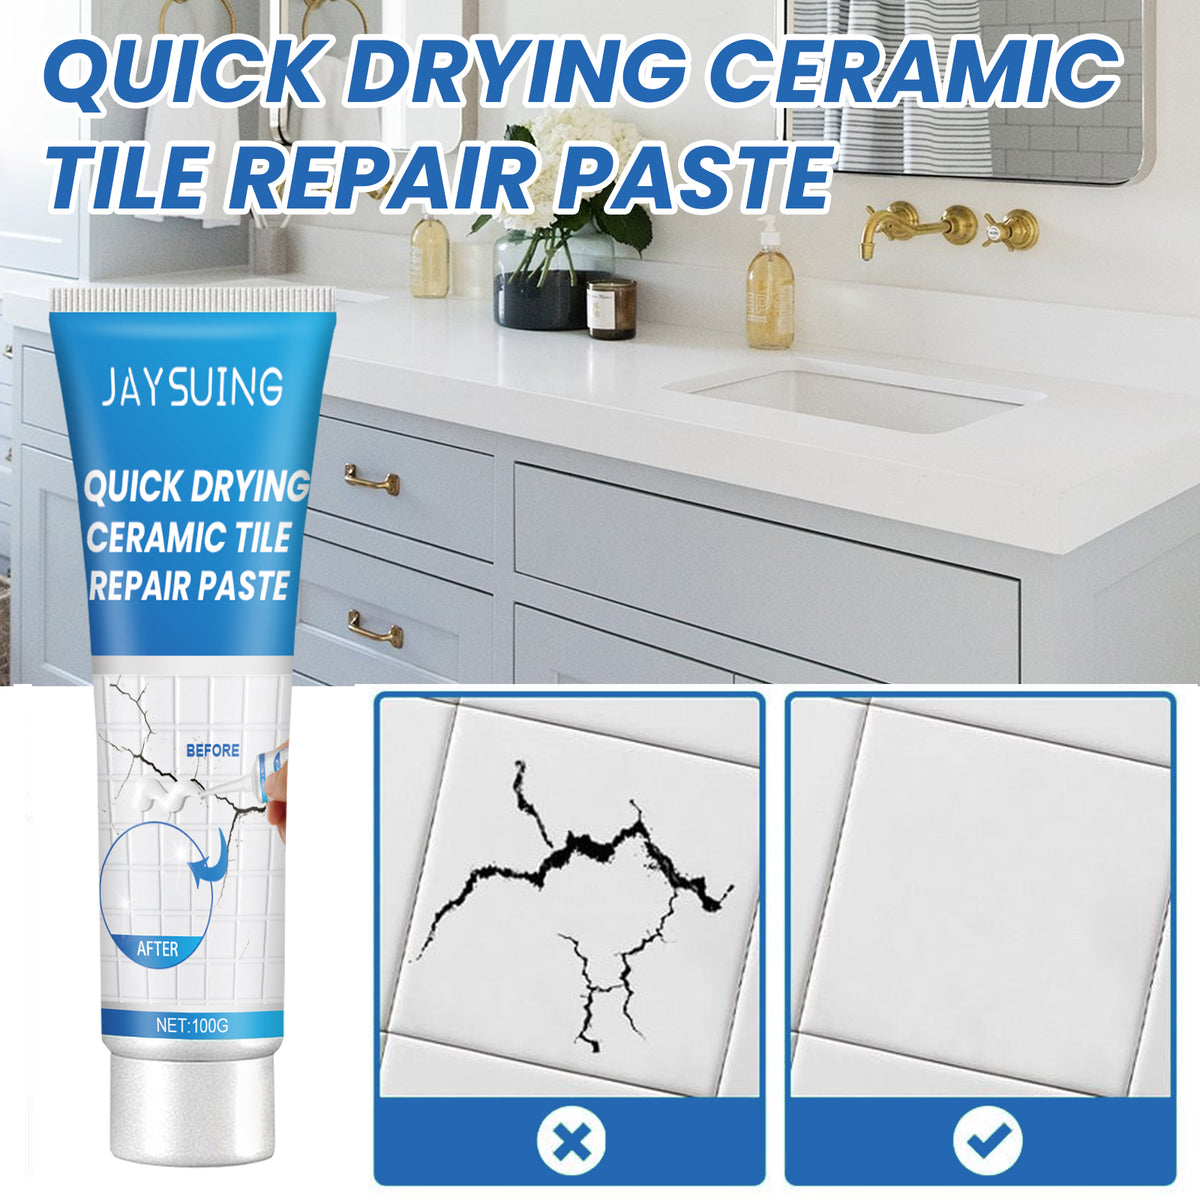
The packaging claims that the dried repair becomes as shiny as ceramics and will not attract black spots or become dirty. The visible goal is a smoother, cleaner-looking surface.
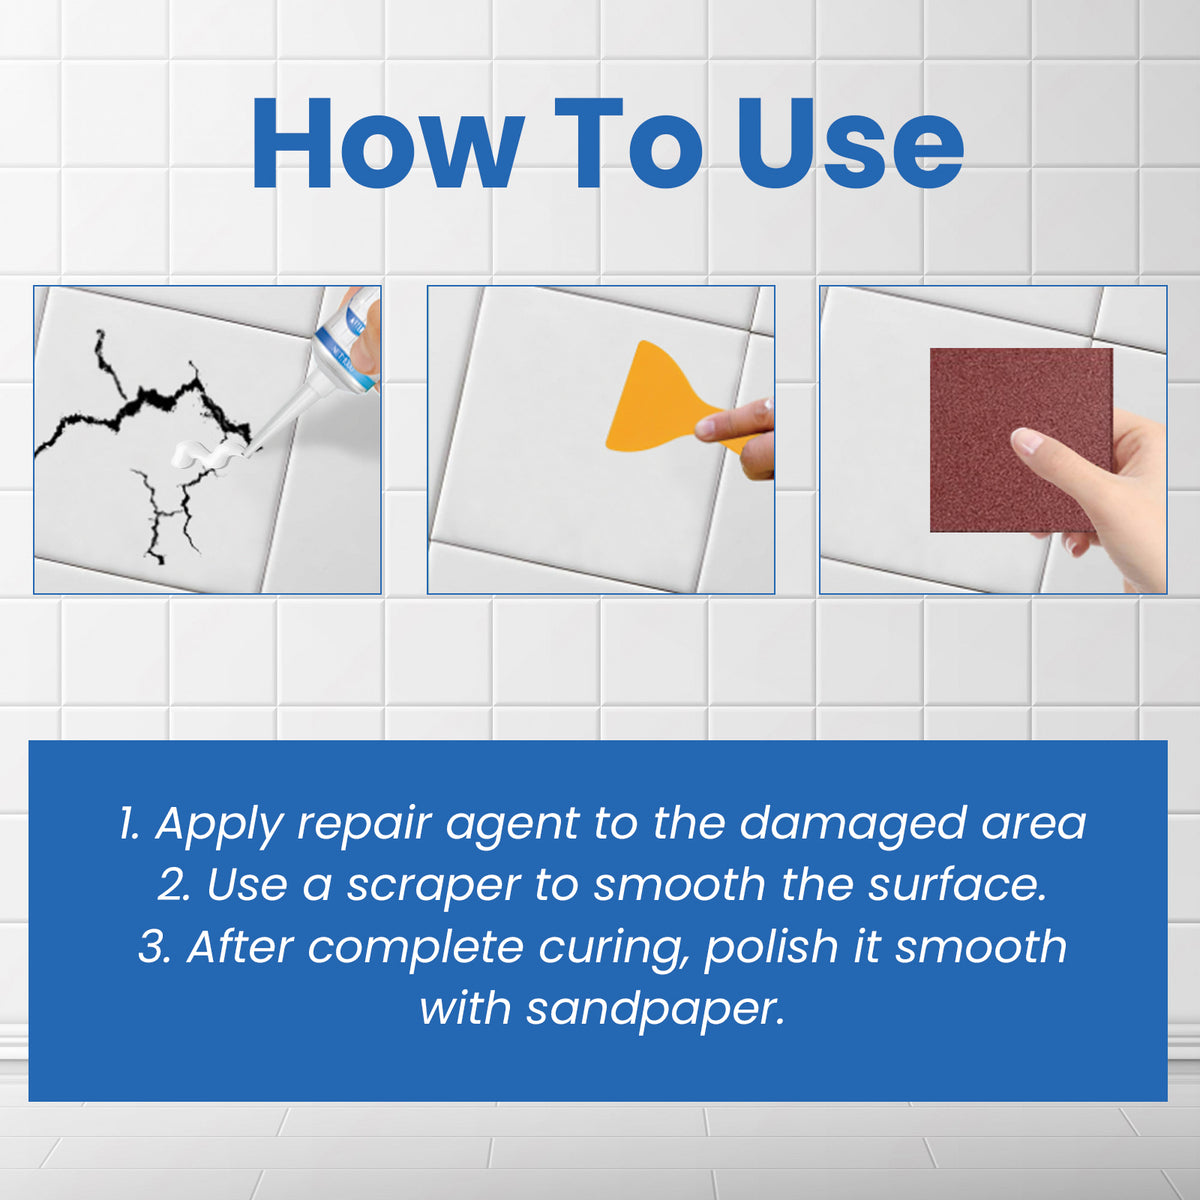
Remove loose debris and dirt from the crack and surrounding surface. Make sure the area is dry before opening the paste.
Fit the nozzle to the squeeze tube and apply a narrow bead directly into the damaged line. Use only the amount needed to fill it.
Use the included scraper to level the paste with the surrounding surface. Work carefully so the repair stays neat.
Once the paste has set enough for finishing, use the included sandpaper to smooth the repaired area.
Leave the repair undisturbed for as little as 8 hours, then inspect the finish before returning the surface to normal use.
Cream repair paste for ceramic and other smooth surfaces
Directs paste into narrow cracks
Levels excess paste during finishing
Refines the repaired surface
You clean the room, but the damaged patch still catches your eye. A rough opening or chipped line can collect dirt around its edges and make an otherwise tidy surface feel neglected.
For a small cosmetic crack, replacing an entire tile or surface can feel excessive. The squeeze tube, controlled nozzle, scraper, and sandpaper turn the touch-up into a manageable DIY maintenance task.
Direct the cream paste into the crack, level the excess with the scraper, and use the sandpaper for the finishing stage. The packaging states that the paste can be completely dry in as little as 8 hours.
Once dry, the repaired area has a smoother, ceramic-like-looking finish according to the packaging claim. The crack no longer has to be the first thing you notice while cleaning.
| This repair kit | Adhesive alone | Leave it untreated | |
|---|---|---|---|
| Repair paste included | — | ||
| Controlled nozzle | Partial | — | |
| Scraper included | — | — | |
| Sandpaper included | — | — | |
| Supports a smoother finish | Partial | — | |
| One-time repair setup | Partial | — |
It is intended for cracks and damage on ceramic tiles, bathtubs, marble, floors, toilets, and other smooth surfaces. It is best suited to small cosmetic surface repairs, not structural damage.
The packaging claims that the dried repair becomes as shiny as ceramics and will not attract black spots or become dirty. The final appearance depends on the surface, preparation, application, and smoothing.
Allow as little as 8 hours for complete drying according to the packaging claim. Keep the area undisturbed during that window and inspect it before normal use.
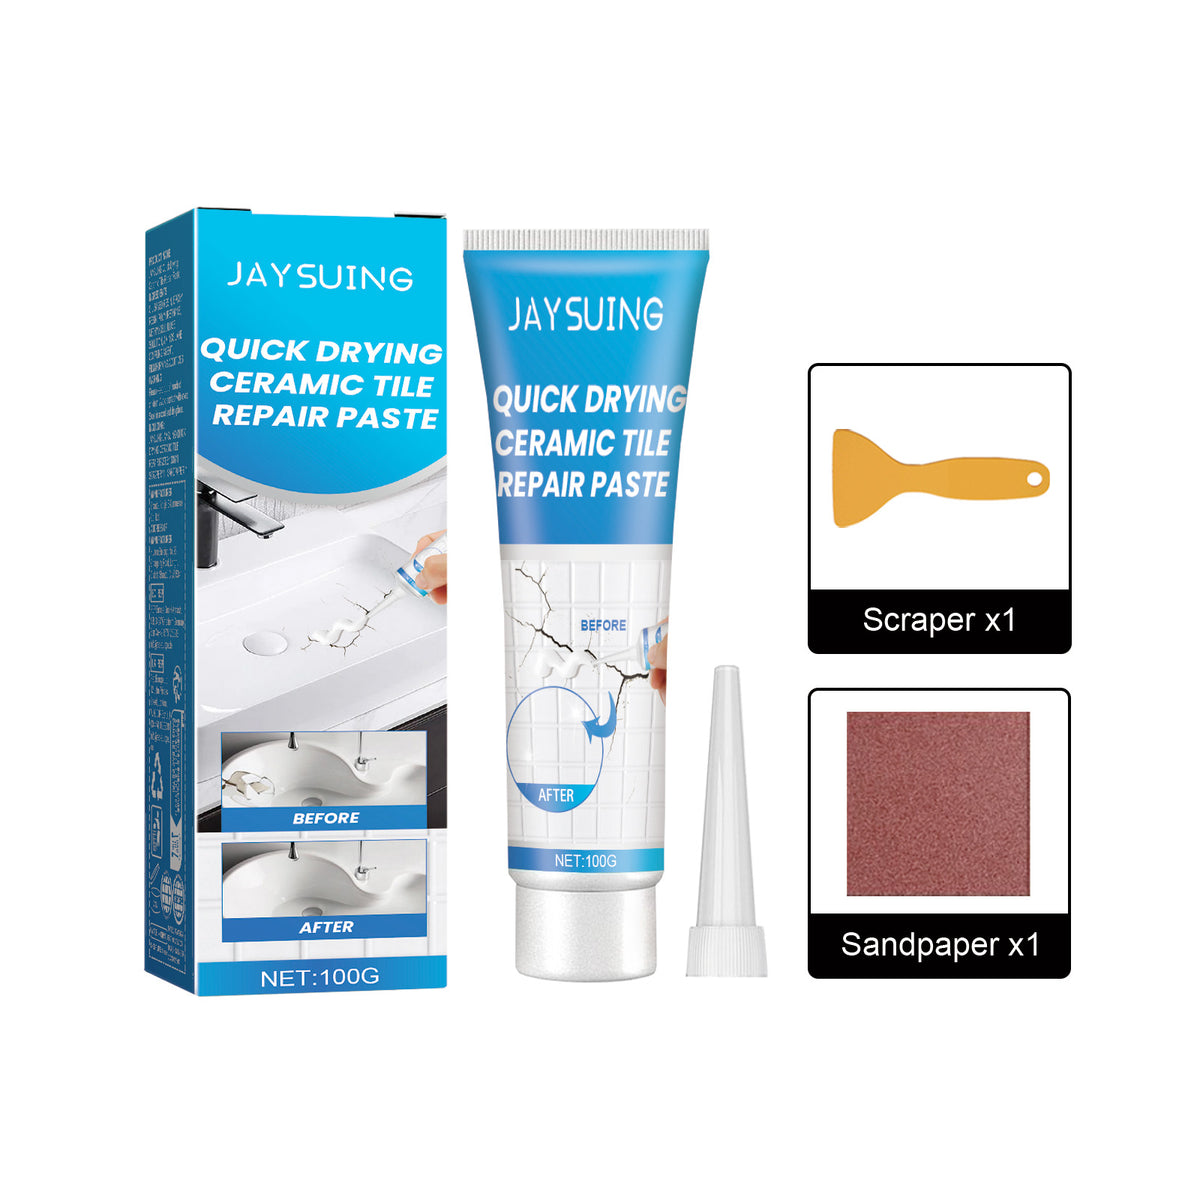
The kit includes one 100 g repair paste tube, one scraper, one sheet of sandpaper, and one nozzle. You are getting the basic application and finishing setup, not paste alone.
Yes. The dedicated nozzle directs a controlled bead into a narrow crack, making it easier to avoid spreading unnecessary paste across the surrounding surface.
The 100 g tube is better suited to small cracks, chips, and cosmetic touch-ups. A large broken tile or broad damaged area can require more material and a different repair approach.


 Tile Repair Glue Paste for Cracks & Ceramic Surfaces