
$34.90
Free delivery · 7–14 days
Glow in the Dark Stars & Moon Stickers - 3D Kids Decor


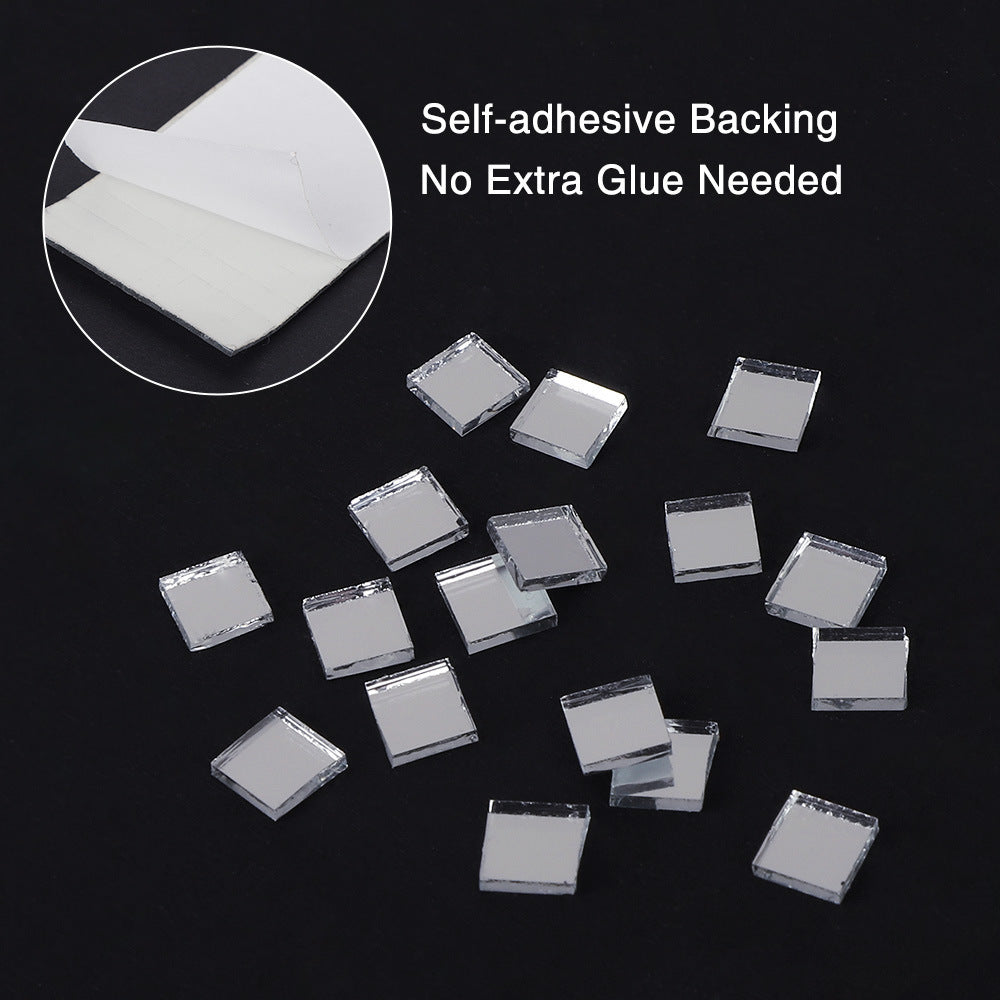
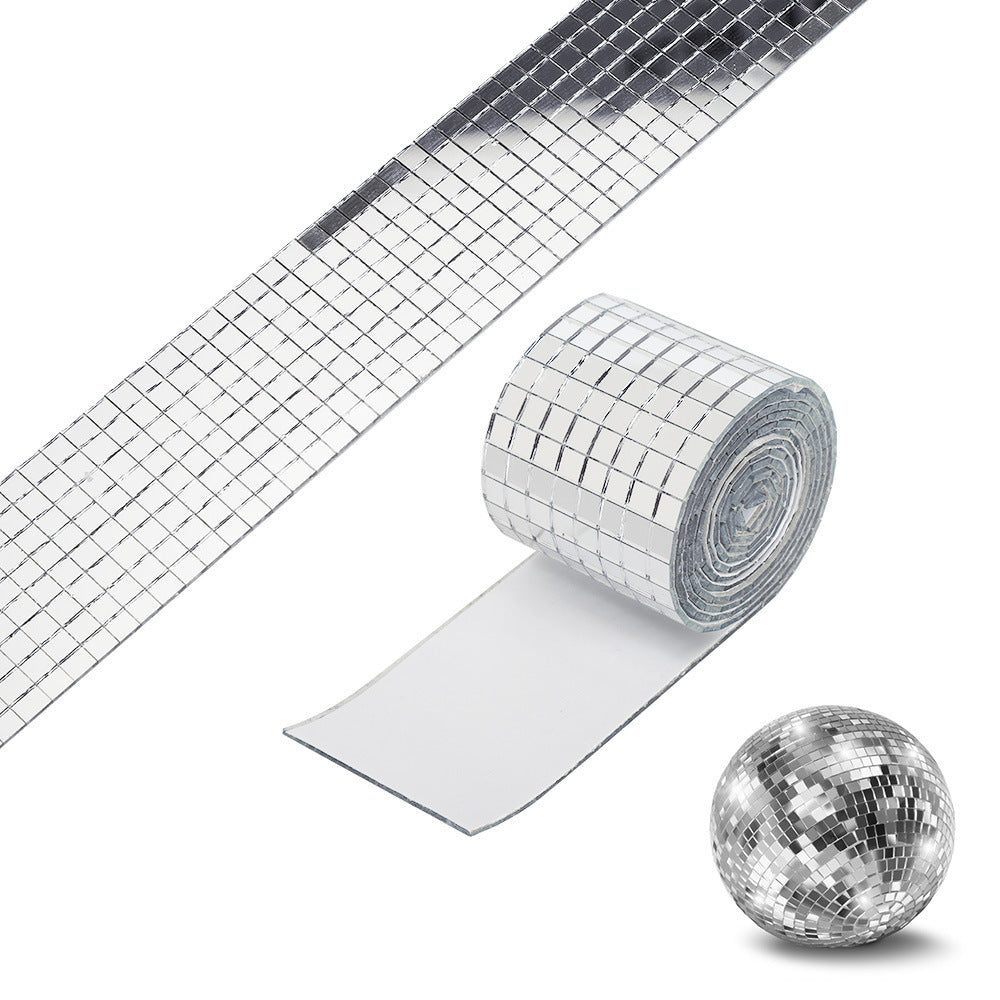
Turn an ordinary wall, furniture panel, or party backdrop into a glossy light-catching mosaic moment. These flexible self-adhesive sheets bring the mirrored pattern and installation backing together, with no extra glue required.
Read the full descriptionTurn an ordinary wall, furniture panel, or party backdrop into a glossy light-catching mosaic moment. These flexible self-adhesive sheets bring the mirrored pattern and installation backing together, with no extra glue required.
1464-piece self-adhesive mirrored mosaic stickers that need no extra glue
Dull walls and time-consuming installations become bright, reflective surfaces with peel-and-stick mosaic tiles. Add shimmer without reaching for extra glue.

The self-adhesive backing means the decorative surface is ready to place without purchasing or spreading extra glue. Work gradually on a clean, dry surface and smooth each section as you go.
The rolled-sheet format is easier to handle as a decorative material across accent walls, furniture, ornaments, and creative interiors. Plan the layout first, then reveal only the area you are ready to place.

Small square tiles create a glossy mirrored surface that catches and scatters surrounding light. The uniform geometric pattern brings instant visual rhythm to an otherwise ordinary surface.

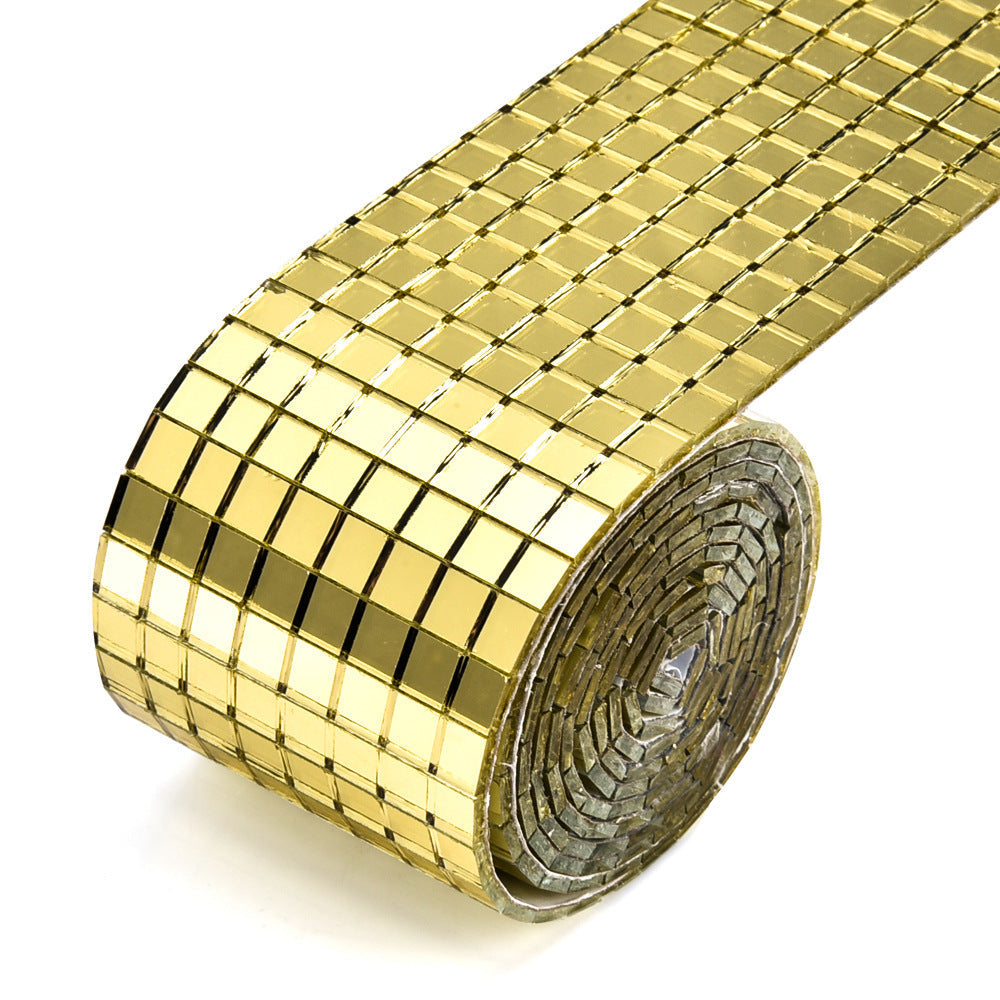
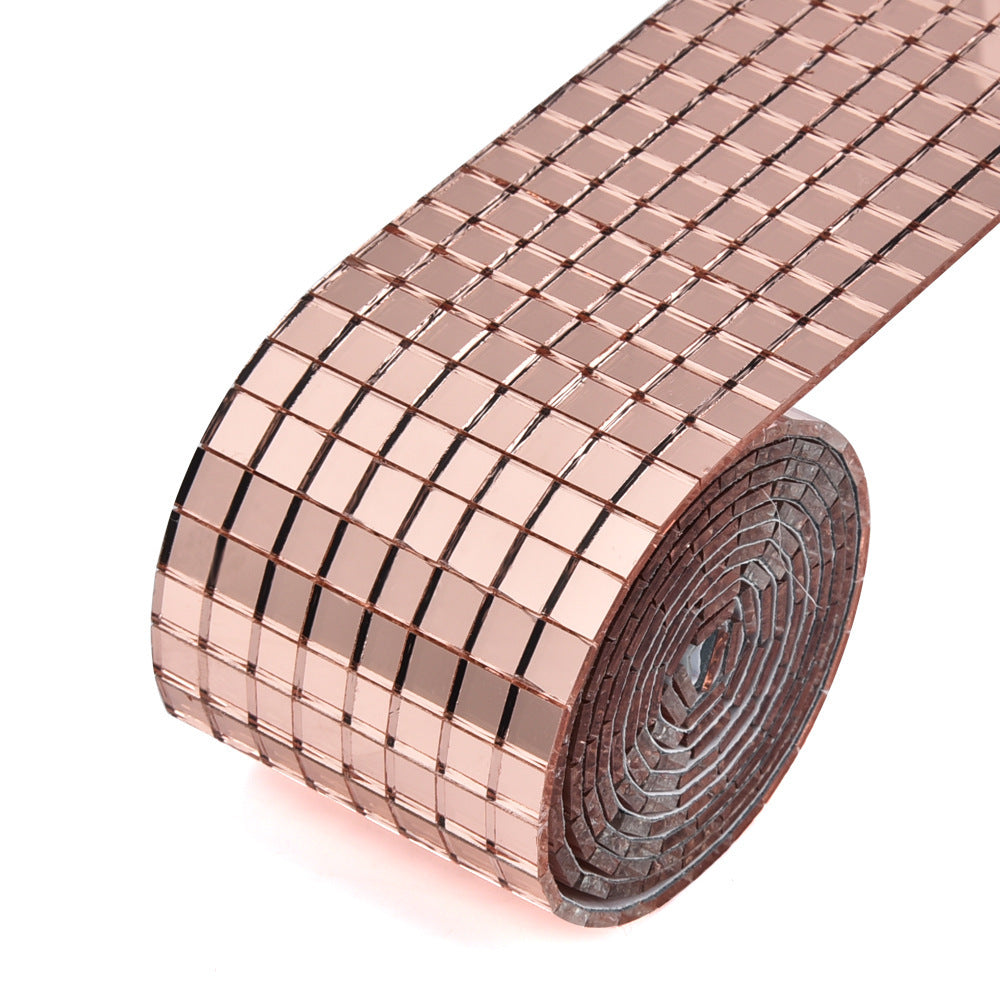
Silver gives the room a cooler glow, gold adds warm sparkle, and rose gold brings a softer metallic note. Choose the finish that matches your furniture, lighting, or party palette.
Choose a clean, dry, smooth area on a wall, furniture panel, ornament, or other suitable project surface. Remove dust and let the surface dry fully.
Measure the area and decide where the rolled sheet will begin and end. Check the direction of the square mosaic before exposing the adhesive.
Reveal the backing gradually rather than exposing the entire adhesive area at once. This gives you more control over placement.
Place the sheet from one edge and smooth outward with steady pressure. Take extra care around edges and corners so the pattern stays even.
Once the surface is in place, let the surrounding light play across the glossy tiles. Add nearby decor or lighting to complete the scene.

You look at the blank wall, plain furniture panel, or unfinished party corner and know the room needs something. Paint feels like a project, while loose mirror tiles bring tools, preparation, and cleanup.
This flexible rolled sheet brings the adhesive and the mosaic pattern together. Peel back the backing, place it on a suitable smooth surface, and build your reflective detail without separate glue.
The finished square pattern catches and scatters surrounding light, giving an accent wall, KTV room, ornament, or party backdrop a brighter, more celebratory personality.
Take care when peeling, positioning, and smoothing the glass mosaic surface.
Use a soft cloth to remove surface dust instead of scrubbing aggressively.
Plan corners and edges carefully rather than sharply folding the flexible sheet.
Apply to clean, dry, smooth areas for better contact with the adhesive backing.
| Mirrored Mosaic Stickers | Loose Mirror Tiles | Paint Or Wallpaper | |
|---|---|---|---|
| No separate glue needed | Yes | No | Partial |
| Flexible rolled-sheet format | Yes | No | No |
| Reflective mirror finish | Yes | Yes | No |
| Uniform square mosaic pattern | Yes | Partial | No |
| Three metallic color options | Yes | Partial | Partial |
Clean, dry, smooth surfaces are the best match. Painted walls and furniture can work when the finish is even and free from dust, loose paint, texture, or moisture. Test a small area first if the surface is delicate or unusual.
No extra glue is needed. The sheet has a self-adhesive backing, so the decorative surface is ready to peel and place.
The product comes as a flexible rolled sheet, which makes it easier to handle across decorative projects. Avoid forcing it around sharp bends, and plan detailed edges carefully so the square pattern stays neat.
Clean and dry the surface first, plan the layout, then expose the backing gradually. Place from one edge and smooth outward instead of trying to position the entire sheet at once.
Yes, these are suited to decorative use in KTV rooms, parties, event backdrops, dance spaces, ornaments, furniture details, and creative interiors. Choose a smooth surface and position the mosaic where the finish can catch ambient light.
The set contains 1464 small square mirrored mosaic pieces arranged on a flexible rolled sheet with self-adhesive backing.


 Self-Adhesive Mirror Wall Stickers for Sparkling Decor