
$34.90
Free delivery · 7–14 days
Glow in the Dark Stars & Moon Stickers - 3D Kids Decor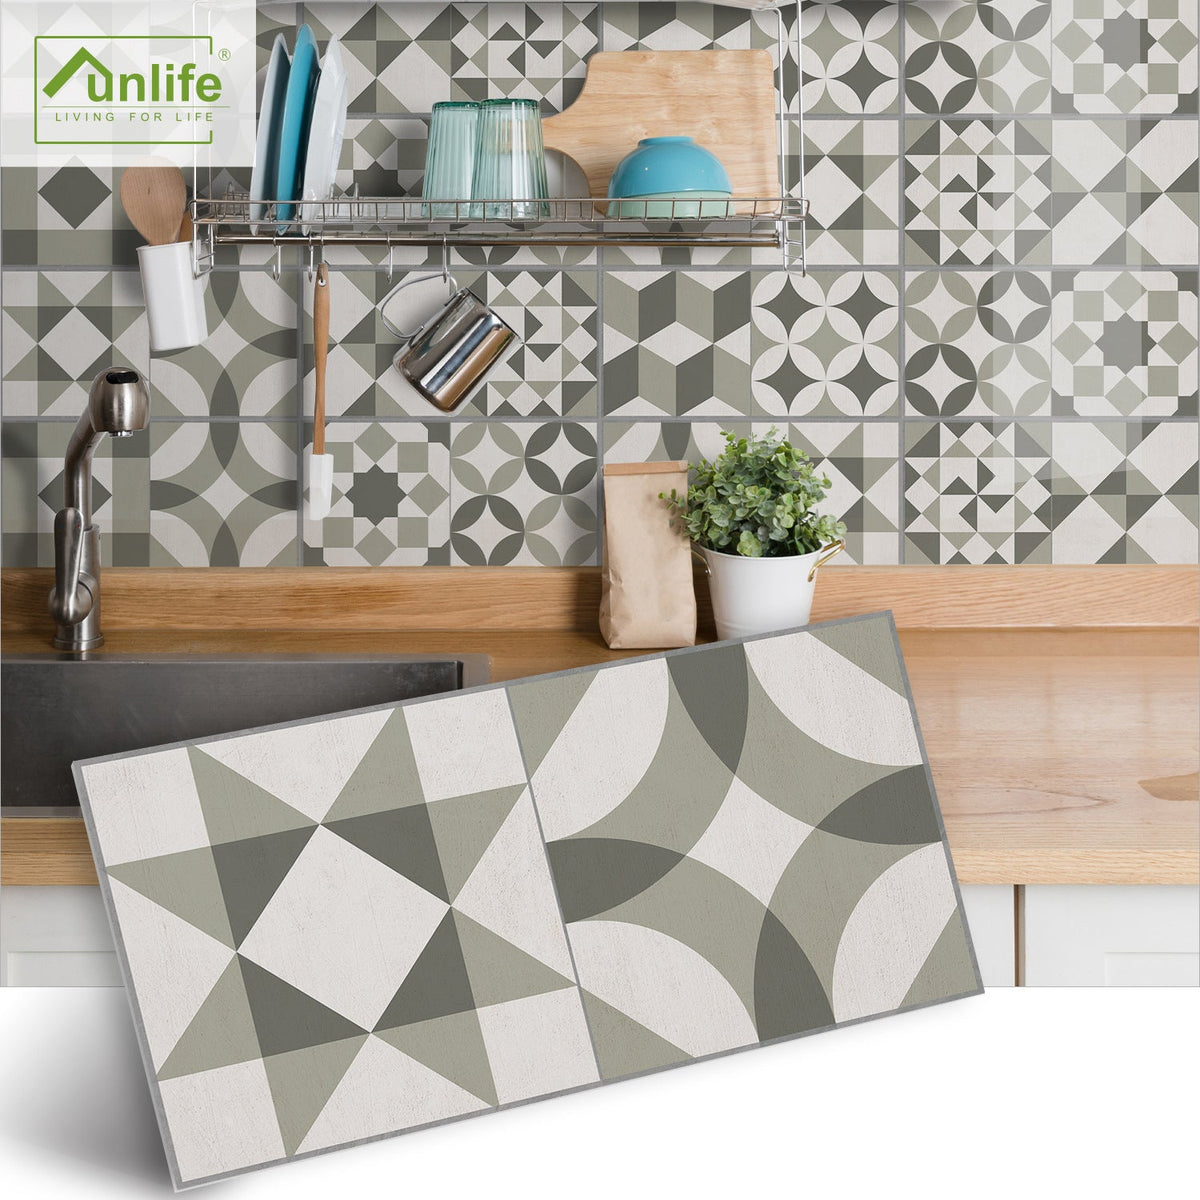
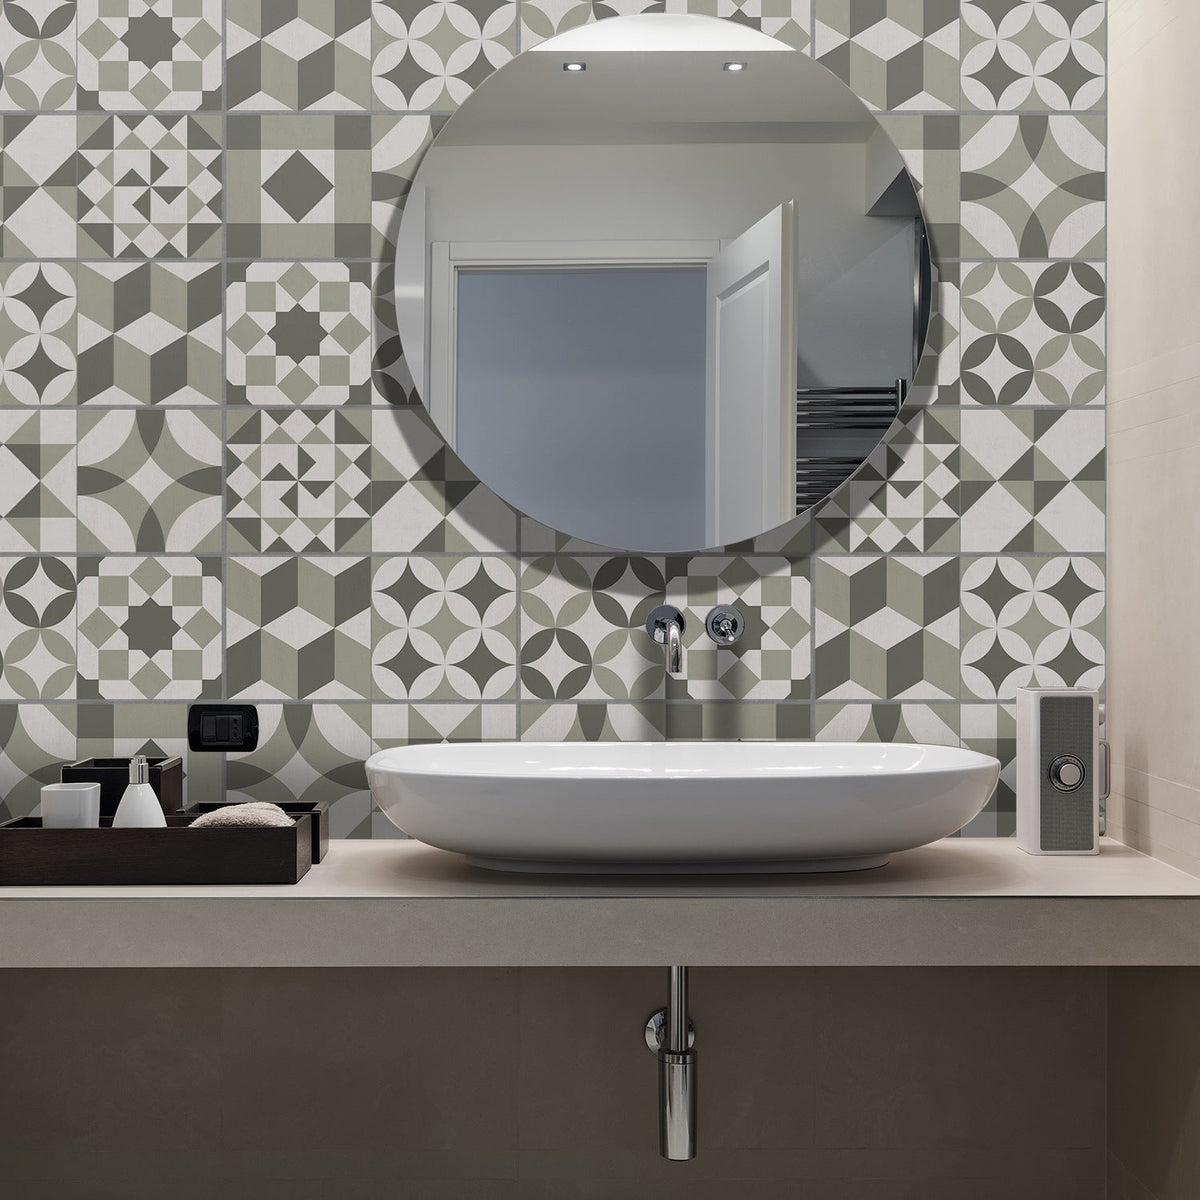
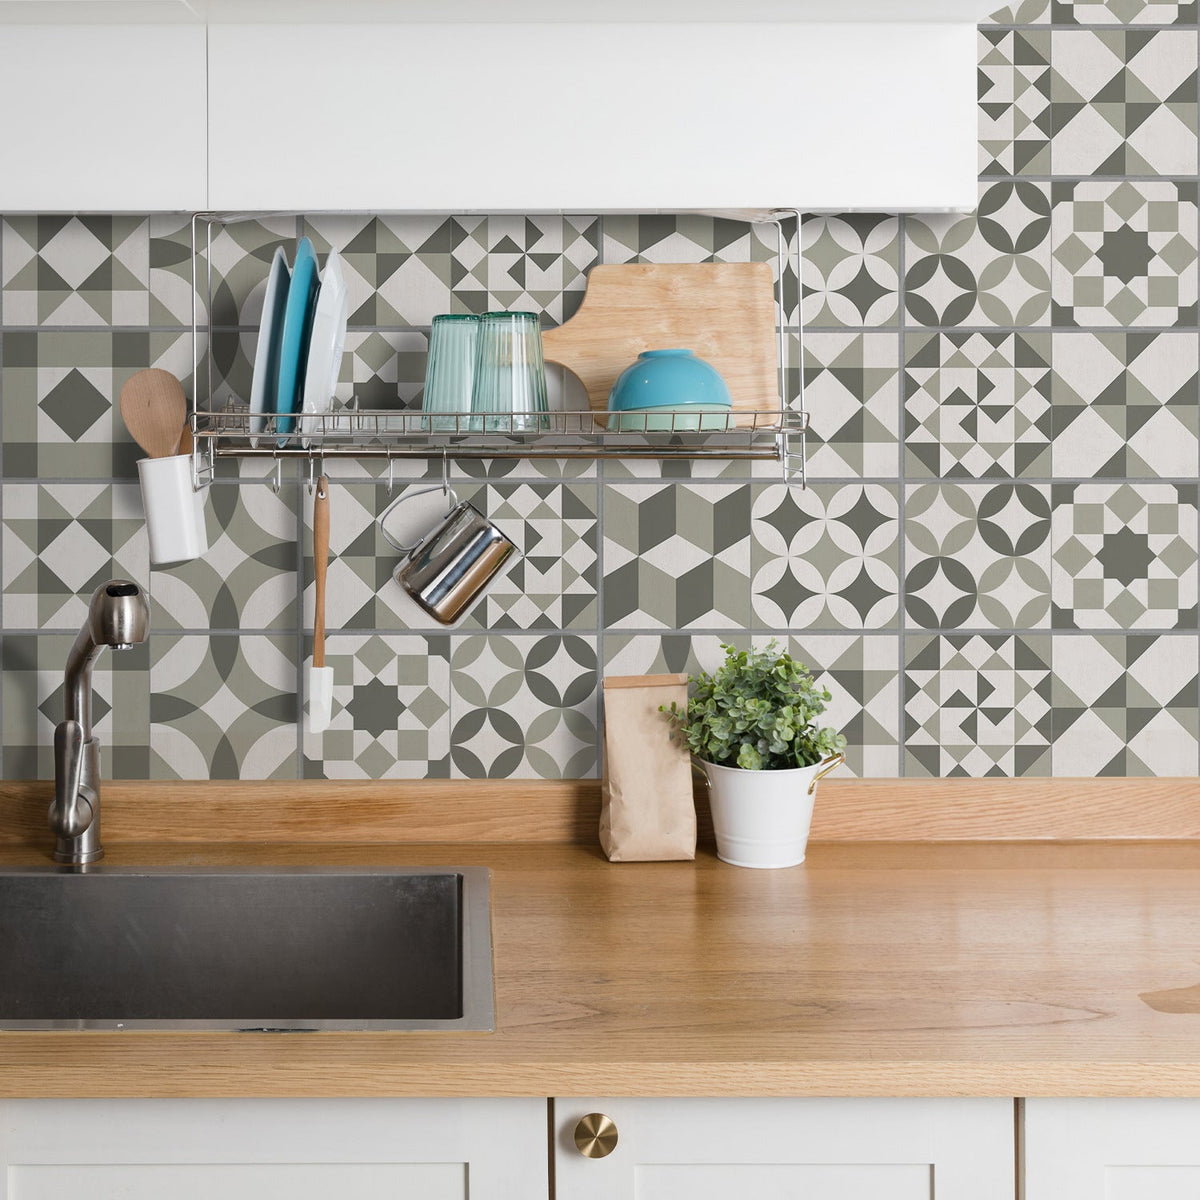
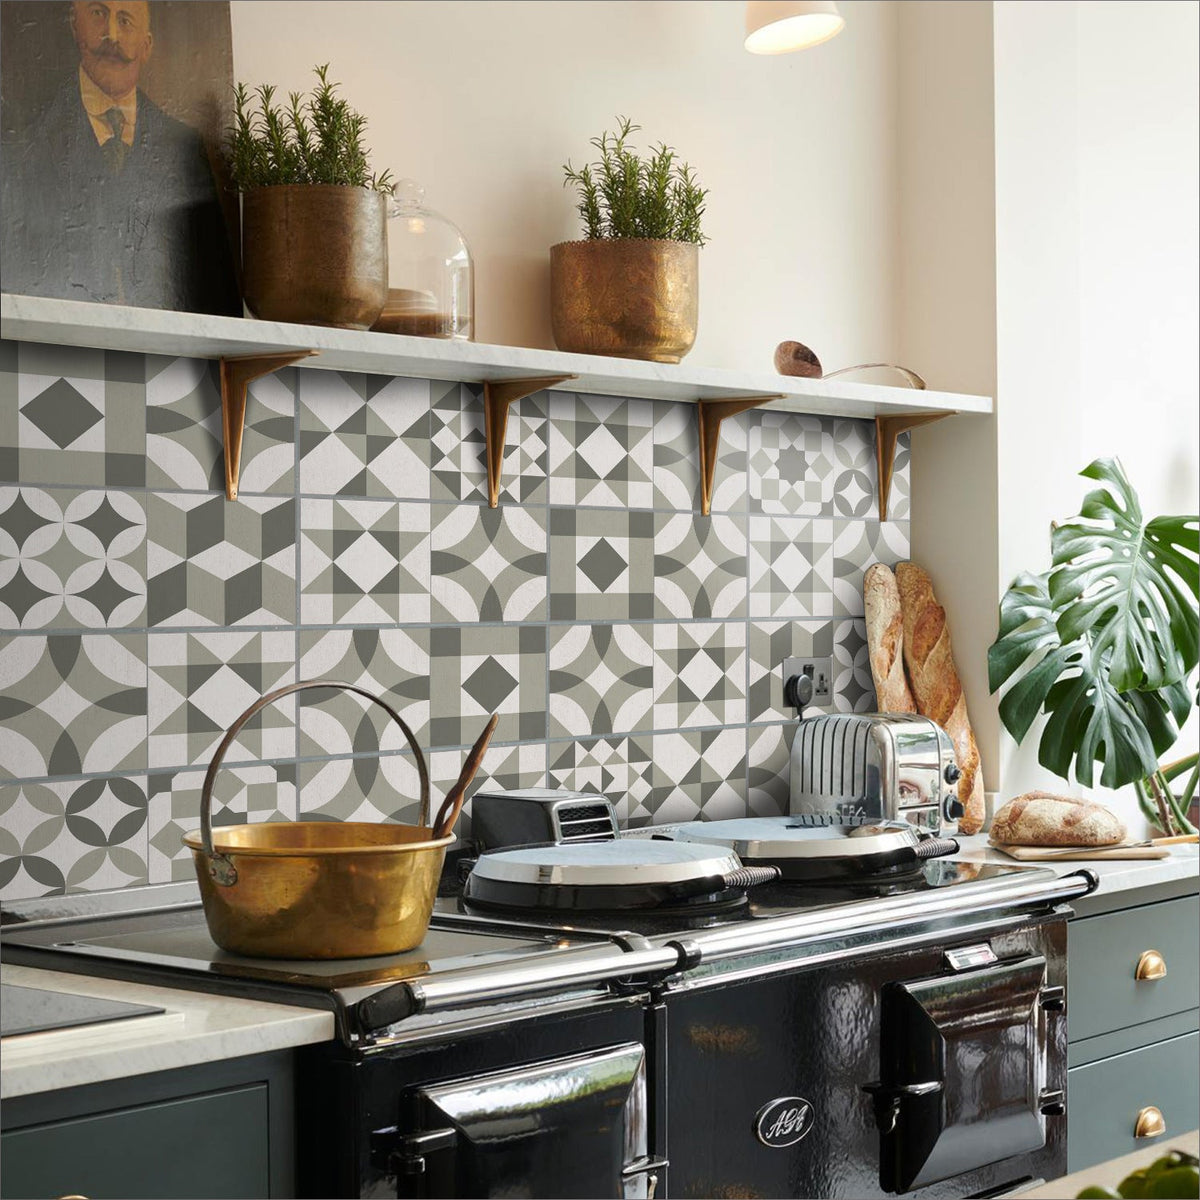
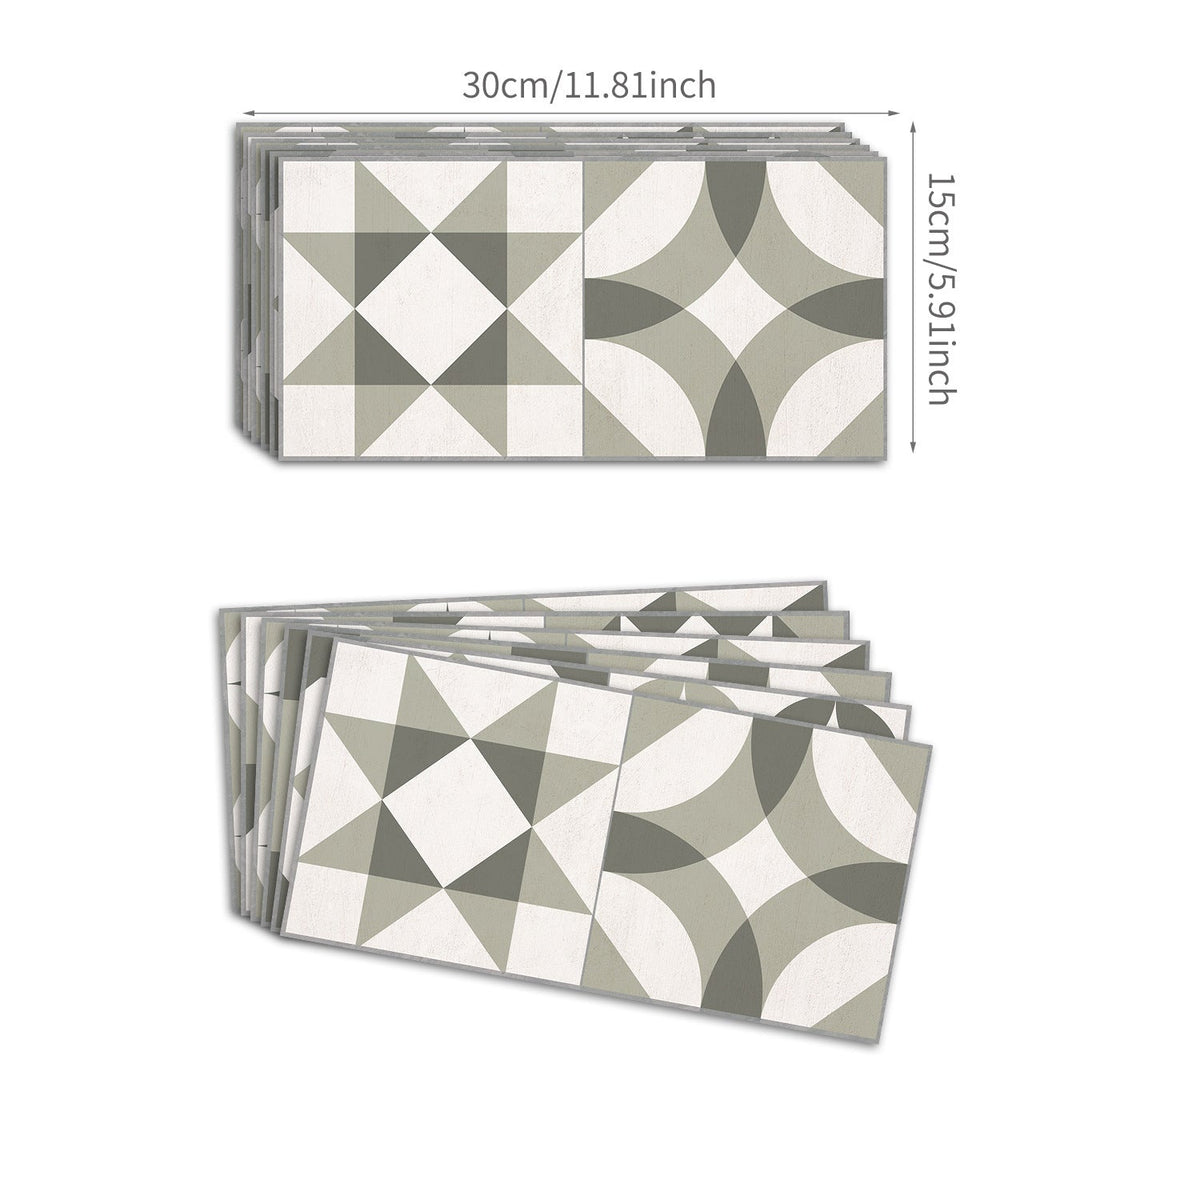
Give a plain kitchen or bathroom wall the character it has been missing. These thickened peel-and-stick panels create a coordinated retro tile-effect finish without the mess of a traditional tiling project.
Read the full descriptionGive a plain kitchen or bathroom wall the character it has been missing. These thickened peel-and-stick panels create a coordinated retro tile-effect finish without the mess of a traditional tiling project.
Quickly create a retro patterned tile wall without the cost and disruption of traditional tiling
Turn plain or dated kitchen and bathroom walls into cohesive retro-inspired tile-effect surfaces. Peel, place, and refresh your space without the mess and disruption of traditional tiling.
Repeating geometric artwork turns a flat wall into a cohesive retro-inspired backdrop instead of leaving the room dependent on accessories for personality.
The peel-and-stick format gives DIY decorators a more approachable route than adhesive, grout, cutting, and a prolonged traditional installation.
The thickened sticker construction and softly textured matte printed surface make the decorative wall treatment read as more substantial than a flat printed sheet.
The coordinated tile-effect pattern suits kitchen backsplash updates, bathroom refreshes, rental makeovers, and retro-inspired accent walls.
Measure the area you want to cover, then choose the pack size and plan how the repeating pattern will run across edges and corners.
Remove dust and grease, then let the wall become fully clean, dry, and smooth before applying anything.
Lay the panels near the wall and check the pattern direction before peeling. This is the moment to avoid the famous wobbly-wall incident.
Expose the adhesive gradually, position the panel carefully, and press it down in a controlled pass.
View the arrangement from across the room. Small alignment adjustments are much easier to spot before the whole wall is complete.
30 × 15 cm panels with coordinated geometric tile-effect artwork.
30 × 15 cm panels for a broader planned arrangement.
30 × 15 cm panels for larger wall projects.
A flat or outdated wall can quietly drain personality from a room. You see it every time you make coffee, wash your hands, or reach for the dish towel, and the space still feels unfinished.
Traditional tile brings adhesive, tools, grout, cutting, and a room that feels out of action. This refresh keeps the ambition while dropping much of the tile-day chaos.
Repeating geometric artwork gives the wall a coordinated point of view. The thickened construction and softly textured matte surface make the decorative treatment feel more substantial than a flat printed sheet.
The finished wall feels intentional, playful, and distinctly yours. A kitchen backsplash or bathroom feature surface gets the character you wanted without turning the whole room into a construction site.
Use a soft, lightly damp cloth for everyday marks.
Abrasive pads and aggressive cleaning can affect the printed matte surface.
Avoid picking at corners or pulling the panels during cleaning.
Use in kitchen or bathroom areas only after confirming the wall location and moisture conditions suit decorative stickers.
| 4 pcs | 12 pcs | 24 pcs | |
|---|---|---|---|
| Panel size | 30 × 15 cm | 30 × 15 cm | 30 × 15 cm |
| Panel count (pcs) | 4 | 12 | 24 |
Coverage depends on the wall layout and the spacing or trimming around edges. Measure first and plan the repeating pattern before ordering.
| Peel-and-stick stickers | Traditional tile | Plain paint | |
|---|---|---|---|
| Installation disruption | Lower | Higher | Lower |
| Tools and grout required | No | Yes | No |
| Patterned tile-style character | Yes | Yes | No |
| Thickened decorative surface | Yes | Yes | No |
| Full structural tile construction | No | Yes | No |
| Good fit for a focused refresh | Yes | Partial | Yes |
They apply best to a clean, dry, smooth surface. Dust, grease, dampness, heavy texture, and surface irregularities can interfere with an even application, so test a small area and confirm the wall is suitable first.
They create a convincing decorative tile-effect appearance through repeating geometric artwork, a thickened panel form, and a softly textured matte finish. They are printed stickers, not structural tile with grout.
They give renters a lower-commitment decorating route than a full tile renovation, but wall finishes differ. Test the adhesive on a discreet area first and follow your rental agreement before covering a larger surface.
They suit kitchen and bathroom wall styling, but placement matters. Choose a clean, dry area away from constant direct water and confirm the surface and moisture conditions before application.
Measure the wall, lay the panels out nearby, choose a starting edge, and check the repeat before peeling. Aligning each section carefully matters more as the wall gets wider.
A smooth, clean, dry surface gives the best starting point. Existing grout lines, raised texture, dust, and grease can show through or interfere with adhesion, so test the exact area before committing.


 Peel-and-Stick Brick Wall Stickers for Retro Tile Style