
$34.90
Free delivery · 7–14 days
Glow in the Dark Stars & Moon Stickers - 3D Kids Decor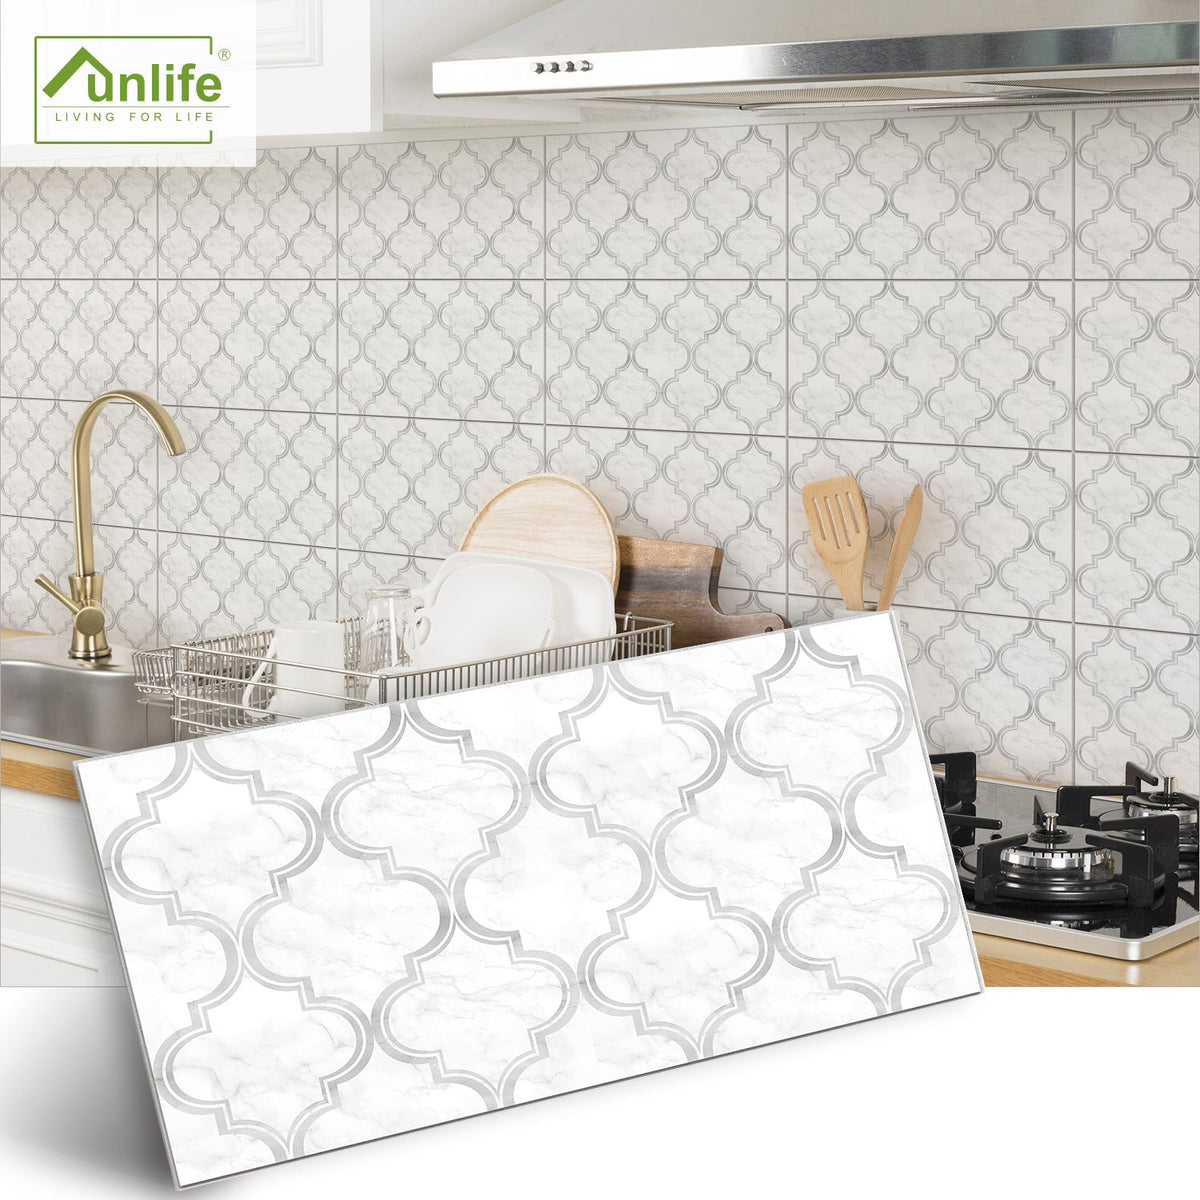
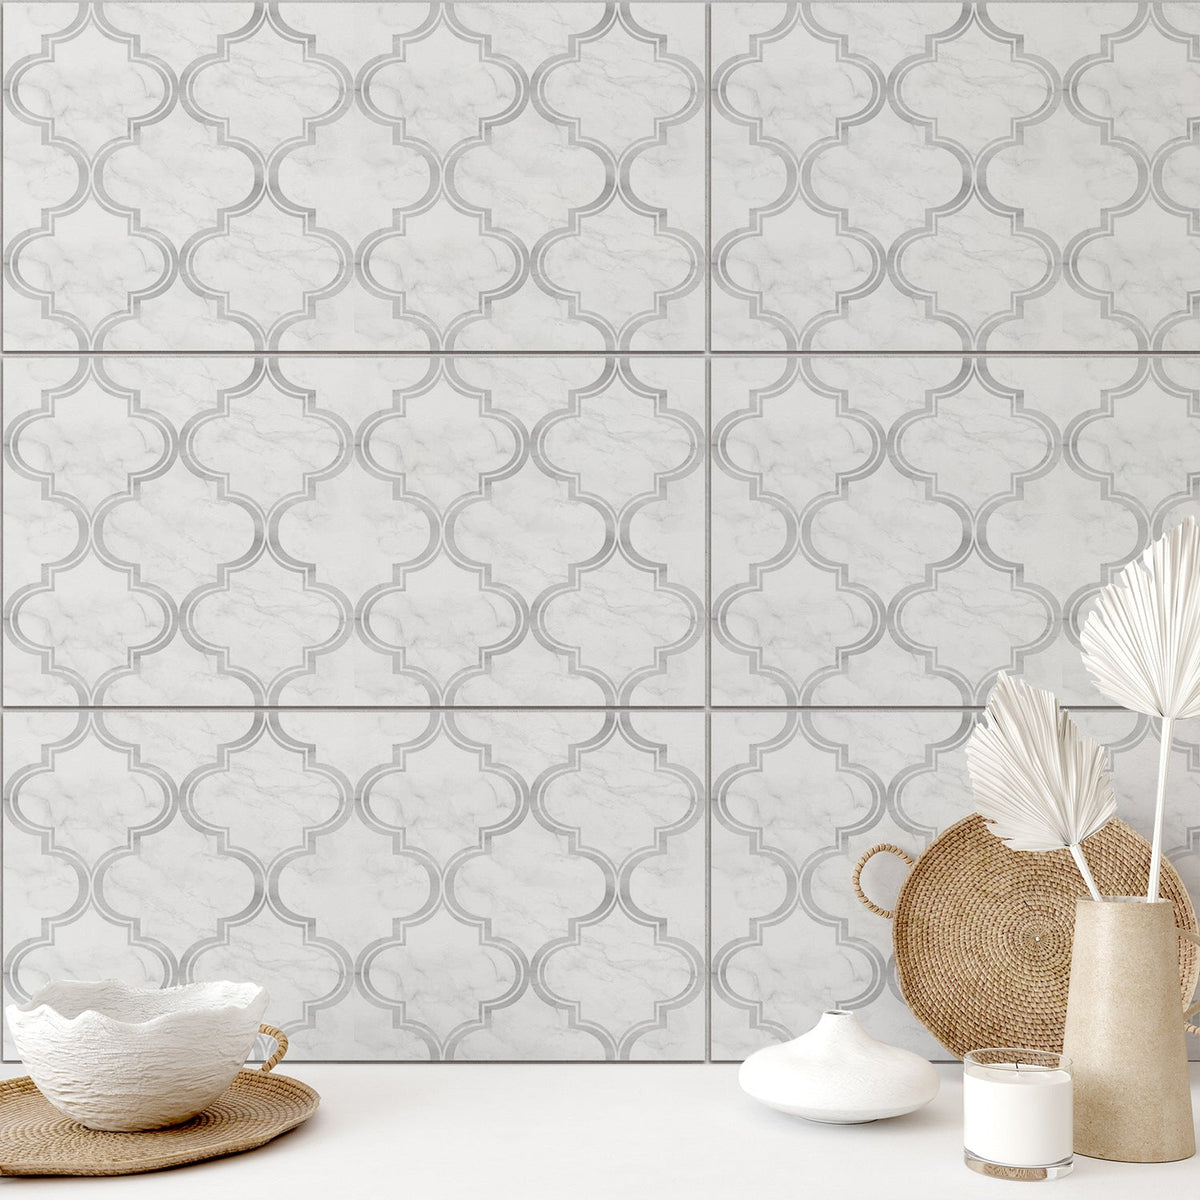
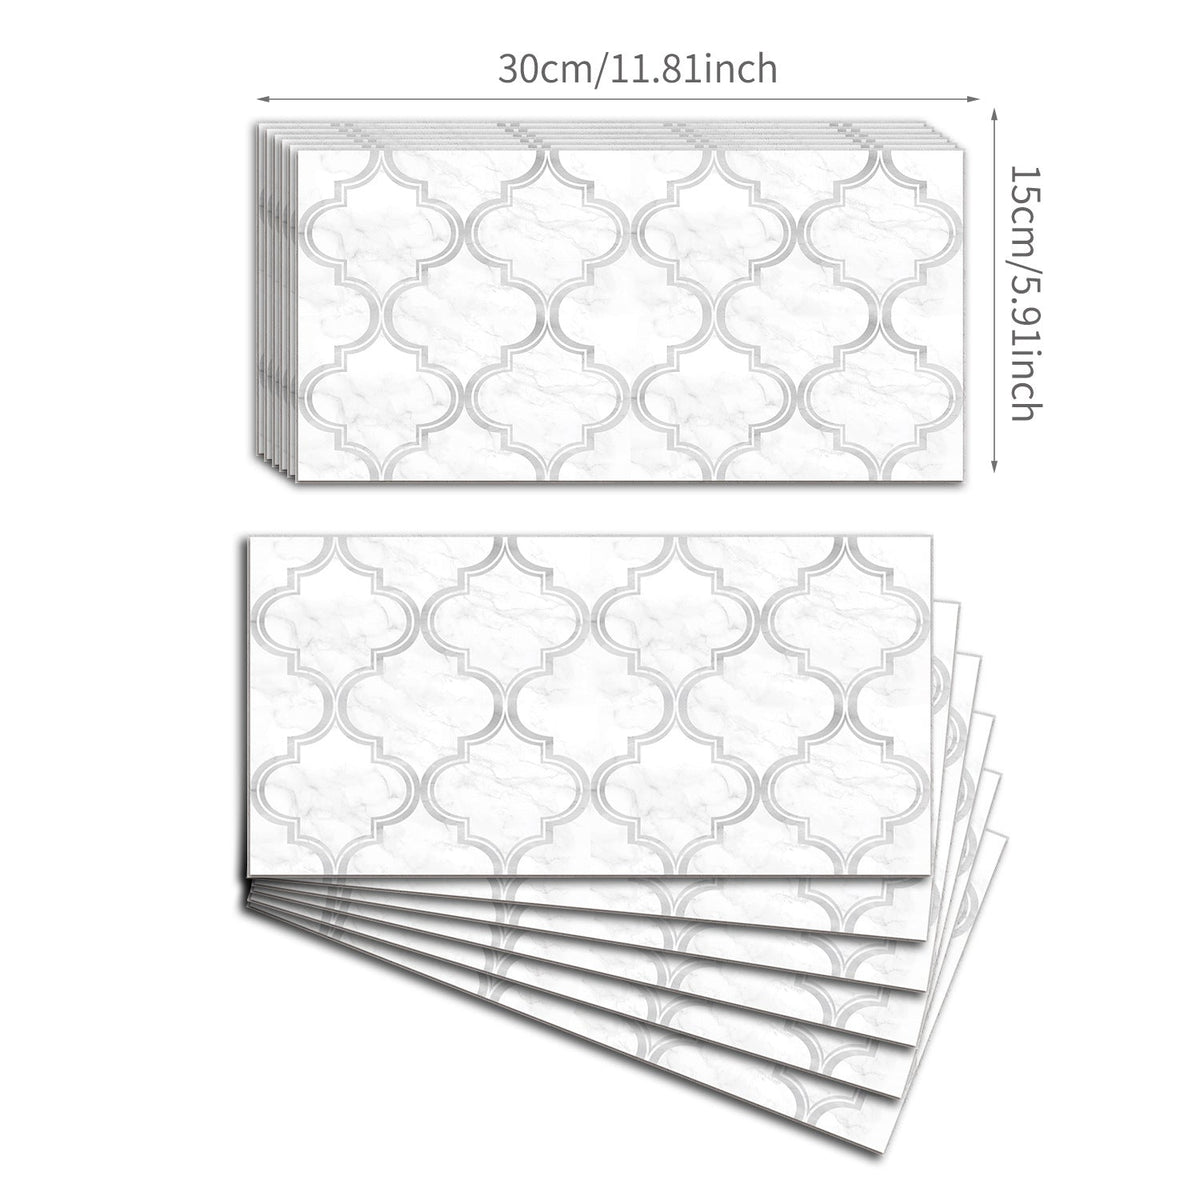
Turn an outdated backsplash or blank wall into a bright, coordinated geometric surface without grout, mortar, or demolition. Thickened matte panels bring a marble-inspired tile look to focused DIY updates.
Read the full descriptionTurn an outdated backsplash or blank wall into a bright, coordinated geometric surface without grout, mortar, or demolition. Thickened matte panels bring a marble-inspired tile look to focused DIY updates.
Refresh a backsplash or accent wall with elegant patterned tile styling through quick peel-and-stick installation.
Skip the mess, mortar, and drawn-out renovation. Peel, stick, and turn an outdated backsplash or accent wall into a bright, coordinated geometric surface.
The thickened plastic construction gives the smooth matte panel more visual presence than a thin decorative film while keeping the project easy to handle.
Repeating quatrefoil geometry and raised-looking gray outlines create a coordinated backsplash effect instead of a flat block of color.
Self-adhesive backing removes the need for grout and mortar. It gives renters and DIY renovators a practical way to make a focused wall change.
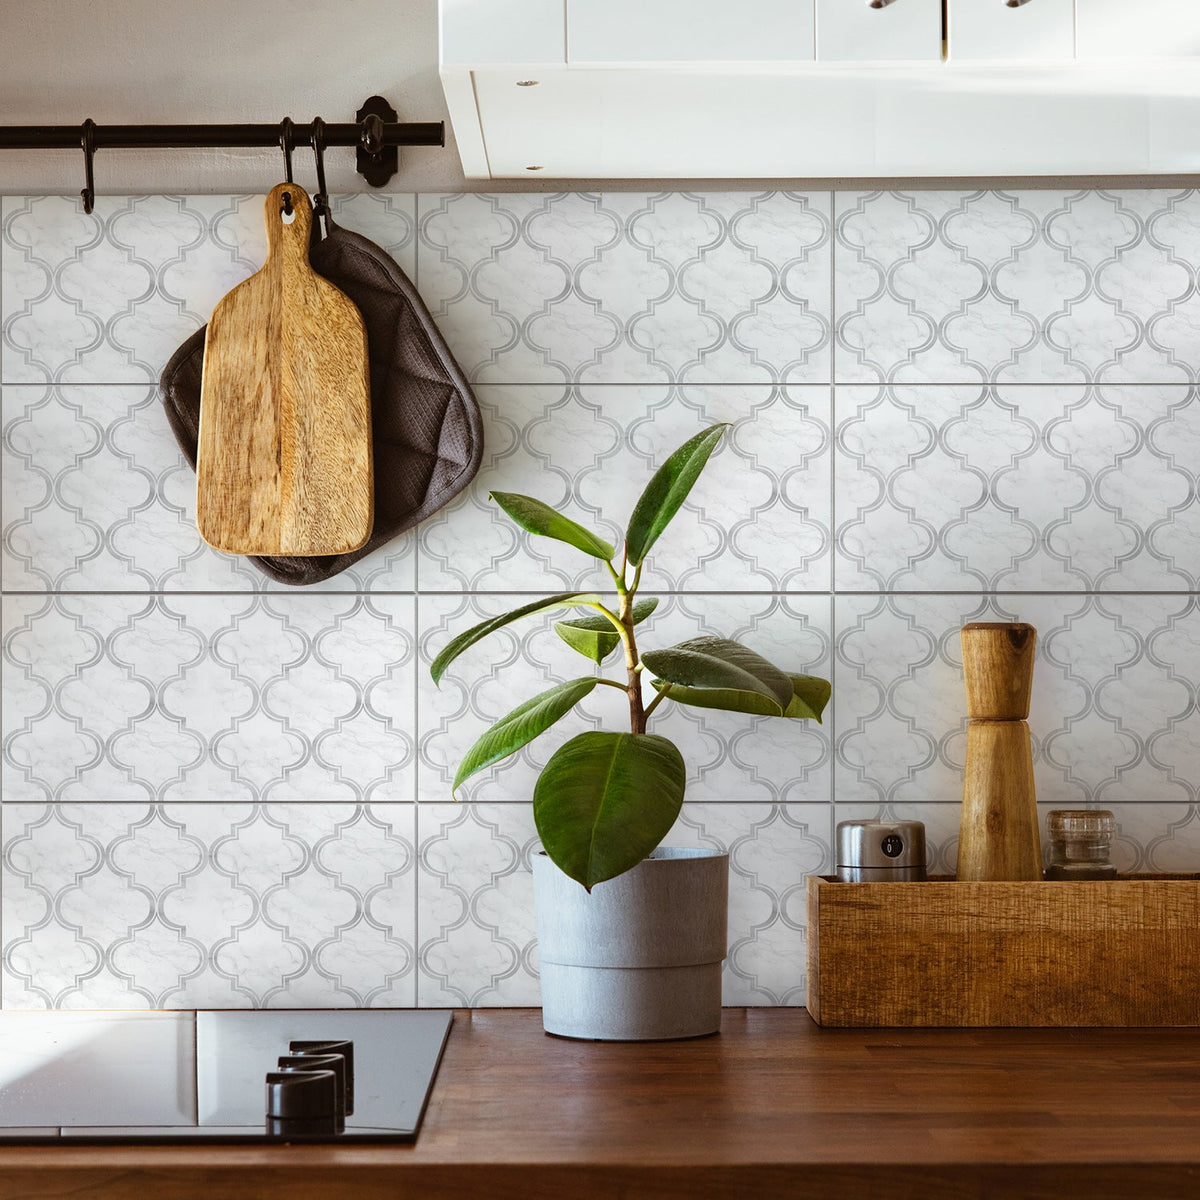
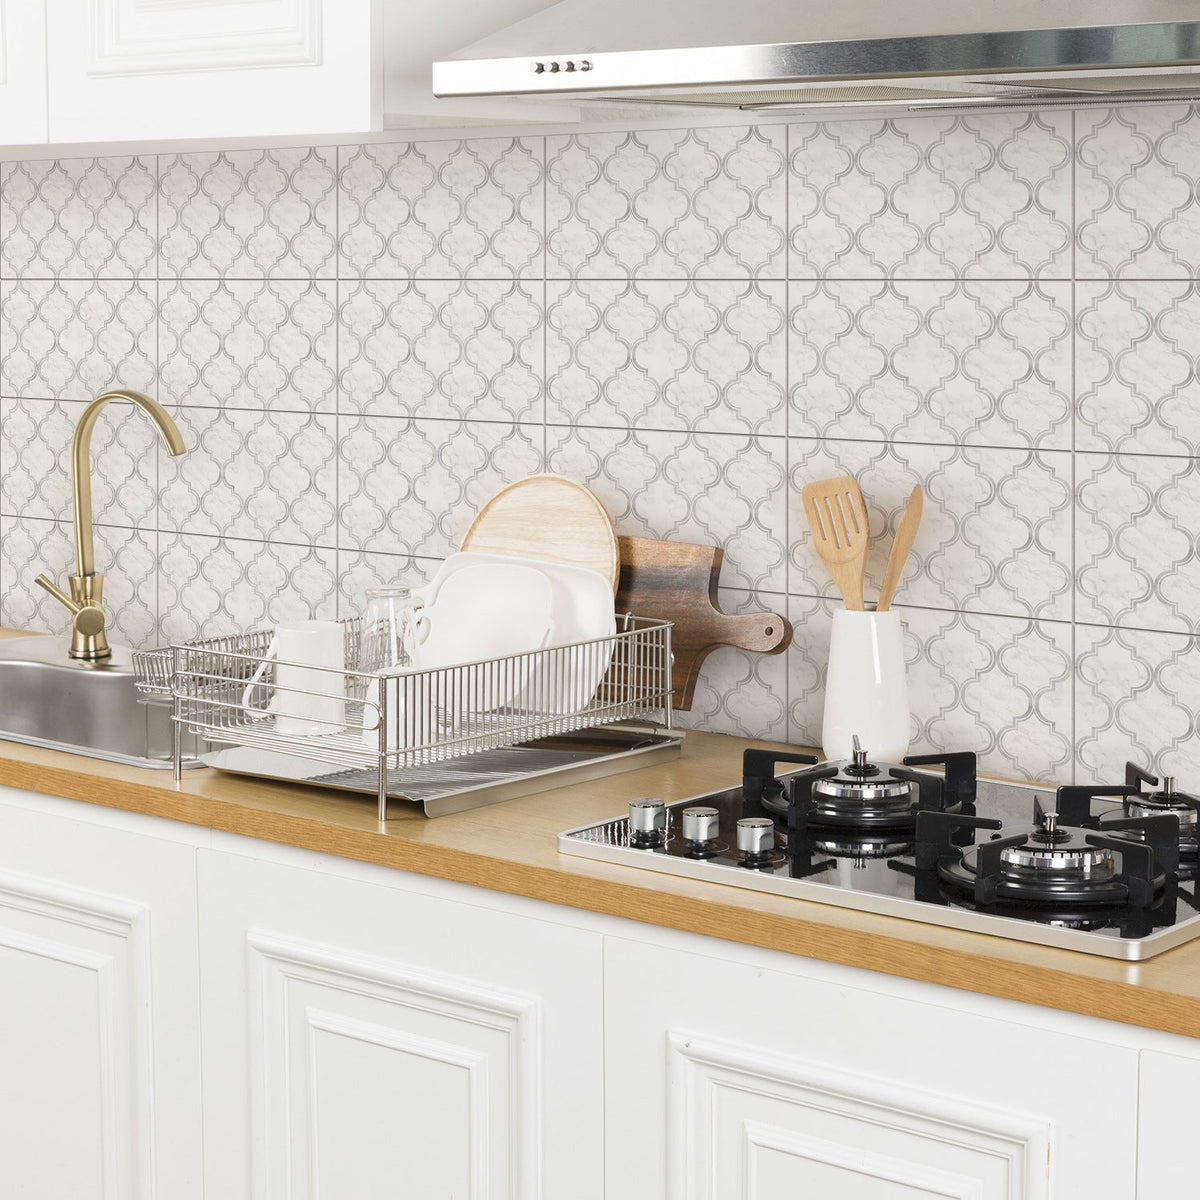
Marble white, soft gray, and silver gray pair easily with warm wood, white ceramics, and neutral cabinetry. The palette makes plain walls feel brighter and more connected to the room.
Clean the wall thoroughly, remove dust and grease, and let it dry fully. Rough, damp, damaged, or unstable surfaces are poor candidates.
Dry-position the rectangular panels and establish a straight starting line. Check how the quatrefoil pattern will meet across adjoining panels.
Remove the adhesive backing once the placement is clear. Start with a prepared, discreet section if you are unsure how the surface will respond.
Align the panel carefully, then press it firmly across the surface. Work gradually so the decorative finish sits smoothly.

An outdated backsplash or plain wall quietly lowers the feeling of the whole room. You can live with it, paint over it, or keep postponing the larger renovation, but the unfinished surface remains in view every day.

Traditional tile replacement brings dust, grout, mortar, tools, and downtime to a style decision. These self-adhesive panels make the change more contained. Prepare the wall, plan the repeat, peel the backing, and press the pattern into place.

The marble-white, soft-gray, and silver-gray pattern gives the room a brighter, more coordinated backdrop. The result feels intentional and finished, whether it sits behind the sink, along a dining wall, or behind a living-room console.
Use a soft, lightly damp cloth for everyday dust and surface marks.
Treat the matte finish gently rather than using abrasive pads or aggressive cleaning.
Do not pull or lift panel corners once they are applied.
Decorative panels cannot correct moisture, crumbling surfaces, or underlying wall damage.
| Peel-and-stick panels | Paint | Traditional tile | |
|---|---|---|---|
| Grout and mortar required | No | No | Yes |
| Tile-look pattern | Yes | No | Yes |
| Thickened visual surface | Yes | No | Yes |
| Focused, low-mess project | Yes | Yes | No |
| Suitable for a quick style refresh | Yes | Yes | Partial |
Use them on a clean, dry, smooth, stable surface. Dust, grease, moisture, rough texture, crumbling areas, or wall damage can interfere with adhesion and the final appearance. Test a discreet area first.
They create a bright tile and brick backsplash appearance with a smooth matte surface, marble-inspired variation, and raised-looking geometric outlines. Up close, the plastic construction remains visible, so the look is decorative rather than a substitute for ceramic tile.
They are a lower-commitment alternative to permanent tile work, but removal depends on the wall surface, paint condition, adhesive contact, and installation time. Follow your lease requirements and test a discreet area before covering a large section.
They are suited to decorative kitchen backsplash updates when applied to a clean, dry, suitable surface. Keep expectations practical around direct water, heat, steam, and heavy cleaning, and avoid treating them as a waterproof structural surface.
Yes, the repeating design can be planned across adjoining rectangular panels. Dry-position the pieces first and establish a straight starting line before removing the backing.
Clean away dust and grease, make sure the surface is dry, and resolve any moisture or crumbling-wall problems first. Measure the area, plan the pattern, and test a discreet spot before full application.


 Peel-and-Stick Backsplash Tiles for Easy Wall Updates