8x6 Outdoor Metal Storage Shed, Waterproof & Lockable
Your mower, bikes and garden tools stay dry and out of the sun in one tidy place. The sloped gable roof sends rain away, UV-protected grey steel keeps the finish strong, and a lockable door keeps everything where you left it.
Read the full descriptionDescription
Your mower, bikes and garden tools stay dry and out of the sun in one tidy place. The sloped gable roof sends rain away, UV-protected grey steel keeps the finish strong, and a lockable door keeps everything where you left it.
Waterproof, UV-protected metal shed that keeps your outdoor storage dry and secure
- rain damage to stored items
- water pooling on the roof
- sun exposure and fading
- cluttered garden and lack of storage space
Keep your garden kit dry and out of sight all year
Tools rust in the rain, bikes sit damp, and the garage overflows. This sloped-roof metal shed gives everything a clean, lockable home that stays dry through the seasons.
A roof that sends rain away from your gear
- A roof that sheds the rain
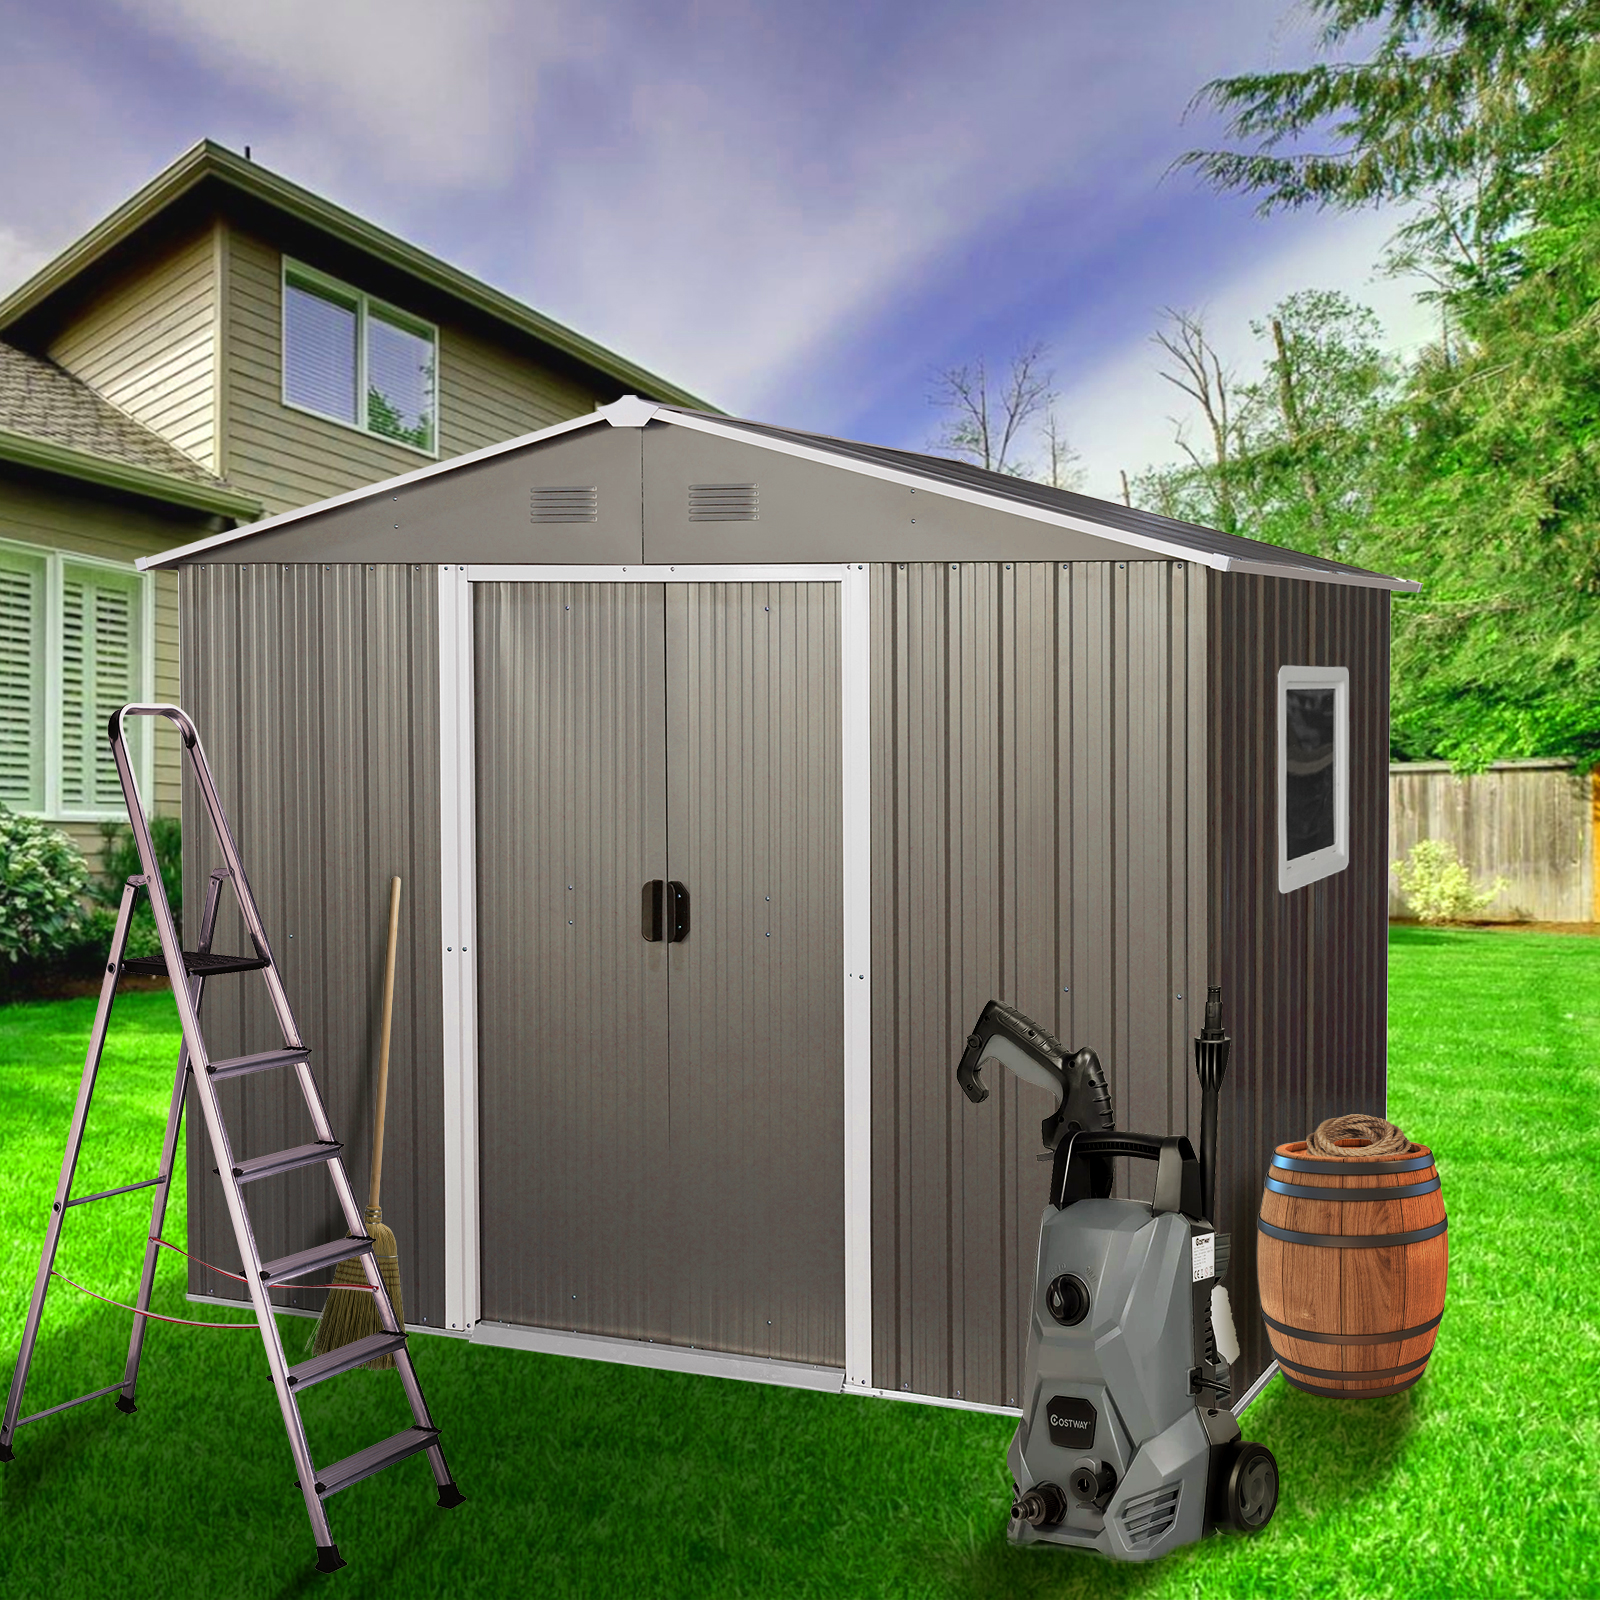
The sloped gable roof pitches rainwater off the top instead of letting it collect. Corrugated grey steel walls carry the water down and away, so the stored gear sits on a floor that stays dry after a storm. The UV-protected finish holds its colour through long summers.
- Locked away, lit by a window
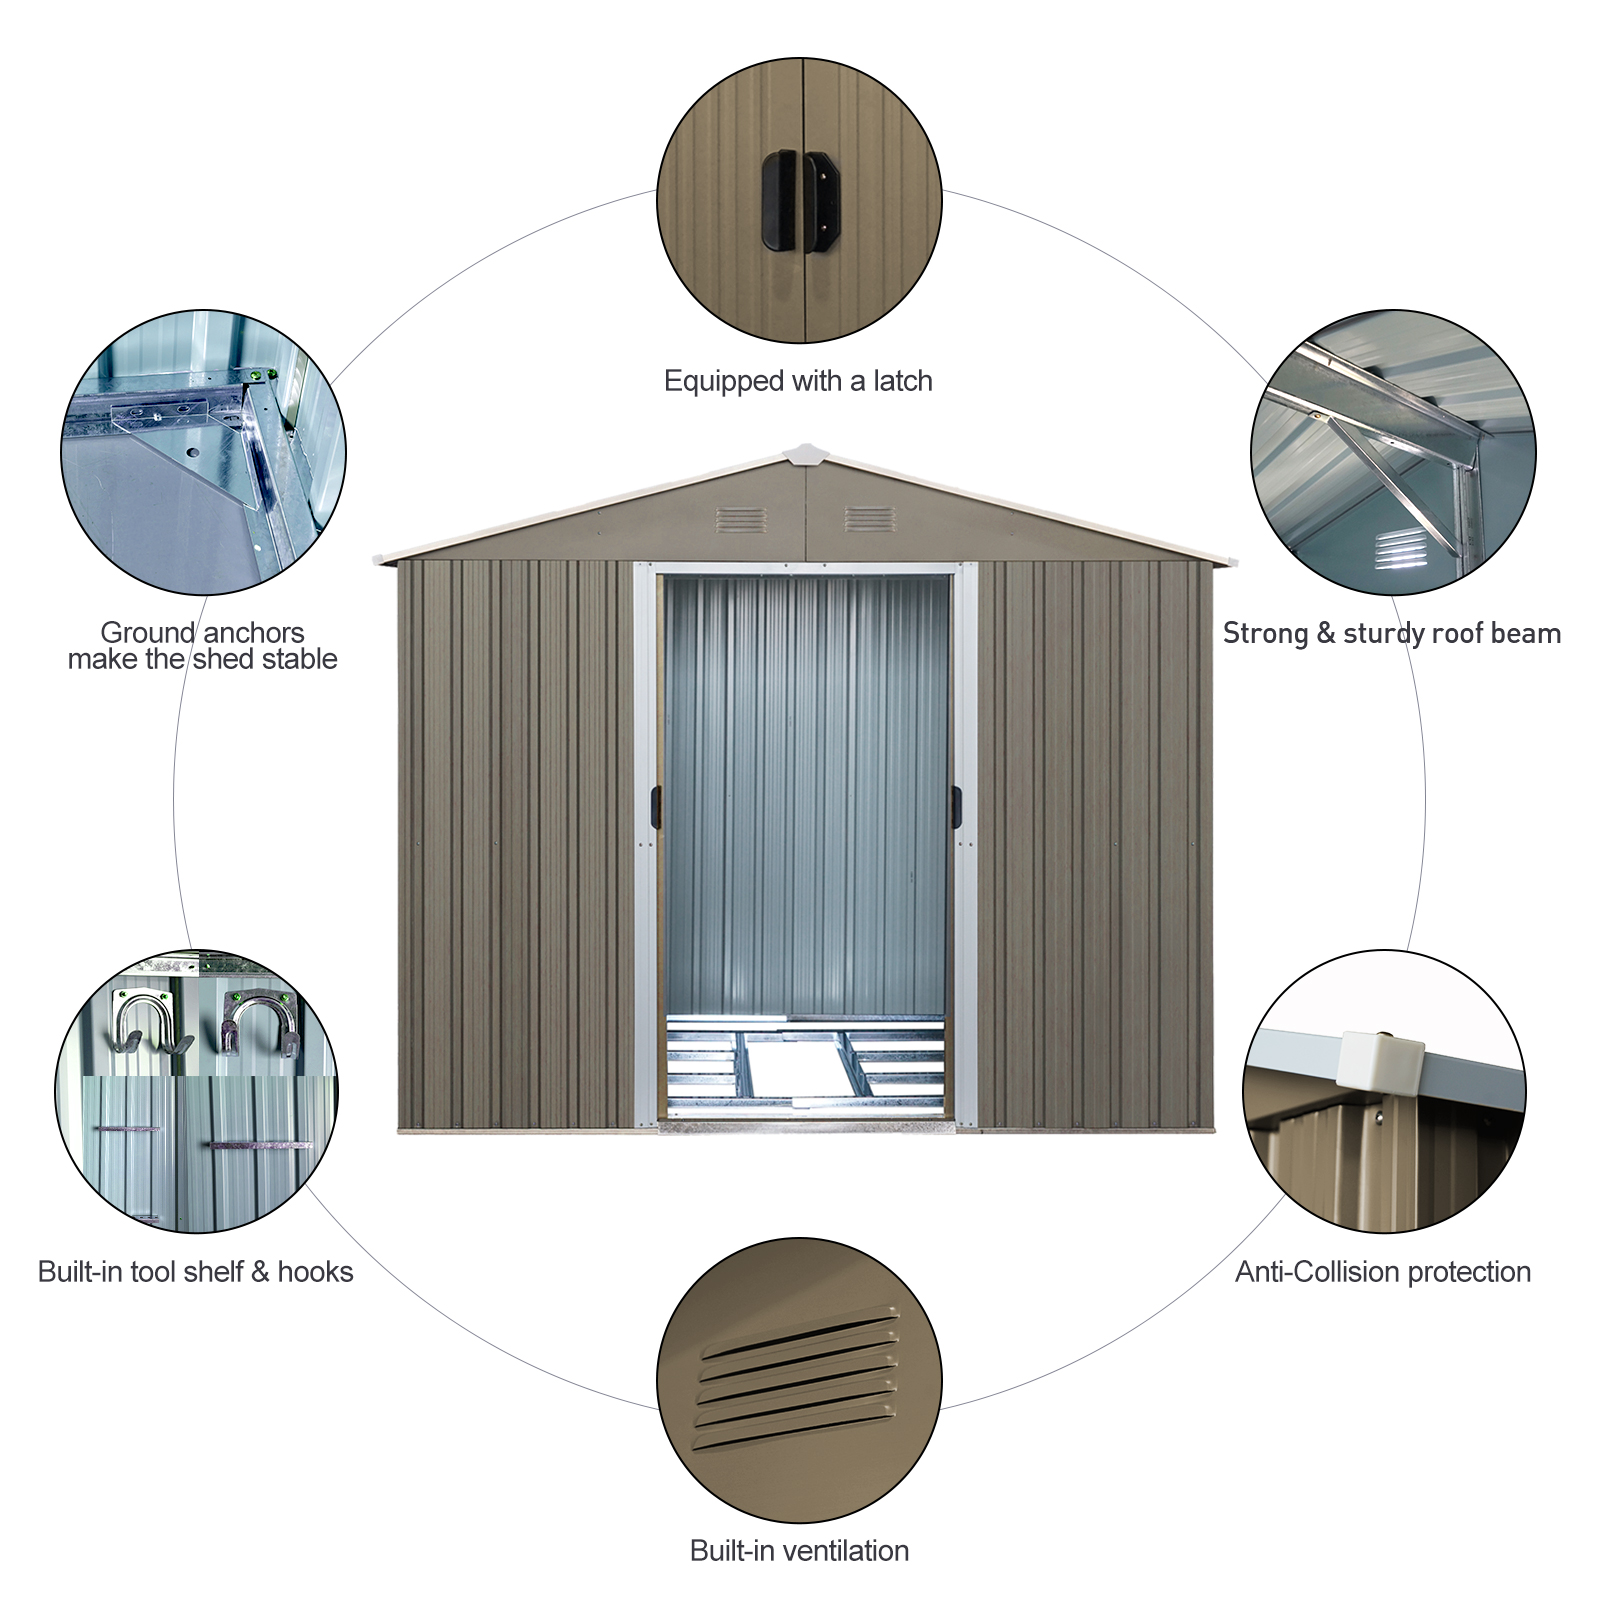
The door has a lockable handle, so tools and bikes stay out of reach when you step away. The side window lets daylight into the shed, which means you can find the right spade without fumbling for a torch.
- Tools in order
A pegboard wall and open floor space let you hang rakes, spades and hoses off the ground. Heavier gear like the mower sits on the floor, and lighter items go on the wall, so nothing gets buried behind the rest.
Get the shed up in five steps
- 1Check the parts
Lay out the panels, roof sections, trim and fixings on a flat, clear patch of lawn. Count the parts against the list before you start.
- 2Find the base
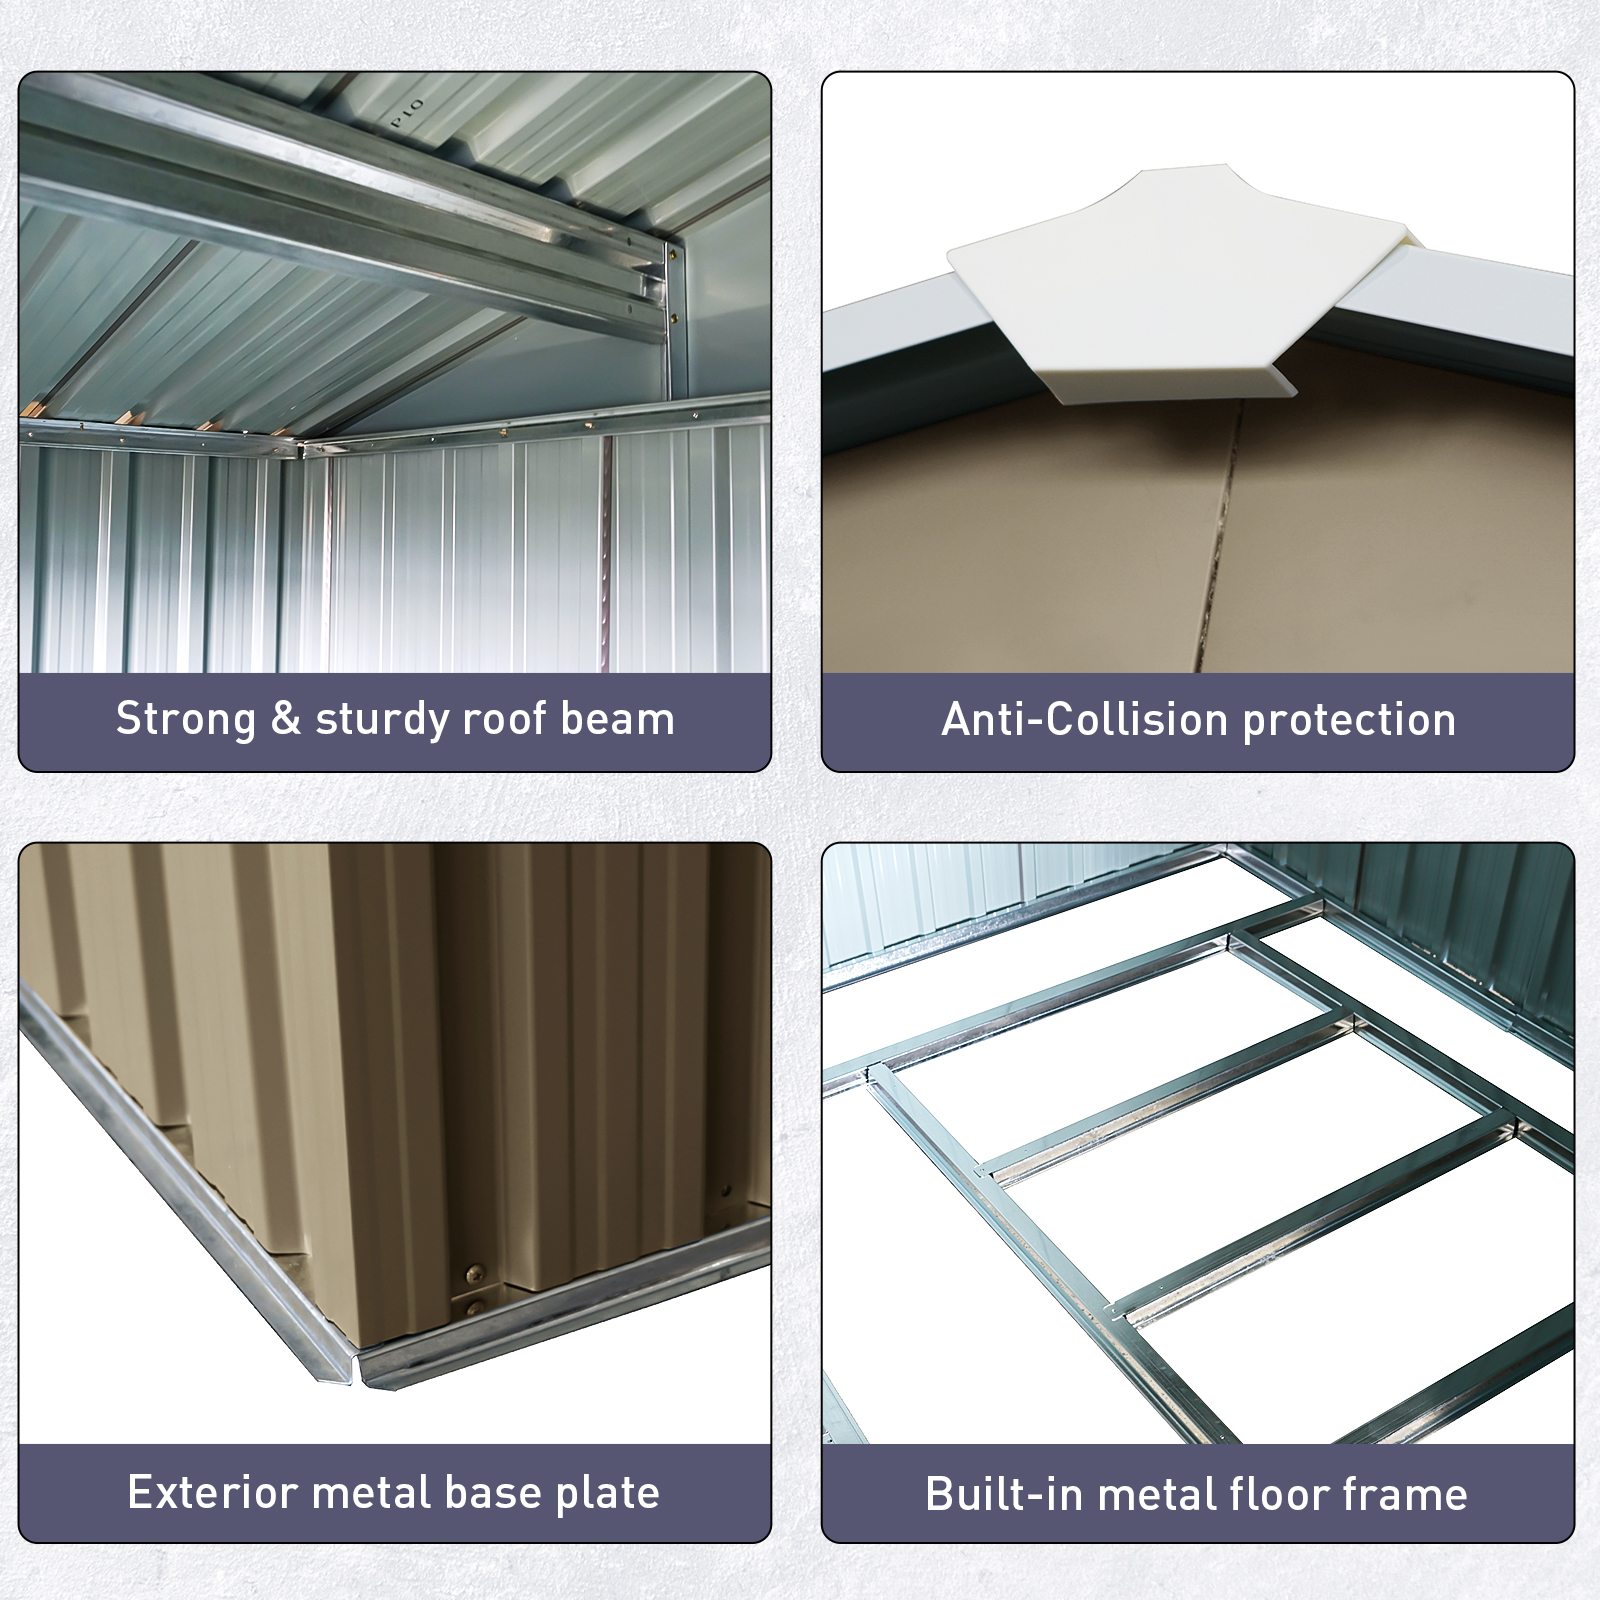
The white base frame sets the footprint. Level the ground first so the doors slide smoothly and the roof lines up.
- 3Raise the walls
Corrugated grey steel panels go up with their trim. Work with a helper for the larger sheets and keep hands clear of the edges.
- 4Fit the roof
The sloped gable roof sits on top. Check each joint is snug so rain runs off the panels rather than gathering at a seam.
- 5Hang the doors
Fit the double sliding doors and test the lockable handle. A smooth glide and a firm latch mean the shed is ready to use.
Everything in the box, nothing to guess
- Corrugated grey steel shed body×1
Walls with white aluminium trim
- Sloped gable roof
Pitched to shed rainwater
- Double sliding doors
Wide opening for bikes and mowers
- Lockable door handle
Keeps the doors closed when you are away
- Side window
Daylight inside the shed
- Roof ventilation louvres
Vents along the roof
- White base frame
Sets the footprint and levels the walls
Soaked tools, a full garage, nowhere to put them
The soaked spade
A spade left by the fence rusts in a week of rain. The bike seat stays damp, the hose kinks, and the mower gets shoved behind the recycling bins. Every storm means another round of checking what got wet this time.
Where it all goes
A sloped gable roof and corrugated steel walls give the clutter a permanent address. The roof sends water off the top instead of letting it sit, and the lockable door keeps the gear in one place you can reach without thinking.
Dry, tidy, ready
Spades and rakes hang on the pegboard, the bikes roll in dry, and the lawn gear sits where you left it. The garden looks cared for, and the next job takes seconds to start.
What to expect over the first seasons
- First useShed set up and level
Once assembled on level ground, the doors slide and lock. Check every bolt and seam, then move the first load of tools inside and close the door.
- First stormRain running off the roof
After the first rain, check the floor and gear. The sloped roof should shed water rather than pool it, so stored items should stay dry.
- 30 daysGarden kit finally organised
With tools on the pegboard and bikes parked inside, the garden looks tidier. Keep an eye on the door seals and fixings during the first month.
- 90 daysSeasonal check complete
After a full season, look over the finish and fixings. Wipe down the panels and tighten any loose bolts to keep the shed in good shape.
Simple upkeep for years of use
- Check after the first rain
Look at the floor and the seams to confirm water is running off the roof.
- Tighten bolts early
Check every bolt and trim fixing after the first few weeks of use.
- Wipe the panels
A damp cloth once a season keeps the grey finish clean and the trim bright.
- Dry tools before storing
Let damp tools dry in the sun first so trapped moisture does not cause rust.
Why this, not a tarp
| This shed | Tarp and plastic bin | |
|---|---|---|
| Sloped roof that sheds rain | — | |
| Lockable door | — | |
| UV-protected finish | Partial | |
| Pegboard wall for tools | — | |
| Room for a mower and bikes | Partial |
Characteristics
Reviews
Questions and answers
Yes, for most backyards. The footprint holds a mower, two bikes and a full set of hand tools with room to walk between them. The pegboard wall keeps spades and rakes off the floor so the space stays usable.
The sloped gable roof is built to run water off instead of letting it collect on top. Check each roof joint is snug during assembly, since a tight seam is what keeps water on the outside.
The door handle locks, so the doors stay closed and tools stay out of reach when you are away. It keeps the shed secure against casual access. For higher security, fit a padlock through the handle.
The metal has a UV-protected finish, so the grey stays consistent through long summers. A wipe down once a season keeps the panels looking fresh.
The price reflects the steel panels, white aluminium trim and sturdy frame. A set of tools or a bike that rusts or soaks through every few seasons adds up quickly, while one shed protects everything inside it for years.
Plan for a level patch of ground and a helper for the larger panels. The step-by-step setup is straightforward, and you check the bolts again after the first few weeks.