
$47.90
Free delivery · 7–14 days
Oil-Proof Kitchen Stove Backsplash Sticker, Wipe Clean

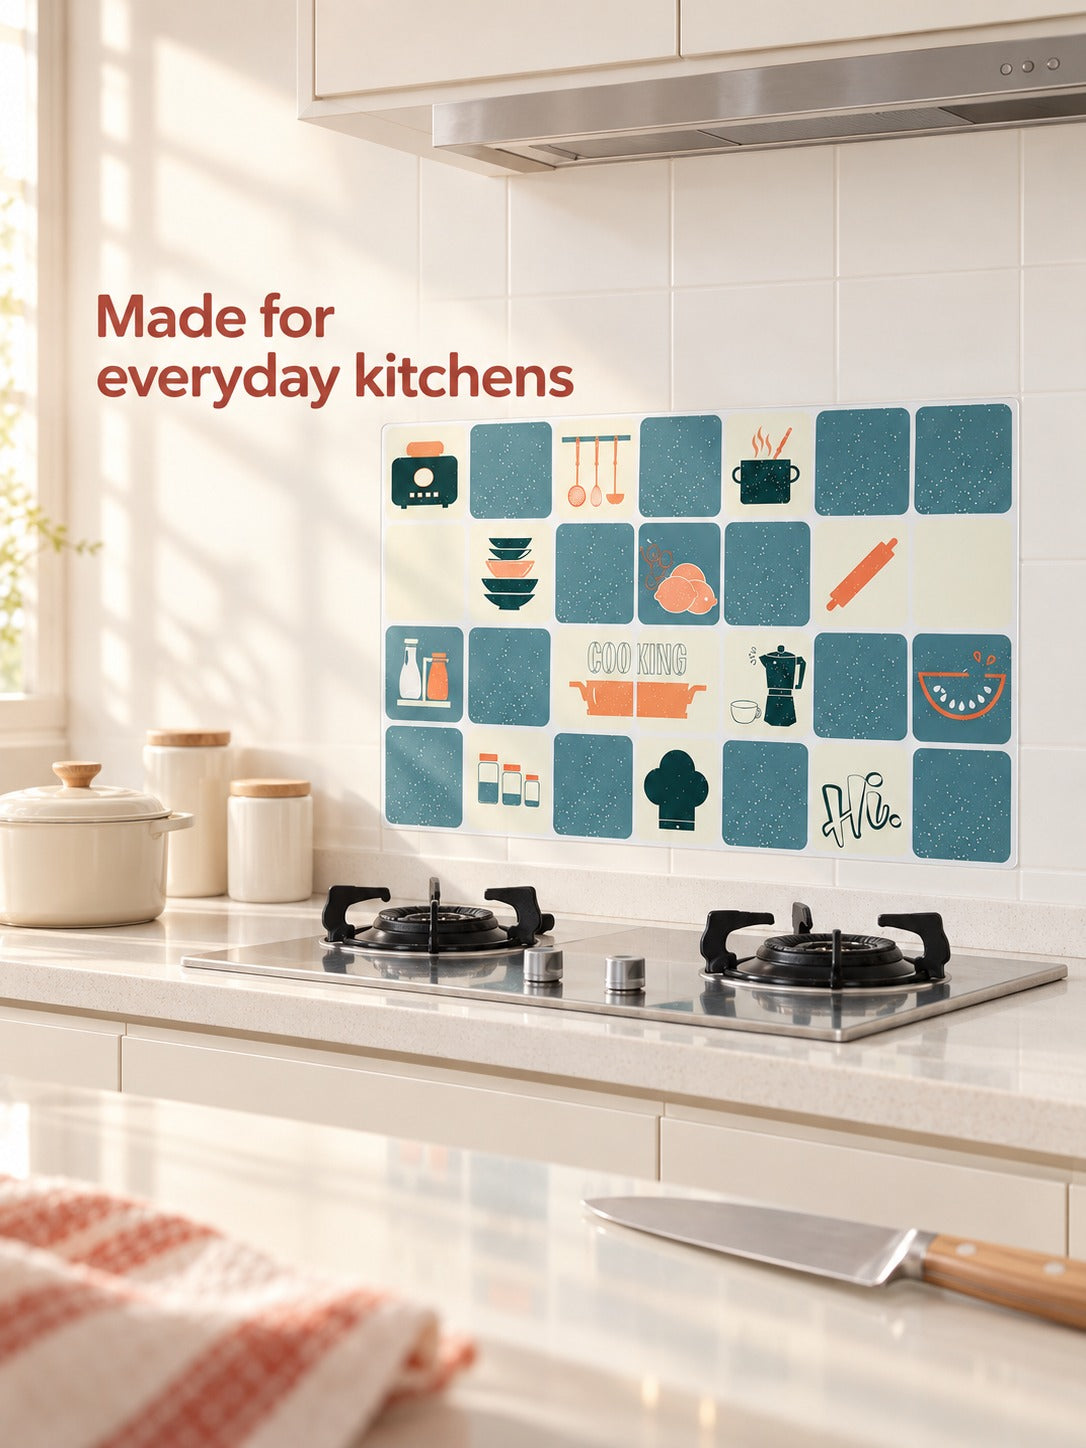


Peel, press, and the sheet sits behind your stove as a tile-look guard. Grease and sauce wipe off the glossy surface with a tissue, so the wall stays bright after every dinner. Made for home cooks and renters who want a backsplash without tools, tiles, or permanent changes.
Read the full descriptionPeel, press, and the sheet sits behind your stove as a tile-look guard. Grease and sauce wipe off the glossy surface with a tissue, so the wall stays bright after every dinner. Made for home cooks and renters who want a backsplash without tools, tiles, or permanent changes.
Peel-and-stick oil-proof, heat-resistant kitchen wall protector that wipes clean
Tired of scrubbing baked-on grease off the wall behind your stove? Peel, stick, and wipe clean in seconds, with a kitchen look that's worth showing off.

The glossy face is oil-proof, so sauce and grease sit on top of the vinyl instead of soaking into the wall. Drag a tissue across it and the mess lifts in one pass, while the paint and grout underneath stay exactly as they were.

Built for the spot right behind the burners, the sheet is heat-resistant and waterproof. Steam and spatter land on vinyl instead of bare paint, and the packaging lists high temperature resistance for kitchen use.

The self-adhesive backing means no grout, no tile cutter and no contractor. Peel, press from the center outward, and the printed tile motifs line up with the cooking zone in a few minutes.
Wipe the tile or paint behind the stove and let it dry fully. Grease and dust block the adhesive, so this step matters most.
Lift one corner of the protective liner and peel it back gradually, so only the area you are placing is exposed.
Line up the sheet against the wall and press the middle down before anything else. The motifs will sit where you planned.
Work a dry cloth from the middle toward the edges to push out air bubbles. Bubbles trapped in the sheet are what let steam lift the edges.
Once the stove has cooled, wipe the surface with a tissue or soft cloth. Most days that is the whole cleanup.
Grease and sauce lift off the glossy face with a soft tissue or cloth.
Warm water and a drop of dish soap clear whatever a dry wipe leaves behind.
Scouring can scratch the finish and dull the printed design over time.
Dust and grease block adhesion, so wipe and dry the wall first.
The vinyl is heat-resistant and waterproof, which is why it is made for this spot. The adhesive grips best on a clean, dry wall, so wipe and dry the surface before you peel the backing and press from the center out.
The packaging lists high temperature resistance for kitchen use. Keep the sheet to the wall behind the stove, leave the burner area itself bare, and check the clearance your range manual asks for.
Yes. Oil and sauce sit on the glossy surface, so a tissue or soft cloth lifts them in seconds. Skip abrasive pads, since scouring can dull the print over time.
It peels off clean. Pull slowly from a top corner and you skip the scraping, the patch work and the repainting that a tile or grout job would leave behind.
A tile backsplash means paid labor, grout, and a wall you cannot undo. One sheet goes on in minutes and wipes clean every night, and the premium glossy vinyl is a sturdier finish than a thin decal. The money goes to dinner, not the cleanup.


 Oil Proof Stove Wall Sticker, Heat-Resistant & Wipeable