
$64.90
Free delivery · 7–14 days
2-in-1 Foundation and Concealer for Even-Looking Skin
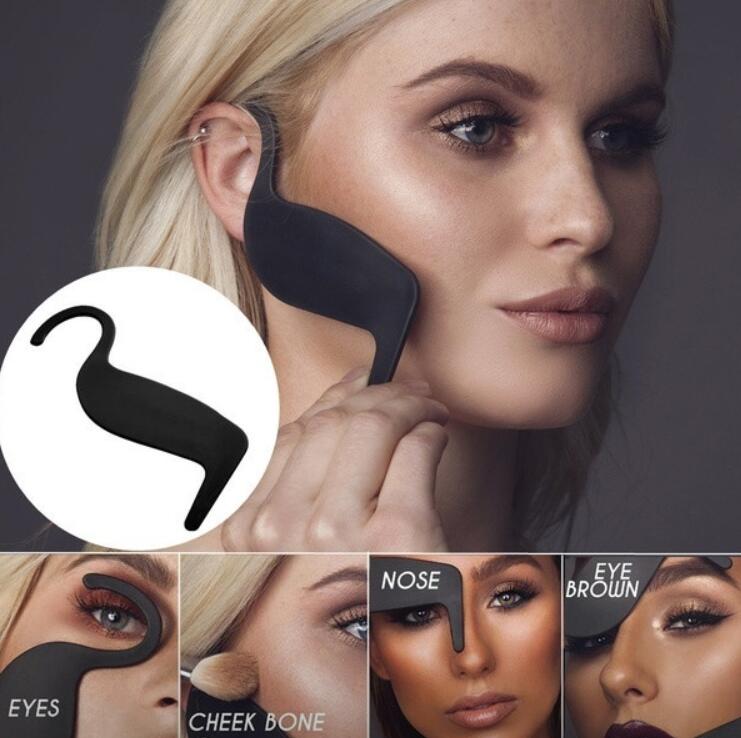
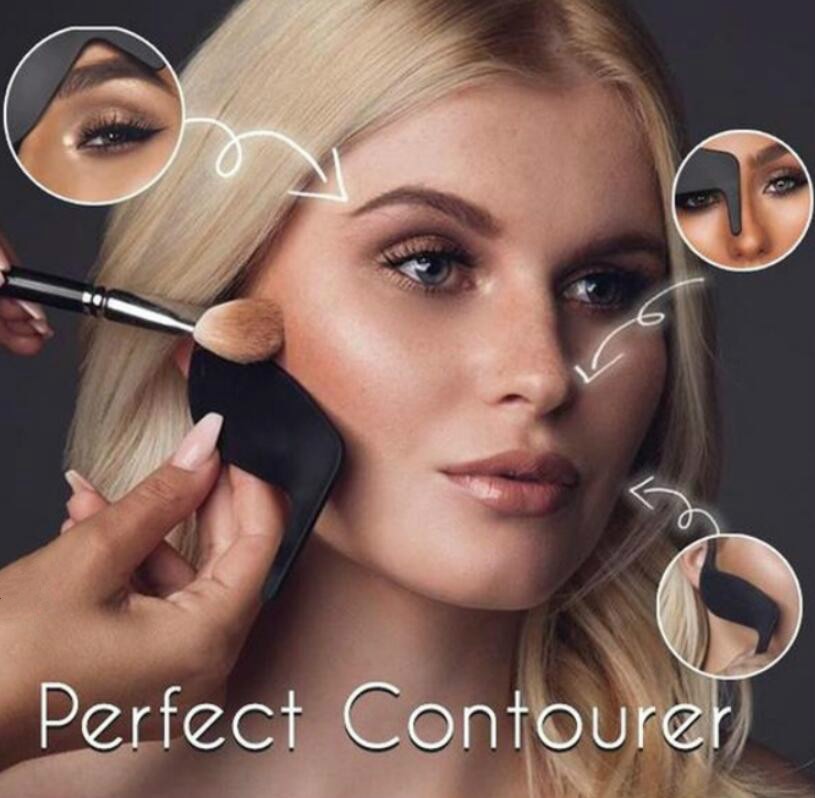
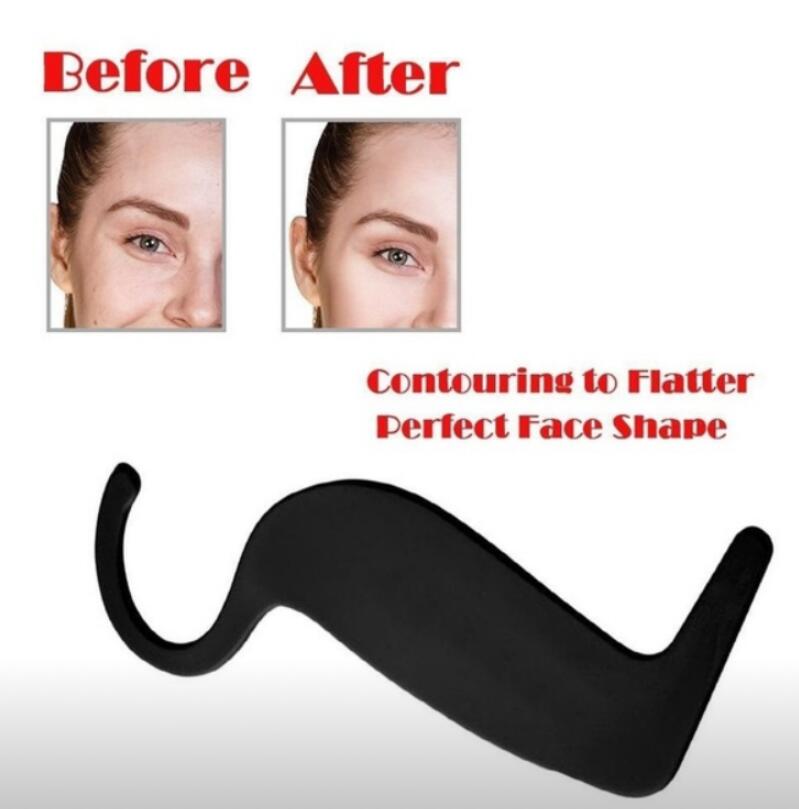

Create a more defined-looking makeup finish with a physical guide for cheek, nose, eye, and brow placement.
Read the full descriptionCreate a more defined-looking makeup finish with a physical guide for cheek, nose, eye, and brow placement.
Helps create a flatter, more defined face shape with guided contour placement.
Stop guessing where cheek, nose, eye, and brow makeup belongs. Use a compact face guide to create cleaner-looking placement with more confidence.
The sculpted cheek guide gives beginners a visible reference for placing contour near the cheekbone instead of relying on guesswork. Pair it with your usual makeup brushes and blend until the finish suits you.
A dedicated nose guide gives you a deliberate starting point for more even-looking lines. Apply a small amount of bronzer or contour, then soften the edges with your normal blending routine.
Eye and eyebrow guides extend the tool beyond bronzer. They give smaller makeup details a consistent physical reference, useful alongside eyebrow tools and your everyday eyeliner.
The compact, flat handheld format is easy to hold near the face while you learn placement. It gives you one reusable-looking reference instead of asking you to carry several separate guides.
Hold the cheek guide lightly against the face and use it to find your preferred contour starting point. Apply a small amount, then blend.
Move to the central nose guide and place a narrow amount of contour or bronzer. Check both sides before softening the lines.
Use the smaller eye and brow sections as references for eyeliner, eyebrow makeup, or detail work. Adjust the position to suit your features.
Set the guide aside, blend with your usual brush or sponge, and compare both sides. Build gradually rather than starting with a heavy line.

Contour is easy to understand in a tutorial and much harder to place on your own face. One cheek can sit higher, one side can look heavier, and a rushed nose or eyeliner attempt often means wiping everything away and starting again.

This makeup contour guide puts dedicated cheek, nose, eye, and brow shapes in front of the features you are working on. Instead of translating a screenshot into a guess, you have a clear starting reference while you apply and blend.

The practical win is a calmer, more repeatable routine. Use the guide as a starting point, adjust it to your features, and build a polished-looking finish without treating every makeup application like a new experiment.
Use a soft, slightly damp cloth to remove visible makeup.
Pay attention to the sculpted guide edges where contour or concealer can collect.
Let the surface dry fully, then place the flat guide in your makeup pouch or organizer.
| Contour guide | Freehand brush | Tutorial only | |
|---|---|---|---|
| Physical placement reference | Yes | No | No |
| Cheek, nose, eye, and brow guides | Yes | No | Partial |
| Works with your existing makeup | Yes | Yes | Yes |
| Shows where application begins | Yes | No | Partial |
| Useful for building a repeatable routine | Yes | Partial | Partial |
The sculpted shapes give you starting references, not rigid rules. Facial proportions vary, so hold the guide lightly, adjust the position to your features, and use only the amount of makeup that suits your look.
Yes. Use the guide to map placement with your preferred cream or powder contour, bronzer, and concealer, then blend with your normal makeup sponge or brush.
Yes. It gives beginners a visible place to start, which makes practice less abstract than copying a tutorial alone. Begin with a small amount and adjust as you learn what suits your face.
The tool includes dedicated cheekbone, nose, eye, and eyebrow guide areas. It gives each feature a physical reference, while your own products and blending technique create the final look.
Wipe the surface with a soft, slightly damp cloth after use, paying attention to the curved edges. Let it dry before storing it with your makeup.
The flat handheld format is compact and straightforward to position near the face. Hold it lightly rather than pressing it into wet foundation or freshly applied makeup.


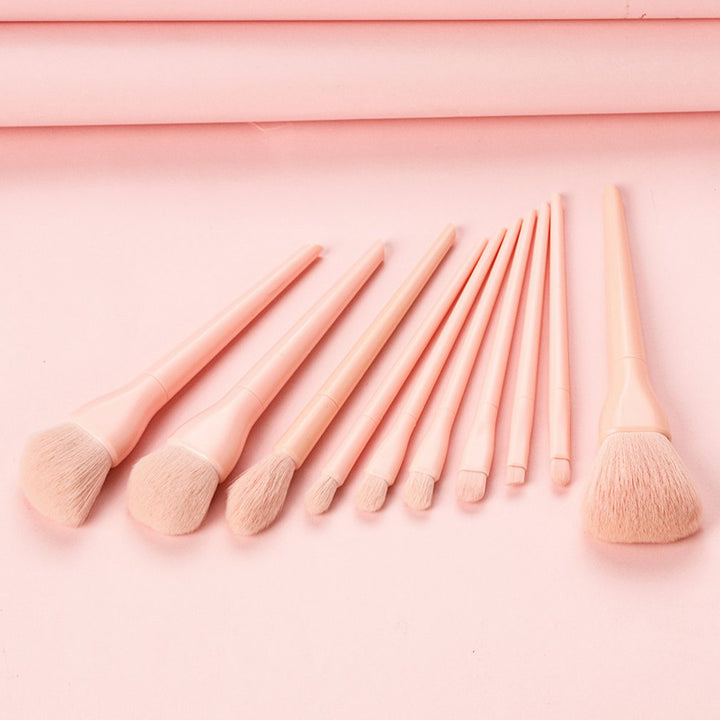
 Makeup Contour Guide Tool for Even Face Definition