
$34.90
Free delivery · 7–14 days
Clear Stackable Freezer Box for Dumplings and Vegetables


A fridge door with sorted cups reads at a glance. Snacks, condiments and aromatics each get their own white cup, hooked onto the shelf edge. Produce rinses and drains through the base holes, so the door stays dry and easy to find.
Read the full descriptionA fridge door with sorted cups reads at a glance. Snacks, condiments and aromatics each get their own white cup, hooked onto the shelf edge. Produce rinses and drains through the base holes, so the door stays dry and easy to find.
Tidy fridge door: sort fruit, condiments, snacks and aromatics into clip-on cups
Loose jars and wet produce are the daily clutter. Clip-on cups give snacks, condiments and aromatics their own place, and rinse water drains away.
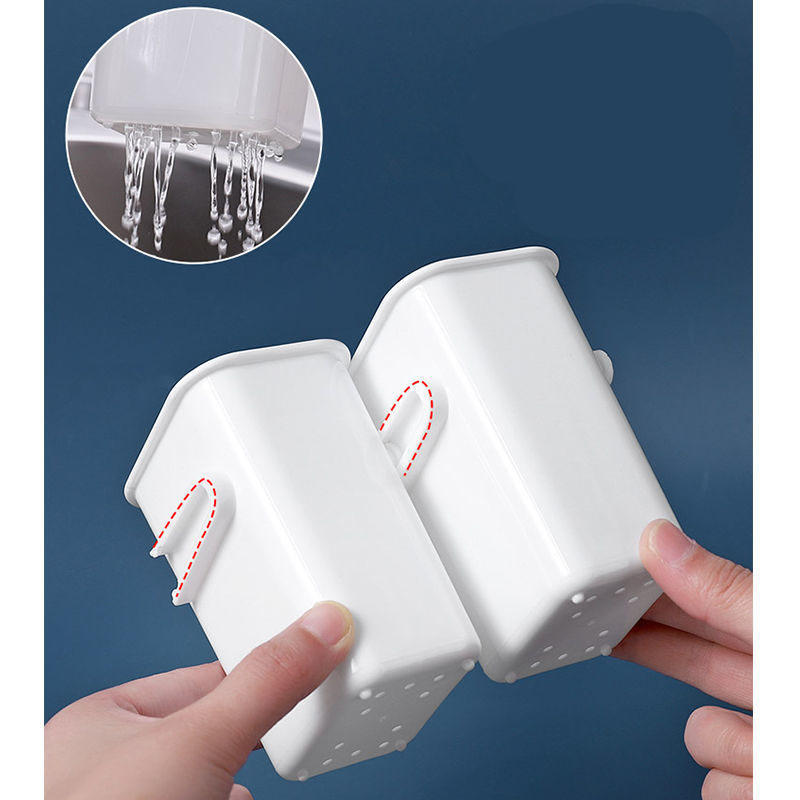
Side hook tabs hang each cup from the existing door shelf edge, so it stays put when the door opens and closes. Sit the tab on a defined edge and the cup holds its position through every grocery run.
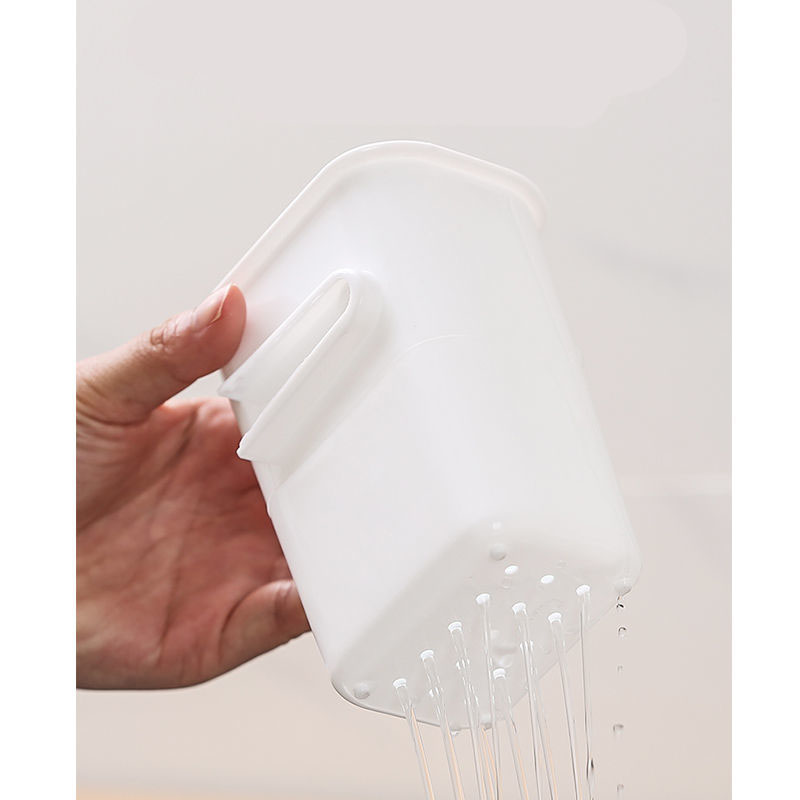
Evenly spaced holes in the base let water run out after you rinse produce. Nothing pools on the shelf, and the door stays dry where bottles sit.
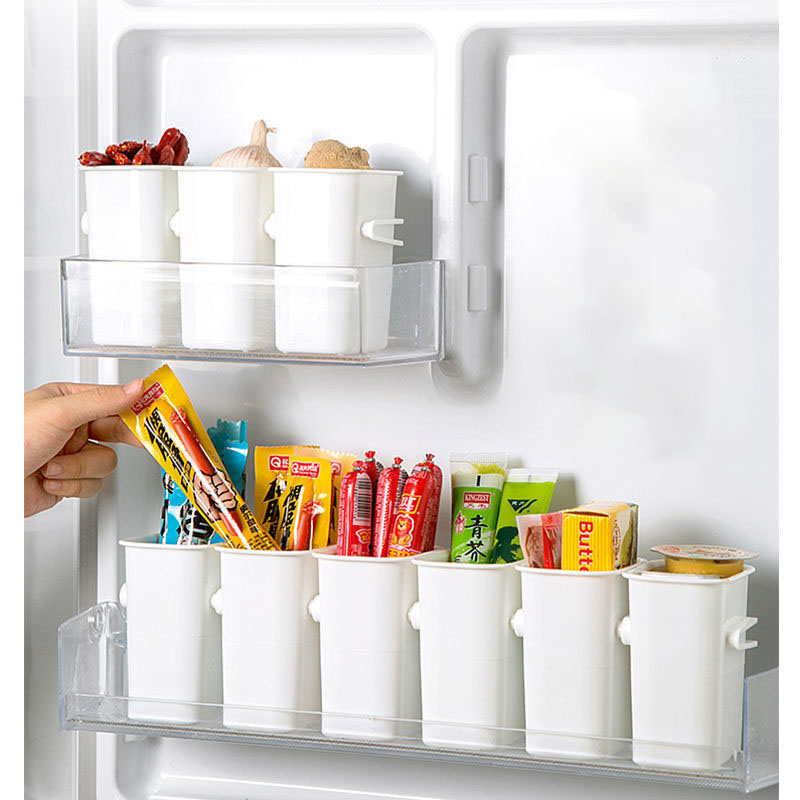
Open rectangular cups show snacks, sausages and aromatics without lifting a lid. Open the fridge and the whole door reads in one look.
Take everything off the door shelves and wipe them down. A clear surface makes the hooks easier to seat.
Set each cup where you want it and slide the side tab over the shelf edge. Press gently until it sits firm.
Give snacks, condiments, aromatics and produce each a cup. Ginger and garlic go together at the front so they are never hidden behind bottles.
Wash fruit or greens in the cup, let the base holes drain it, then dry before storing.
Run warm water through the cup and the base holes after handling produce.
A damp cloth and mild dish soap lift sauce residue from the rounded corners.
Stand the cups upside down to air dry so water does not sit in the base.
Return items to their assigned cups after each grocery run to keep the door sorted.
The cups hang from the shelf edge with side tabs. They work best on a defined, reasonably thick edge. Test one cup first, then fill the rest of the door once it sits firmly.
Yes. Rinse fruit or greens in the cup, and the perforated base lets water run out. Give it a few minutes to drain, then dry the produce before it goes back on the shelf.
The cups are smooth white plastic with rounded edges and no crevices, so they wipe clean in seconds. Wash them with warm water and mild dish soap, then let them air dry.
Most doors take a handful of cups. Start with one for condiments, one for snacks, one for aromatics and one for produce, then add more if a shelf still rolls.
They nest. Stack them by size and store them in a cupboard, or leave them on the door since the tall profile sits neatly beside other containers. Compare these with loose bins you already own and you will see why the hooks and holes matter more than the price tag. A few cups that hold their place save more food than a stack of bins that slide around. For more storage ideas, see airtight food storage.


 Fridge Door Storage Bins for Organized Kitchen Shelves