
$38.90
Free delivery · 7–14 days
Honeycomb LED Wall Light: Modular Touch Hexagon Panels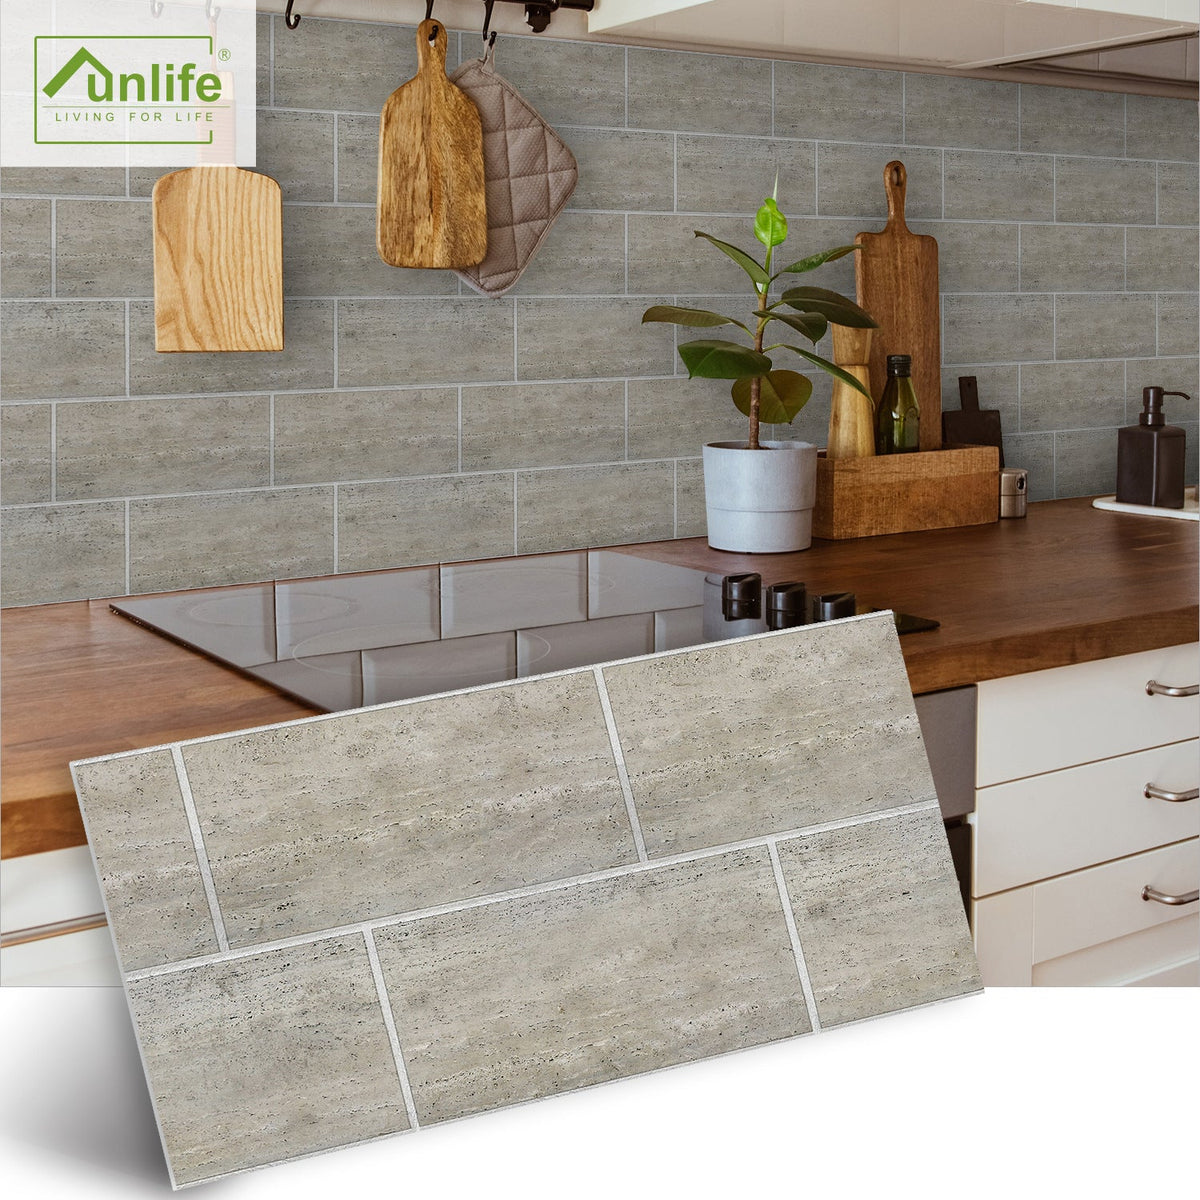
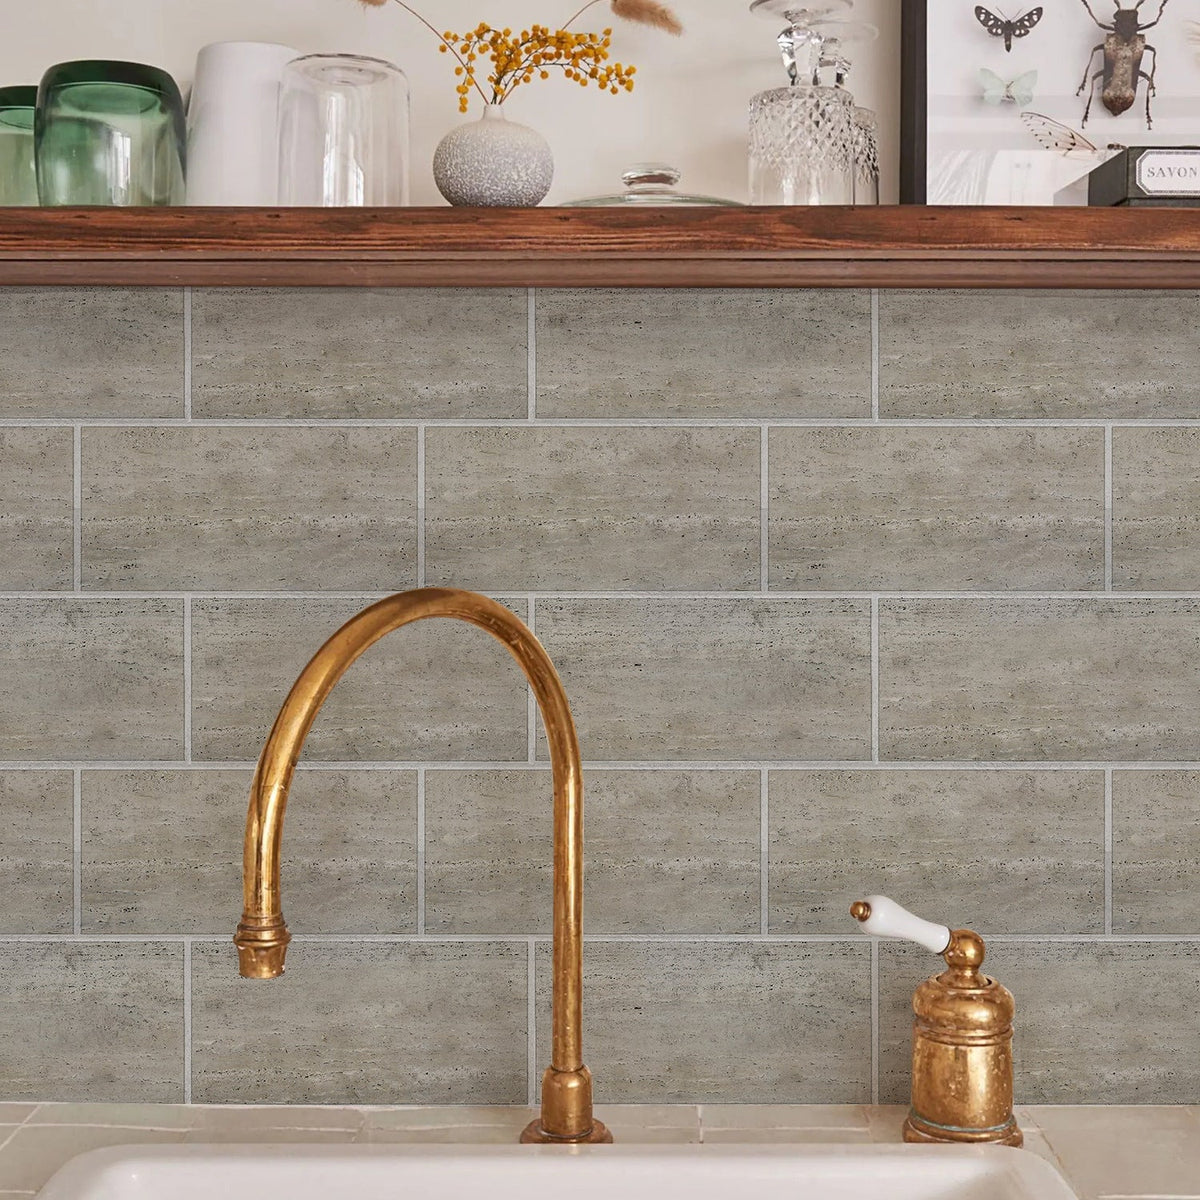

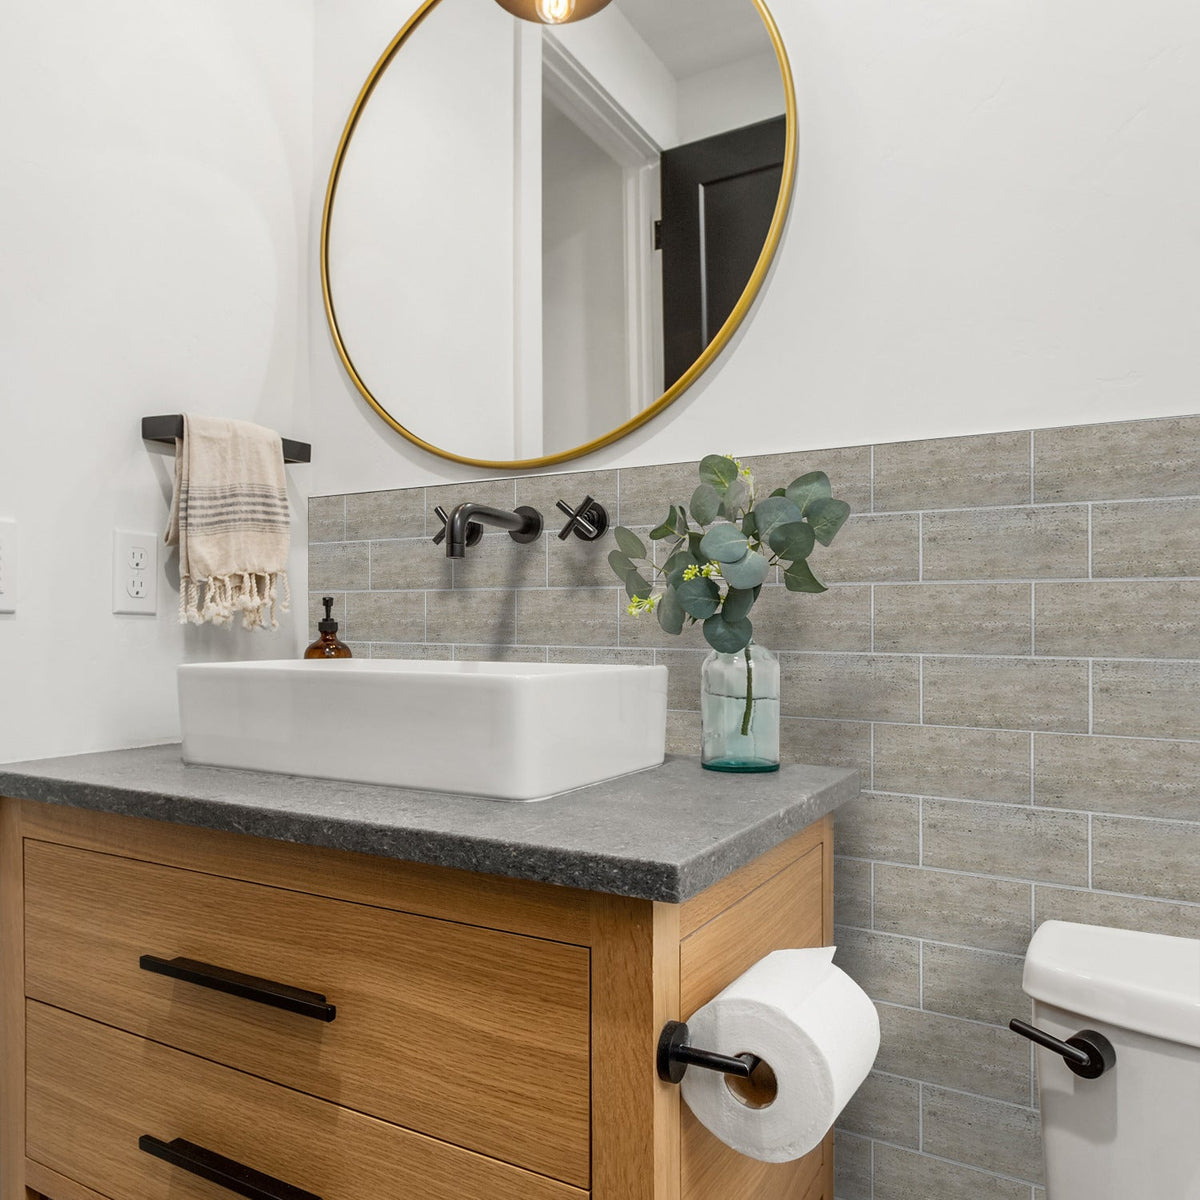
Turn a tired kitchen or bathroom wall into a textured faux-brick backdrop you can feel proud of. These self-adhesive panels bring a finished backsplash look without tile work, grout, or a contractor.
Read the full descriptionTurn a tired kitchen or bathroom wall into a textured faux-brick backdrop you can feel proud of. These self-adhesive panels bring a finished backsplash look without tile work, grout, or a contractor.
Create a realistic brick backsplash or accent wall with an easy peel-and-stick installation.
Your kitchen wall has looked tired for months, but tile work means dust, grout, and a contractor you don't have time for. Peel, press, and it's done before the kettle boils.
The thickened panel has a matte faux-stone finish, raised-looking grout lines, and stone-like color variation. It gives a plain wall visible depth instead of another flat printed pattern.
The wipeable matte surface suits kitchen backsplashes and bathroom walls that face daily splashes, cooking residue, and steam. Your wall gets texture without becoming precious.
The self-adhesive backing keeps the process simple. Clean the surface, align the first panel, peel away the backing, and press the panel into place.
Remove dust, grease, and moisture from the surface. Let it dry fully before applying adhesive.
Dry-fit the first panel and mark a level line so the staggered brick pattern begins straight.
Remove the backing, place the panel from one edge, and press across the surface gradually.
Cut carefully around outlets, corners, and fixtures where a full panel does not fit.
Smooth the edges and adjoining panels so the brick layout reads as one continuous wall.

Every time you cook, you see the bare or greasy backsplash behind the stove. Repainting keeps the wall flat, while traditional tile turns a small update into dust, grout, and a full weekend of work.

These self-adhesive panels go directly onto a smooth, clean wall. The staggered brick layout creates a clear rhythm as each panel goes up, with no tile adhesive, grout, or curing time.

The thickened surface gives the wall visible depth, while weathered taupe, stone gray, and warm beige variation keeps the masonry look from feeling flat or overly uniform. Step back and the room feels pulled together.
Use a soft damp cloth on cooking splatter, dust, or bathroom residue.
Avoid abrasive pads and aggressive scrubbing that can mark the matte finish.
Moisture, dust, and grease underneath can weaken the adhesive bond.
Use the panels on the wall around a cooking area, not directly against an open flame or heating element.
| Peel-and-stick brick panel | Printed wallpaper | Traditional tile | |
|---|---|---|---|
| Dimensional faux-brick surface | Yes | No | Yes |
| Self-adhesive installation | Yes | Yes | No |
| Grout required | No | No | Yes |
| Special tools required | No | No | Often |
| Practical for a quick rental update | Yes | Yes | No |
| One-time wall update instead of contractor-led work | Yes | Yes | No |
The self-adhesive panels are made for a renter-friendly wall update and can be removed later. Apply them only to a smooth, sound surface, and remove them carefully rather than pulling quickly.
The panels suit kitchen backsplash and bathroom wall use, with a dirty-resistant surface for everyday splashes, grease, and steam. They should not sit directly against an open flame or intense heat, and the wall must be clean and dry before installation.
The thickened panel has a matte faux-stone brick surface with raised-looking grout lines and stone-like color variation. It reads as dimensional from across the room rather than like a flat printed image.
Wipe the area with a soft damp cloth. Avoid abrasive pads and aggressive scrubbing so the matte finish stays even.
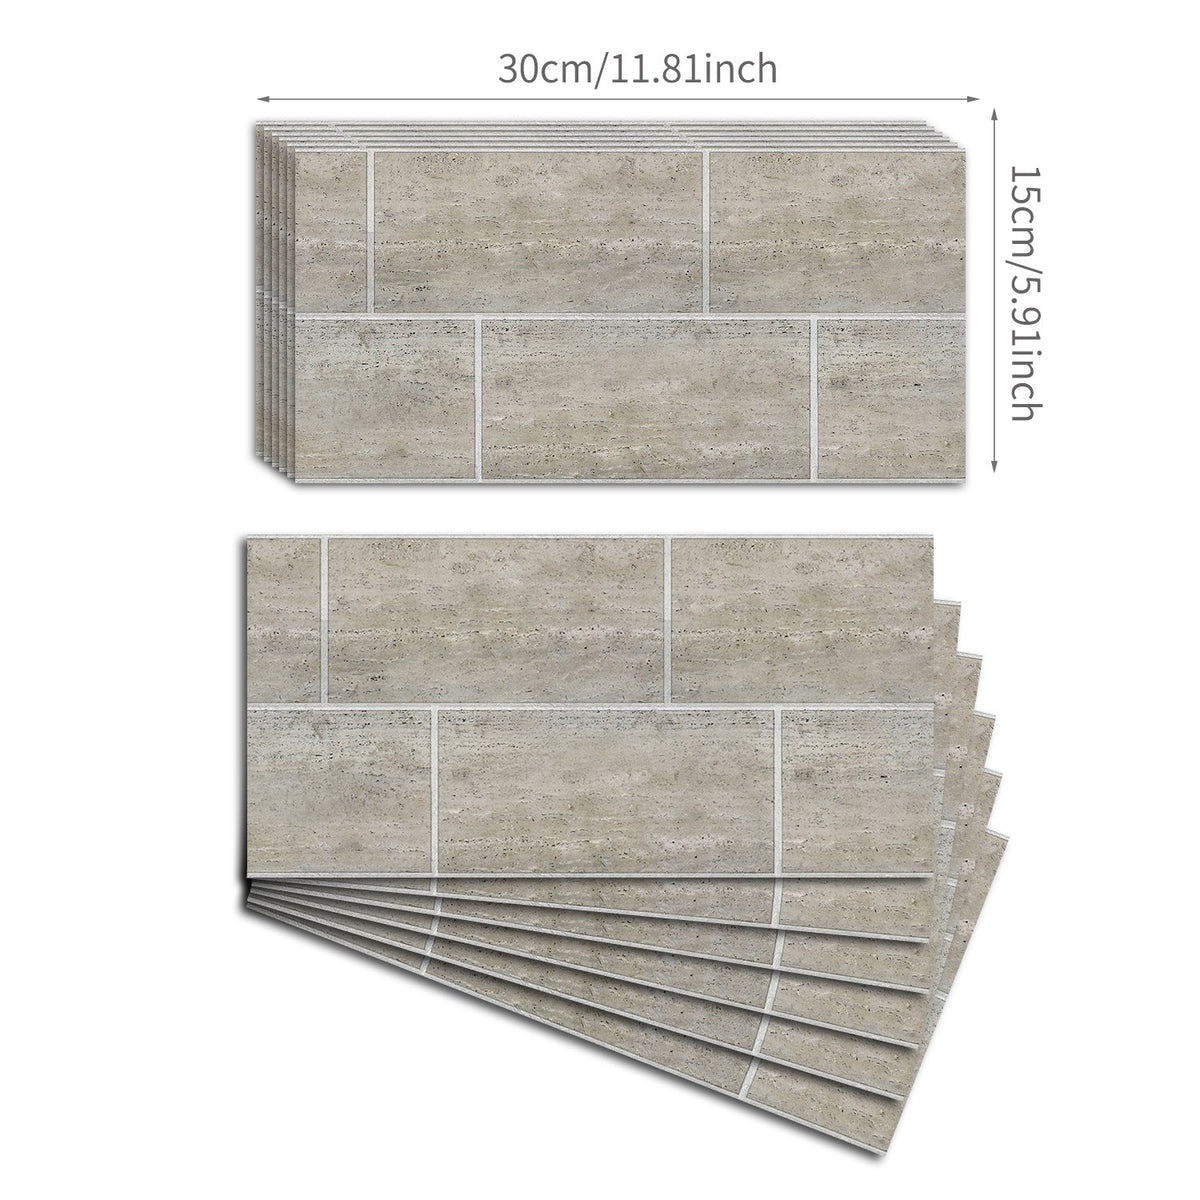
Each panel measures 30 × 15 cm. Packs are available with 4, 12, or 24 pieces, so choose the quantity around the area you want to cover and allow for edge trimming.
Yes. Mark the outlet, corner, or fixture on the panel before removing the backing, then trim carefully and press the fitted edge into place.


 Faux Brick Peel-and-Stick Wall Panels for Kitchen & Bath