
$109.90
Free delivery · 7–14 days
IPL Hair Removal Device for At-Home Hair ReductionLift the jawline and neck with one step after cleansing. The handle pairs blue, red and purple LED light, EMS tightening and heat up to 45°C in a compact white and silver body. Built for a steady nightly routine rather than a quick fix.
Read the full descriptionLift the jawline and neck with one step after cleansing. The handle pairs blue, red and purple LED light, EMS tightening and heat up to 45°C in a compact white and silver body. Built for a steady nightly routine rather than a quick fix.
Multi-function face and neck device combining LED light, EMS and heat to rejuvenate skin and lift and tighten the face and neck
Sagging jawline and dull, loose-feeling skin can make every mirror check feel heavier. This compact device pairs LED light, EMS and 45°C heat with a 160° curved head to add a firming step after cleansing.
Blue, red and purple LED light, EMS tightening and heat up to 45°C sit in one handle. A single button moves you between them, so the firming step takes the same few minutes every night.
The head curves 160° so it follows the jaw and the side of the neck. The recommended paths run from chin to cheek, from cheek toward the outer corner of the eye, from neck to chin, and from chin toward the maxilla.
A short press moves through the four gears and a long press changes the mode. Start low, let your skin get used to the sensation, then raise the gear one step at a time. Anyone who wants a gentler starting point can also browse electric face massager options first.
Begin after cleansing, with skin that is clean and dry to the touch. A thin layer of your usual product helps the head glide.
A short press changes the gear. Begin on the lowest setting and raise it slowly over several sessions.
Glide the curved head from the chin toward the cheek, then from the cheek toward the outer corner of the eye. Follow the diagrams in the guide for each path.
Work from the neck up to the chin, then from the chin toward the maxilla. A long press switches the mode, and the forehead, eye and neck diagrams cover the remaining zones.

The first sign usually shows up in a mirror check or an unflattering photo. The jawline looks softer than you feel, and the skin under the chin has lost the firm edge it had a few years ago. Cream keeps the surface comfortable, but it never gave that lifted line you are after.

This handle brings LED light, EMS tightening and heat up to 45°C into one routine. You run the 160° curved head along the lifting lines after cleansing, and the session takes about ten minutes. If you have looked at a lifting face device before, the idea will feel familiar, but this one pairs current with light and gentle heat in a single handle.
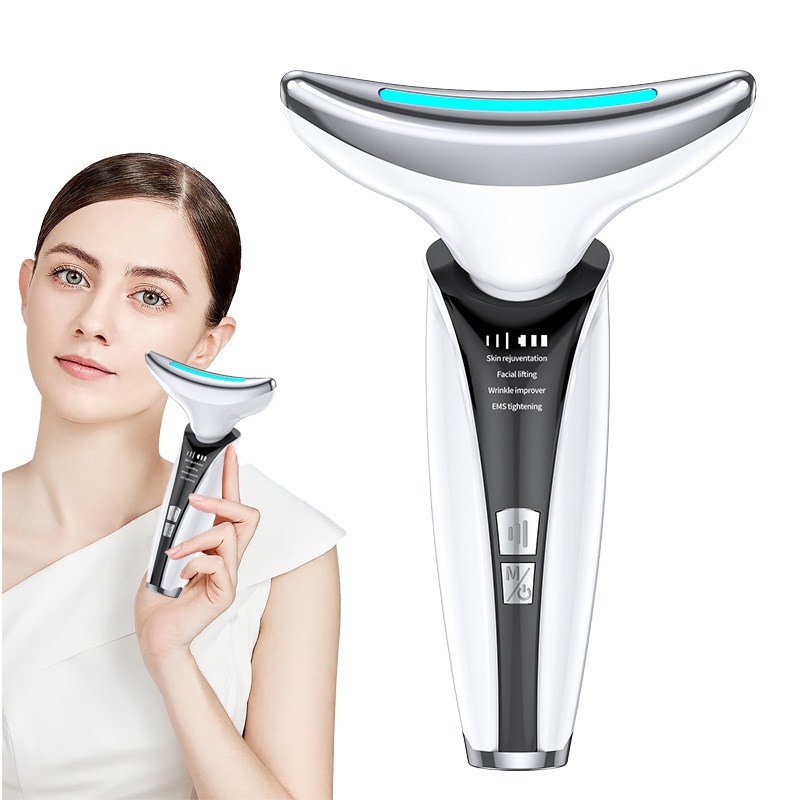
The routine is built to be kept. Charge the handle, choose a low gear, and move through the lifting lines for a few minutes each night. Stop when the skin feels tired, then pick it up again the next evening.
Start on a low gear, try each light mode and keep the first session short. Most people settle on a setting that feels comfortable.
Use the device after cleansing on the same schedule. Consistency matters more than intensity.
Many users describe skin as feeling smoother or firmer after regular use. Results vary, and the device is not a substitute for medical care.
Keep it if it is comfortable and you use it consistently. Talk to a dermatologist if skin concerns persist.
Daily use is the routine this device is built for, but start on the lowest gear and keep the first sessions short. Skip any session on broken, irritated or sunburned skin. If you have a pacemaker or other implanted electronic device, do not use it.
The curved head moves along the lifting lines, and the handle adds EMS tightening, LED light and heat on top of the massage. It is a home step that works alongside your routine, not a replacement for a clinic procedure. If you want to compare other tools, the facial lifting devices range is a good place to look.
Yes. Apply a thin layer of your usual product before the session, then finish with serum and moisturizer as you normally would.
A full charge takes about 3 hours through the USB charging port on the handle. The battery display shows the remaining charge, and the operating indicator light confirms the device is on.
Work from chin to cheek, from cheek toward the outer corner of the eye, from neck to chin, and from chin toward the maxilla. The guide also has separate diagrams for the forehead and eye areas.
Start on the lowest gear and test a small area first. Heat reaches 45°C, so stop if the skin feels hot or stings. Broken, irritated or sunburned skin is off limits until it has settled.


