Enclosed Tunnel Rat Trap for Garages and Under Sinks
Set one sealed tunnel on the runway and the scratching stops being a mystery. The housing keeps the bar and bait out of view, and the hinged top lets you check and reset from above. Built for garages, sinks and attics where rodents keep to the walls.
Read the full descriptionDescription
Set one sealed tunnel on the runway and the scratching stops being a mystery. The housing keeps the bar and bait out of view, and the hinged top lets you check and reset from above. Built for garages, sinks and attics where rodents keep to the walls.
Enclosed tunnel design lures rodents into a spring-loaded snap trap
- rodent infestation in homes and garages
- hidden rodent activity
- need for a contained, low-contact trap
Catch rats out of sight, without the mess
Rodent activity in the garage or under the sink keeps you on edge. This sealed tunnel trap sits on their runway and works quietly, so you get your space back.
A sealed tunnel that keeps the catch out of sight
- A sealed tunnel that hides the catch
The housing has two open entry ends and walls on every other side. A rodent walks in along the runway, and the spring bar and bait stay inside the tunnel, out of your line of sight and away from curious paws.
- Spring snap bar with a recessed bait cup
The serrated bar is spring-loaded and the bait cup is recessed into the trigger plate, so the bait sits inside the tunnel instead of on top. The spring is firm, which means the bar closes fast on the animal and gives it no room to back out.
- Hinged top for access without reaching in
The top cover opens on a hinge, so you lift it, check the bait cup and the bar, and reset from above. Your hand stays clear of the spring path during setting and emptying.
Set it on the runway in under a minute
- 1Find the runway
Look for droppings, gnaw marks or smudges along the baseboard, behind the sink or along the back wall of the garage. Rodents keep to the same line.
- 2Place it flush against the wall
Set the tunnel with both open ends running along the path. A trap in the middle of the floor rarely gets triggered.
- 3Load the bait cup
Lift the hinged top cover and press bait into the recessed cup on the trigger plate. Keep the bait inside the tunnel, not on top.
- 4Check the bar and close the top
Confirm the serrated bar is set and the spring moves freely. Close the hinged top with a click so the interior stays out of sight.
Scratching you cannot place, and a way to catch it
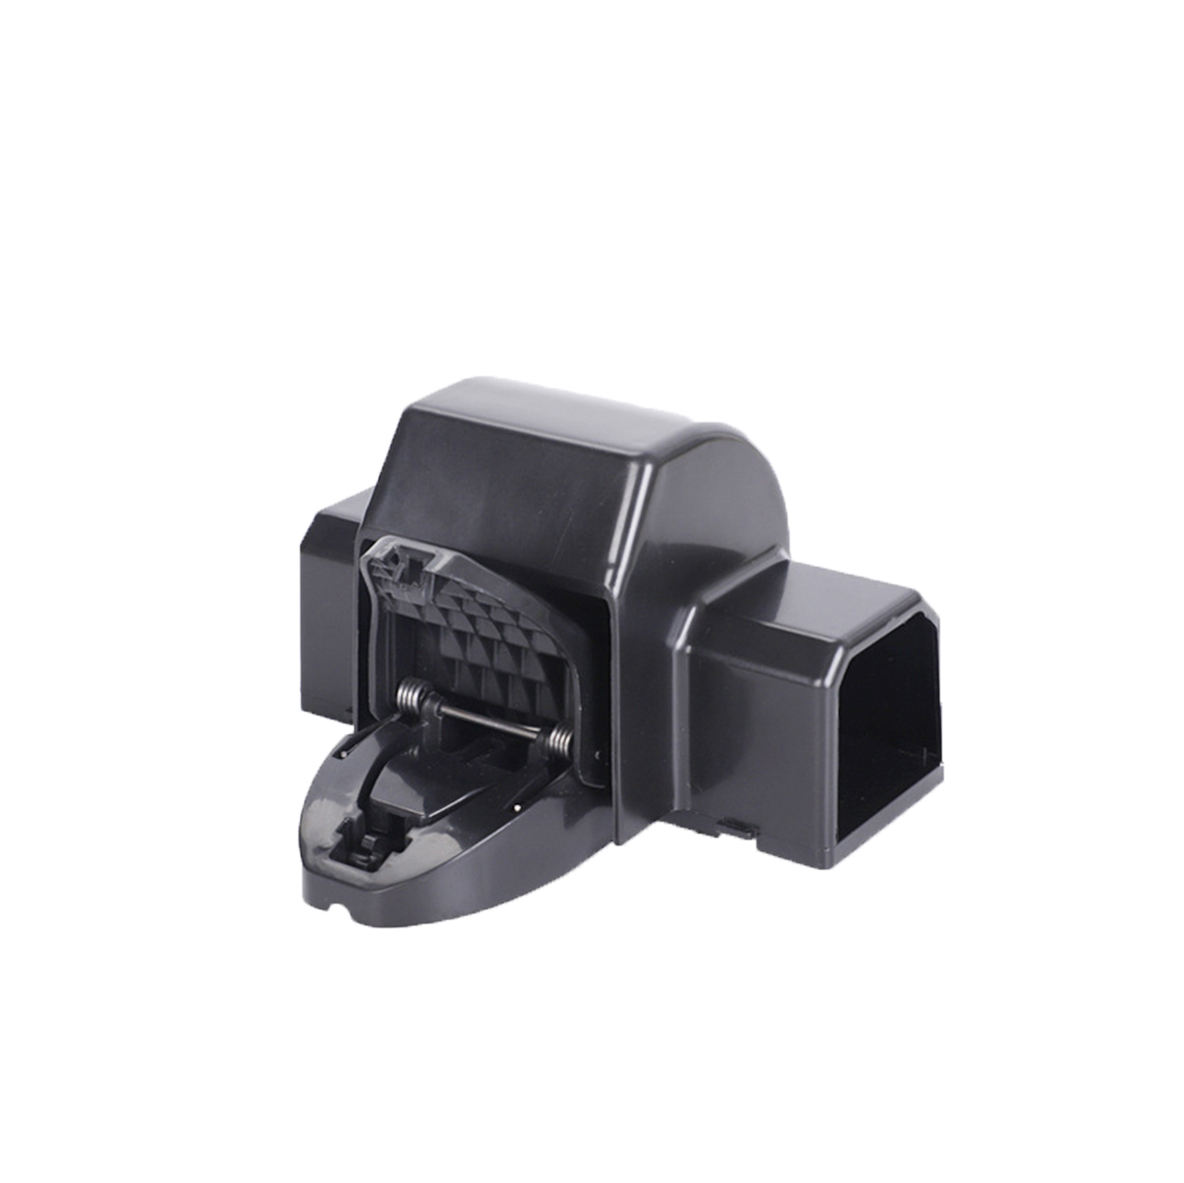
The scratching in the walls
It starts at night. A scratch behind the cabinet, a few droppings near the pipe under the sink, and no clue where the animal is getting in. You search the walls and find nothing but more evidence. Every night the sound comes back a little closer to the kitchen.
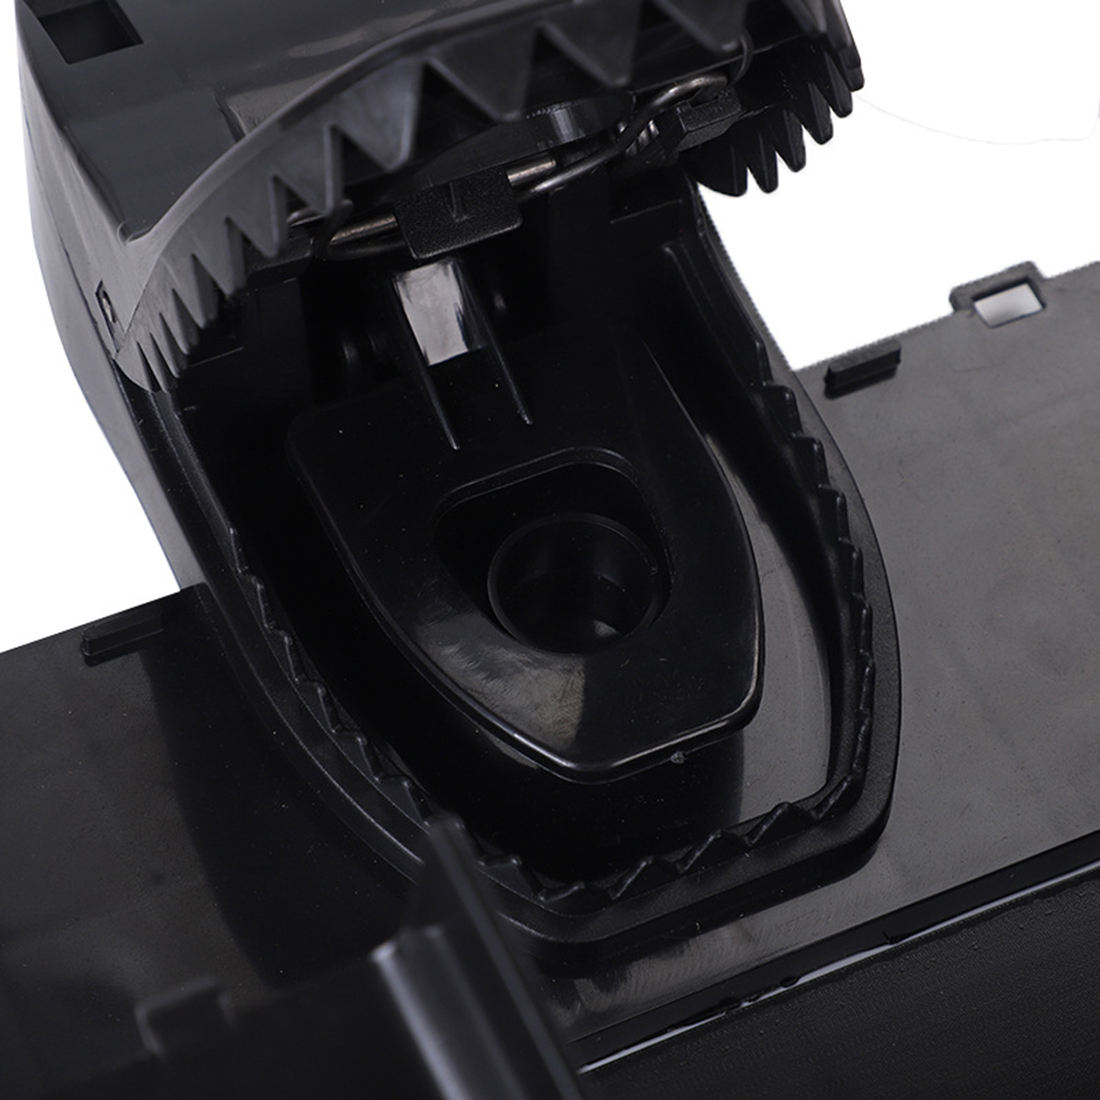
Why open traps and poison fall short
An open snap trap puts your fingers next to a firm spring bar every time you set or empty it. Poison bait sits where the dog or a toddler can find it, and a rodent that eats it can die inside a wall. You want the catch handled out of sight and the bait kept away from everyone else in the house.
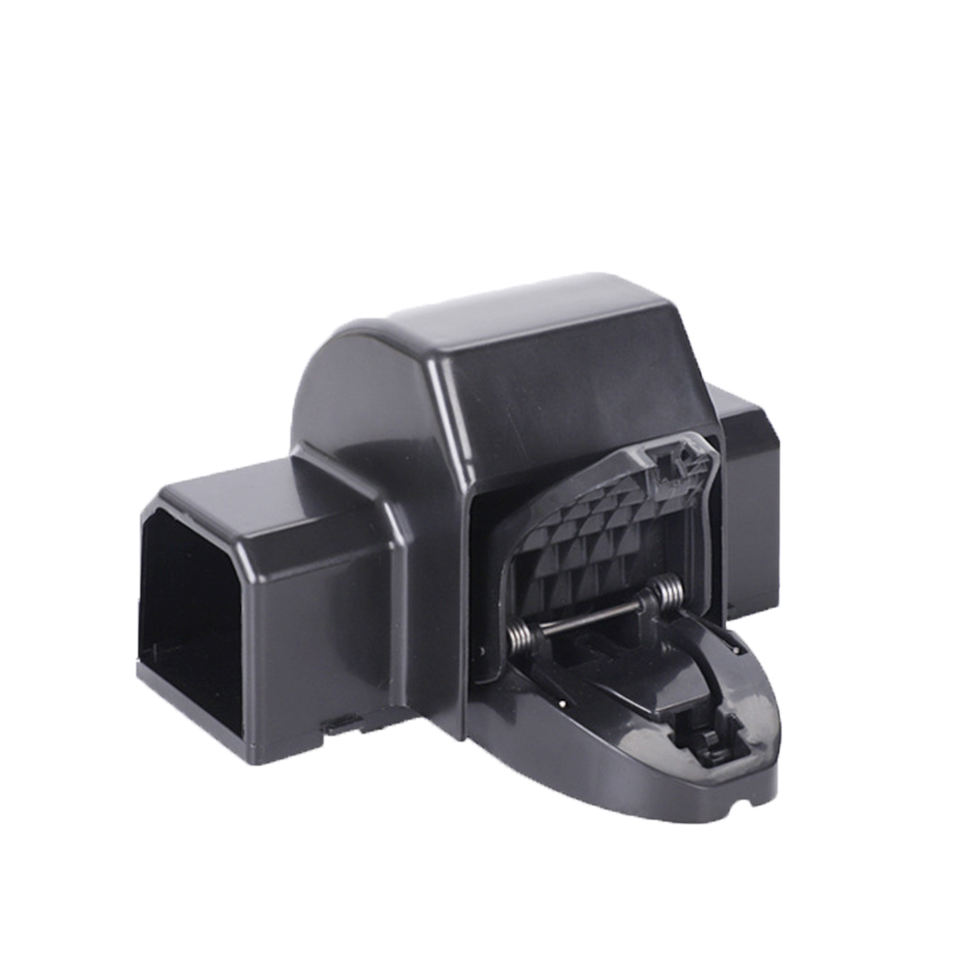
Contain it and check it on your terms
The tunnel sits flush on the runway with both entries open to the path. The bait waits in the recessed cup, and the hinged top lets you look in and reset the bar without reaching into the tunnel. Check it in the morning, empty it, set it again, and the runway starts to go quiet.
Week by week, the runway goes quiet
- First useSet on the runway
Place the trap against the wall where droppings or scratching occur. Load bait in the recessed cup and check the spring action before you leave it.
- 3 usesCheck and reset routine
After a few nights, check through the hinged top and reset the bar. If no catch appears, note where activity stops and move the trap along the runway.
- 30 daysWatch for fewer signs
Keep checking the runway for droppings and gnaw marks. For large infestations, call a pest professional.
Empty and reset without reaching into the tunnel
- Open from the top
Lift the hinged cover to reach the bait cup and bar. Keep your hand out of the tunnel.
- Reset the bar with care
The spring is firm. Set the serrated bar from above, with the cover between you and the spring.
- Wear gloves when emptying
Use gloves and dispose of the catch according to local rules.
Enclosed tunnel or open snap trap
| This enclosed tunnel | Open snap trap | |
|---|---|---|
| Bar and bait hidden inside housing | — | |
| Reset from a hinged top | — | |
| Fingers clear of the spring path | — | |
| Fits flush along a wall runway | ||
| Lethal to the animal |
Characteristics
Reviews
Questions and answers
No, and this page will not call it that. It is a lethal spring snap trap. The sealed tunnel keeps the bar and the catch out of view and limits hand contact, but the animal is killed inside. If you need live release, a humane box trap is the right tool.
Both species follow the same wall runways, so you set the trap the same way for either. Placement along the runway matters more than anything else. Set it where droppings or gnaw marks show the animals travel, not in the open middle of a room.
Only if they cannot reach it. The enclosure lowers exposure, but a firm spring bar can still injure a curious child or a pet. Put it behind a cabinet door, under furniture or in a closed utility space, and keep the bait cup out of their path.
Set it flush against the wall or the baseboard, with both entries running along the path. Under the kitchen sink, behind the back of a garage shelf and along an attic beam are the spots where rodents keep returning.
Lift the hinged top cover, check the bait cup and the bar, then reset from above. The tunnel stays closed, so your fingers stay out of the spring path. Wear gloves if you are disposing of the animal.
An open snap trap exposes the bar and the catch to your hand during setting and emptying. This one keeps both inside the tunnel with a single access point on top. The trade-off is that the spring is firm, so resetting takes a little practice.