
$37.90
Free delivery · 7–14 days
Wooden Stacking Stones for Screen-Free Creative Play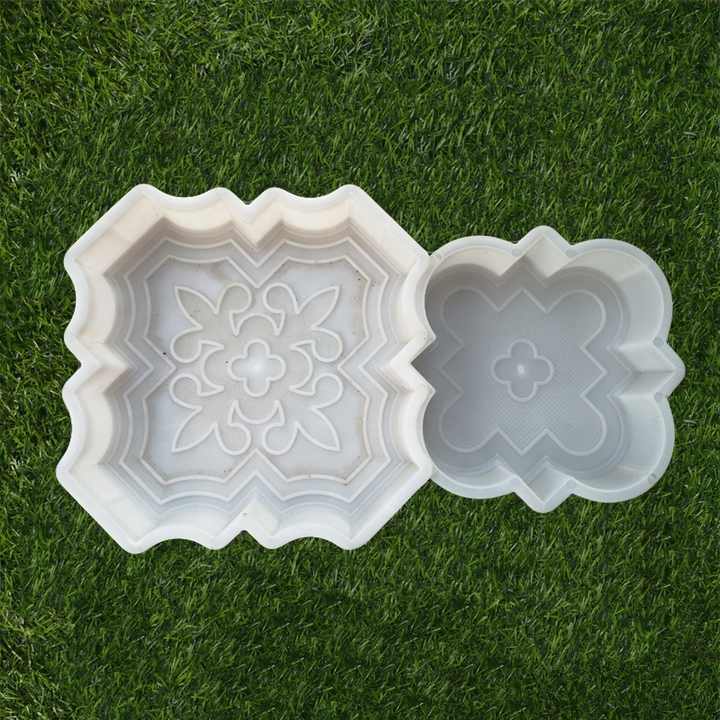
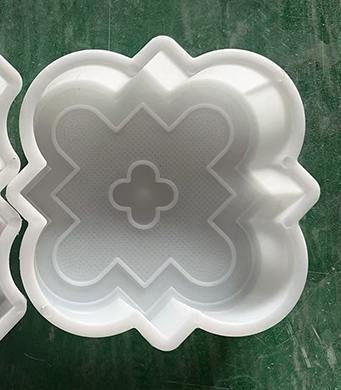
Two reusable molds turn a plain garden path into a patterned walkway you poured yourself. The square and flower shapes carry a raised mandala relief that shows on every finished stone. Use them for paths, patio edges and lawn borders without paying for pre-made pavers.
Read the full descriptionTwo reusable molds turn a plain garden path into a patterned walkway you poured yourself. The square and flower shapes carry a raised mandala relief that shows on every finished stone. Use them for paths, patio edges and lawn borders without paying for pre-made pavers.
Make decorative patterned garden pavers and stepping stones at home with reusable plastic molds
Instead of a bare dirt path you keep meaning to fix, pour decorative concrete pavers from a reusable mold and walk on something you made.
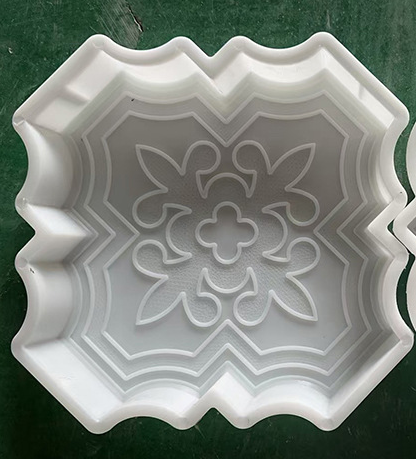
The raised floral mandala shows up on the finished concrete surface, so a plain pour looks like a designed feature. The scalloped square outline gives each stone a clean edge that lines up neatly with the next one in the row.
The set includes a large scalloped square and a smaller flower-shaped mold. Mix two batches and you have two tile styles that match, which is enough to build a path with a pattern. Pair the finished stones with solar garden lights along the edge for evening use.
Use a stiff concrete mix rather than a runny one. Stiff mix holds the mandala detail and stays put while it sets.
Fill the mold to the rim. Tap the sides to push the mix into the relief so the pattern forms cleanly.
Drag a flat board across the rim to strike off the excess and leave a level surface.
Leave the stone in the mold until it has set firmly. Keep it covered and out of the rain while it cures.
Flex the mold gently to free the stone, then reset the mold and pour the next one.
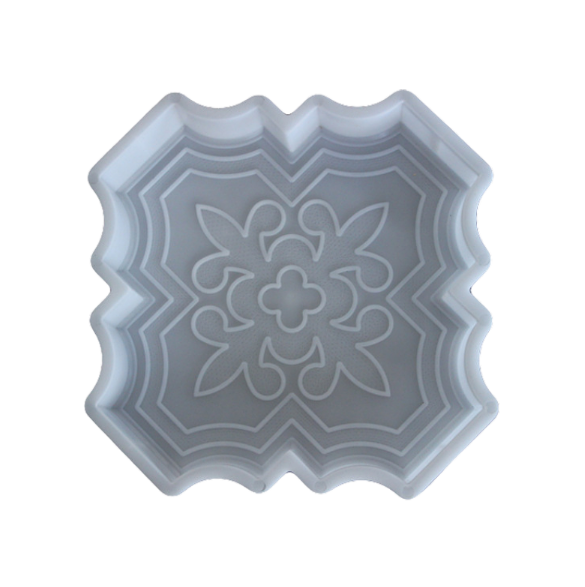
Scalloped edges and an embossed mandala pattern on the inside surface.
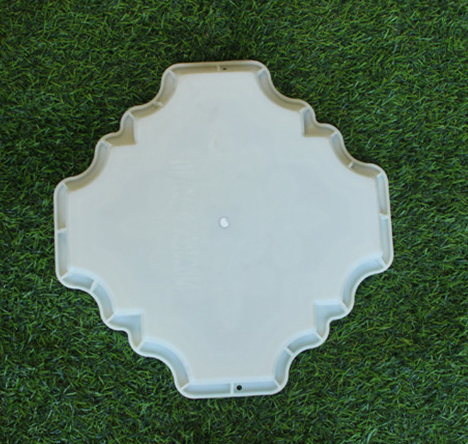
Raised rim walls for pouring and a floral relief pattern.
Yes, the molds are built for repeated pours. Rinse out the cement residue, let them dry, and they are ready for the next batch. Handle the thin walls gently when you release a stone, especially on the first few pours, and the molds will keep giving you clean edges.
Yes. The floral relief is pressed into the inside surface of each mold, so it shows on the finished top face. Use a stiff, smooth mix and tap the mold to settle it into the relief before you level the top. A runny mix softens the detail.
No. The job is fill, level, wait, and release. You need a bucket, a trowel, a flat board to level the top, and a bag of concrete mix. If you have mixed mortar before, you already have the skills for this.
Yes. The scalloped square and the flower shape both work as edging pieces along a lawn, a bed or a patio border. Lay them in a line, set them level with the ground, and the pattern gives the border a finished look.
Pre-made decorative pavers cost a lot per stone, and most of them look the same as the next yard. This set gives you a custom pattern for the price of a few bags of mix, and the molds stay in the shed for every future project. Over a few projects, the molds pay for themselves many times over.


 Decorative Concrete Stepping Stone Mold for Garden Paths