
$37.90
Free delivery · 7–14 days
Under Desk Drawer Organizer for Hidden Desk Storage


Your envelopes stop looking like everyone else's the moment a raised logo seal lands on the flap. This steel press puts a clean, permanent mark on invitations, certificates and paper goods in one squeeze, with no ink or foil. Made for couples, planners and small stationers who want a finished look at their own desk.
Read the full descriptionYour envelopes stop looking like everyone else's the moment a raised logo seal lands on the flap. This steel press puts a clean, permanent mark on invitations, certificates and paper goods in one squeeze, with no ink or foil. Made for couples, planners and small stationers who want a finished look at their own desk.
Custom steel embossed logo seal for elegant, ink-free wedding stationery
Plain printed cards leave your stationery looking like everyone else's. One squeeze of this rose gold steel press leaves a raised, personal seal on every envelope and certificate.
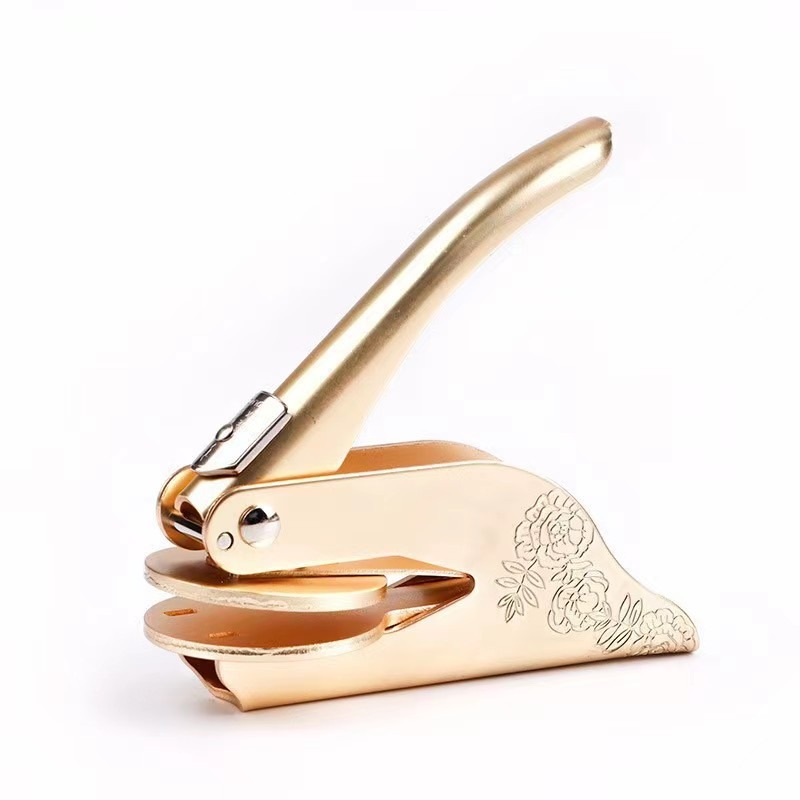
The embossing head is made to your own logo, so the impression is your mark and nobody else's. The emboss is raised and pressed straight into the paper, so it reads as a finished detail on invitations, envelopes and certificates with nothing to refill.
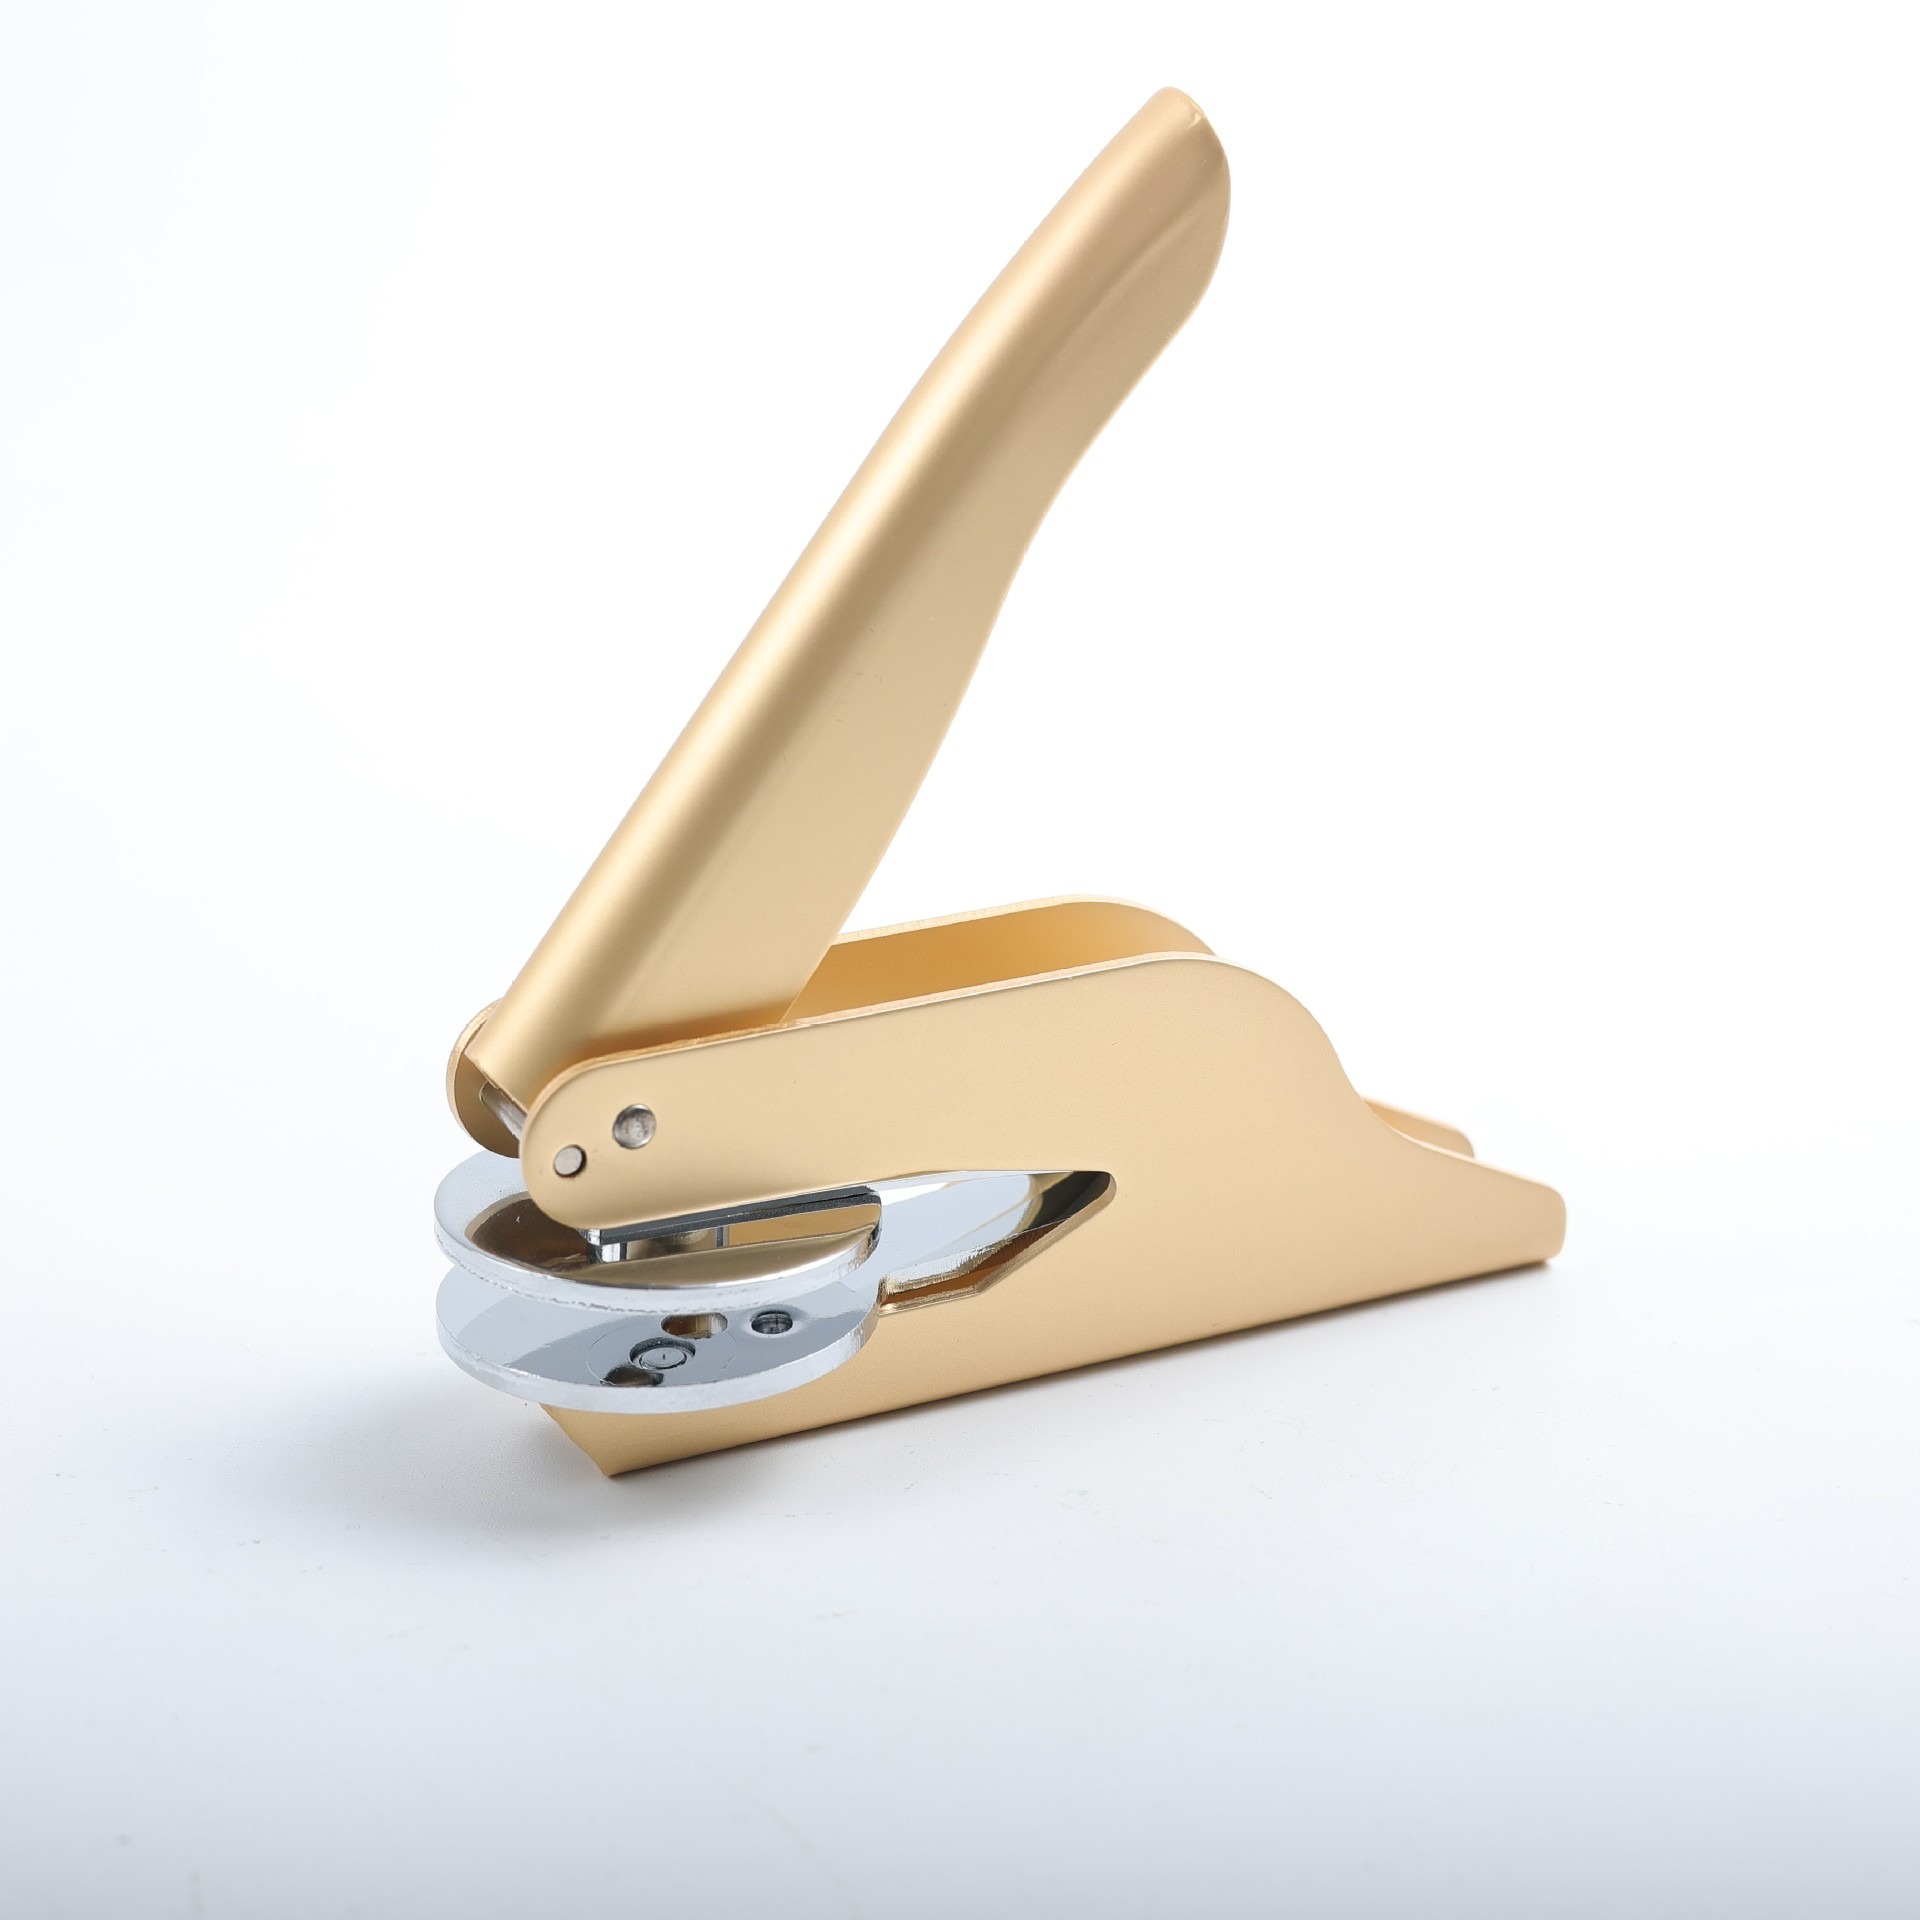
The pivot lever gives steady pressure, so the emboss lands evenly from edge to edge. Thick stock asks for a little more force on the first few tries, so test on a scrap sheet and then press each finished piece the same way.
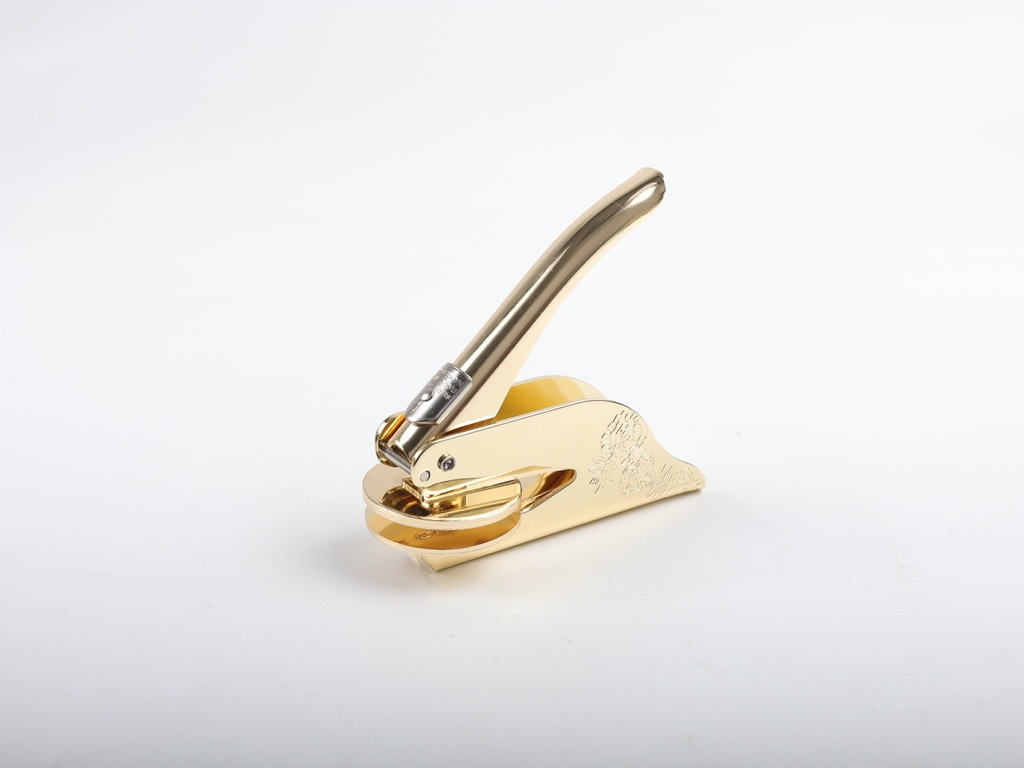
The body is polished steel with a rose gold finish and floral engraving on the base. It looks finished on a desk between jobs, and the latch clip keeps the lever closed when the press goes back into a drawer.
Run a scrap sheet of the same paper through the press. Thick or textured stock may need a firmer squeeze, so adjust before you touch the finished invitations.
Lay the card or envelope flat on a hard, level desk or board. A soft surface blurs the emboss and can dent the paper around it.
Position the seal head over the envelope flap, the corner of a certificate or the spot below a signature line.
Close the lever with one even squeeze. Avoid rocking it, which can smear the edges of the impression.
Open the lever and lift the paper. The raised logo should show crisp edges, ready for the next piece.
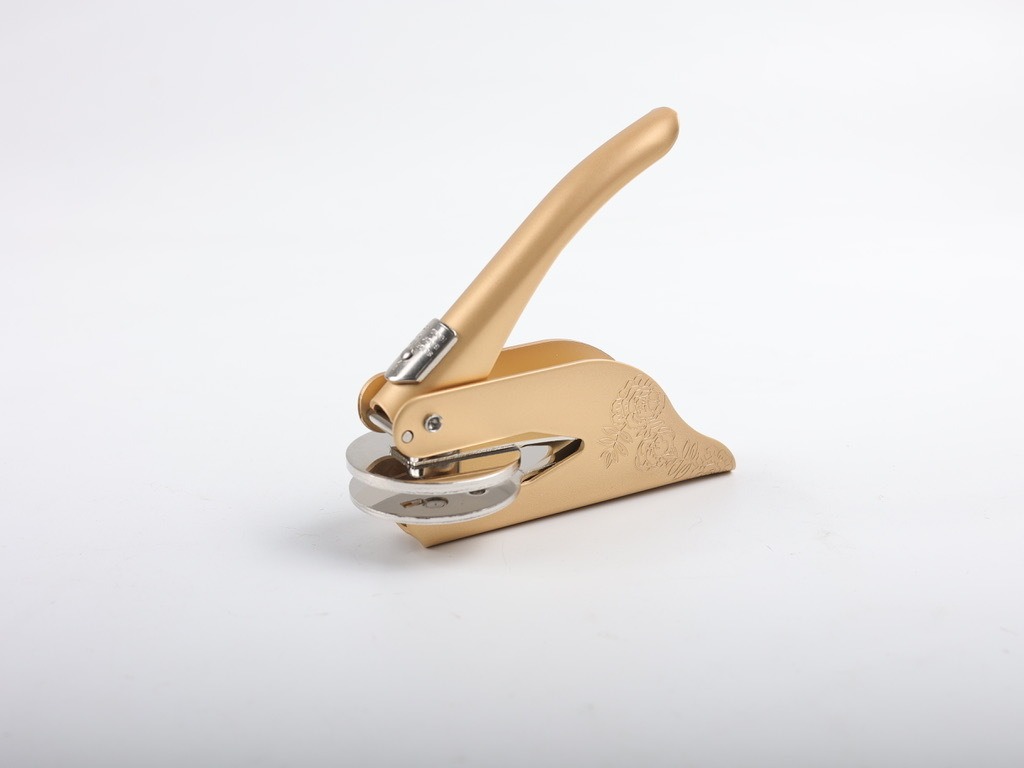
Invitations go out as plain printed cards, and the envelopes look the same as the next couple's. Foil stamping fixes that, but each batch means a print shop, per-piece fees and a wait before anything reaches your desk. Once the order is placed, the finish is locked in.
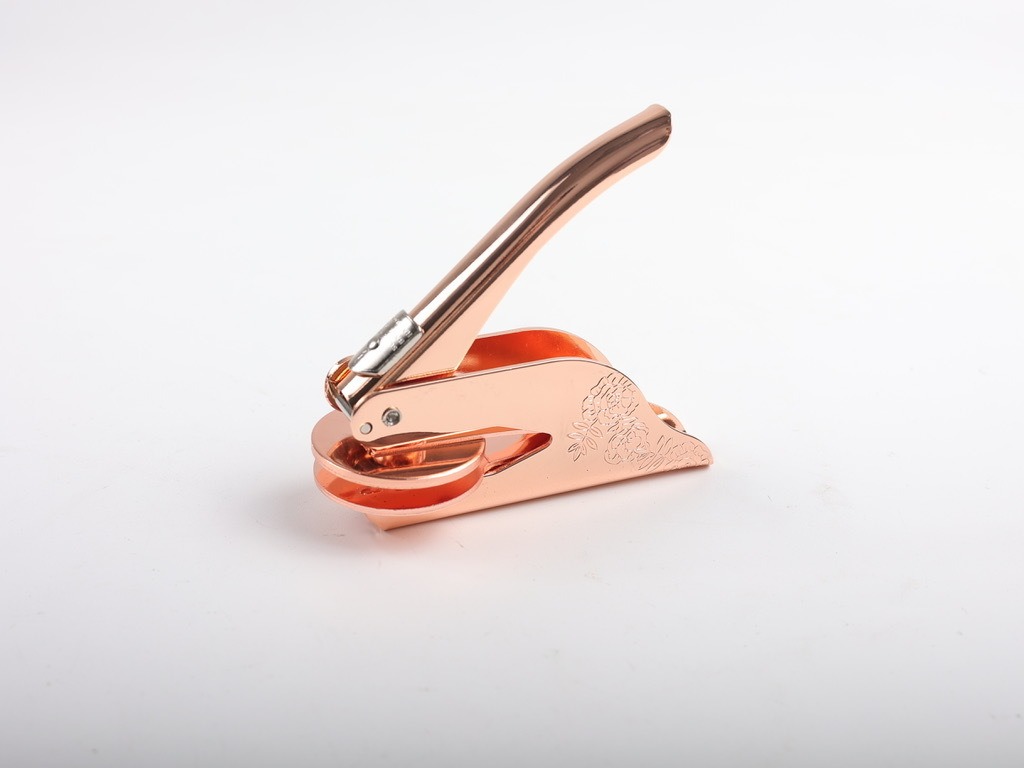
The steel seal head is cut with your own logo and sits on a hand-operated lever. Set the paper flat, line up the seal, press, and lift. The raised impression stays crisp across a whole batch, and no ink, foil or print order is involved.
Test on scrap cardstock to find the right pressure for your paper weight. Most people settle on a consistent press within a few attempts.
The lever motion becomes familiar, and your impressions line up more evenly across a batch of envelopes.
Each piece gets sealed at your desk as a quick finishing step, not a separate print order.
| Custom steel seal | Print-shop foil stamping | Plastic embosser | |
|---|---|---|---|
| Ink or foil needed | No | Foil sheet | No |
| Reorder per batch | No | Yes | Partial |
| Custom logo | Yes | Yes | No |
| Works at a home desk | Yes | No | Yes |
| Pricing model | One-time purchase | Per piece | One-time purchase |
| Impression | Raised, crisp | Foil layer on paper | Shallow |
Send your logo artwork and the seal head is cut in steel to match it. The head is the part that changes, so the impression is always your own mark.
Yes, with a little practice. Heavier stock asks for firmer pressure on the first few presses, so run a scrap sheet first and adjust. Once you find the right squeeze, every card in the batch takes the same clean impression.
The seal head is custom steel and the body is polished metal with rose gold plating, not plastic. You pay once and skip the per-piece foil fees and reorders that a print shop charges each batch. Across a few batches, that math favors the press.
Yes. Place the envelope flat, line the seal over the flap or the front corner, and press. Certificates and welcome cards work the same way.
No. The impression is raised and pressed into the paper, so there is nothing to refill and nothing to buy after the press.


 Custom Steel Embossing Seal Pliers for Wedding Stationery