
$34.90
Free delivery · 7–14 days
Glow in the Dark Stars & Moon Stickers - 3D Kids Decor

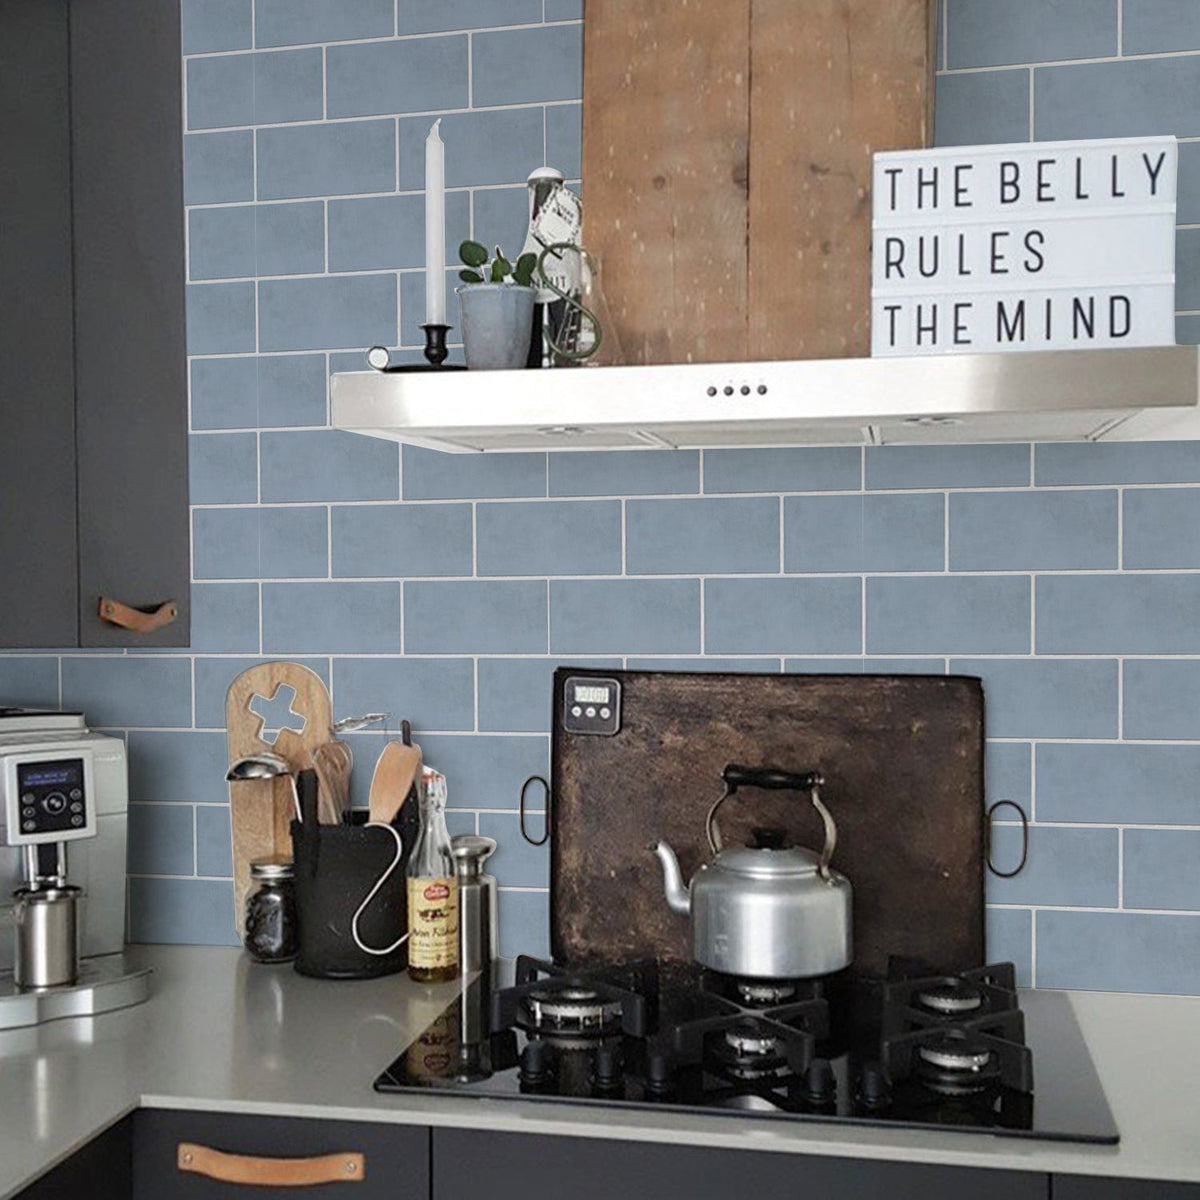
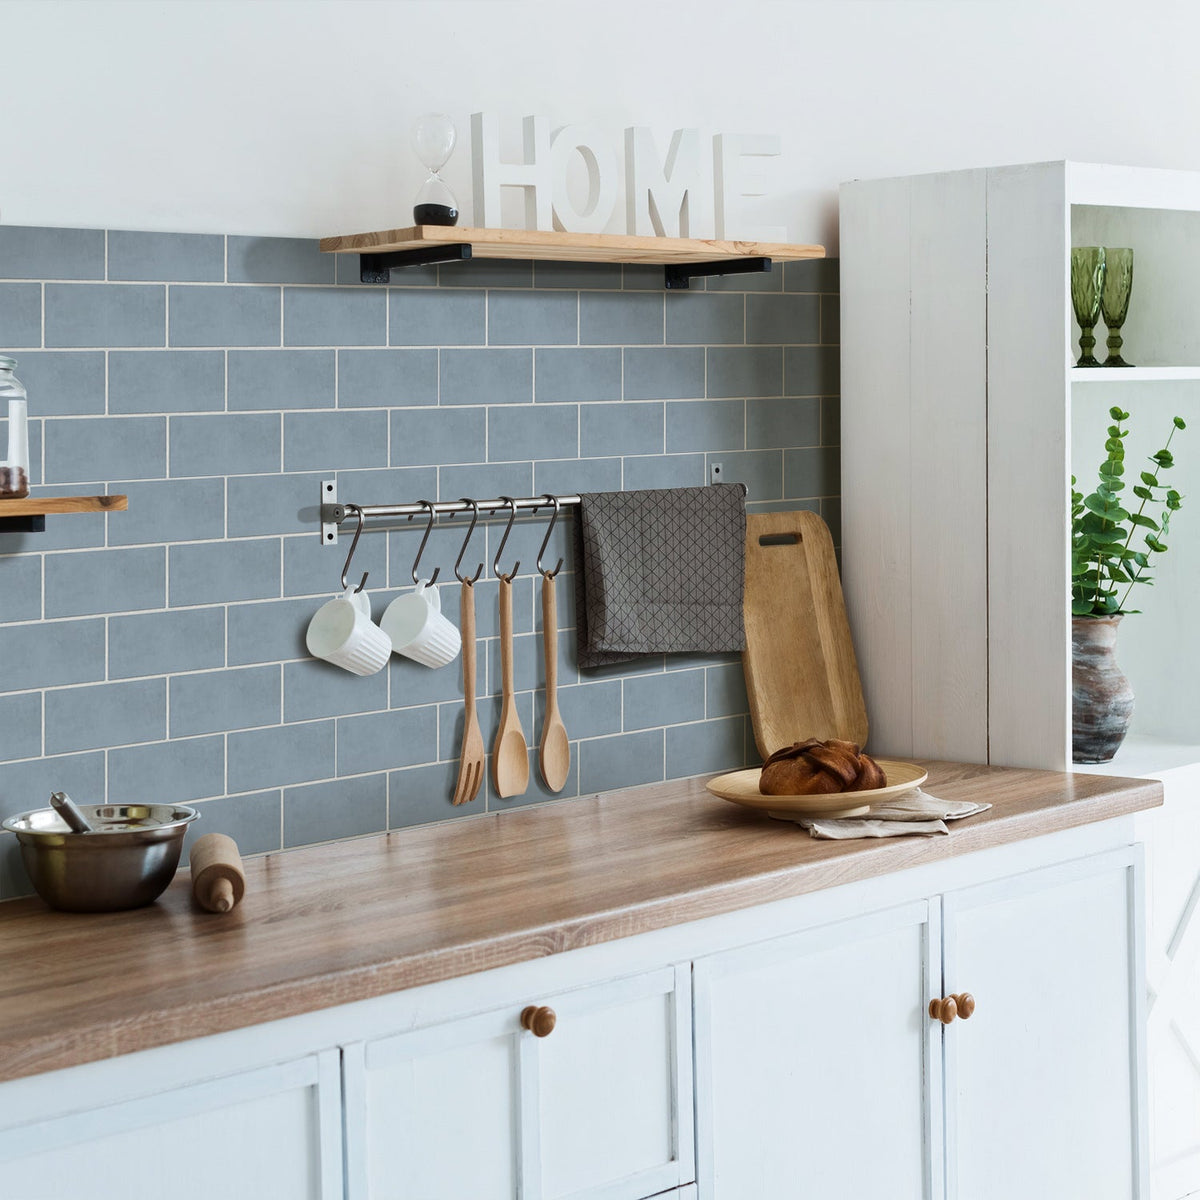
Give the kitchen a finished blue-gray brick backdrop instead of another flat wall waiting for attention. Thickened matte panels add texture with a self-adhesive application suited to practical DIY updates.
Read the full descriptionGive the kitchen a finished blue-gray brick backdrop instead of another flat wall waiting for attention. Thickened matte panels add texture with a self-adhesive application suited to practical DIY updates.
Refresh a kitchen wall with the realistic look of blue-gray brick using easy self-adhesive panels.
Turn an outdated or plain kitchen wall into a cohesive blue-gray brick backsplash without the mess and time of a full renovation.
The thickened faux-brick appearance creates visible depth and decorative texture where a painted wall would remain flat. Its matte plastic surface keeps the finish calm and contemporary.
Repeating rectangular bricks, light grout lines, and consistent alignment help the finished wall read as one intentional surface instead of scattered decorative pieces.
Dusty blue, slate blue, and soft gray tones give the kitchen a more current finish while adding personality around cabinetry, shelves, and cooking tools.
Mark the backsplash or stove-wall area and plan where the brick lines should begin. Account for corners, edges, outlets, and visible breaks before removing any backing.
Remove dust, grease, and loose residue from the wall. Let the surface dry fully before application.
Position the first panel carefully. Use its brick lines as the visual guide for every panel that follows.
Press the panel onto the prepared surface, check the next edge, and continue in manageable sections. Take extra care around corners and edges.

The backsplash is often the first thing to show its age. Paint keeps the surface flat, while a full tile renovation brings cutting, grout, tools, and disruption. The result is a kitchen update that keeps getting pushed to another weekend.

Thickened self-adhesive faux-brick panels bring the character of a finished wall without turning the kitchen into a construction zone. Measure the area, prepare the surface, and build the pattern carefully across the wall.

Dusty blue, slate blue, and soft gray tones create a coordinated backdrop around the cooking area. The matte surface, light grout lines, and repeating rectangular pattern give the wall contemporary character without the visual flatness of paint.
| 4 pcs | 12 pcs | 24 pcs | |
|---|---|---|---|
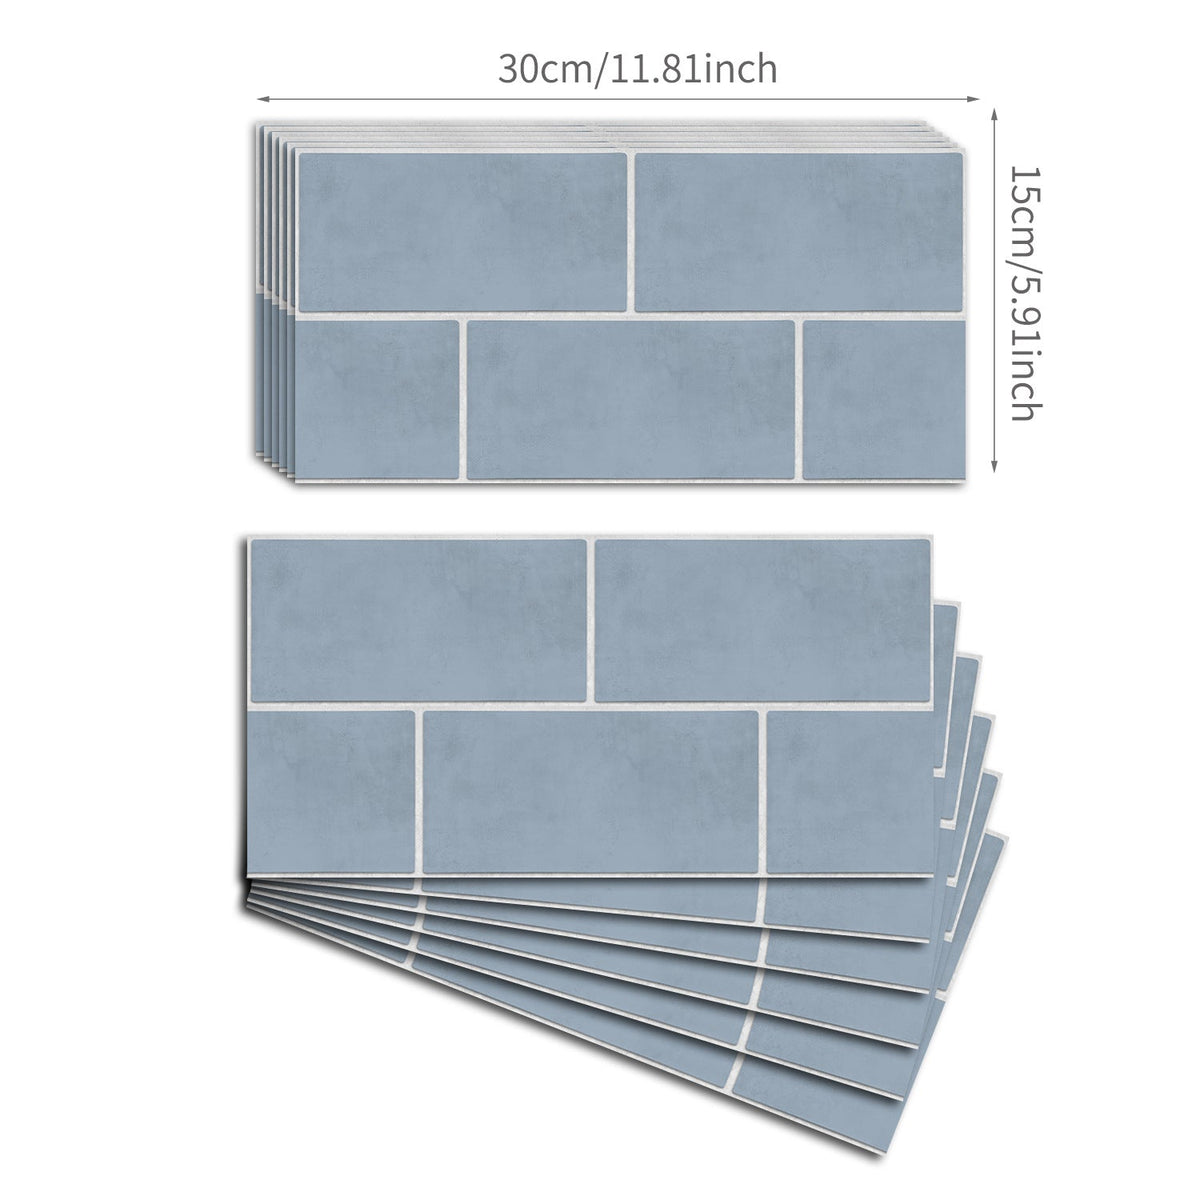
| Panel size | 30 × 15 cm | 30 × 15 cm | 30 × 15 cm |
| Panel count (pcs) | 4 | 12 | 24 |
Measure the intended wall area and plan alignment before ordering or starting installation.
| Self-adhesive brick panels | Traditional tile | |
|---|---|---|
| Decorative brick texture | Yes | Yes |
| Self-adhesive application | Yes | No |
| Grout installation process | No | Yes |
| Pattern planning required | Yes | Yes |
| Lower-mess visual refresh | Yes | Partial |
They suit kitchen backsplash and stove-wall decoration, but heat and moisture conditions vary by appliance and wall. Confirm local requirements and the suitability of the surface before applying near a stove.
Use a clean, smooth, dry surface with good contact. Dust, grease, dampness, loose paint, and heavy texture can interfere with adhesion.
The repeating rectangular bricks and light grout lines create an orderly pattern when panels are measured and aligned carefully. Plan corners, edges, and the main visual line before installation.
The thickened matte surface gives the wall visible faux-brick texture, while dusty blue, slate blue, and soft gray tones create realistic tonal variation. It is decorative plastic, not masonry.
Measure the full wall, identify outlets and corners, and sketch where the pattern should begin. Start with the first panel in the strongest visible position, then use its brick lines to guide the rest.
Only apply them where the surface is clean, dry, smooth, and suitable for adhesive contact. A heavily textured, greasy, damp, or loose surface is not a reliable starting point.


 Brick Backsplash Wall Stickers for Easy Kitchen Updates