
$35.90
Free delivery · 7–14 days
Dual-Ended Eyebrow Pencil for 24-Hour Brow Definition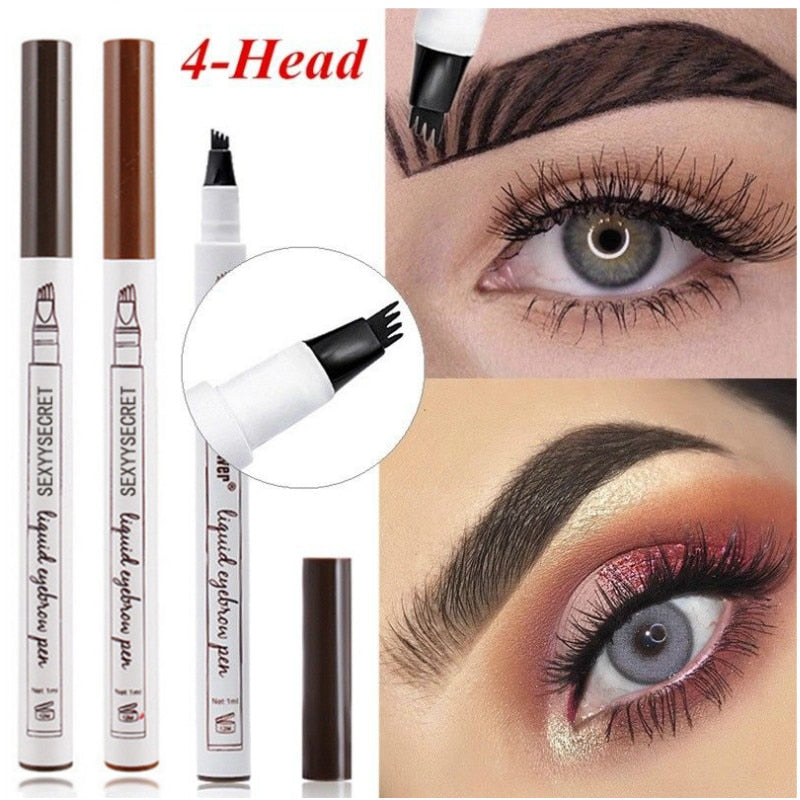
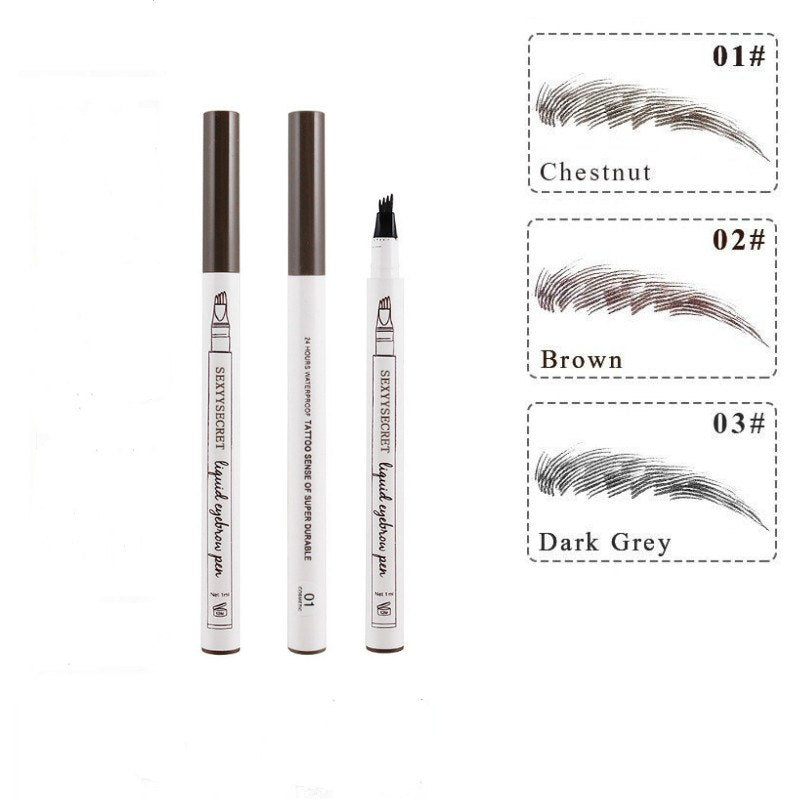
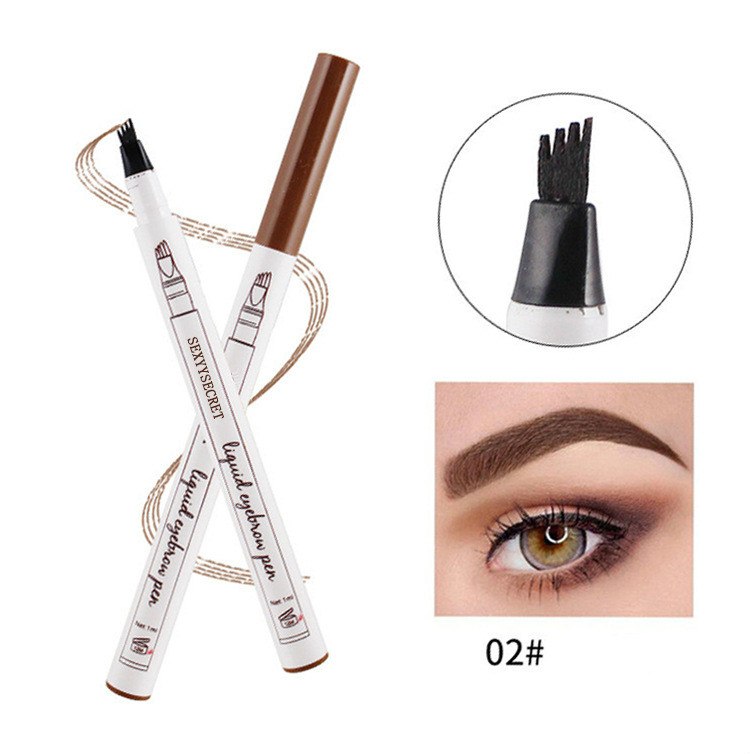
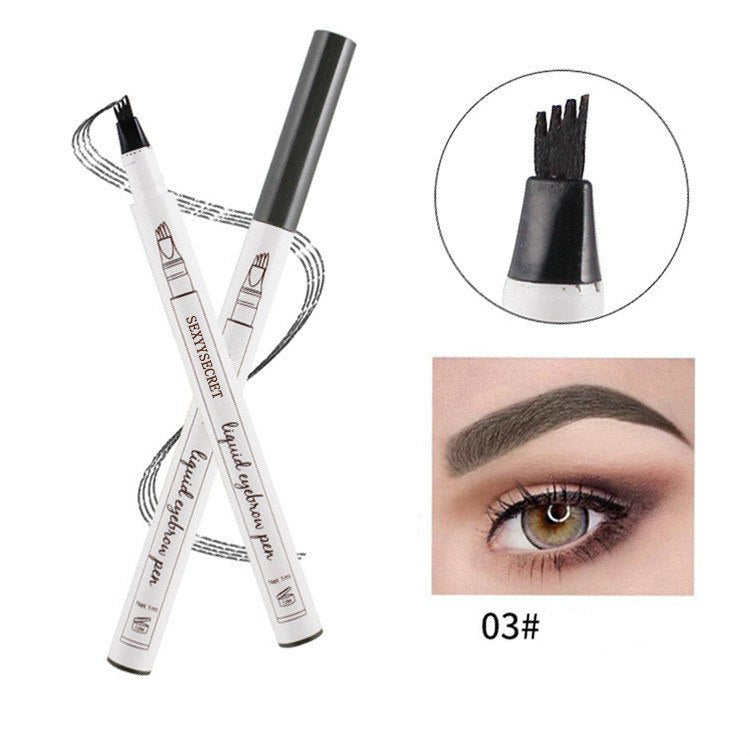
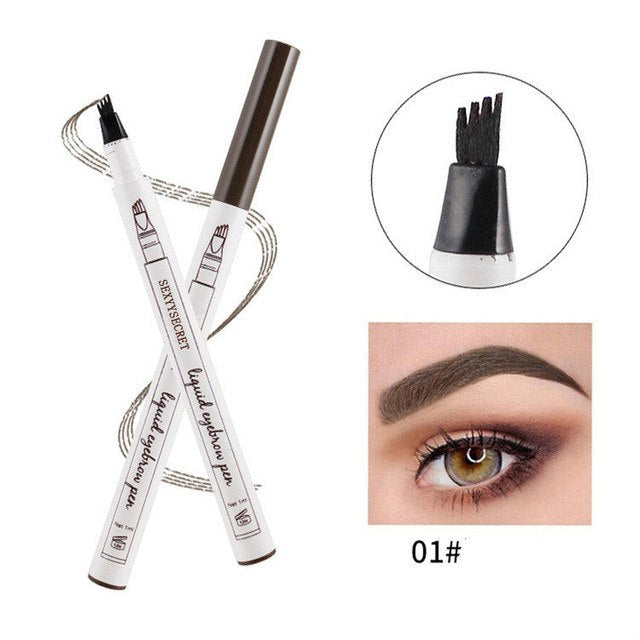
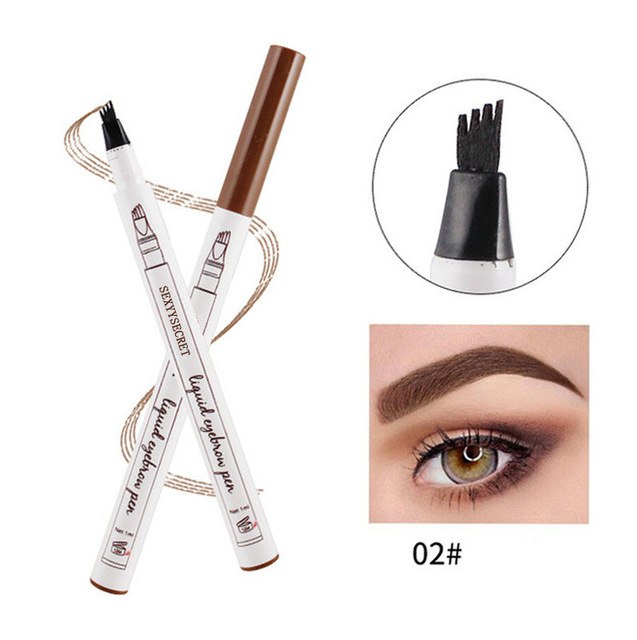
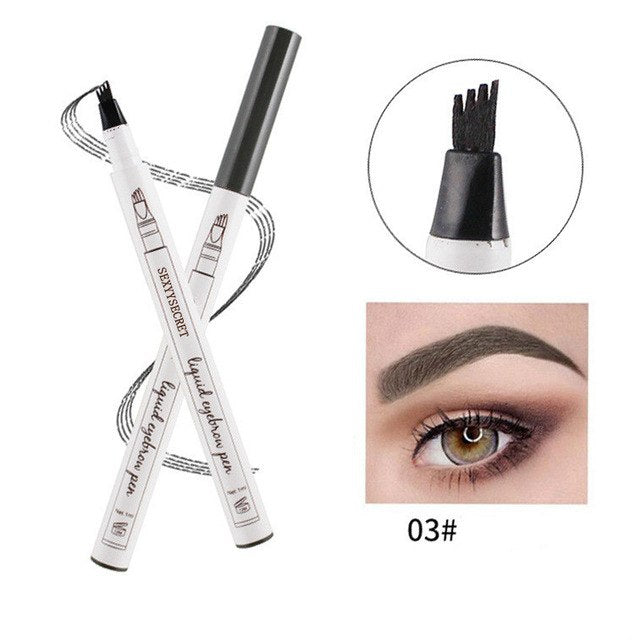
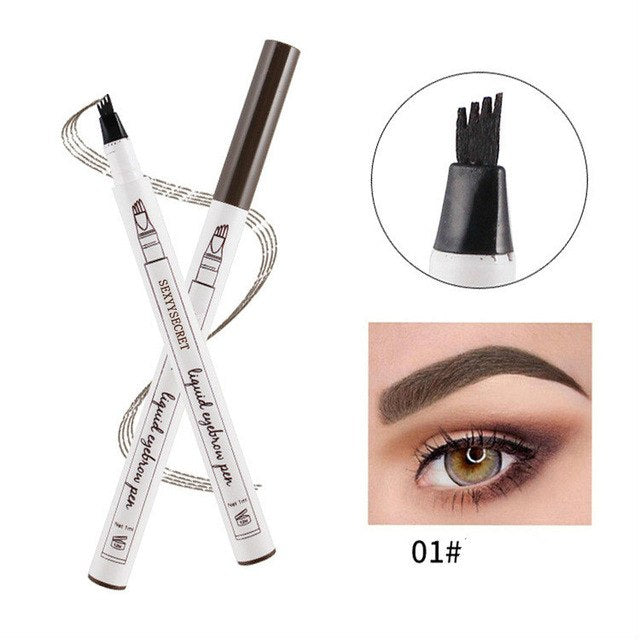
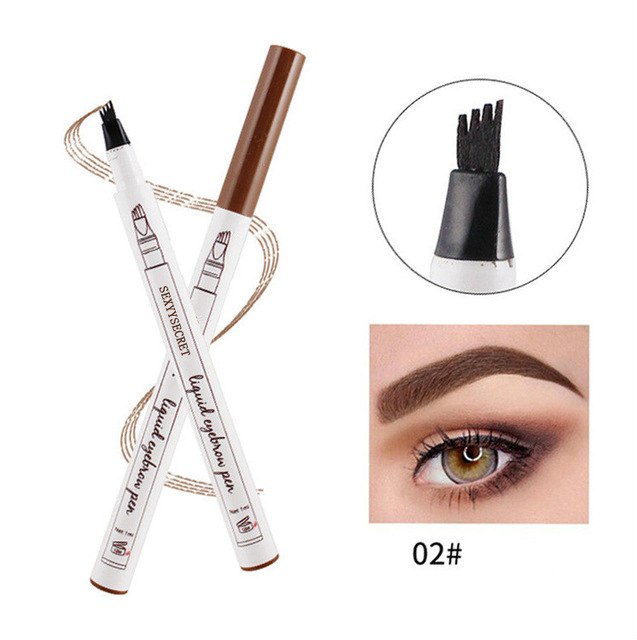
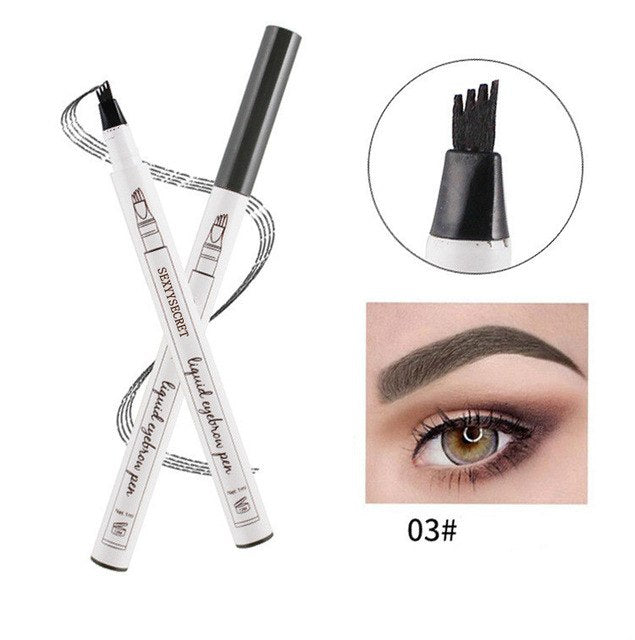
Create fuller-looking brows with fine, hair-like definition instead of broad pencil blocks. The four-prong applicator gives sparse areas, uneven arches, and thin tails a more structured finish.
Read the full descriptionCreate fuller-looking brows with fine, hair-like definition instead of broad pencil blocks. The four-prong applicator gives sparse areas, uneven arches, and thin tails a more structured finish.
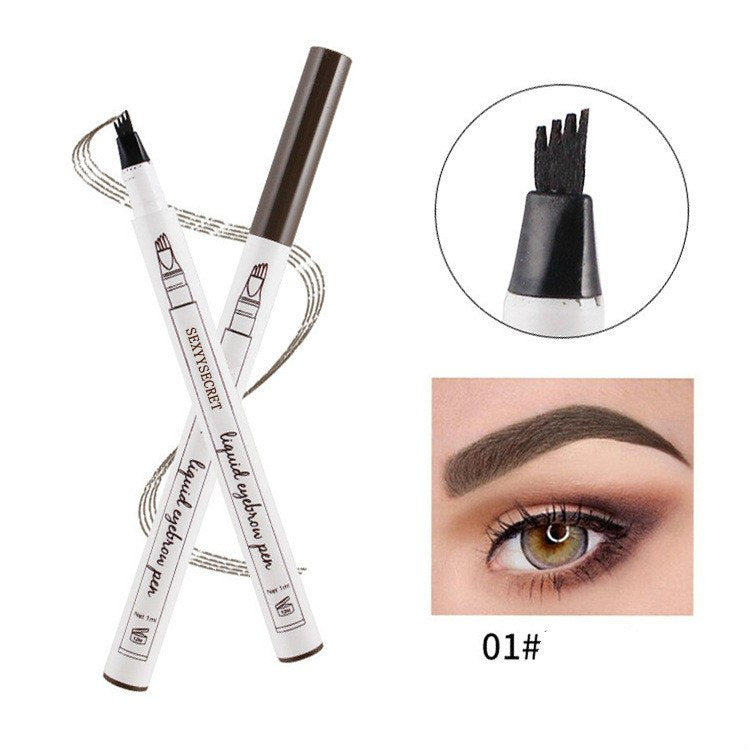
4-prong precision tip creates natural-looking microblading-style eyebrow strokes
Sparse, uneven brows can make your routine feel like a daily drawing exercise. The 4-prong tip helps you build fuller, more structured brows with fine hair-like definition.

The separated four-prong applicator creates fine, parallel-looking marks that mimic the visual pattern of brow hairs more closely than a broad pencil fill.

The liquid texture supports light, controlled layers. Fill a small gap, check the balance, and add more instead of committing to one heavy block of color.

The slim format makes it easier to reinforce the front, arch, and tail separately. That control is useful when one brow needs more visual balance than the other.

The lightweight plastic pen fits naturally into a makeup bag for daily shaping and touch-ups. Its dark brown protective cap keeps the precision tip covered between uses.
Begin with clean, dry brows after skincare has settled. Brush the hairs into their natural direction so you can see the gaps clearly.
Hold the pen lightly and place short strokes through the front, arch, or tail. Keep the marks angled like your existing brow hairs rather than drawing one continuous line.
Pause after the first pass and compare both brows. Add another light layer only where the shape still looks uneven.
Use optional brow gel to set the finished shape. Replace the protective cap promptly after application.
Sparse fronts, uneven arches, and weak tails often lead to repeated corrections in the mirror. Standard pencils and powders can fill the space, but broad marks easily make the brow look drawn on instead of naturally structured.
The compact pen changes the motion. Its four-prong precision applicator places several fine marks in one controlled pass, giving sparse areas a more convincing hair-stroke pattern.
The most natural finish comes from light pressure, a direction that follows your existing brow hairs, and gradual layering. Start with the weakest area, assess the shape, then add only what the brow needs.
The result is fuller-looking structure without covering every inch of the brow. Reinforce the front, arch, or tail separately and keep the finished shape recognizably yours.
| 4-Prong Brow Pen | Standard Pencil | Brow Powder | |
|---|---|---|---|
| Separated hair-like marks | Yes | Partial | No |
| Focused gap filling | Yes | Yes | Partial |
| Broad color block risk | Lower with light pressure | Possible | Possible |
| Needs repeated strokes | Fewer passes | Often | Often |
| Works with brow gel | Yes | Yes | Yes |
Yes. The tip is especially useful for targeted gap filling because it places separated marks instead of forcing you to shade the entire brow. Use light pressure and add strokes only where the brow looks sparse.
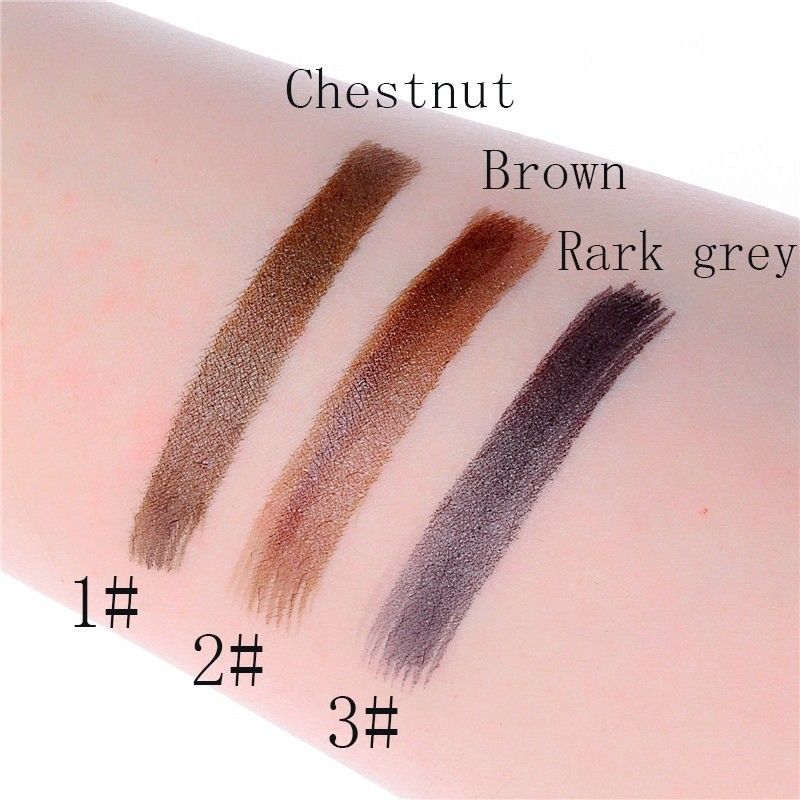
Choose Chestnut for a warmer brown direction, Brown for balanced everyday definition, Dark Grey for a cooler softened look, and Black for the deepest brow depth. Compare the swatches with your natural brow color in daylight.
They can look natural when applied with light pressure and short directional marks. Work in small areas, avoid pressing hard, and build gradually so the liquid does not collect into a dense block.
No. This is a liquid surface makeup pen that creates a microblading-style visual effect. Remove it with your normal makeup routine rather than treating it like cosmetic tattooing.
Begin with a clean, dry brow and use less pressure than you think you need. Follow your natural hair direction, leave space between marks, and add a second light layer only after checking the first.
Yes. Apply the pen first for hair-like marks, then use brow gel to set the hairs. Pencil or powder can add extra depth, but keep the additional layer light if you want the separated-stroke effect to remain visible.


 4-Prong Eyebrow Pencil for Natural-Looking Hair Strokes