
$69.90
Free delivery · 7–14 days
Palm Candlestick Holder for Gothic Halloween Decor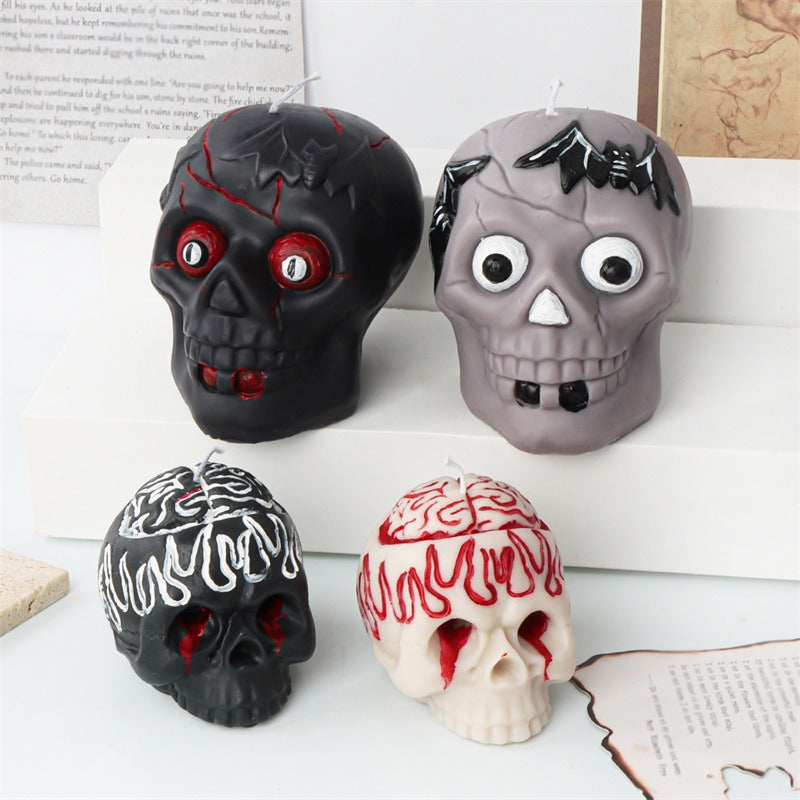
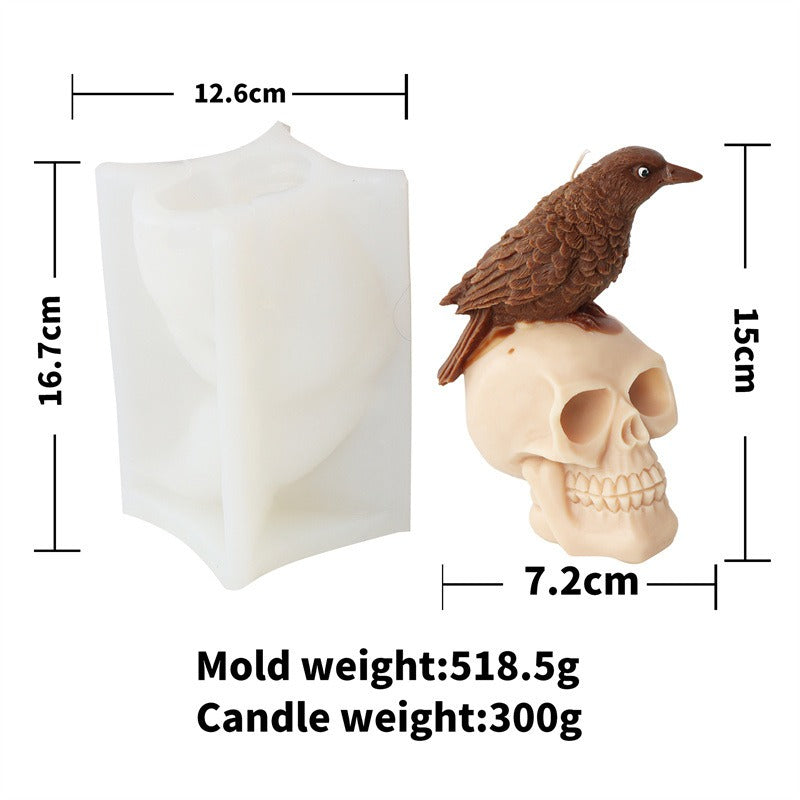
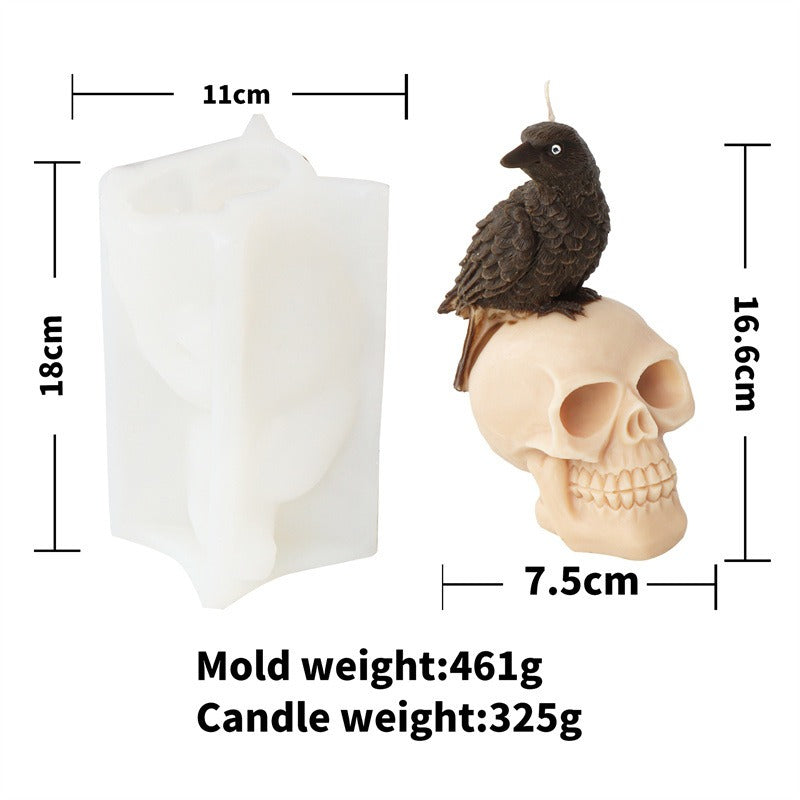
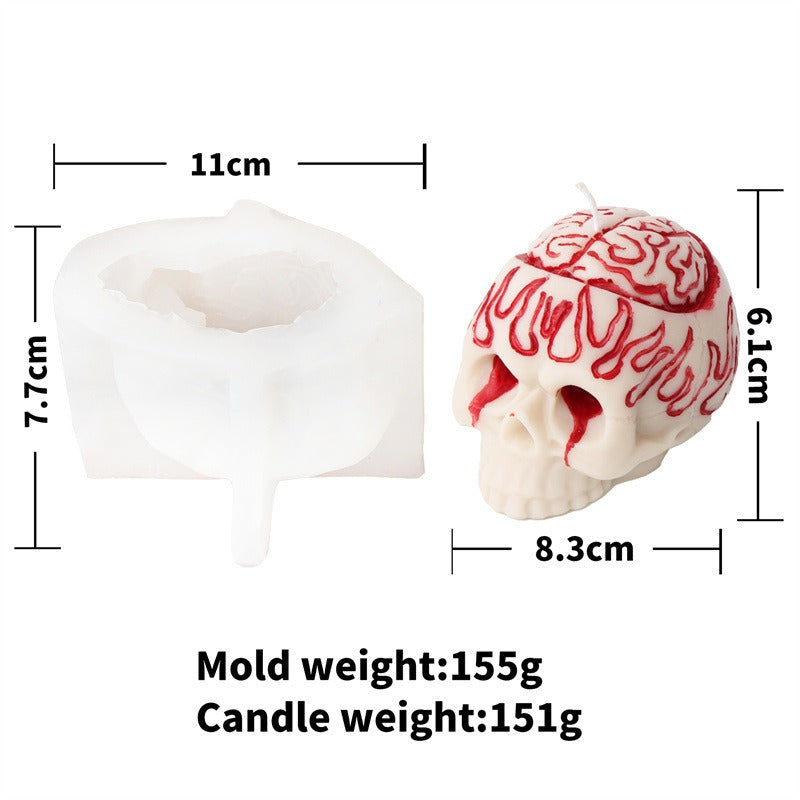


Turn an ordinary wax pour into a sharply detailed skull centerpiece with teeth, cracks, cavities, and layered relief. This reusable two-design set gives Halloween decorators and DIY makers a faster route to gothic candles, plaster ornaments, and memorable gifts.
Read the full descriptionTurn an ordinary wax pour into a sharply detailed skull centerpiece with teeth, cracks, cavities, and layered relief. This reusable two-design set gives Halloween decorators and DIY makers a faster route to gothic candles, plaster ornaments, and memorable gifts.
Make striking three-dimensional Halloween skull candles with intricate gothic detail.
Plain candles become sharply detailed skull décor with teeth, cracks, cavities, and layered miniature skull reliefs. Create memorable Halloween pieces without sculpting every detail by hand.

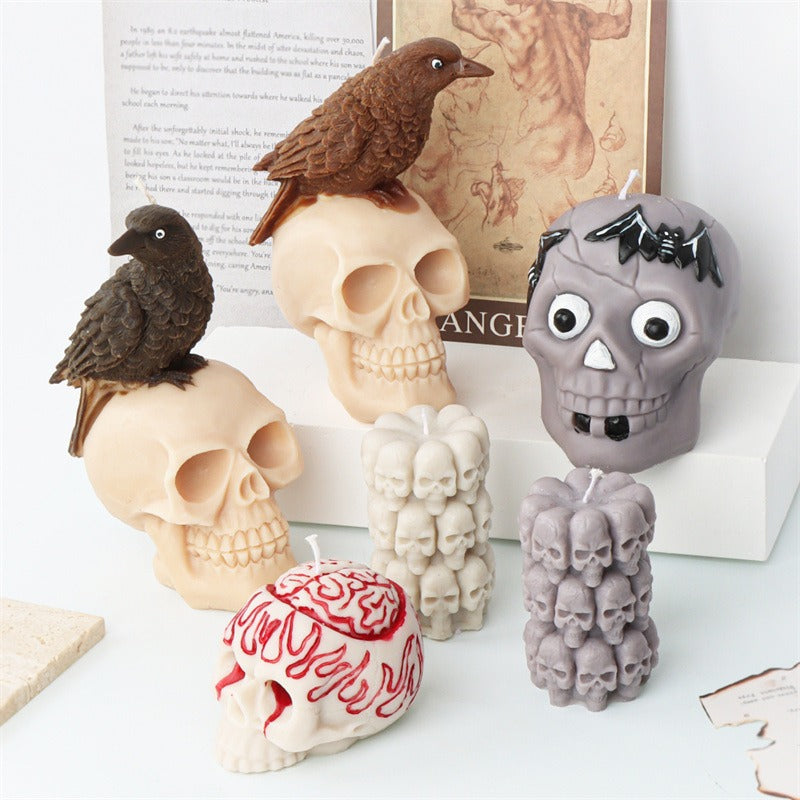
The three-dimensional cavity produces visible facial features, teeth, cracks, cavities, raised brains, and layered skull details. It gives your Halloween candle the theatrical face you would otherwise have to sculpt by hand.

Flexible white silicone releases finished forms more gently than a rigid container. Work slowly around the teeth and facial edges, then bring the mold back for another seasonal pour.

The set includes a crow-skull candle mold and a stacked-skull candle mold. One purchase gives you two distinct gothic silhouettes for décor, gifts, and a more varied handmade collection.
The top wick opening keeps the finished candle recognizable and functional while the sculpted skull remains the main event. It is a small detail that makes the final pour feel considered.
Select the crow-skull design or the stacked-skull design. Place the mold on a stable, level work surface before adding wax.
Position a suitable wick through the top opening and keep it centered while preparing your candle wax.
Fill the three-dimensional cavity with your prepared wax, leaving the wick opening clear. Slow, steady pouring gives the sculpted details room to fill.
Wait until the candle is fully cool and firm before attempting release. Warm wax can deform teeth, facial edges, and other fine reliefs.
Loosen the silicone around the entire perimeter, then peel it away gradually. Support detailed areas instead of pulling from one tiny feature.
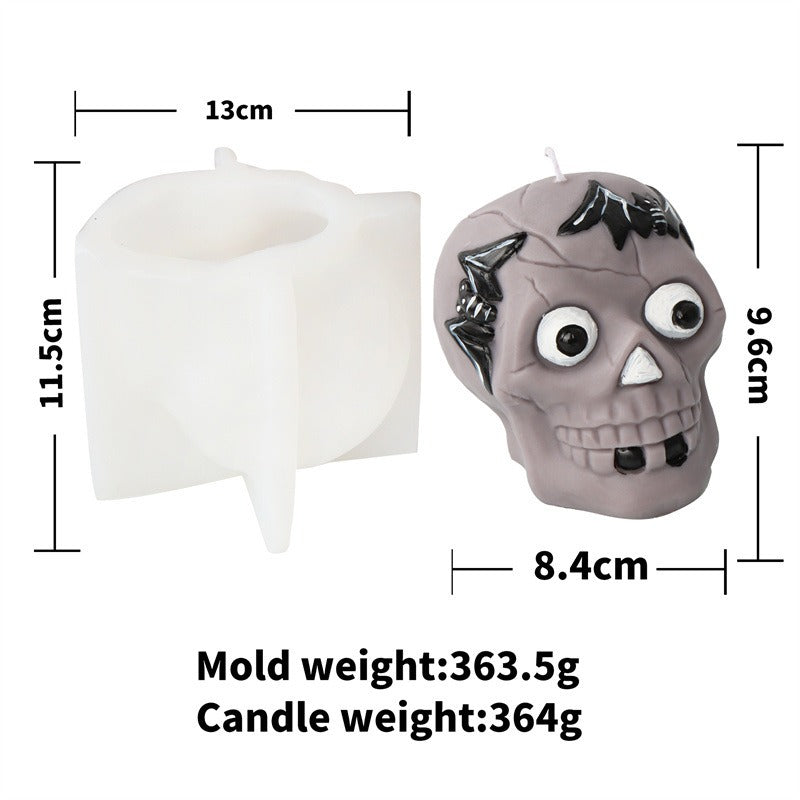
Three-dimensional skull cavity with crow, facial, tooth, crack, and top wick details.
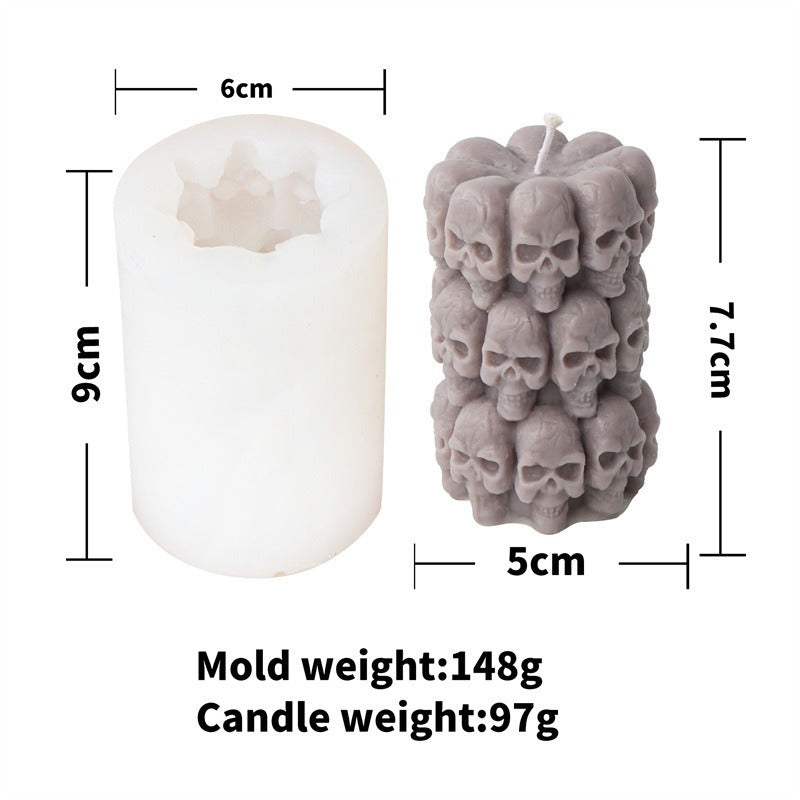
Cylindrical form with repeated miniature skull reliefs for a different gothic silhouette.
Basic candle shapes can light a room, but they rarely become the eerie centerpiece you pictured. Smooth jars and simple pillars leave Halloween décor looking a little too polite. A skull with real facial structure brings the drama back.
The teeth, cracks, cavities, raised brain detail, and miniature skull reliefs are already built into the three-dimensional cavity. Flexible silicone gives the finished form room to release without asking you to hand-carve every tiny feature. Browse our candle molds for more ways to make the pour do the hard work.
Choose the crow-skull silhouette or the stacked-skull form, add your wax and wick, then let the details take center stage. The finished pieces work as seasonal décor, handmade gifts, aromatherapy accents, or a small gothic collection for your craft table.
Remove wax residue with gentle cleaning rather than scraping across the sculpted relief.
Let the mold dry completely before putting it away.
Loosen the full perimeter instead of pulling sharply on teeth, cracks, or other fine areas.
Keep it flat or loosely supported rather than tightly compressed.
| This skull set | Basic seasonal mold | Hand-sculpting | |
|---|---|---|---|
| Three-dimensional skull form | Partial | ||
| Ready-made teeth and cracks | — | — | |
| Two distinct designs | Partial | — | |
| Reusable flexible material | Partial | — | |
| Requires sculpting each detail | — | — |
Yes. The three-dimensional sculpted cavity includes facial features, teeth, cracks, cavities, raised brain detail, and layered miniature skull reliefs. Pour steadily and demold only after the wax is fully cool.
Yes. The set includes one crow-skull candle mold and one stacked-skull candle mold. You get two distinct gothic designs in one purchase.
Yes. The process is straightforward: prepare the mold, position the wick, pour, cool completely, then flex the silicone gradually. The first release deserves patience around the teeth and facial edges.
They are suitable for candle projects and plaster ornaments. Compatible resin or casting materials can also be explored, but follow the handling and curing instructions for the specific material you choose.
Wait until the candle is fully cool and firm. Loosen the silicone evenly around the full perimeter, then peel it away gradually while supporting the detailed areas. Avoid pulling from one tooth or facial point.
Clean it gently, let it dry fully, and store it flat or loosely supported. Avoid tight compression and rough scraping across the sculpted surface.


 3D Skull Candle Mold for Gothic Halloween Candle Making