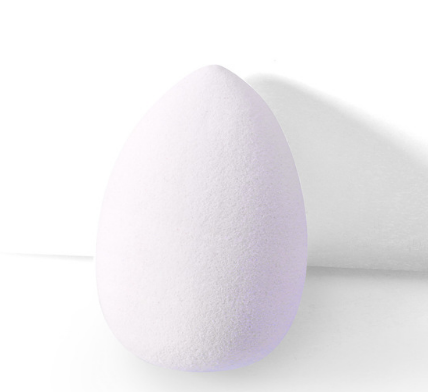
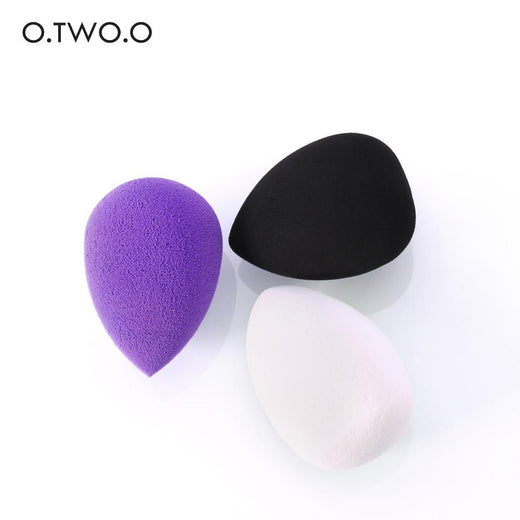
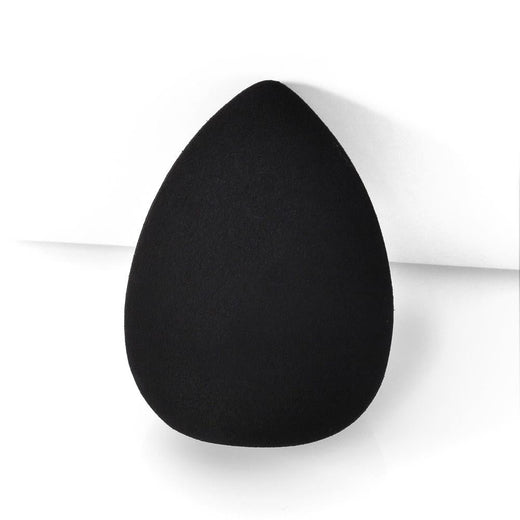
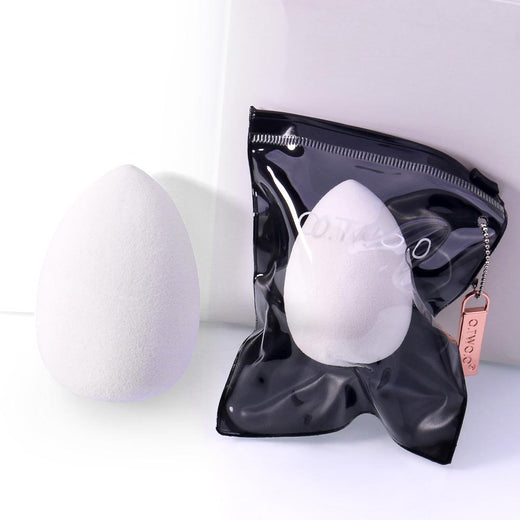
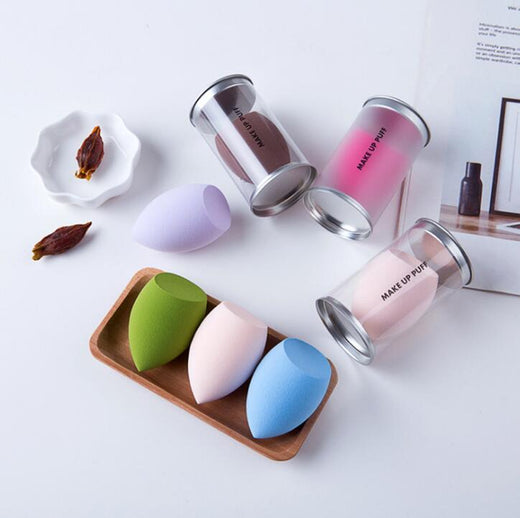
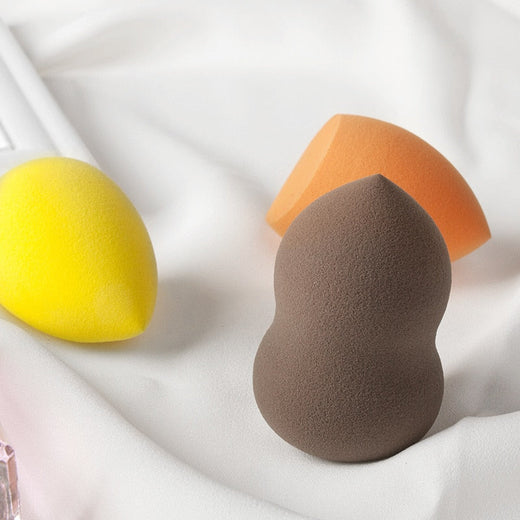
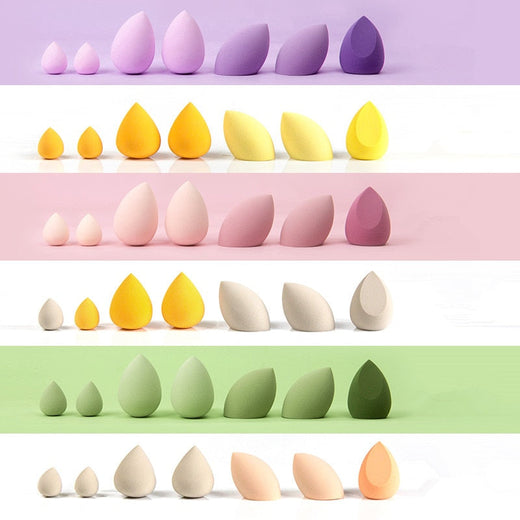
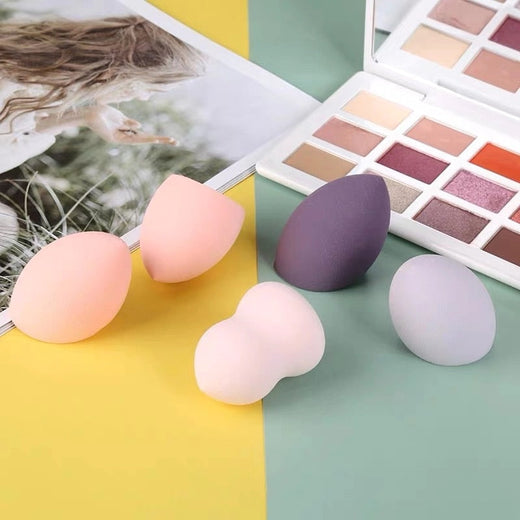
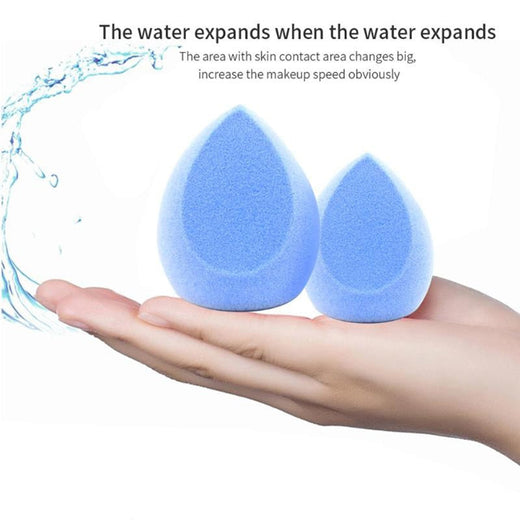
Makeup Sponge For Smooth Foundation & Concealer Finish
Get a smoother-looking base without obvious edges
Tired of streaks, patchy concealer, and foundation that looks uneven up close? This soft makeup sponge helps press cream complexion products into a more even-looking finish.
A Softer Way To Blend
This makeup sponge is a straightforward complexion tool for pressing, softening, and touching up cream makeup.
Press For A More Even Base
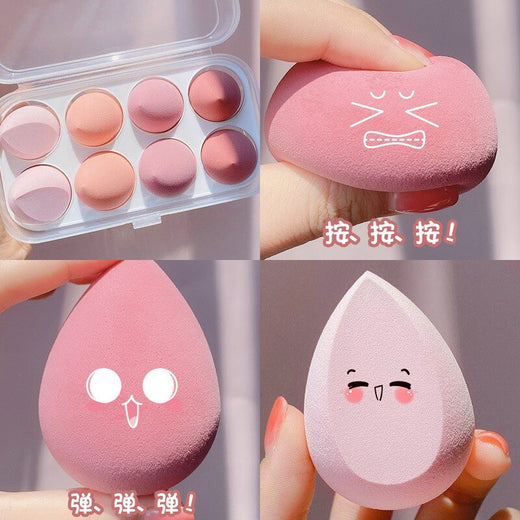
Press and bounce over cream foundation rather than relying on fast swiping. The controlled motion keeps the blending step focused and makes it easier to build coverage only where you need it.
Soften Visible Edges
Use the applicator around the nose, under the eyes, and along foundation boundaries where broad tools can feel awkward. Its soft surface gives you a simple way to tap makeup into smaller areas.
Fits The Everyday Routine
Keep one dedicated cosmetic puff ready for foundation, concealer, and quick complexion touch-ups. It replaces the need to switch between fingers and several complexion brushes for basic blending.
Why Makeup Wearers Reach For It
First-hand notes from people using the sponge for workday makeup, touch-ups, travel, and practice.
I use it before office meetings, mostly around my cheeks and nose. Foundation looks less streaky when I press instead of swipe.
Beginner-friendly. I finally stopped feeling like I needed a complicated brush technique to blend concealer.
The smaller area works nicely under my eyes and beside my nose. It softens the concealer edge without adding another layer.
I bought it while practicing my event makeup. Pressing and bouncing felt much easier to control than dragging a brush across the cheek.
mornings are rushed here, so I keep this beside my foundation for quick touch-ups before school drop-off.
One sponge covers my foundation and concealer steps. I like not having to switch between my fingers and several brushes.
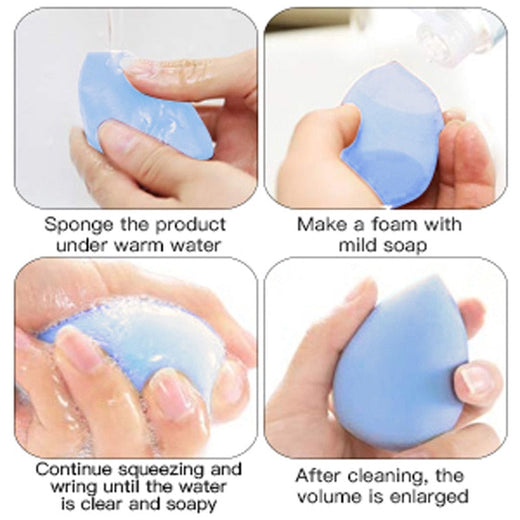
It feels comfortable against my skin and is gentler than dragging a dry brush. It does need regular washing to stay fresh.
Good little travel tool for foundation and concealer. The only thing is that it takes time to dry after washing, so I clean it ahead of packing.
I compared pressing with my usual flat brush on one side of my face. The sponge made the nose area easier to tidy, especially where the foundation had gathered.
How To Use Your Sponge
Choose a damp or dry routine, then use light pressing motions to work cream makeup into place.
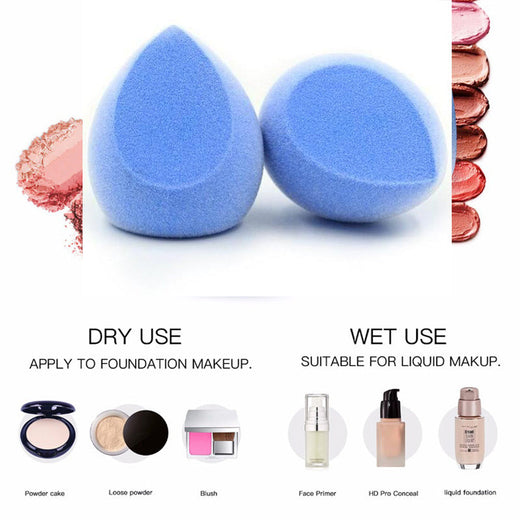
Choose damp or dry
Use the sponge dry for a more direct application feel, or damp when that suits your preferred cream makeup routine.
Place a small amount
Apply foundation or concealer in the areas where you want coverage. Start lightly so the base stays easier to blend.
Press and bounce
Tap the sponge over each section instead of dragging it quickly across the face. Work from broad areas toward the nose, under the eyes, and along the hairline.
Soften the edges
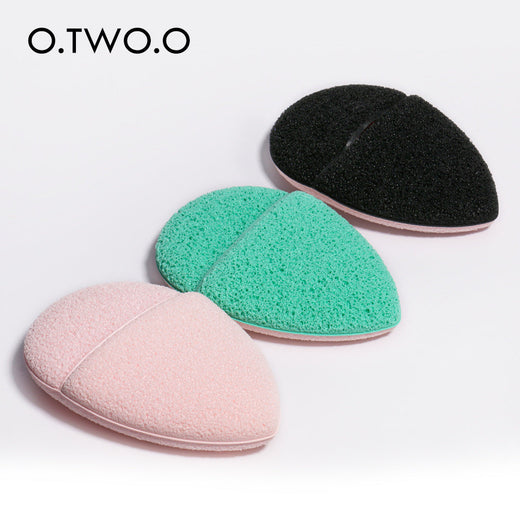
Use the smaller area of the sponge around creases and boundaries until the transition looks more even.
Sponge Versus Your Usual Tool
Choose the tool that matches the part of your makeup routine that needs the most control.
| Soft spongeBEST FOR BLENDING | Fingers | Flat brush | |
|---|---|---|---|
| Controlled pressing | Yes | Partial | Partial |
| Small-area access | Yes | Partial | Partial |
| Works with cream complexion products | Yes | Yes | Yes |
| Requires regular cleaning | Yes | No | Yes |
| One dedicated tool for foundation and concealer | Yes | No | Partial |
One Softer Step Changes The Routine
Foundation does not need more layers or a complicated brush technique. A focused pressing step can make everyday complexion makeup feel calmer and more controlled.
When Blending Looks Like Work
Streaks around the cheeks, patchy coverage near the nose, and visible concealer edges can turn a simple makeup routine into a correction session. Fingers can feel imprecise, while a flat brush can make small areas awkward to reach.
The Press, Then Blend Method
Use the soft cosmetic puff to press and bounce cream foundation or concealer into place instead of quickly dragging product across the skin. The motion gives you a deliberate way to soften edges and control where coverage sits.
A Better Last Step
The finished routine feels simpler: place your makeup, press through the areas that look uneven, and refine the nose, under-eye area, and foundation boundaries. The result is a smoother-looking base with less backtracking.
Care Before The Next Use
A simple wash-and-dry habit keeps the applicator more pleasant to use in your regular makeup routine.
About this item
Get a smoother-looking complexion routine with one soft tool for pressing foundation and concealer into place. Use it damp or dry for controlled blending around the face.
Makeup Sponge Questions
Clear answers for the everyday decisions that make a complexion tool worth keeping.
Explore Your Makeup Toolkit
Build a complexion routine around the products you already reach for.